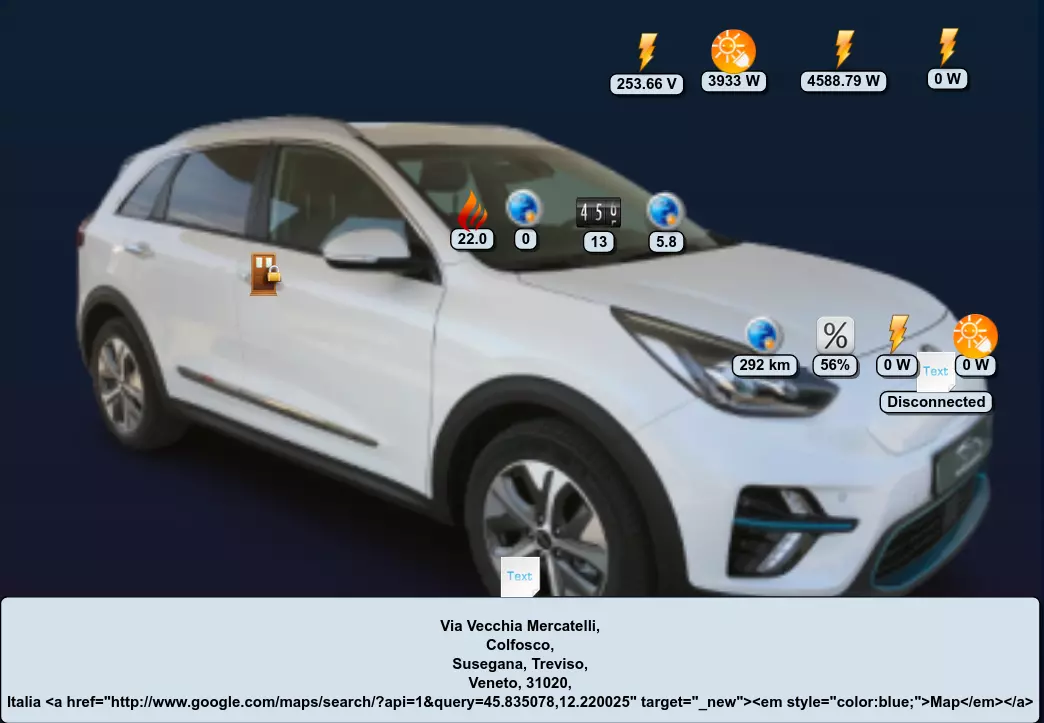
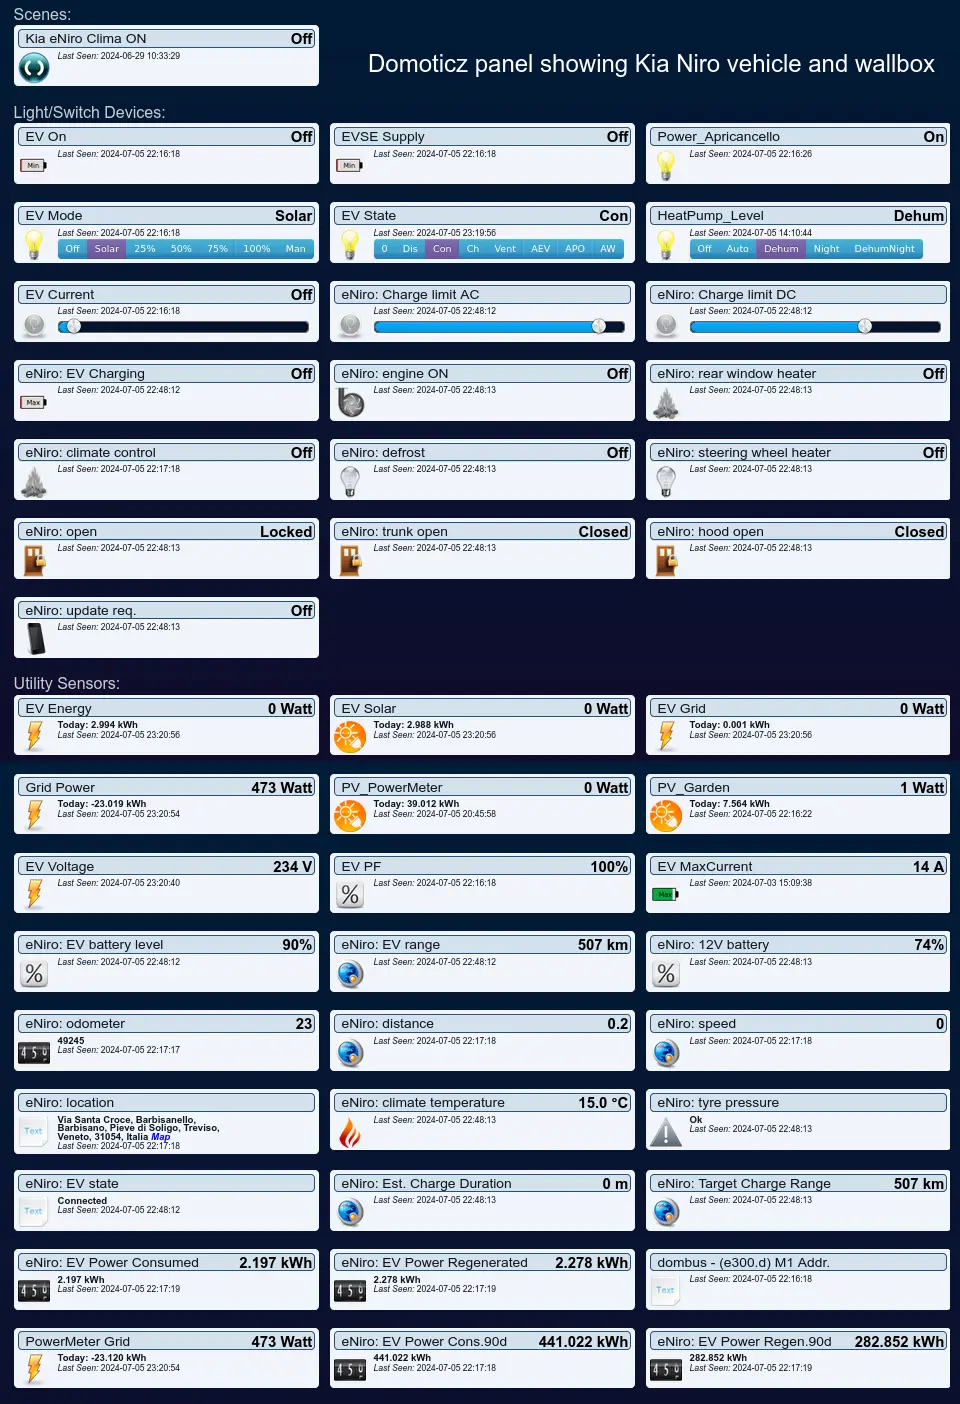
Domoticz Hyundai-Kia plugin - Controls and monitors Hyundai and Kia connected vehicles
Authors:
- Creasol https://www.creasol.it/domotics
- WillemD61
Introduction
This plugin is designed for Domoticz home automation system and provide a way to get status from Hyunday and Kia cars.
It's based on the hyundai-kia-connect-api python library, written by Fuat Akgun.
Using this plugin is possible to monitor the battery state of charge (for electric cars), that lead to the ability to enable / disable charging based on the power availability from photovoltaic, for example, improving the own-consumption.
Also it works with non-EV cars from Hyundai and Kia, monitoring the fuel level and range, climate, location, vehicle sensors, ...
It's also possible to control the car, activating for example the climate from the Domoticz panel.
Actually 30 devices will be created, using your language: English, Italian, Dutch, Swedish, Hungarian, Polish and French are supported, now, but if you want to contribute, just fetch the translation.txt file, add for each line the translation in your language, and send by email to linux AT creasol dot it.
This plugin can be installed typing the following commands from a shell: instead of installing the plugin, (penultimate command), it's possible to use Python Plugin Manager or Python Plugins Manager which also permit to update plugin easily or even automatically.
Features
-
It's possible to configure 2 polling intervals, to limit accesses to the cloud (Kia Europe limit is 200 accesses/day): a standard interval, a shorter interval when driving (to track battery and position/speed), and a longer interval during the night computed as 4x polling interval, max 120 minutes). The polling interval while charging is computed as interval_driving * 2.
-
Permits to monitor all variables provided by the API
-
Also, permits to monitor the distance from home and have a map and address of the car location.
-
It's possible to set the climate temperature and activate climate from Domoticz. In this way it's easy, for example, to create a scene that enable EVSE (charging station) and vehicle climate for 15 minutes, for example, to pre-heat the vehicle in the winter morning before going to work.
Installation
#become root user
sudo su -

#install git, if not already installed
which git
if [ $? -ne 0 ]; then sudo apt install git; fi

#change to the domoticz directory / plugins
cd /home/pi/domoticz/plugins

#fetch the Python Plugin Manager (that can be used to install/upgrade other plugins, including domoticz-hyundai-kia)
git clone https://github.com/ycahome/pp-manager

#install python3-dateutil
sudo apt install python3-dateutil

#install original hyundai-kia-connect-api lib
# pip3 install hyundai-kia-connect-api
pip3 install pytz bs4
cd  /usr/local/src
#git clone https://github.com/jwefers/hyundai_kia_connect_api.git  #lib modified by jWefers
git clone https://github.com/Hyundai-Kia-Connect/hyundai_kia_connect_api.git
mv /usr/local/lib/python3.9/hyundai_kia_connect_api /var/tmp 2>/dev/null
ln -s /usr/local/src/hyundai_kia_connect_api/hyundai_kia_connect_api /usr/local/lib/python3.9/dist-packages

#return on previous directory
cd -

#remove __pycache__ dir from the lib (it contains the __pycache__ with sources compiled by a different python version or different CPU)
for d in /usr/local/lib/python3*; do find $d -name __pycache__ -exec rm -r {} \; ; done

#fetch Creasol Plugin

git clone https://github.com/CreasolTech/domoticz-hyundai-kia

#restart Domoticz daemon
service domoticz restart
Before activating this plugin, assure that you've set the right name to your car (through the Hyundai/Kia connect app) short and simple: that name is used to identify devices in Domoticz. Also, use a very short name for the hardware plugin.
When plugin is activated, more than 30 devices will be automatically added to domoticz, named as {PLUGIN_NAME} - {VEHICLE_NAME} {device name}
If you want to rename a device, change only the {device name} part, do not change the {PLUGIN_NAME} - {VEHICLE_NAME} part of device name because it's used by the plugin to associate device name to a vehicle_name and vehicle_id provided by the cloud. Also, do not change the name of the ODOMETER device: leave this device name as original!
Make sure that the plugin is also run shortly before midnight (in addition to the polling intervals configured) by adding a timer setting to the switch device that can be use to force a data update. For example add a timer that sets the switch to status "On" every weekday at 23:57.
Then, enter Domoticz panel, go to Setup -> Hardware and enable the Hyundai Kia connect plugin specifying the Hyundai or Kia account credential: up to 4 vehicles associated to this account can be shown automatically on Domoticz.
Please note that there are some restrictions on the number of daily access to the cloud... for example EU customers cannot connect more than 200 times/day Also, the vehicle consumes energy for every access, so do not poll the car too often when it is not moving nor charging.
Updating
Sometimes a new version of this plugin also requires an update of the hyundai_kia_connect_api module.
Assuming you followed the installation instructions as described above, the hyundai_kia_connect_api can be updated to the latest version with the following commands:
 cd /usr/local/src/hyundai_kia_connect_api/hyundai_kia_connect_api
 sudo git pull
To update the plugin itself:
  cd /home/pi/domoticz/plugins/HyundaiKiaConnect
  sudo git pull
  sudo service domoticz restart
In case the plugin has been updated by the Domoticz plugin manager already, the git pull command will complain that the plugin already has been updated. This can be corrected with the following command:
sudo git checkout ./plugin.pyAfter this the plugin can be updated with:
  sudo git pull
  sudo service domoticz restart
Note about upgrade from Rev.1 to Rev2.0 or later
Version 2.0 (2024-07-03) has been rewritten to use the DomoticzEx framework: DeviceID for each device is kept as the Rev.1, but the name of each device must be renamed manually:
Rev.1 naming: PLUGIN_NAME - CAR_NAME DEVICE_NAME (for example Kia - eNiro odometer)
Rev.2 naming: CAR_NAME: DEVICE_NAME (for example eNiro: odometer)
After the plugin has been updated, please remember to manually rename all devices following the new naming convention!
Credits
Many thanks to:
- lokonli for the update instructions
Many thanks for the following language translations:
- Dutch translation by Branko
- Swedish translation by Joakim W.
- Hungarian translation by Upo
- Polish translation by z1mEk
- French translation by Neutrino
- German translation by Gerhard M.
Charging the electric car in a smart way
Creasol has developed a cheap and smart DIY EVSE module that can work stand-alone or connected to Domoticz.
 Video showing electric car charging by Domoticz and DomBusEVSE module
Features:
-
detects plug connection and disconnection
-
detects when the electric vehicle starts and stops charging
-
detects alarms from vehicle
-
interfaces a bidirectional energy meter to know the real time import or export power from grid
-
operates as stand-alone (no need for a domotic controller) with the possibility to select two charging mode:
- use the maximum power allowed by electricity meter, preventing overloads and disconnections, without exceeding the power supported by the charging cable
- use only renewable energy (keep import power around 0W)
-
operates in a controlled mode, with Domoticz home automation system: in this case it's possible to
- easily set the minimum and maximum battery level
- easily set the maximum charging current
- when battery level is below minimum, charge at the max power permitted by the electricity meter (in Italy, alternates 90 minutes at maximum power + 27% and 90 minutes at maximum power + 10%, it's not possible to charge faster! The electrical system must be checked carefully when using maximum power, to avoid overheating and fires!!)
- when battery level is between minimum and maximum, charge using only power from renewable energy (from photovoltaic) keeping 0W imported from the grid.
More info at https://www.creasol.it/EVSE
Creasol DomBus modules
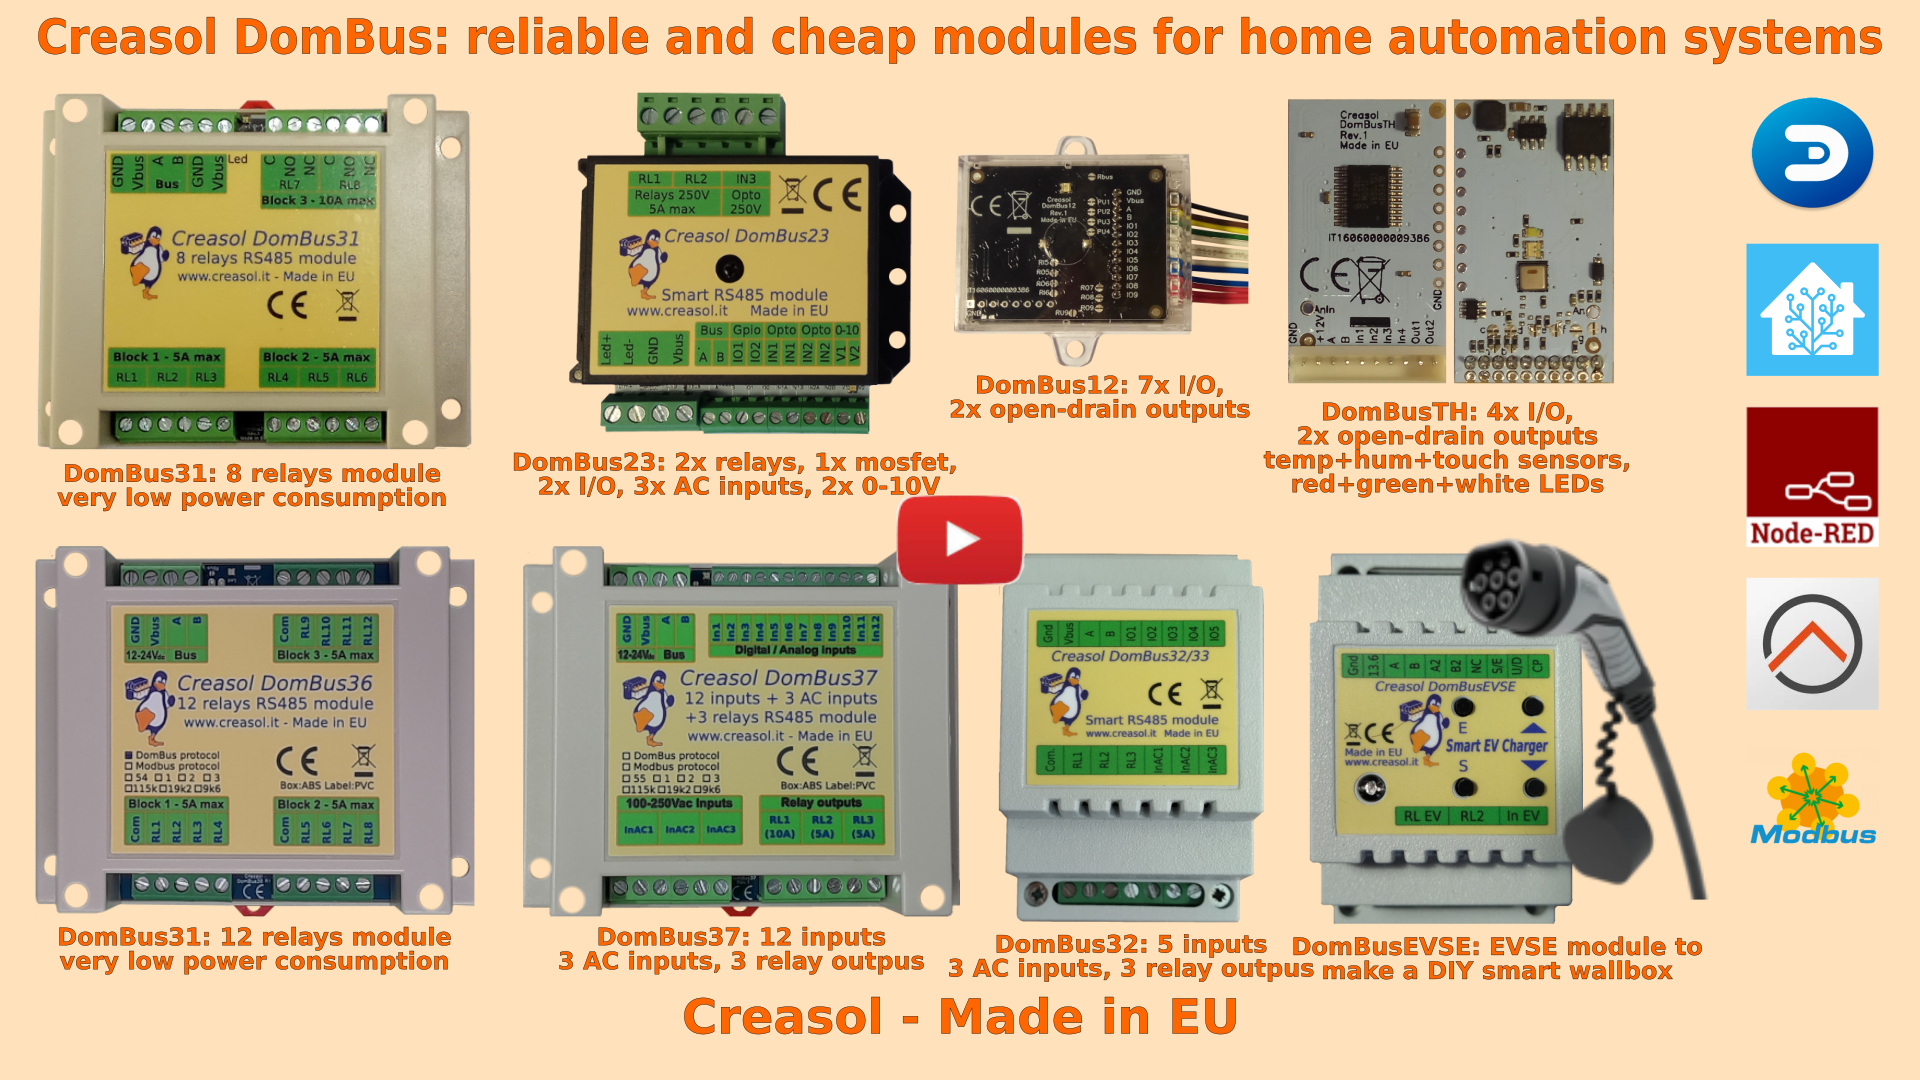
Below a list of modules, produced in Europe by Creasol, designed for Domoticz to be reliable and optimized for very very low power consumption.
Our industrial and home automation modules are designed to be
- very low power (around 10mW with relays OFF)
- reliable (no disconnections)
- bus connected (no radiofrequency interference, no battery to replace).
Modules are available in two version:
- with DomBus proprietary protocol, working with Domoticz only
- with Modbus standard protocol, working with Home Assistant, OpenHAB, Node-RED
Store website - Information website
Youtube video showing DomBus modules
DomBusEVSE - EVSE module to build a Smart Wallbox / EV charging station
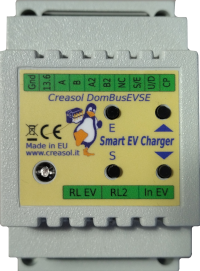 Complete solution to make a Smart EVSE, charging the electric vehicle using only energy from renewable source (photovoltaic, wind, ...), or adding 25-50-75-100% of available power from the grid.
- Single-phase and three-phases, up to 36A (8kW or 22kW)
- Needs external contactor, RCCB (protection) and EV cable
- Optional power meter to measure charging power, energy, voltage and power factor
- Optional power meter to measure the power usage from the grid (not needed if already exists)
- Two max grid power thresholds can be programmed: for example, in Italy who have 6kW contractual power can drain from the grid Max (6 1.27)=7.6kW for max 90 minutes followed by (6 1.1)=6.6kW for another 90 minutes. The module can use ALL available power when programmed to charge at 100%.
- Works without the domotic controller (stand-alone mode), and can also work with charging current set by the domotic controller (managed mode)
DomBusTH - Compact board to be placed on a blank cover, with temperature and humidity sensor and RGW LEDs
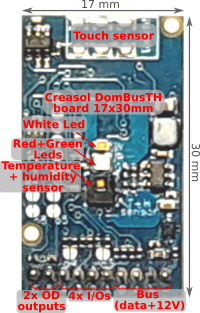 Compact board, 32x17mm, to be installed on blank cover with a 4mm hole in the middle, to exchange air for the relative humidity sensor. It can be installed in every room to monitor temperature and humidity, check alarm sensors, control blind motor UP/DOWN, send notifications (using red and green leds) and activate white led in case of power outage.
Includes:
- temperature and relative humidity sensor
- red, green and white LEDs
- 4 I/Os configurable as analog or digital inputs, pushbuttons, counters (water, gas, S0 energy, ...), NTC temperature and ultrasonic distance sensors
- 2 ports are configured by default as open-drain output and can drive up to 200mA led strip (with dimming function) or can be connected to the external module DomRelay2 to control 2 relays; they can also be configured as analog/digital inputs, pushbuttons and distance sensors.
DomBus12 - Compact domotic module with 9 I/Os
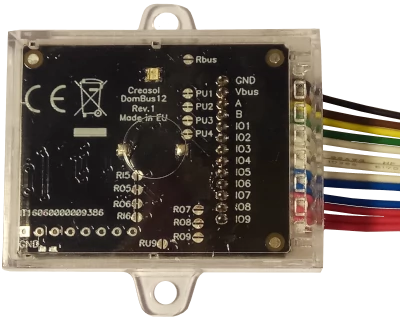 Very compact, versatile and cost-effective module with 9 ports. Each port can be configured by software as:
- analog/digital inputs
- pushbutton and UP/DOWN pushbutton
- counters (water, gas, S0 energy, ...)
- NTC temperature and ultrasonic distance sensors
- 2 ports are configured by default as open-drain output and can drive up to 200mA led strip (with dimming function) or can be connected to the external module DomRelay2 to control 2 relays.
DomBus23 - Domotic module with many functions
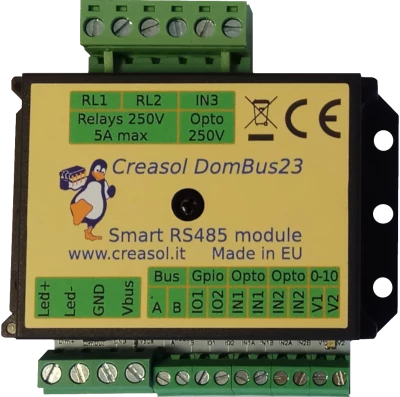 Versatile module designed to control gate or garage door.
- 2x relays SPST 5A
- 1x 10A 30V mosfet (led stripe dimming)
- 2x 0-10V analog output: each one can be configured as open-drain output to control external relay
- 2x I/O lines, configurable as analog/digital inputs, temperature/distance sensor, counter, ...
- 2x low voltage AC/DC opto-isolated inputs, 9-40V
- 1x 230V AC opto-isolated input
DomBus31 - Domotic module with 8 relays
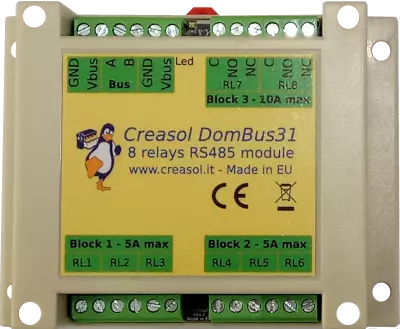 DIN rail low profile module, with 8 relays and very low power consumption:
- 6x relays SPST 5A
- 2x relays STDT 10A
- Only 10mW power consumption with all relays OFF
- Only 500mW power consumption with all 8 relays ON !!
DomBus32 - Domotic module with 3 relays
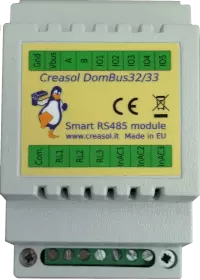 Versatile module with 230V inputs and outputs, and 5 low voltage I/Os.
- 3x relays SPST 5A
- 3x 115/230Vac optoisolated inputs
- Single common for relays and AC inputs
- 5x general purpose I/O, each one configurable as analog/digital inputs, pushbutton, counter, temperature and distance sensor.
DomBus33 - Module to domotize a light system using step relays
 Module designed to control 3 lights already existing and actually controlled by 230V pushbuttons and step-by-step relays. In this way each light can be activated by existing pushbuttons, and by the domotic controller.
- 3x relays SPST 5A
- 3x 115/230Vac optoisolated inputs
- Single common for relays and AC inputs
- 5x general purpose I/O, each one configurable as analog/digital inputs, pushbutton, counter, temperature and distance sensor.
Each relay can toggle the existing step-relay, switching the light On/Off. The optoisolator monitors the light status. The 5 I/Os can be connected to pushbuttons to activate or deactivate one or all lights.
DomBus36 - Domotic module with 12 relays
 DIN rail module, low profile, with 12 relays outputs and very low power consumption.
- 12x relays SPST 5A
- Relays are grouped in 3 blocks, with a single common per block, for easier wiring
- Only 12mW power consumption with all relays OFF
- Only 750mW power consumption with all 12 relays ON !!
DomBus37 - 12 inputs, 3 115/230Vac inputs, 3 relay outputs
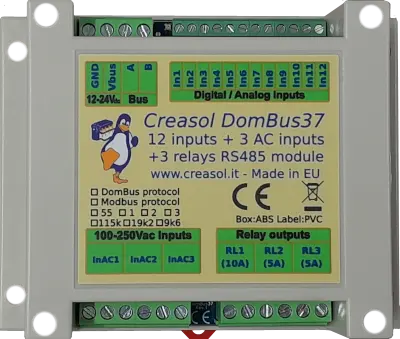 Module designed to be connected to alarm sensors (magnetc contact sensors, PIRs, tampers): it's able to monitor mains power supply (power outage / blackout) and also have 3 relays outputs.
- 12x low voltage inputs (analog/digital inputs, buttons, alarm sensors, counters, temperature and distance sensors, ...)
- 3x 115/230Vac optoisolated inputs
- 2x relays SPST 5A
- 1x relay SPST 10A
- In12 port can be used to send power supply to an external siren, monitoring current consumption
DomRelay2 - 2x relays board
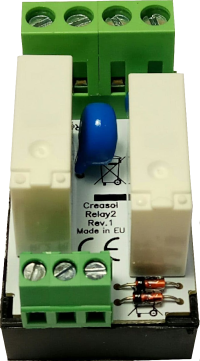 Simple module with 2 relays, to be used with DomBus modules or other electronic boards with open-collector or open-drain outputs
- 2x 5A 12V SPST relays (Normally Open contact)
- Overvoltage protection (for inductive loads, like motors)
- Overcurrent protection (for capacitive laods, like AC/DC power supply, LED bulbs, ...)
DomESP1 / DomESP2 - Board with relays and more for ESP8266 NodeMCU WiFi module
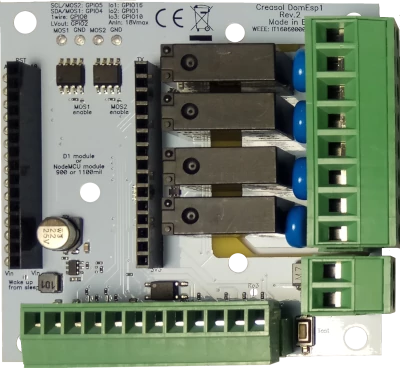 IoT board designed for NodeMCU v3 board using ESP8266 WiFi microcontroller
- 9-24V input voltage, with high efficiency DC/DC regulator with 5V output
- 4x SPST relays 5V with overvoltage protection
- 1x SSR output (max 40V output)
- 2x mosfet output (max 30V, 10A) for LED dimming or other DC loads
- 1x I²C interface for sensors, extended I/Os and more)
- 1x OneWire interface (DS18B20 or other 1wire sensors/devices)
