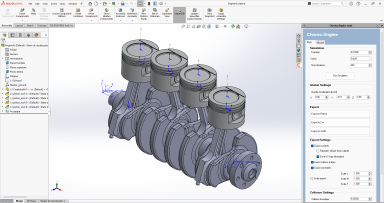
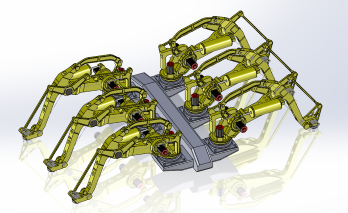
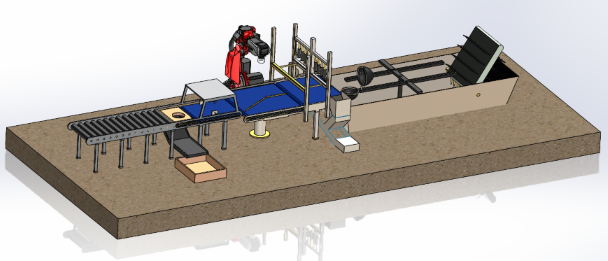
CHRONO::SOLIDWORKS


Chrono::SolidWorks is an add-in for SolidWorks that allows to simulate the CAD models by leveraging the capabilities of the Chrono multibody library.
The models created can be also exported for further processing directly in Chrono, either in C++, Python, C# or through JSON files.
Chrono::SolidWorks is part of Project Chrono.
Main features
- add-in for SolidWorks
- export mechanical systems including:
- Parts, as rigid bodies; including mass and inertia properties
- Assemblies, as rigid bodies for rigid Assemblies, or articulated for flexible Assemblies;
- Mates, either Standard or Mechanical;
- custom motors
- export visualization shapes Wavefront OBJ meshes, to be later edited/optimized
- export coordinate systems as chrono::ChMarker
- adding advanced collision features
For more informations: Chrono::Solidworks User Manual
How to install the add-in
Visit the ProjectChrono website for the pre-compiled binary webpage and look for the Chrono::Solidworks section. The installer will prompt the user to locate the Solidworks directory. Dependencies will be installed together with the add-in.
How to build the add-in from source (advanced users)
There is no need to build the add-in from source unless you are interested in expanding/fixing the add-in.
- the project is written in C#, so you must use Microsoft Visual Studio with the C# development module enabled
- double check the availability of the proper .NET Framework version on your computer
- you must have a SolidWorks license installed on your computer
- clone this repository to any given folder (always suggested to avoid spaces and special characters in the path)
- run Visual Studio as Administrator
- load the ChronoSolidworks.sln solution located in the main directory
- set build configuration to Release
- right-click on the ChronoSolidworksAddIn target, click on Manage NuGet Packages and install the Newtonsoft.JSON package
- you may need to modify some settings of this solution, in order to reference the .COM assemblies of your SolidWorks
In the Solution Explorer panel, expand ChronoSolidworksAddIn>References and make sure that the four references called "SolidWorks...." are properly set. If not:
- right click on References>Add Reference...
- go to the Browse tab and navigate to the SolidWorks installation folder (typically C:\Program Files\SolidWorks 20XX\SolidWorks) and add the following files (names might change depending on Solidworks version):
- solidworkstools.dll
- SolidWorks.Interop.sldworks.dll
- SolidWorks.Interop.swcommands.dll
- SolidWorks.Interop.swconst.dll
- SolidWorks.Interop.swpublished.dll
- right-click on ChronoSolidworksAddIn project, click on Properties, Reference Paths and add the Solidworks installation folder (e.g. "C:\Program Files\SOLIDWORKS Corp\SOLIDWORKS\")
- in the Build panel close by an additional flag
HAS_CHRONO_CSHARPis currently set by default: in case you didn't compile Chrono with CSHARP module enabled please remove this flag. This will disable the "Export to JSON" and "Run Simulation" options.- in case you decided to use Chrono CSharp, right click on the ChronoSolidworksAddIn, then Add>Existing Item, go to the Chrono build folder, navigate into bin/Release and select ChronoEngine.dll and ChronoEngine_csharp_core.dll; in the selection dialog it is better to select Add as Link instead of a simple Add; please mind that the selection dialog has some selection filter that, in this case, should be set to show also .dll files; you should now see the picked libraries into the Visual Studio solution;
- select both ChronoEngine.dll and ChronoEngine_csharp_core.dll, right-click and then Properties; set the Copy to Output Directory to Copy always;
- go to the Chrono build folder, copy all the source code from _chronocsharp/core and _chronocsharp/irrlicht into a single folder e.g. _csharpsource (unfortunately Chrono CSharp modules re-export some classes, thus creating duplicated items);
- in Visual Studio, right click on the ChronoSolidworksAddIn target, then Add>New Folder and call it Chrono; this is for convenience;
- right click on it, click on Add>Existing Item, go to the temporary _csharpsource folder and add all the files contained there by selecting Add as Link;
- build the solution. It will generate the ChronoEngineAddIn.dll into the chrono-solidworks_install together with all its dependencies; the DLLs are automatically registered by the post-build events
- start SolidWorks, you should find the Chrono::Engine panel in the Task Pane to the right. Note that add-ins can be enabled/disabled with the Tools>Adds-In menu in the toolbar
If you find problems to build the add-in, look at this tutorial for instructions about how to build add-ins for SolidWorks.
How to use the Chrono::SolidWorks add-in
In the ChronoSolidworksImportTemplate a CMake solution offers a set of projects to test all the export options: CPP, JSON, Python parsing and PyChrono. CMake will setup a solution according to your IDE including to test the first three types of export, plus it will create a dedicate PyChrono source file that can be run indipendently (it will be created in the _${PROJECT_BINARYDIR}/pychrono).
The ChronoSolidworksImportTemplate is available in the install folder or inside the to_put_in_app_ir folder in the sources.
See the tutorials for examples of C++ code and Python code that load systems exported with this add-in.
A place for discussions can be the projectchrono group.