 BotoX
commented
6 years ago
BotoX
commented
6 years ago It'll be fine since the BMS calculates the remaining capacity based on voltage (which is grossly inaccurate) And I believe you can also override the capacity in the BMS memory with a simple write command over serial/bluetooth. You could also sell your original battery and build a better one with better cells and a proper BMS like I did: https://cloud.botox.bz/s/cMifL7kWyMwLA8n BMS: https://www.lithiumbatterypcb.com/product/13s-48v-li-ion-battery-pcb-board-54-6v-lithium-bms-with-60a-discharge-current-for-electric-motorcycle-and-e-scooter-protection-2-2-3-2-2-2-2-2/ Open source firmware compatible with m365 can be found here: https://github.com/BotoX/xiaomi-m365-compatible-bms
 beckos
 alexeypetrenko
 Hermit12
 pitslz
 kzkz22
 FlakesIce
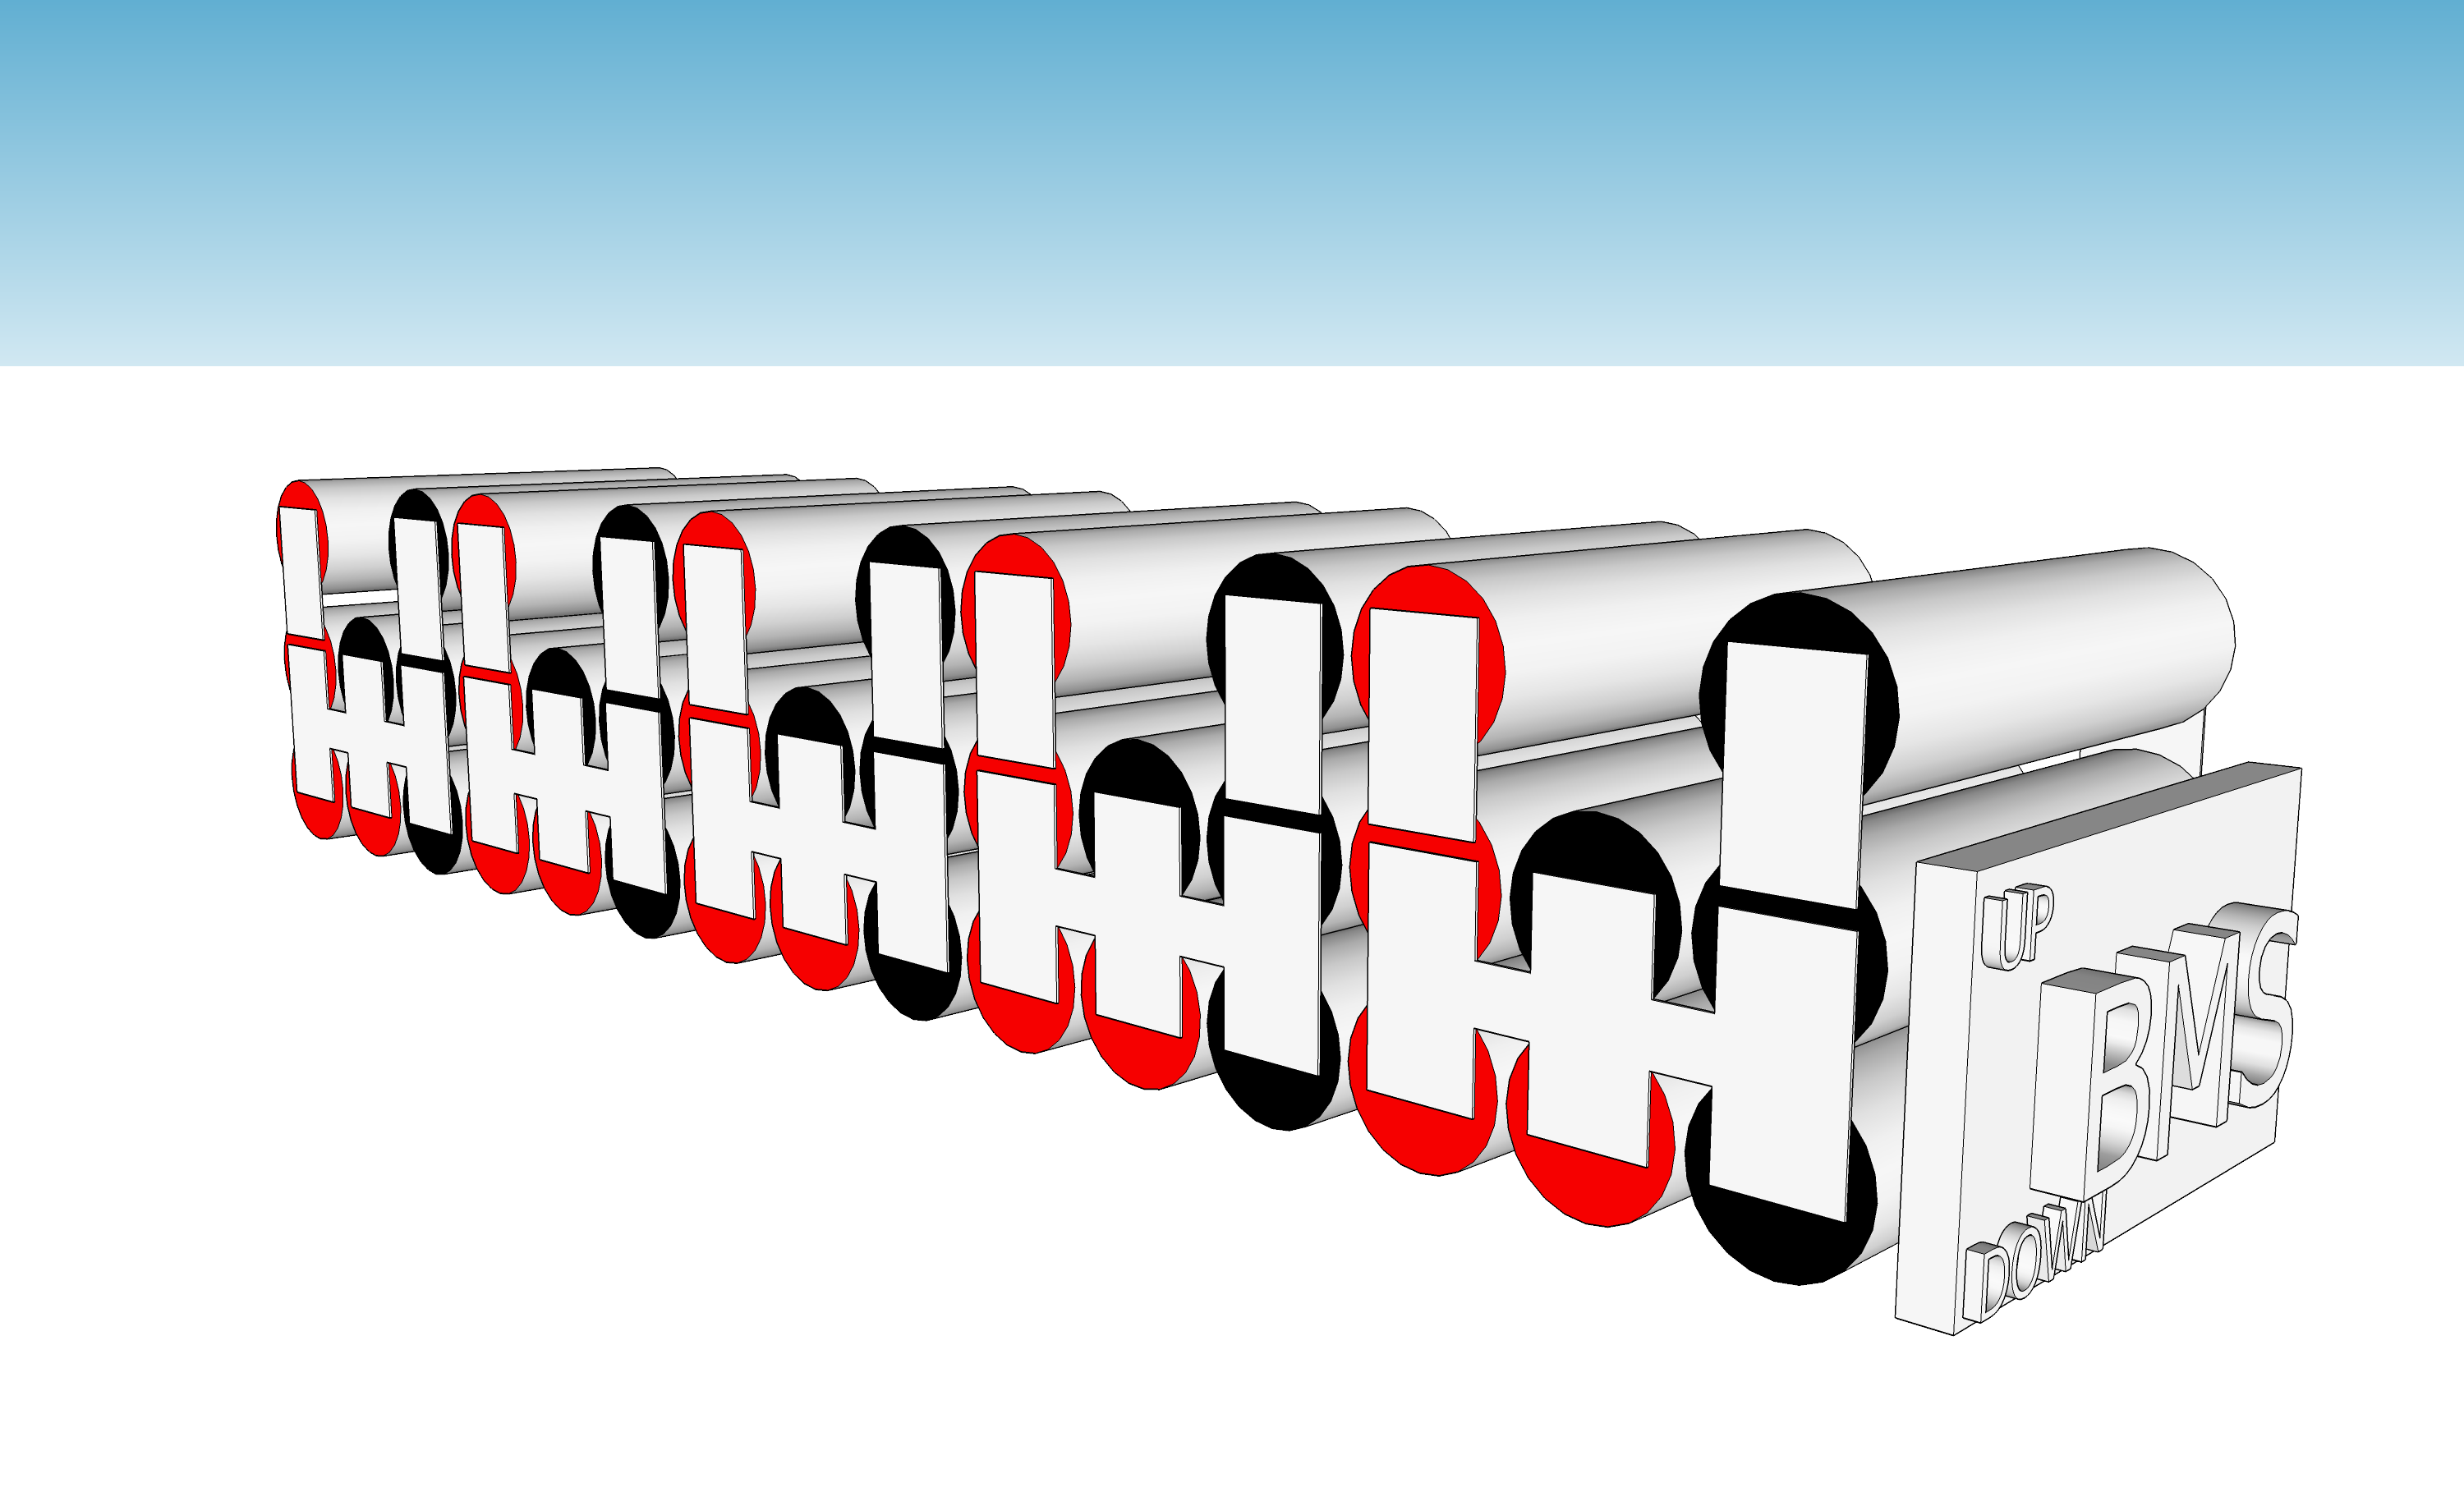

 jbfuzier
 miloszlip
 RedDevils99
 pedala
 edreyyo
 ricardojd
 rstige
Hi! I plan on modifying the battery from 10s3p to 10s5p by adding two more LG M26 cells in parallel for each of the ten groups of three paralleled cels. The resulted capacity of 13 Ah would be managed by the same BMS and charging controller. I expect that declared capacity of 7800mAh be displayed the same in any app...
My question and proposal is: could this declared capacity be modified so that 100% charge and estimated range would be displayed correctly for the newly configured pack of 13Ah?