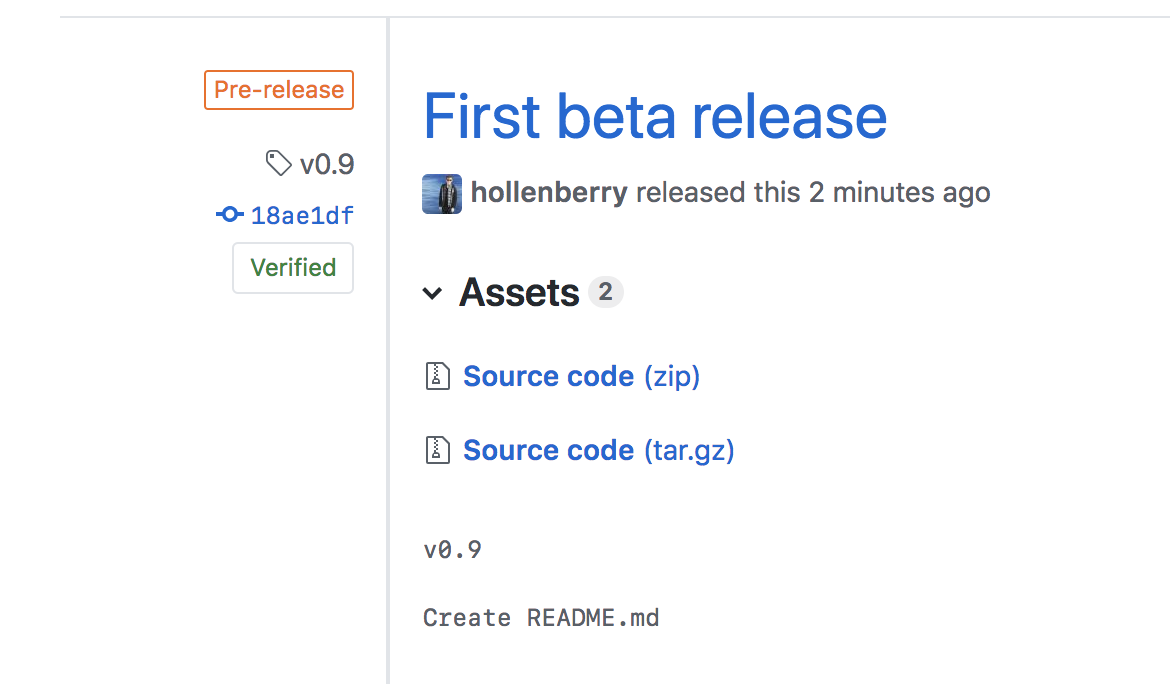
Great work! Notice that your release URL is ready for sharing or testing as both a zip or tar.gz file. If you selected "Pre-release", your co-contributors will know that this release isn't stable.

Closed github-learning-lab[bot] closed 2 years ago
Great work! Notice that your release URL is ready for sharing or testing as both a zip or tar.gz file. If you selected "Pre-release", your co-contributors will know that this release isn't stable.

Welcome
This repository will teach you about release workflows. By the end of this course, you'll have two versions of the classic arcade game, "Alien Invasion". Let's get started! If you'd like, you can use GitHub Pages to host your Invasion game and see live updates. Go to the Settings tab of this repository. Scroll down to GitHub Pages. Select
mainas a Source.The GitHub flow
The GitHub flow is a lightweight, branch-based workflow for projects with regular deployments.
Some projects may deploy more often, with continuous deployment. There might be a "release" every time there's a new commit on main.
But, some projects rely on a different structure for versions and releases.
Versions
Versions are different iterations of updated software like operating systems, apps, or dependencies. Common examples are "Windows 8.1" to "Windows 10", or "macOS High Sierra" to "macOS Mojave".
Developers update code, and then run tests on the project for bugs. During that time, the developers might set up certain securities to protect from new code or bugs. Then, the tested code is ready for production. Teams version the code and release it for installation by end users.
Step 1: Create a beta release
Create a release for this repository on GitHub.
GitHub Releases point to a specific commit. Releases can include release notes in Markdown, and attached binaries.
Before using a release based workflow for a larger release, let's create a tag and release.
:keyboard: Activity: Create a release for the current codebase
I'll respond below for your next step