Idriss-Mhg / github-slideshow

A robot powered training repository :robot:
https://lab.github.com/githubtraining/introduction-to-github
MIT License
0 stars 0 forks source link

Your first contribution #2

Closed github-learning-lab[bot] closed 4 years ago

github-learning-lab[bot] commented 4 years ago

Introduction to GitHub flow

Now that you're familiar with issues, let's use this issue to track your path to your first contribution.

People use different workflows to contribute to software projects, but the simplest and most effective way to contribute on GitHub is the GitHub flow.

:tv: Video: Understanding the GitHub flow


Read below for next steps

github-learning-lab[bot] commented 4 years ago

Step 4: Create a branch

Let’s complete the first step of the GitHub flow: creating a branch :book:.

Creating a branch ## Creating a branch :tv: [Video: Branches](https://www.youtube.com/watch?v=xgQmu81G1yY) You just learned how to create a branch—the first step in the GitHub flow. Branches are an important part of the GitHub flow because they allow us to separate our work from the `master` branch. In other words, everyone's work is safe while you contribute. ### Tips for using branches A single project can have hundreds of branches, each suggesting a new change to the `master` branch. The best way to keep branches organized with a team is to keep them concise and short-lived. In other words, a single branch should represent a single new feature or bug fix. This reduces confusion among contributors when branches are only active for a few days before they’re merged [:book:](https://help.github.com/articles/github-glossary/#merge) into the `master` branch.

:keyboard: Activity: Your first branch

  1. Download and open Visual Studio Code (referred to as VS Code) if you don't already have it.
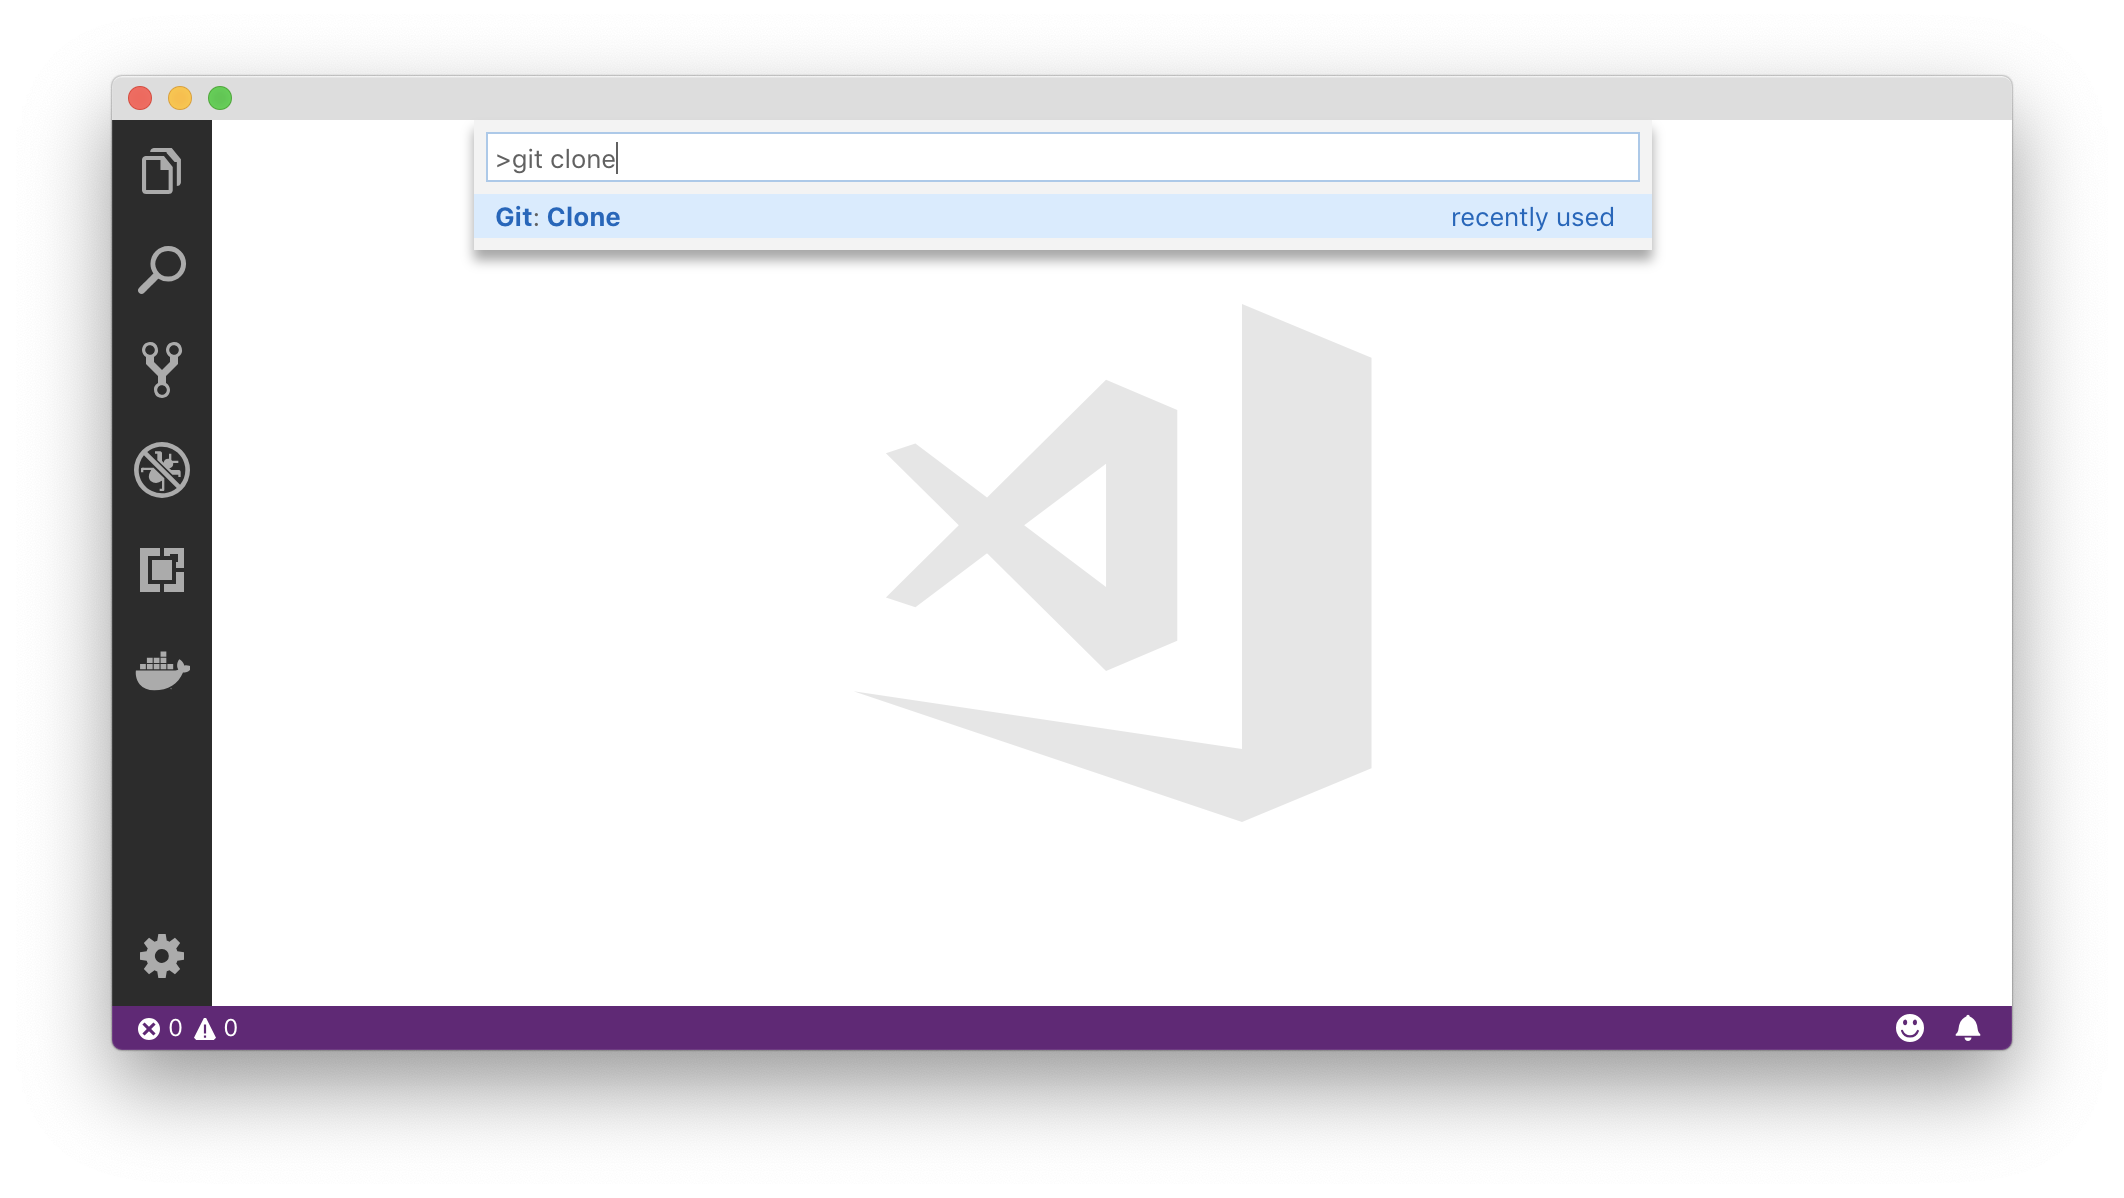
  2. In VS Code, open the Command Palette using Ctrl+Shift+P on Windows, or Command ⌘+Shift+P on macOS. You can also follow VS Code's official documentation on cloning.
  3. Type: git clone and press Enter a screenshot of vs code with the command palette open
  4. Paste in the URL of the repository in the new window and press Enter:
      https://github.com/Idriss-Mhg/github-slideshow.git
  5. Select the location in which to save the repository and click Choose folder. Then, open the location you selected.
  6. The repository folder should now be open in your VS Code project. Click on master at the bottom left of the VS Code window. This will bring up the Command Palette with the commands related to Git branches. a screenshot of the Git branches in VS Code
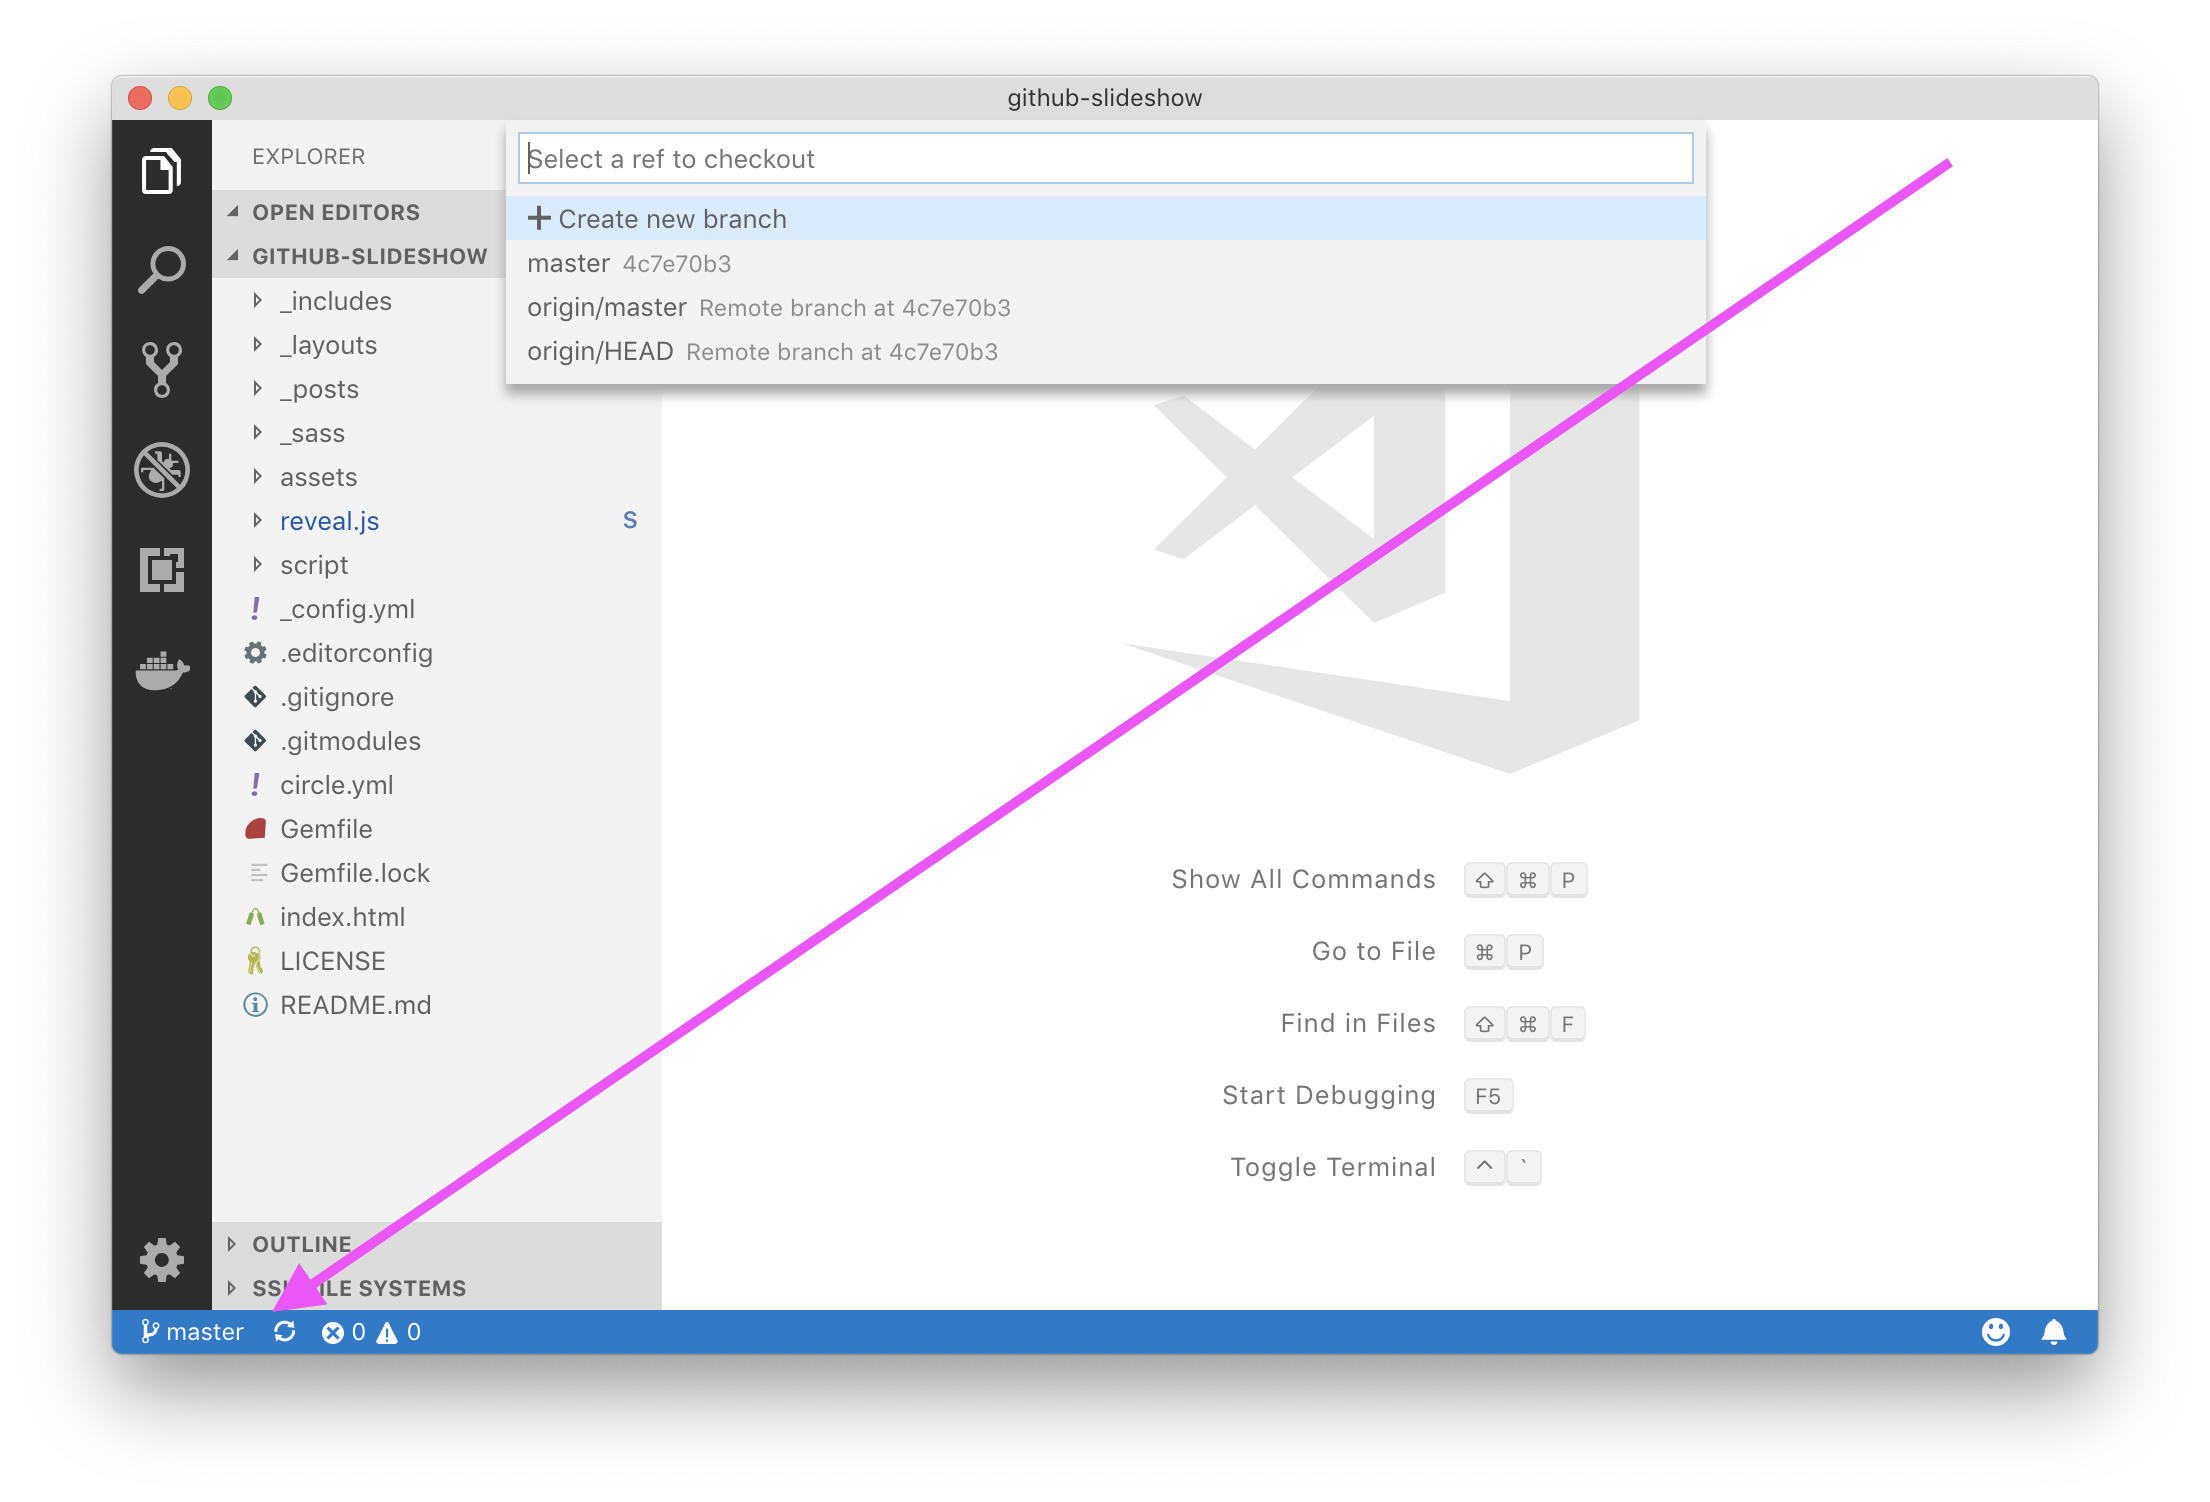
  7. Click Create new branch and enter any branch name you'd like, such as my-slide. Then press Enter.
  8. When asked to select the ref to create the branch from, select master.
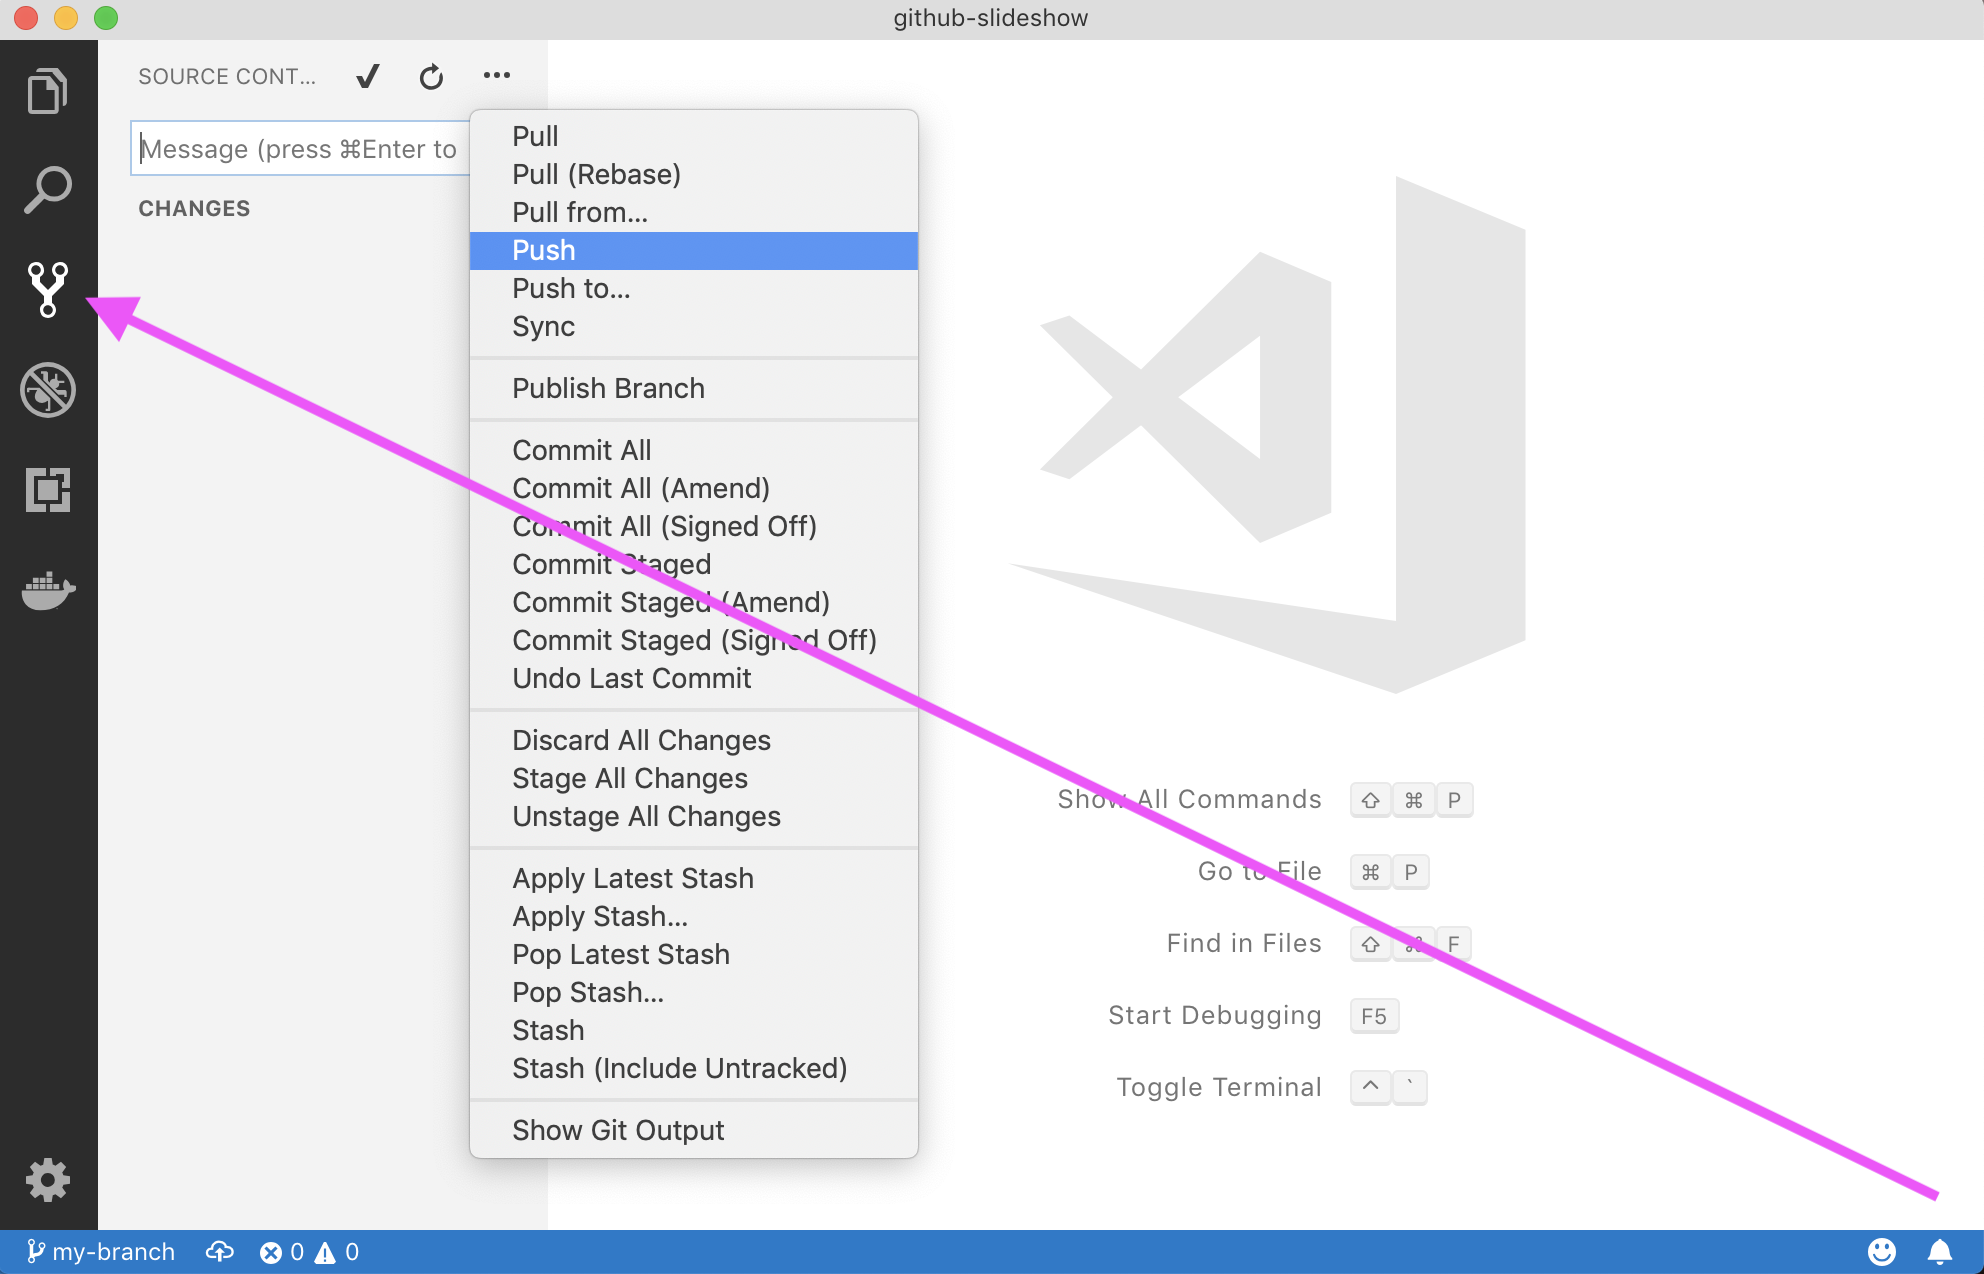
  9. Go to the Source Control view, click on the ellipsis (...) and select Push. Confirm the dialog box asking you to publish the branch. a screenshot of the source control view in VS Code
I'll respond when I detect a new branch has been created in this repository.

github-learning-lab[bot] commented 4 years ago

Step 5: Commit a file

:tada: You created a branch!

Creating a branch allows you to make modifications to your project without changing the deployed master branch. Now that you have a branch, it’s time to create a file and make your first commit!

Commits 101 ## Commits 101 When you’re finished creating or making changes to a file on GitHub, scroll to the bottom of the page. Then find the "Commit new file" section. In the first field, type a commit message. The commit message should briefly tell contributors about the changes you are introducing to the file. ### Rules to live by for commit messages: - Don’t end your commit message with a period. - Keep your commit messages to 50 characters or less. Add extra detail in the extended description window if necessary. This is located just below the subject line. - Use active voice. For example, "add" instead of "added" and "merge" instead of "merged". - Think of your commit as expressing intent to introduce a change.

:keyboard: Activity: Your first commit

The following steps will guide you through the process of committing a change on GitHub.

  1. In the _posts folder, create a new file named 0000-01-02-Idriss-Mhg.md. The full path to your file will be: _posts/0000-01-02-Idriss-Mhg.md.
  2. Add the following content to your file and save it:
      ---
      layout: slide
      title: "Welcome to our second slide!"
      ---
      Your text
      Use the left arrow to go back!
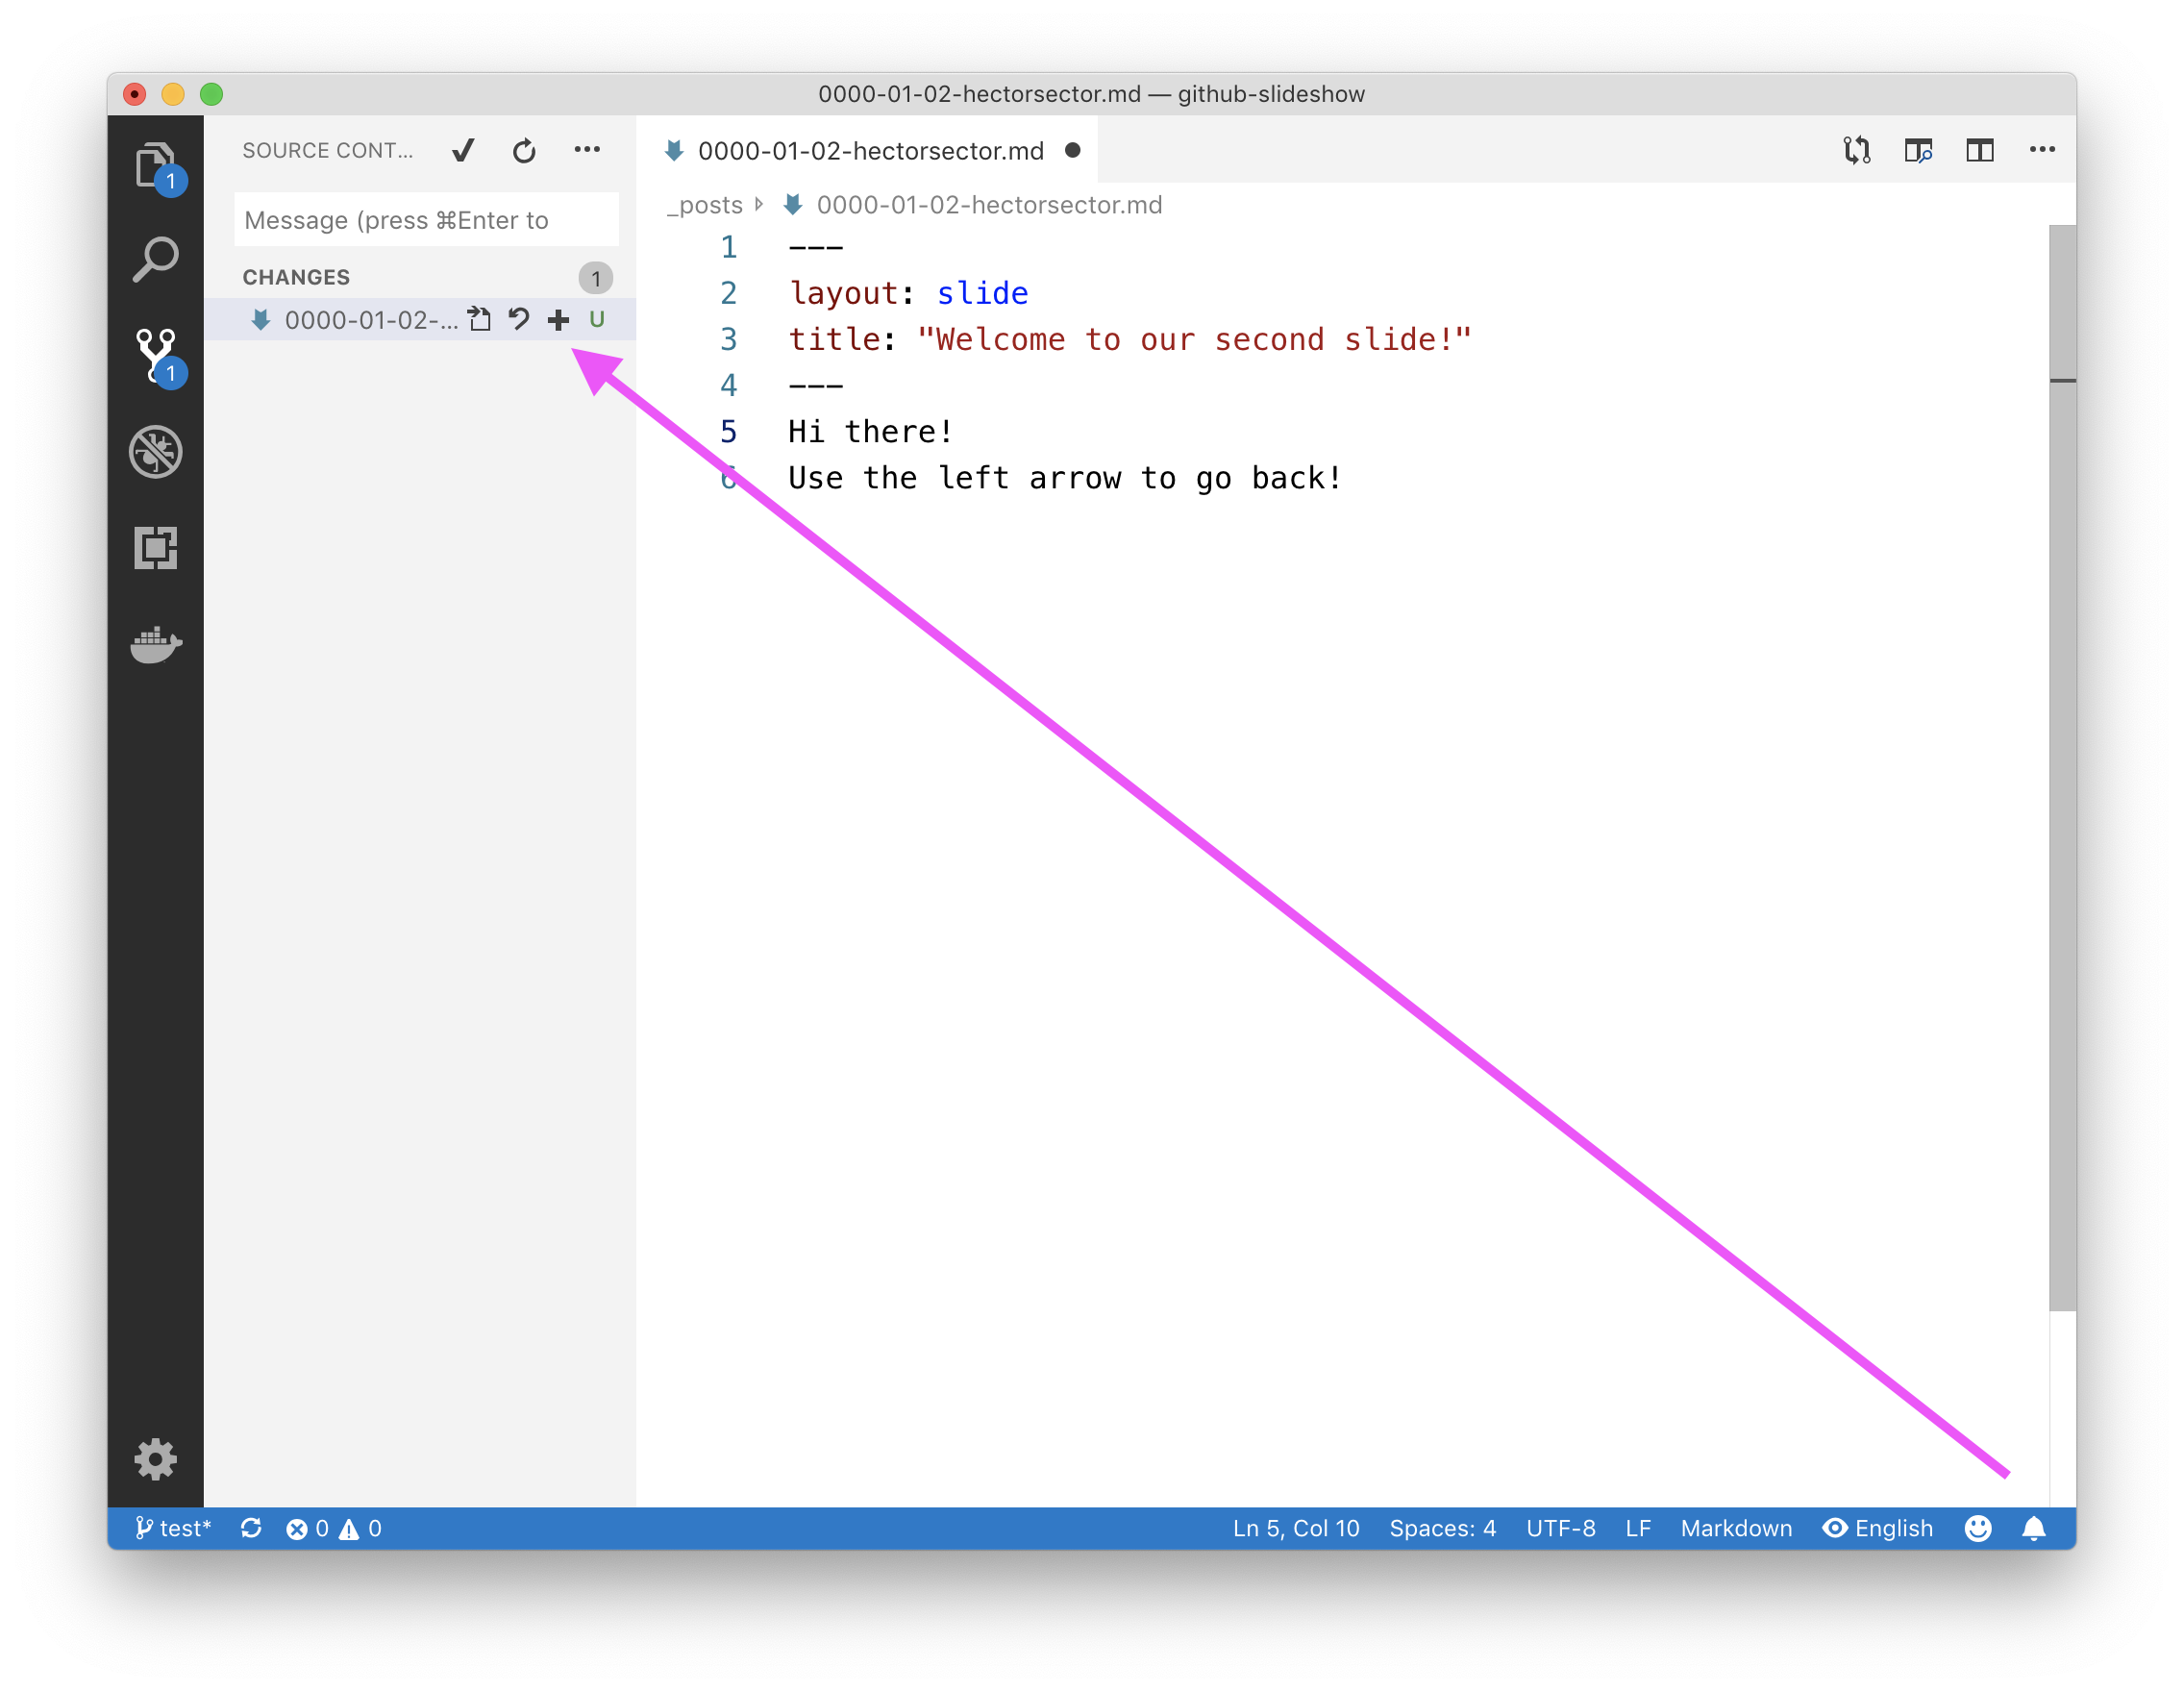
  3. To stage your new file: go to the Source Control view and click the + button next to the file. You can also follow along with VS Code's official documentation. a screenshot of the staging button in the source control view
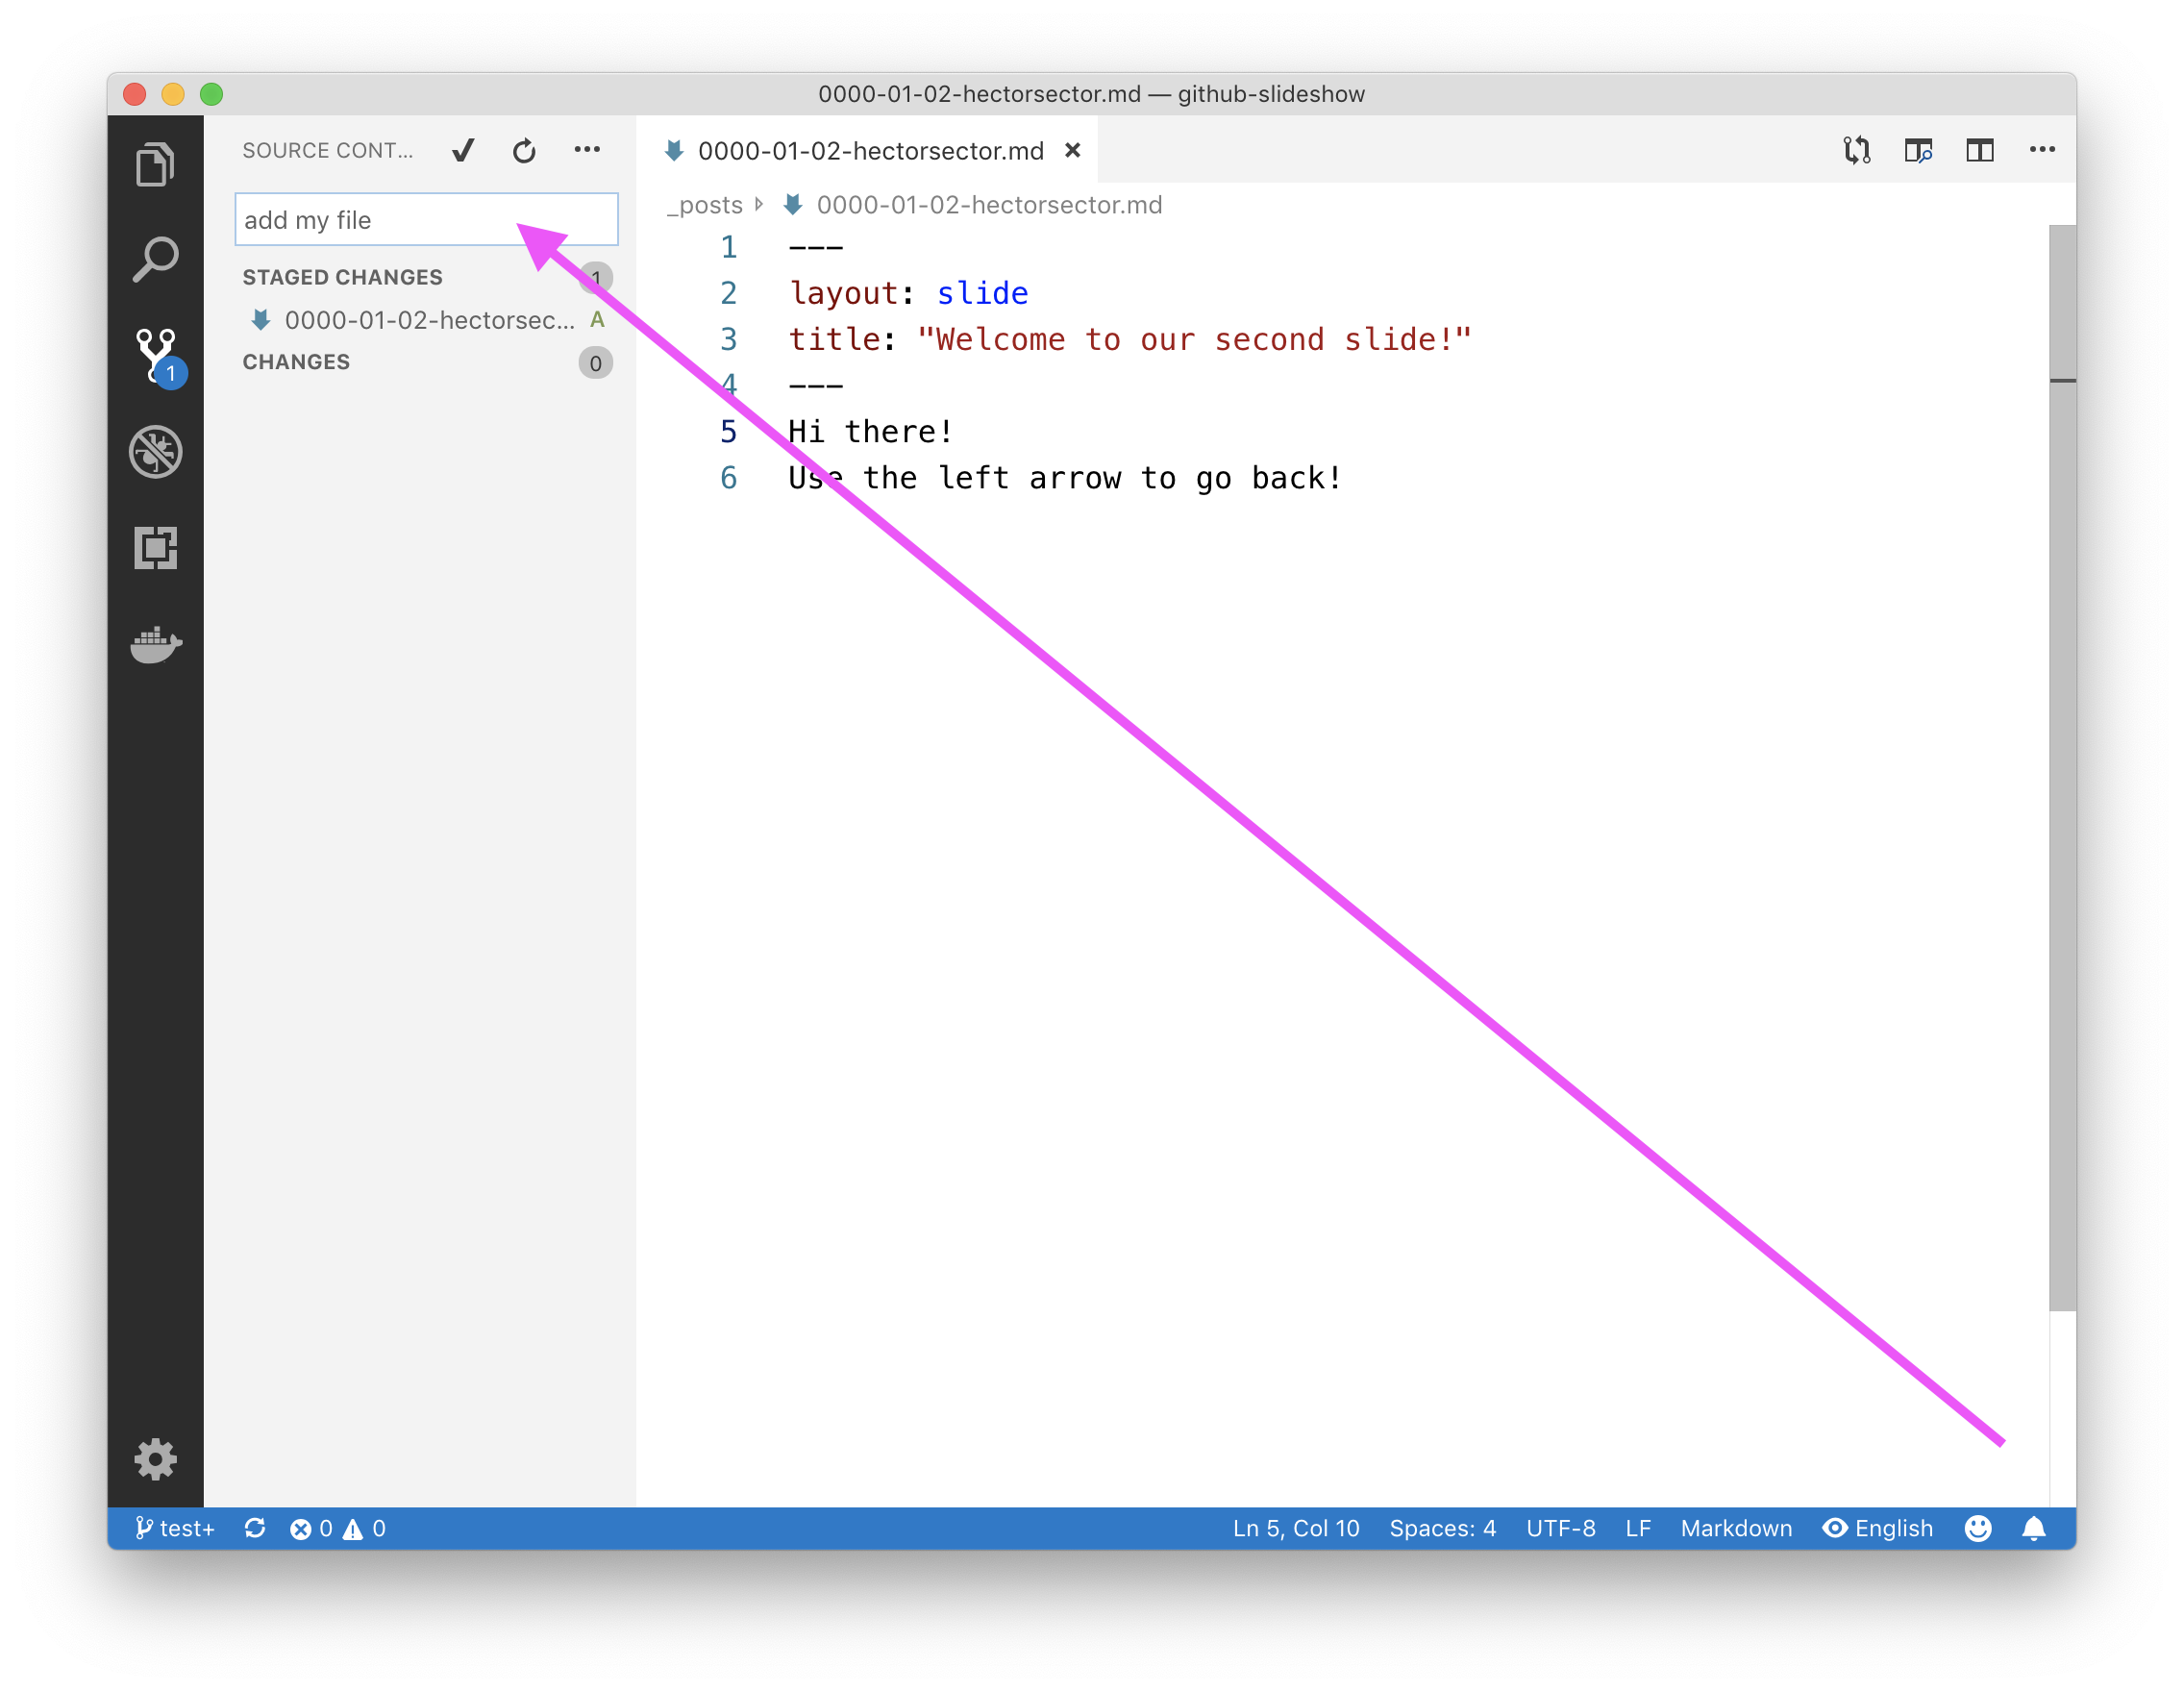
  4. Commit the change by typing a commit message in the text field and pressing Ctrl+Enter on Windows or Command ⌘+Enter on macOS. a screenshot of the commit message on VS Code
  5. Click on the ellipsis (...) and select Push.

I'll respond when I detect a new commit on this branch.

github-learning-lab[bot] commented 4 years ago

Step 6: Open a pull request

Nice work making that commit :sparkles:

Now that you’ve created a commit, it’s time to share your proposed change through a pull request! Where issues encourage discussion with other contributors and collaborators on a project, pull requests help you share your changes, receive feedback on them, and iterate on them until they’re perfect!

What is a pull request? ## Pull requests Let’s think back to the GitHub flow again. You have created a branch, added a file, and committed the file to your branch. Now it’s time to collaborate on your file with other students taking this class. This collaboration happens in a pull request. Check out this video to learn more: :tv: [Video: Introduction to pull requests](https://youtu.be/kJr-PIfLDl4)

This pull request is going to keep the changes you just made on your branch and propose applying them to the master branch.

:keyboard: Activity: Create a pull request

  1. Open a pull request using this shortcut or manually as follows:
    • From the "Pull requests" tab, click New pull request
    • In the "base:" drop-down menu, make sure the "master" branch is selected
    • In the "compare:" drop-down menu, select "my-slide"
  2. When you’ve selected your branch, enter a title for your pull request. For example Add Idriss-Mhg's file
  3. The next field helps you provide a description of the changes you made. Feel free to add a description of what you’ve accomplished so far. As a reminder, you have: created a branch, created a file and made a commit, and opened a pull request
  4. Click Create pull request

I'll respond in your new pull request.