LizhenWangT / NormalGAN

NormalGAN: Learning Detailed 3D Human from a Single RGB-D Image (ECCV 2020)
72 stars 13 forks source link

wrong results on my own KinectV2 data #6

Open Bingoang opened 3 years ago

Bingoang commented 3 years ago

Hi, Wang

I really appreciate your great work!

I want to run NormalGAN on my own KinectV2 data, but met some problems: The output is so terrible, and it looks even not like a human at all... I tried to put many frames into NomalGAN, and also did some simple denoising, but the outputs nearly kept the same...(T_T) My color map: size: 512 424, type: CV_8UC3 (24bit); My depth map: size: 512 424, type: CV_16UC1 (16bit); Here are my maps and output: color depth 2021-03-06 20-55-32_output

Here are the cz0 and cz1: 20210306_16_13_28

20210306_16_13_28

Your NoramalGAN is so magic and I really want to play it well on my data. So I hope you can give me some advice. Thanks a lot!

Best wishes

Luciano07 commented 3 years ago

Hi, I'm also testing NormalGAN with my own data from Kinect V2, i think your problem is in depth image pixel values. Modifying 'multiframe_listener.py' example from pylibfreenect2, i save depth image as follows using numpy and PIL:

depth = frames["depth"]
depth_np=depth.asarray(np.float32).astype(np.int32,order='C')
depth_img=Image.fromarray(depth_np)
depth_img.save('depth.png')

At this way, it preserves distance in mm as pixel value. After that, I removed background with a mask from color image. 
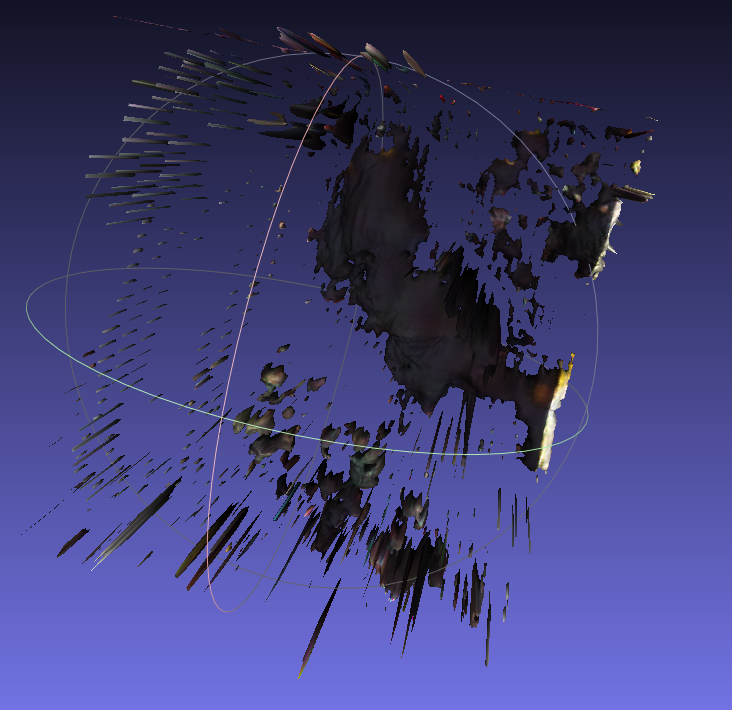
My results are not very promising but at least it looks like human: inputs.zip Screenshot from 2021-03-12 10-54-43 Screenshot from 2021-03-12 10-54-50

I don't know if is the right way of taking depth images, but results are a slightly better. I am really interested on how to improve my results, any suggestions will be appreciated!

LizhenWangT commented 3 years ago

Our input depth value is expressed in mm, and the real input size is the center area with resolution of 424 x 424 , and depth range from about 1.2 meters to 1.7 meters (the person should stand around the image center and in a proper distance). Maybe you can check your depth maps compared with our depth map in testdata?

Bingoang commented 3 years ago

@Luciano07 Thanks very much for your outputs and detailed suggestions! The key factor I think may be the way we get the depth map and color map without background. Can you share your code that removes background from depth and color map? I want to compare with mine and find the reasons.

Bingoang commented 3 years ago

@LizhenWangT Thanks for your nice suggestion~ I wonder if you could release your team's source code for removing the background from color map and depth map?

Luciano07 commented 3 years ago

@Bingoang I use this library for remove background of color image: https://pypi.org/project/rembg/ and after that i removed background of depth using PIL and numpy with:

# Open images
im_c = Image.open('01_color.png')
im_d = Image.open('01_depth.png')

ni = np.array(im_c)
# Mask pixels where pixels are 0,0,0(black)
mask = ni==[0,0,0]
mask = Image.fromarray(mask[:,:,0])

im_d.paste(mask, mask=mask)

im_d.save('depth_mask.png')

@LizhenWangT Thanks for your suggestions, I will try with it!

LizhenWangT commented 3 years ago

@LizhenWangT Thanks for your nice suggestion~ I wonder if you could release your team's source code for removing the background from color map and depth map?

We use the Registration class of pylibfreenect2 (https://github.com/r9y9/pylibfreenect2) to map our color image to depth image. Then, we directly cut the depth image with a lower and a higher thresthod (something like mask = (depth > 1000) * (depth < 1800)).

Bingoang commented 3 years ago

@Luciano07 @LizhenWangT THANKS for your qiuck reply! I will have a try according to your suggestions~

remmel commented 2 years ago

@Bingoang I doesn't look beautiful neither :'( I used remgb and manually clean the registered color image and later remove depth pixel from clean color image (see python snippet above)

image
remmel commented 2 years ago

I obtain better result modifying depth (no need to modify the color) using :

import cv2
from matplotlib import pyplot as plt
img = cv2.imread('../datasets/testdata/depth/04.png', -1)
plt.imshow(img, cmap="gray")
plt.show()

img[img<1800] = 256*256-1 #white
img[img>2500] = 256*256-1

cv2.imwrite('../datasets/testdata/depth/04b.png', img)

I put in white, to be easily visible in gimp. Later I open depth image in gimp and remove a couple or rectangles (rectangle select tool + del) : top, right, bottom, left, and other to have better feet. You can cut the feet if you are lazy, result will be the similar (without the feet of couse). I also set -up_thres=2500

image

I look pretty thick, but this is I guess because my camera was kinect was slighly tilted (I should try to have the camera at my half high (0.88cm) and not tilted at all).

I made some tries setting cx,cy,fx,fy with thoses provided by the freenect from my kinect v2 and also Z (in test_offline.py) but no much differences

remmel commented 2 years ago

One more try with the camera horizontal (img[img<1850] = 256*256-1 img[img>2300] = 256*256-1) + gimp remove some rectangles. It's look like similar to the quality of the paper. I see 2 ways to improve the quality with that pipeline

remmel commented 2 years ago

some comparison with pifuhd (some small rgb only used) Peek 2022-07-09 00-47

remmel commented 2 years ago

FYI, setting fix_p from 1555 (mm) to 1650 (mm) give me a better thickness (maybe fix_m must be equals to Z ? Peek 2022-07-11 18-30 )