 Geliras
commented
6 years ago
Geliras
commented
6 years ago Something is wrong with the links. But copied url of the video. Looks great. How did you made the rfid cards? Printed? You could answer in german if this is allowed :) I designed my cards with photoshop, printed them ("Foto SOFORTDRUCK" at DM) and laminated it together with the rfid card.
 hailogugo
 KingKahn123


 tullm
tullm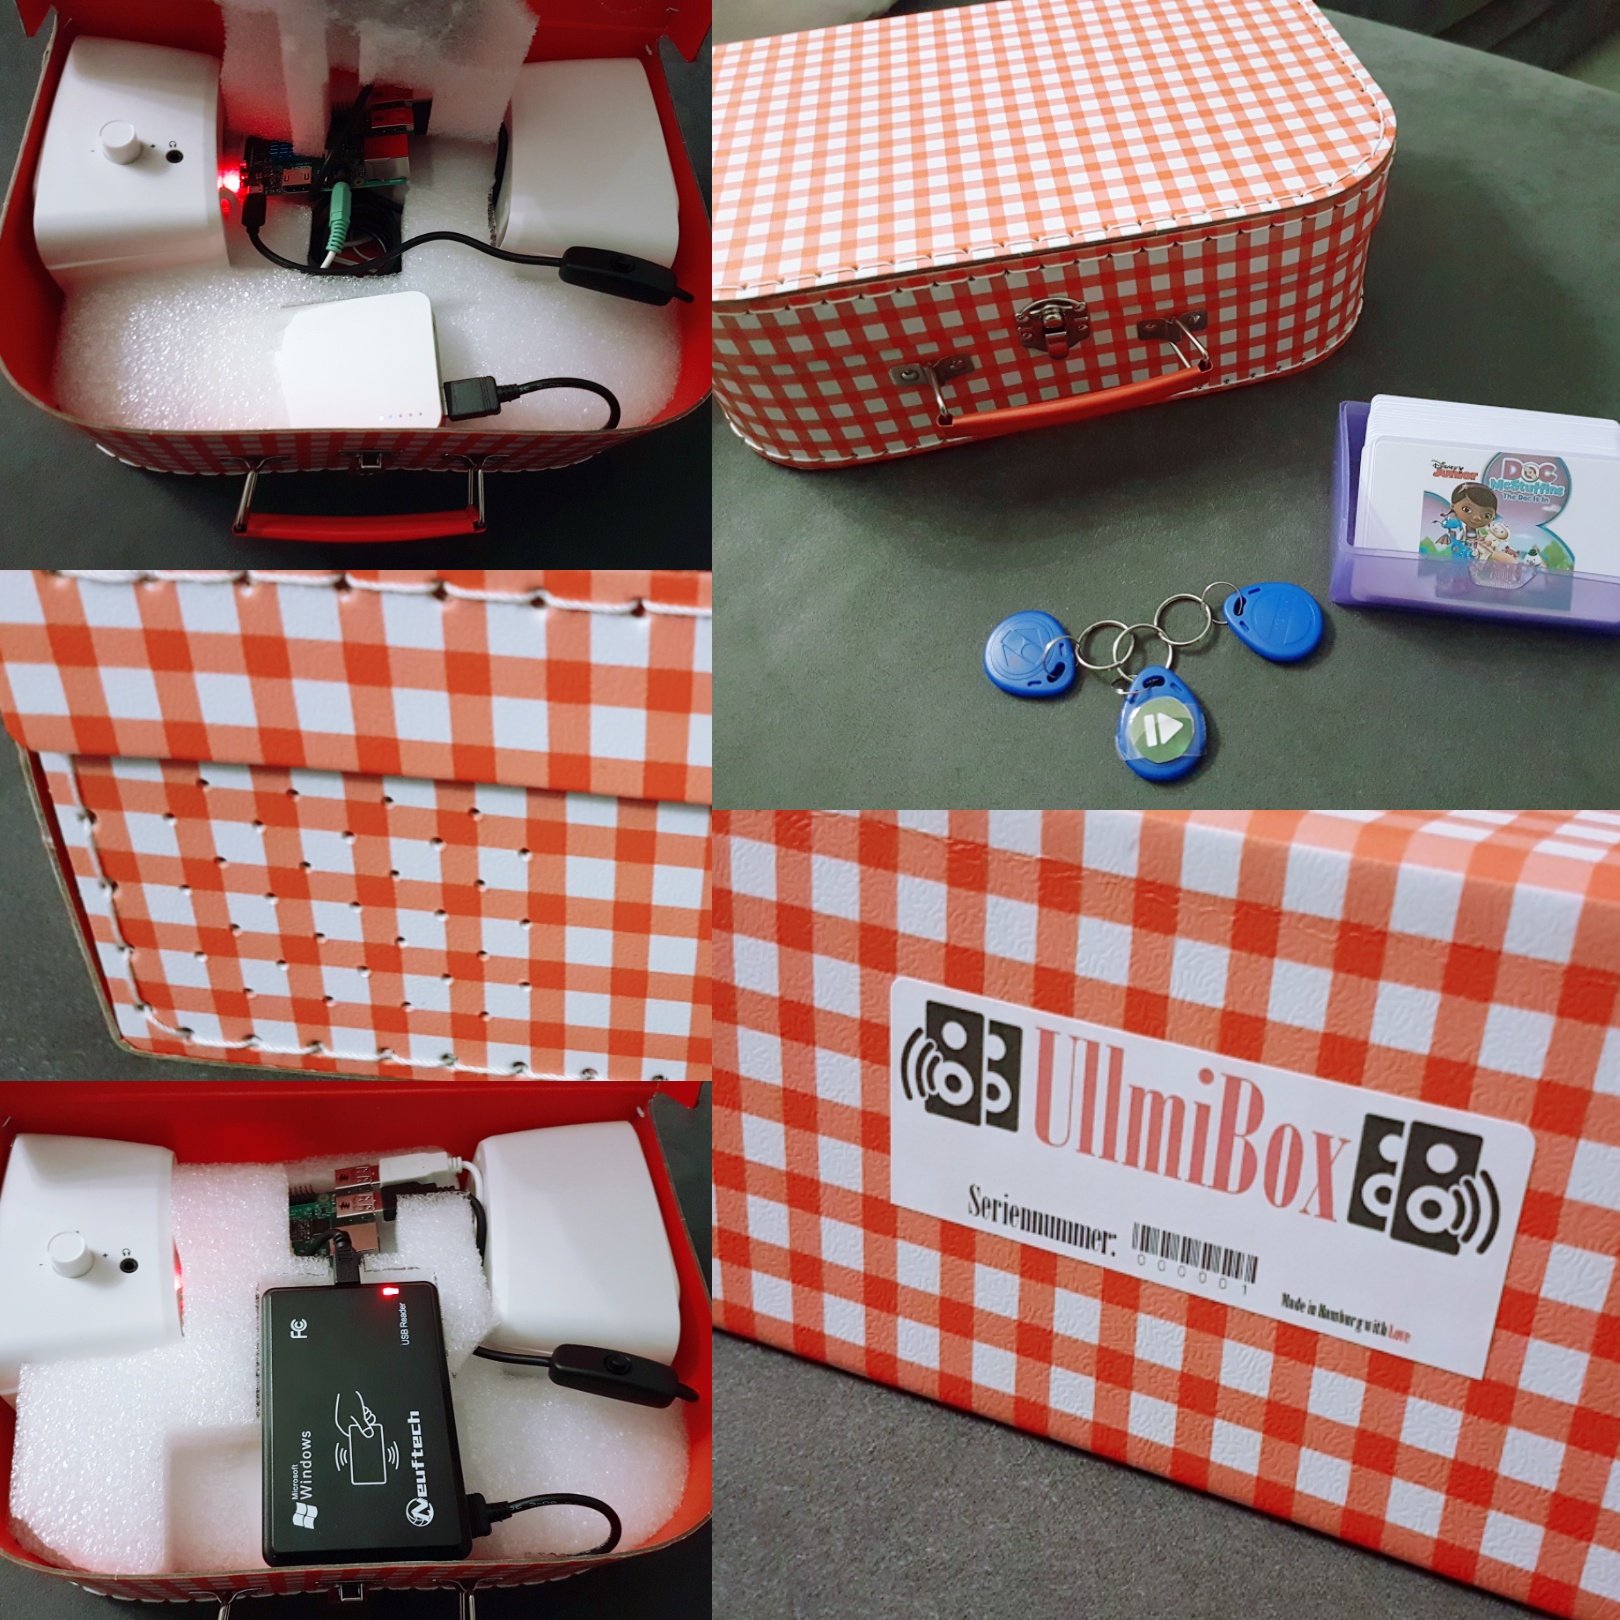
 MiczFlor
 bgraeb

 WalterWHeisenberg
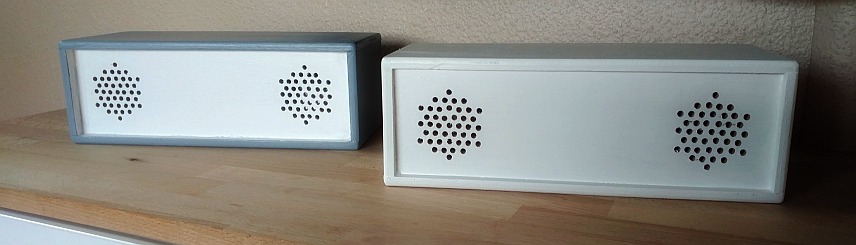

 grnlr
grnlr
 webjochen
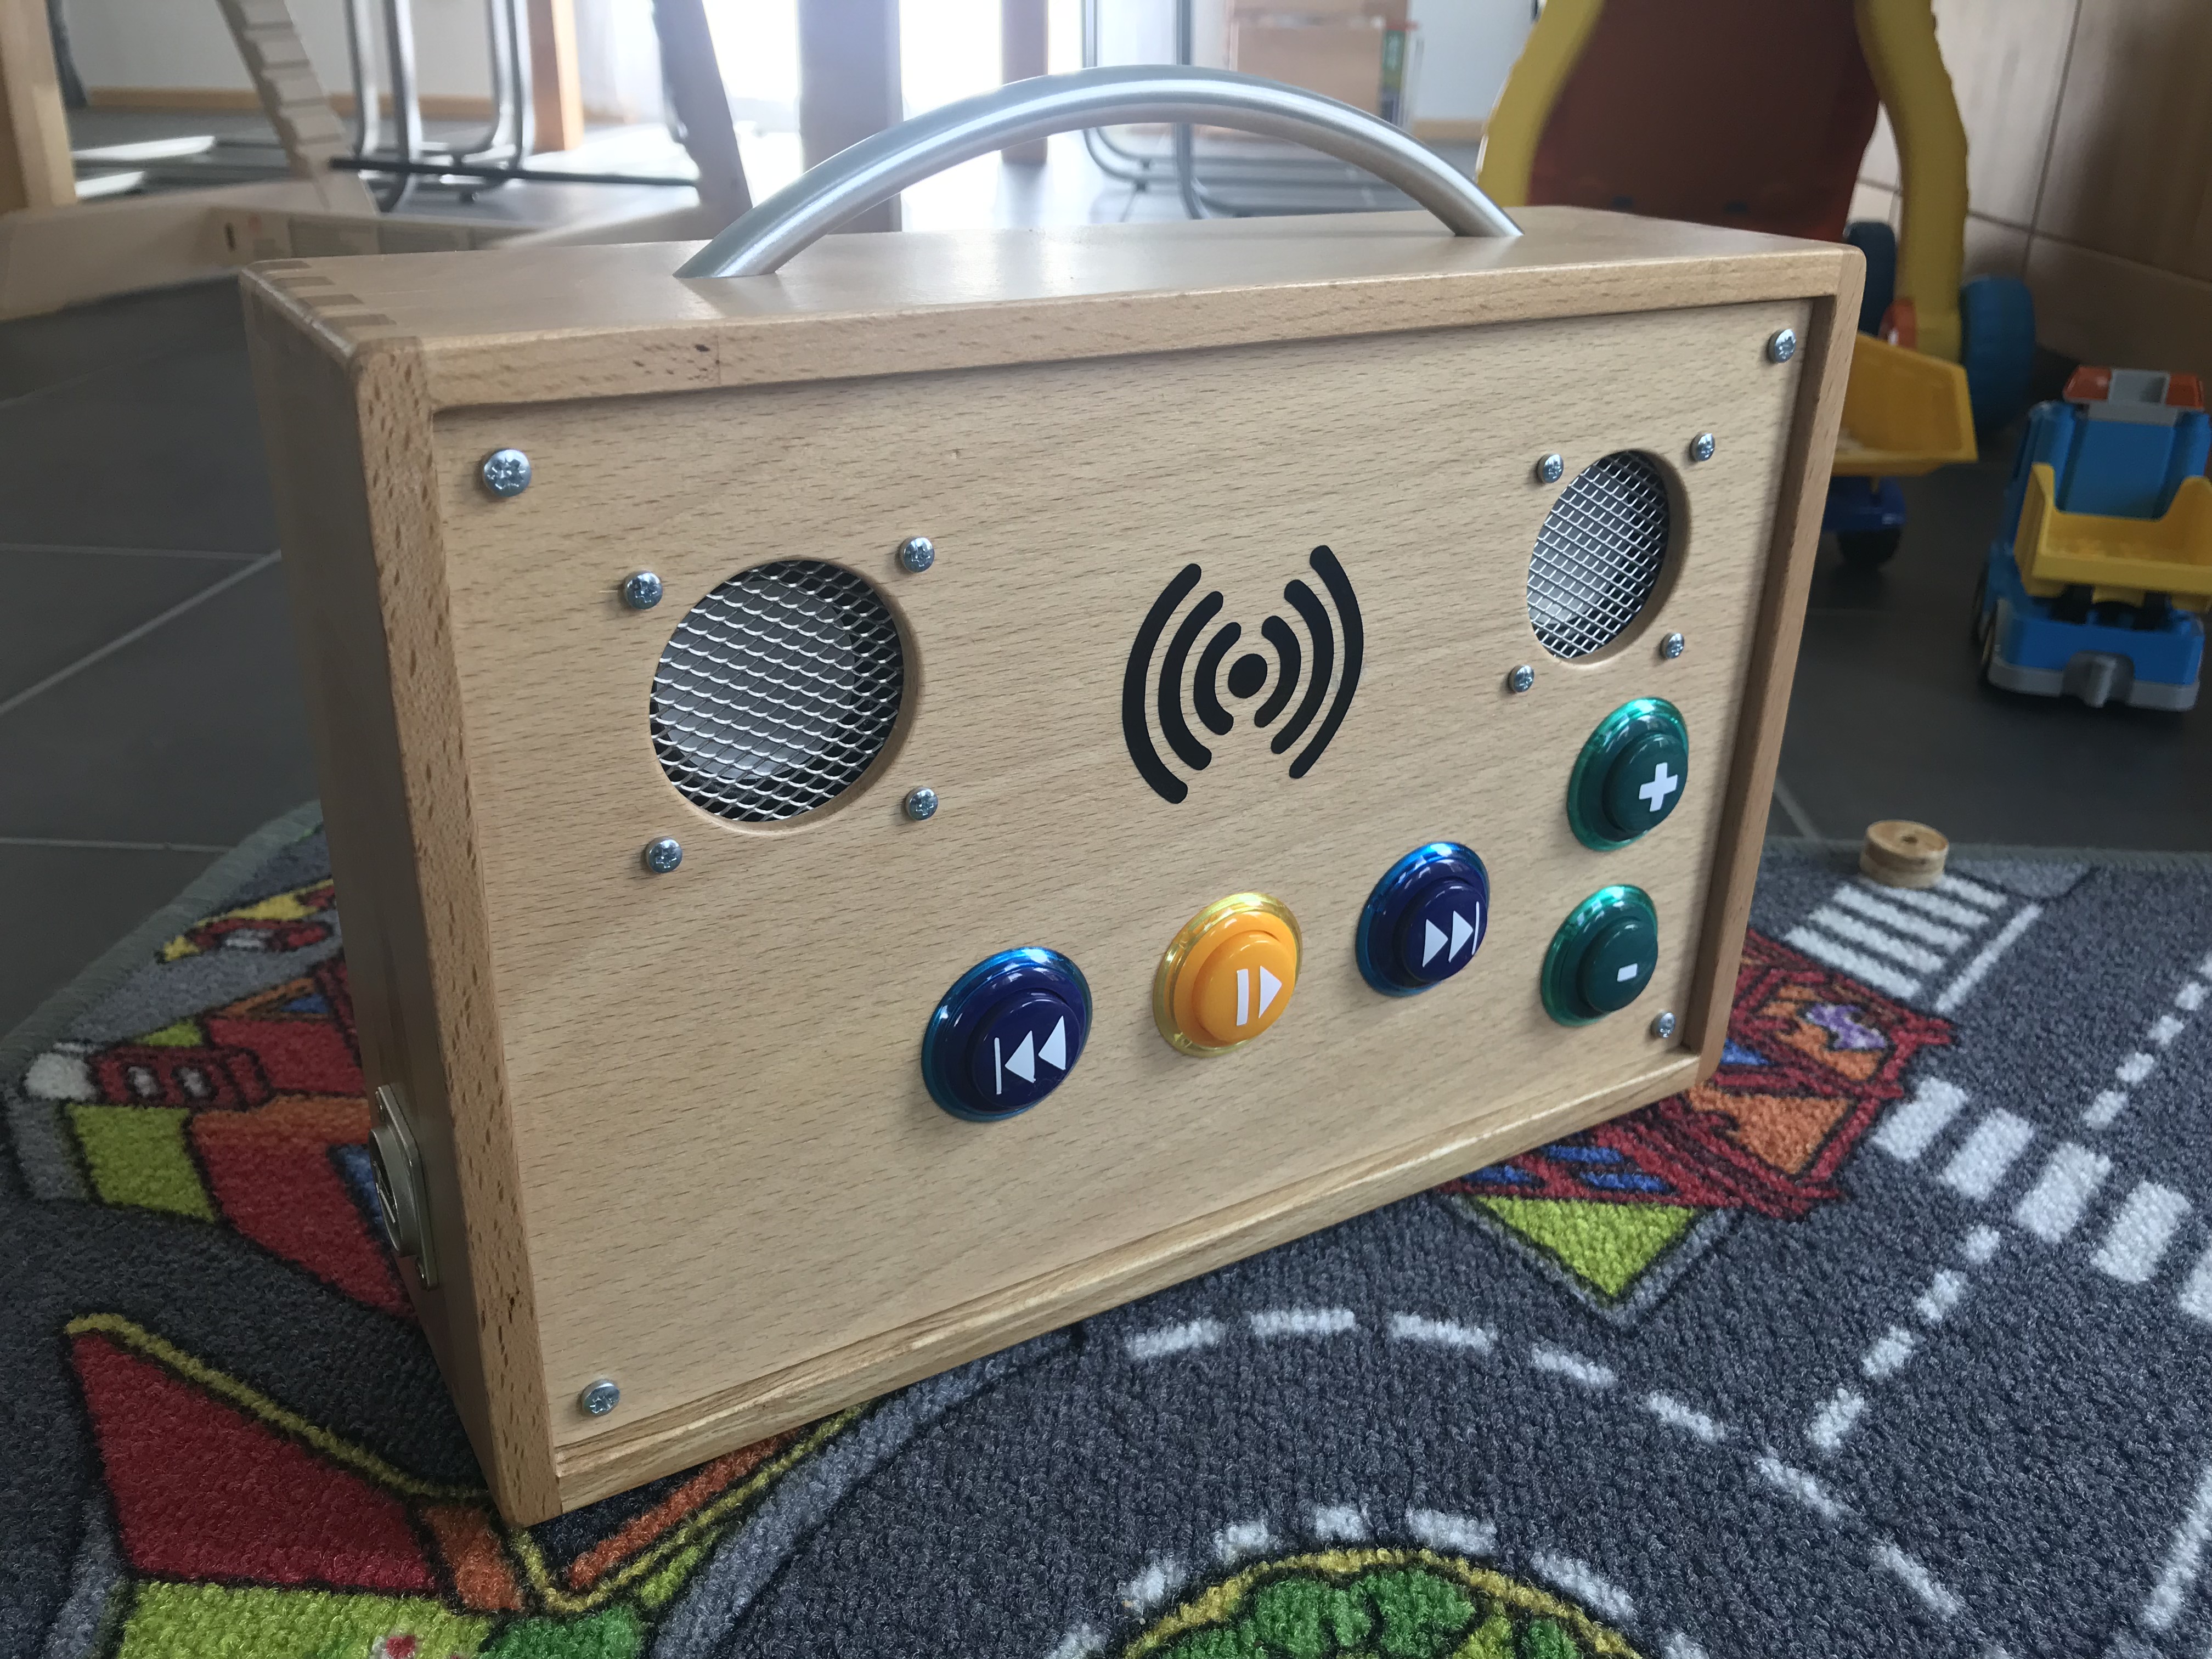


 genkigenki
 suedbadner


 JuCarax
 Caliandroid
 morivox

 axelslade


 ddbkva


 ekorn
ekorn
 Snible


 toblinga


 pechart

 Alwiz79


 elalemanyo
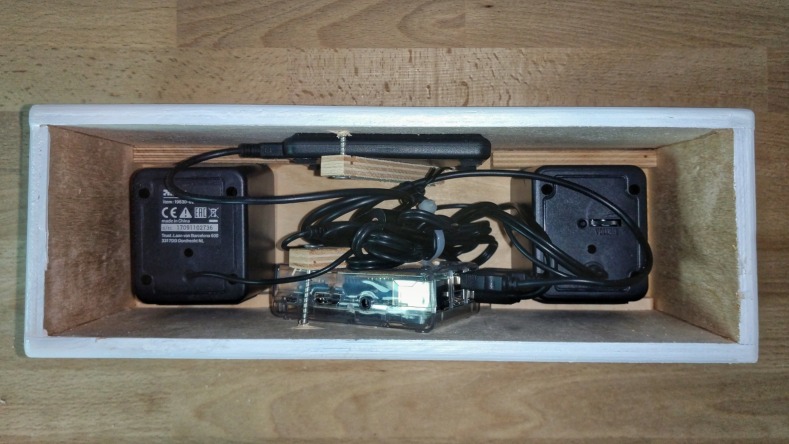
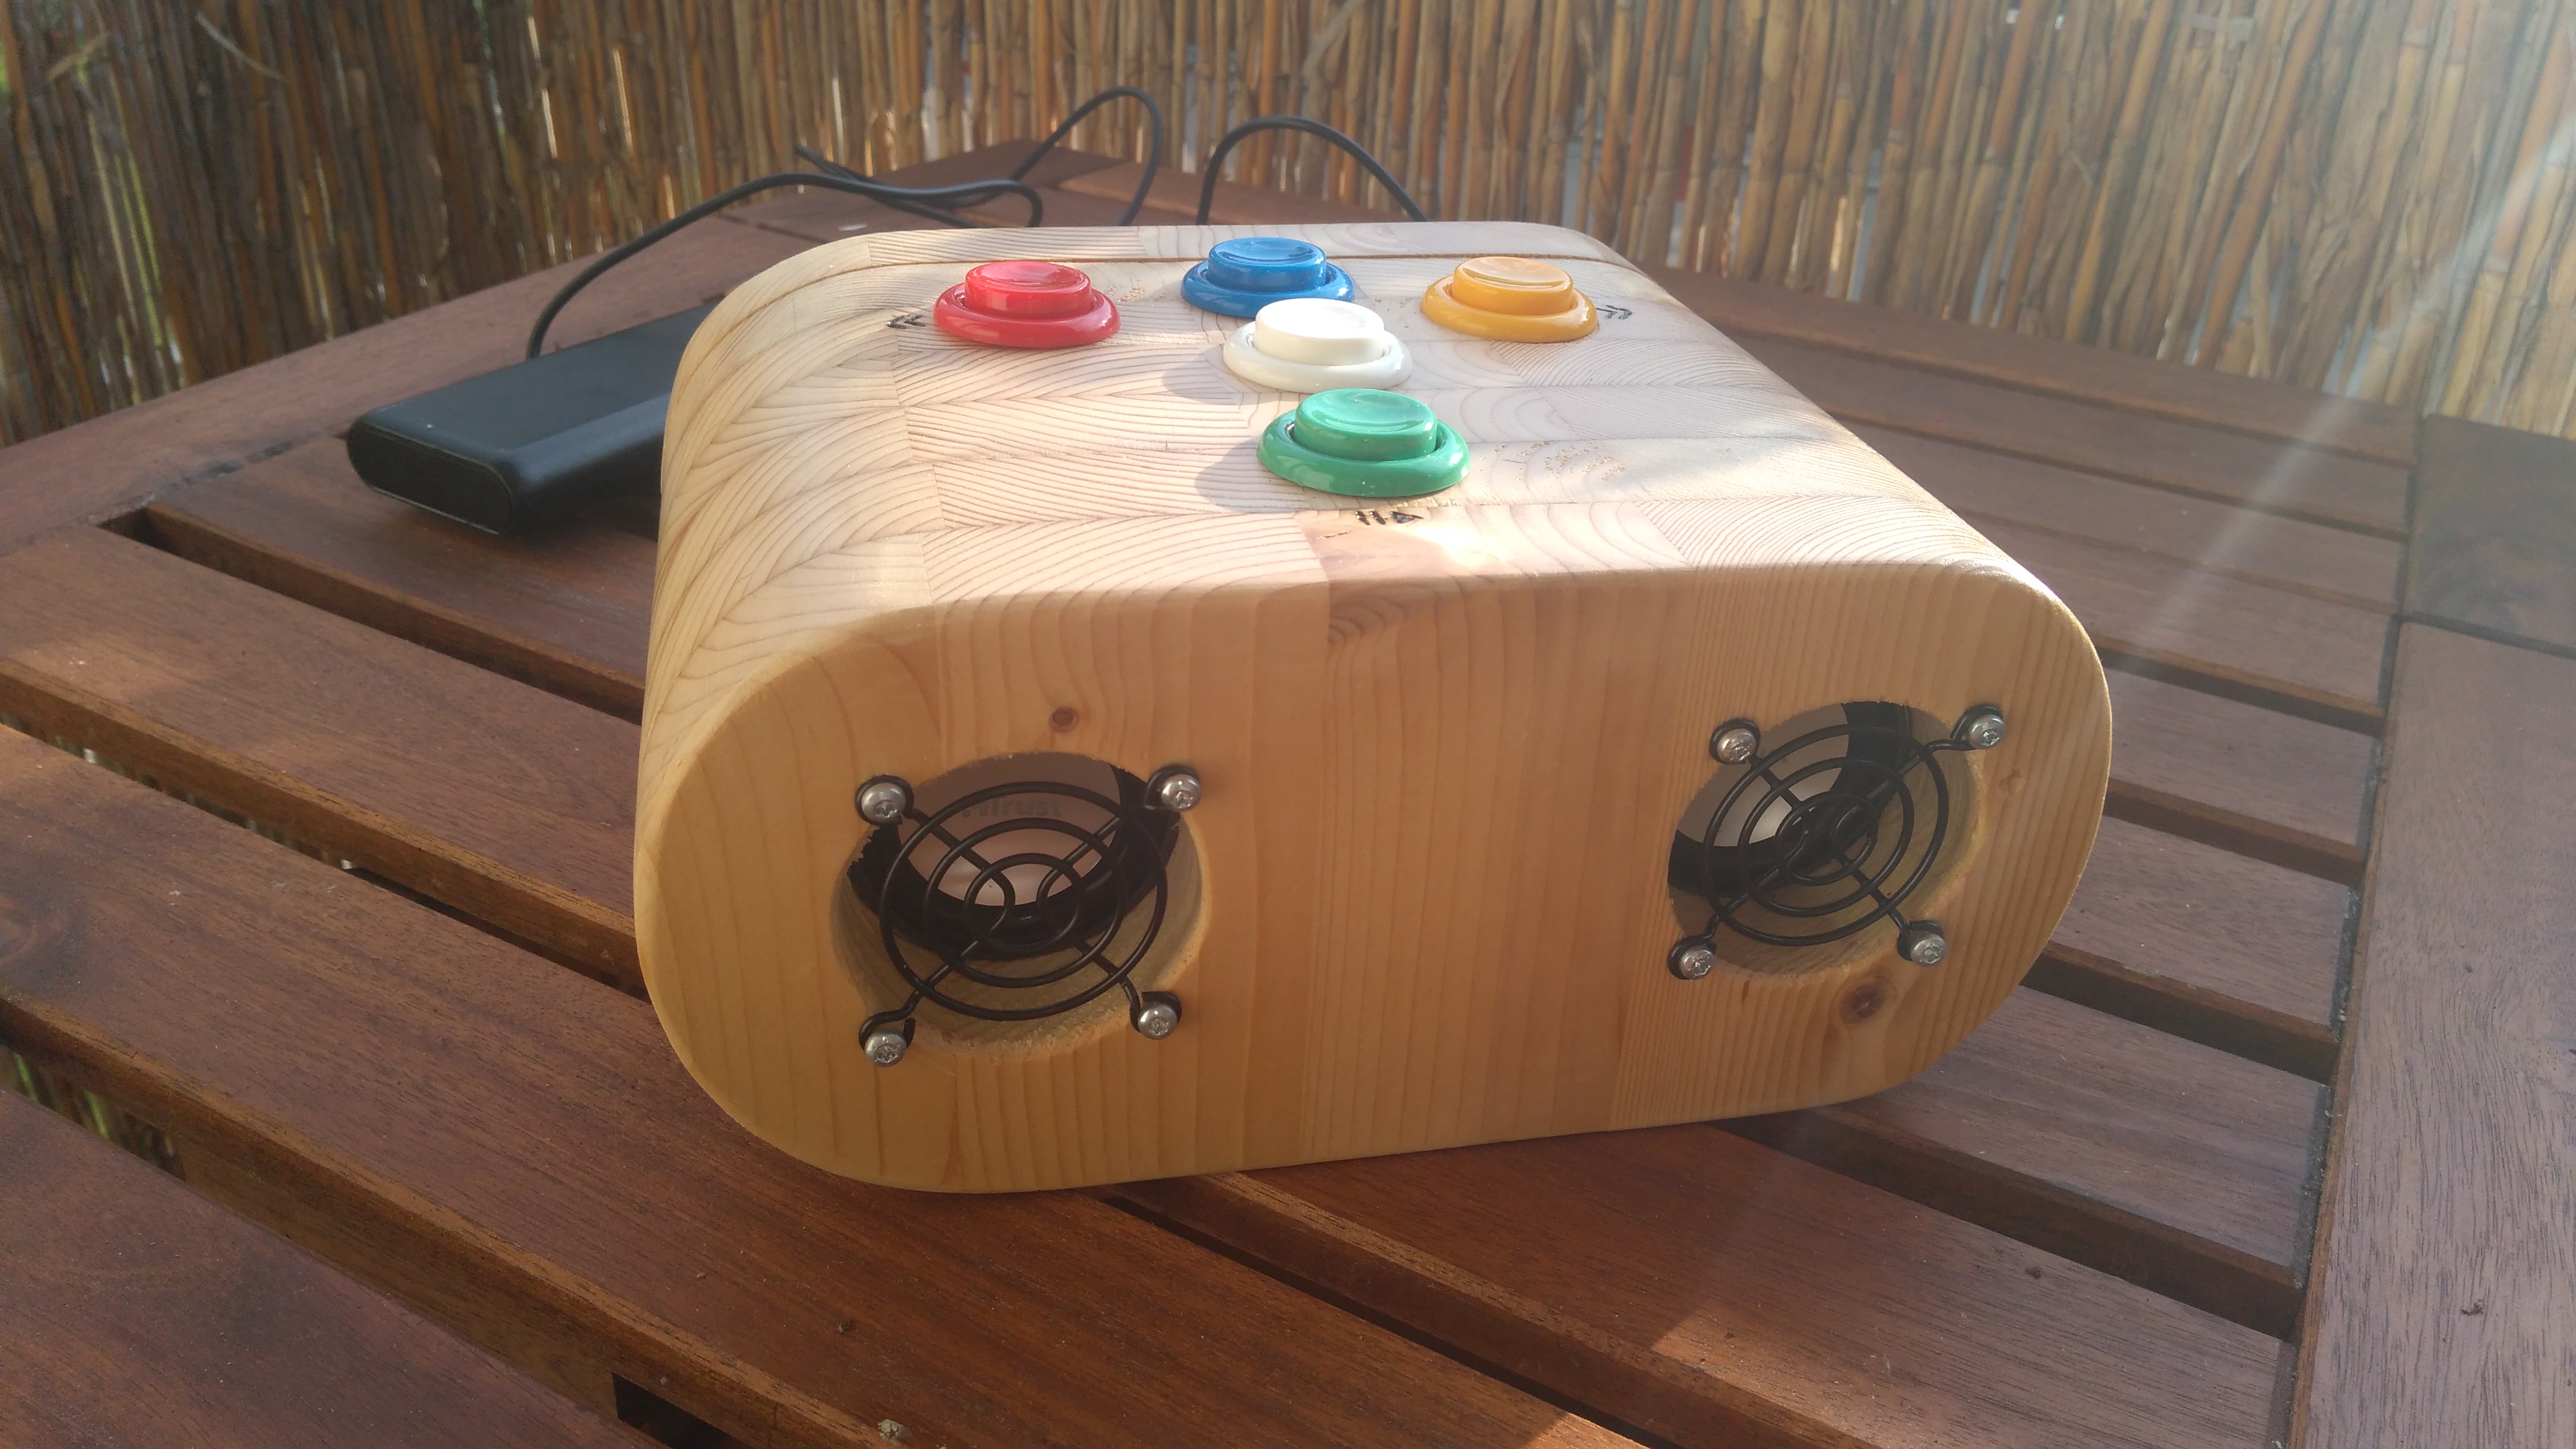
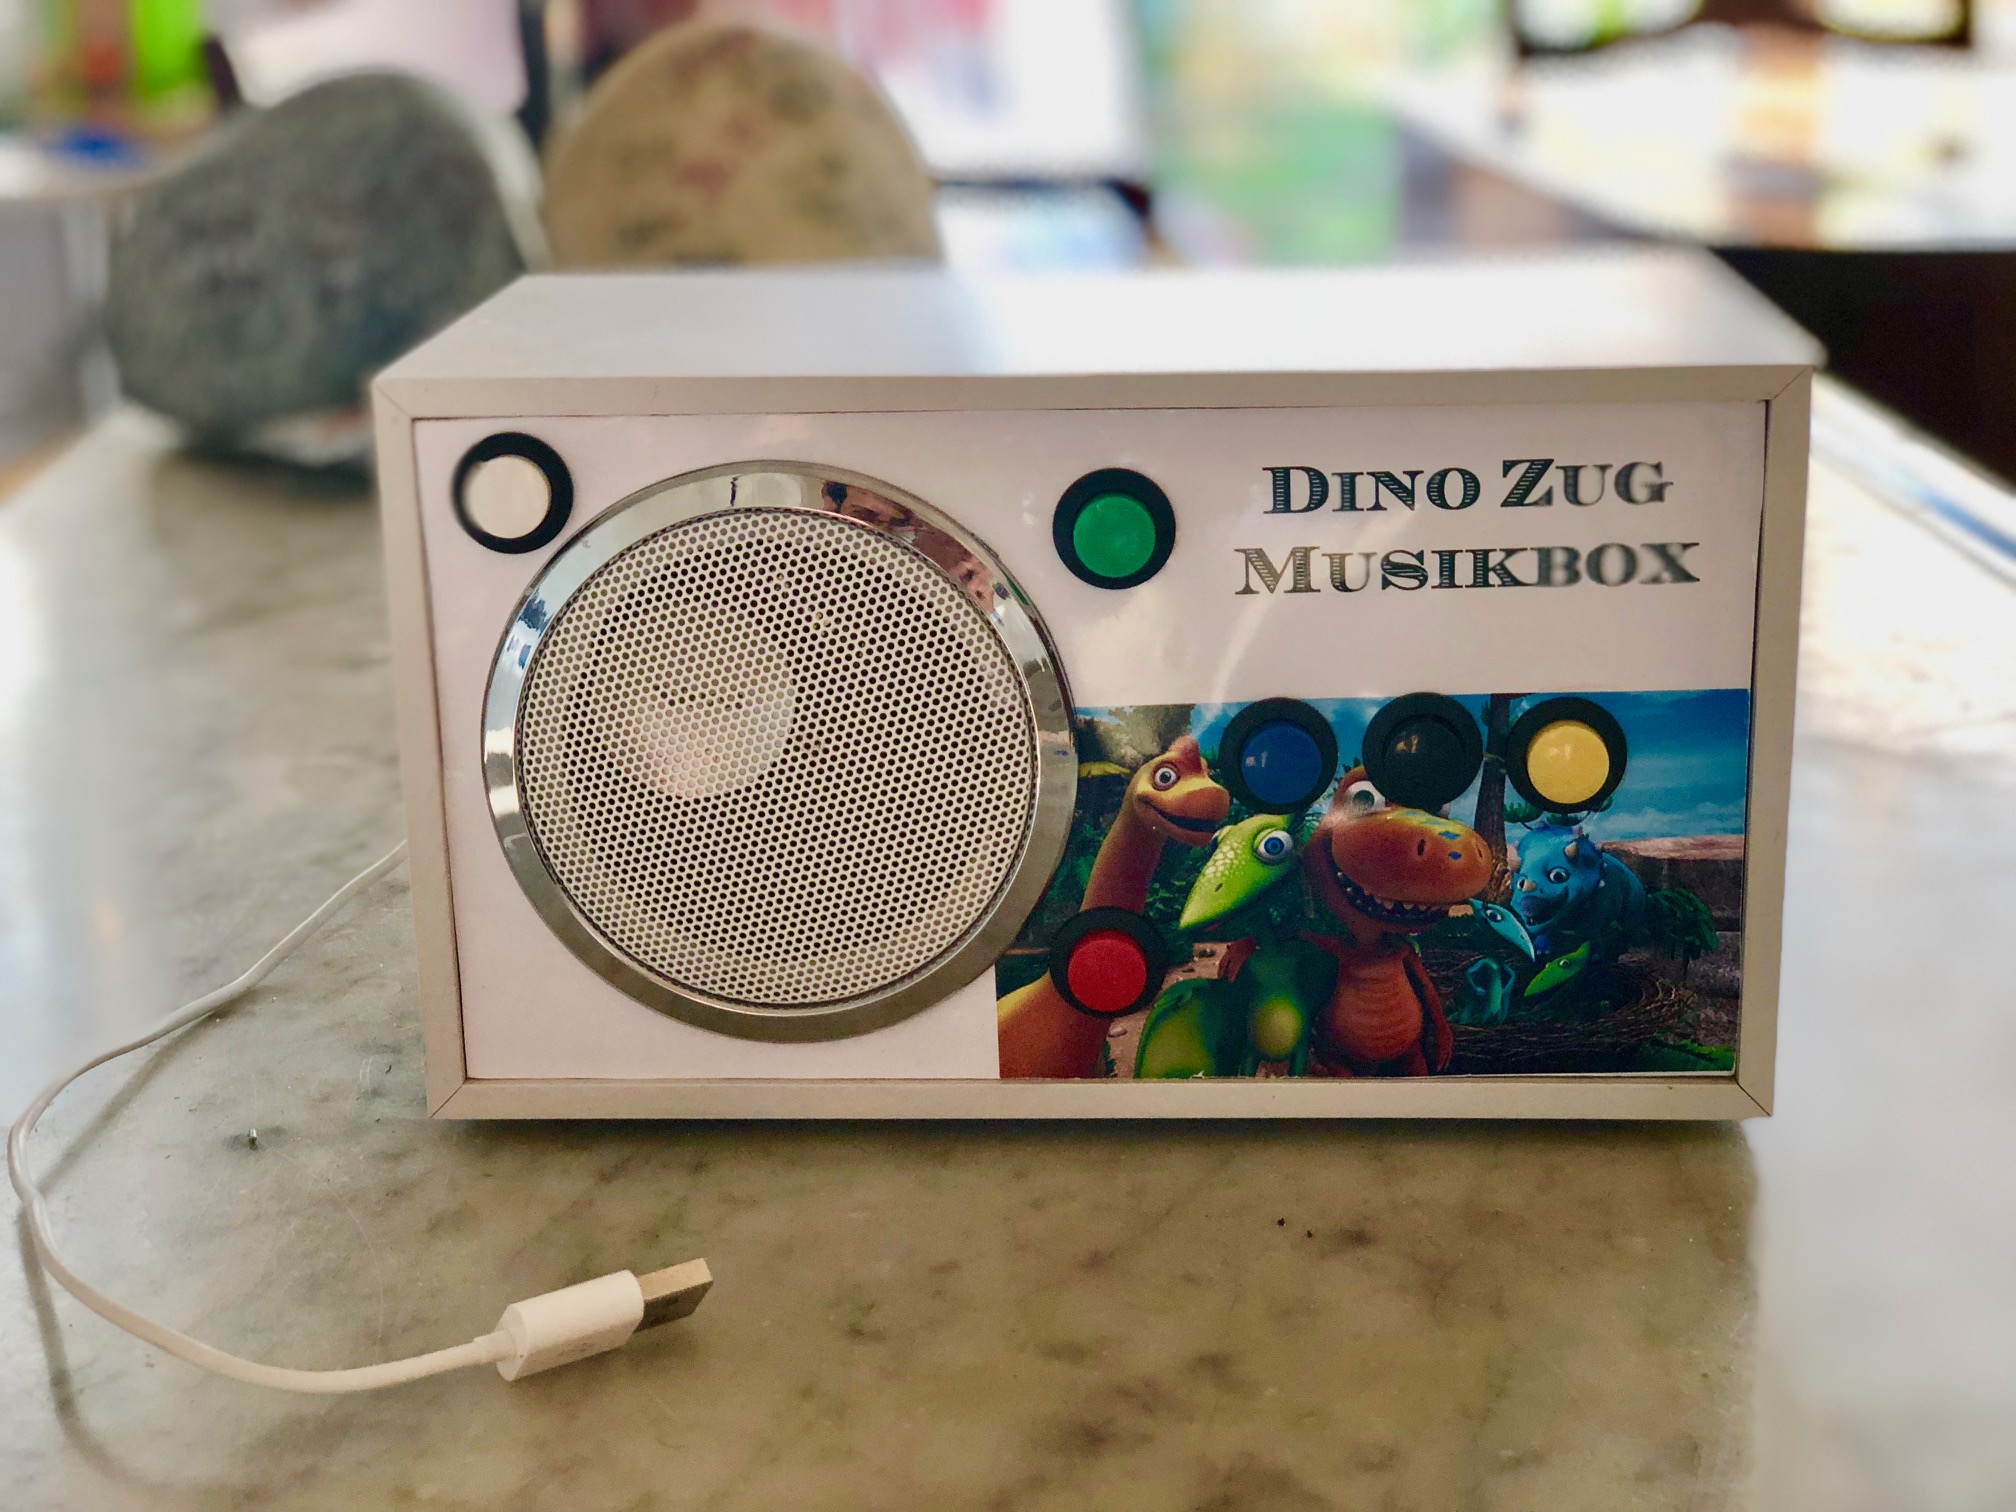
Here are some pics of my Jukebox. Thank you Micz for your support.
http://www.directupload.net/file/d/4944/v2zyipxd_jpg.htm
http://www.directupload.net/file/d/4944/nv7jdoy9_jpg.htm
http://www.directupload.net/file/d/4944/axcns3d6_jpg.htm
http://www.directupload.net/file/d/4944/96dalxrv_jpg.htm
http://www.directupload.net/file/d/4944/lnetffm4_jpg.htm
Video