 RfidResearchGroup
commented
5 years ago
RfidResearchGroup
commented
5 years ago The rdv4 is a proxmark, so nothing is different when unbricking it. You can follow the directives on the wiki, https://github.com/Proxmark/proxmark3/wiki/De-Bricking-Segger or search the forum for posts about unbricking.
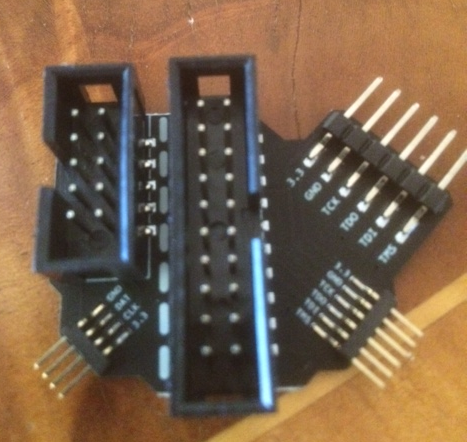
Since the rdv4 pcb is so small, the jtag pinholes are smaller so regular sized jumper wires doesn't fit. I use the jtag tag connector clippy you linked to. However bricking a pm3 isn't common anywmore, so what did you do?
Proxgrind also have done a universal adapter, email info@rfidresearchgroup.com for inquiries. http://www.icedev.se/proxmark3/rdv40/uni_adaptor_front.png http://www.icedev.se/proxmark3/rdv40/uni_adaptor_back.png
 bogiton
 sp4rrows
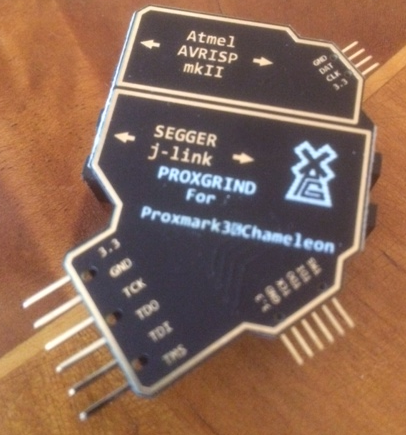
Hi, How is the procedure of unbricking? Which tools are needed-same as for pm3rdv2?
-PROXMARK 3 RDV4 - FLASHING SUPPORT (https://lab401.com/products/proxmark-3-rdv4-flash-support) And which other tool is needed?(Segger J-LINK, Proxmark 3 RDV J-Link adaptor, AVRISP mk2,...)
Would be great to get a short howto.
Thanks