 counselorbot[bot]
commented
2 years ago
counselorbot[bot]
commented
2 years ago ⏰ Time to merge!
Go ahead and merge this branch to main to move on. Great work finishing this section!

⚠️ If you receive a
Conflictserror, simply pressResolve conflictsand you should be good to merge!
Week 4 Step 1 ⬤◯◯◯◯◯◯ | 🕐 Estimated completion: 20-25 minutes
Adding an Event Listener to your HTML Form!
Demo: 🐰
Congrats! If you made it this far, your Azure functions can now return data. However, users won't want to make POST requests with Postman to use your API though, so let's make it more user friendly.
✅ Task:
bunnimage-frontendbranchindex.jsto displayinputappended with a ❤️ in theoutputdivbunnimage/index.htmlandbunnimage/script.jsbunnimage-frontendtomain, and only merge the pull request when the bot approves your changes!🚧 Test your Work
Use LiveServer! This is a helpful VSCode extension that allows you to see your HTML that updates while you edit it.
❓ How do you use LiveServer?
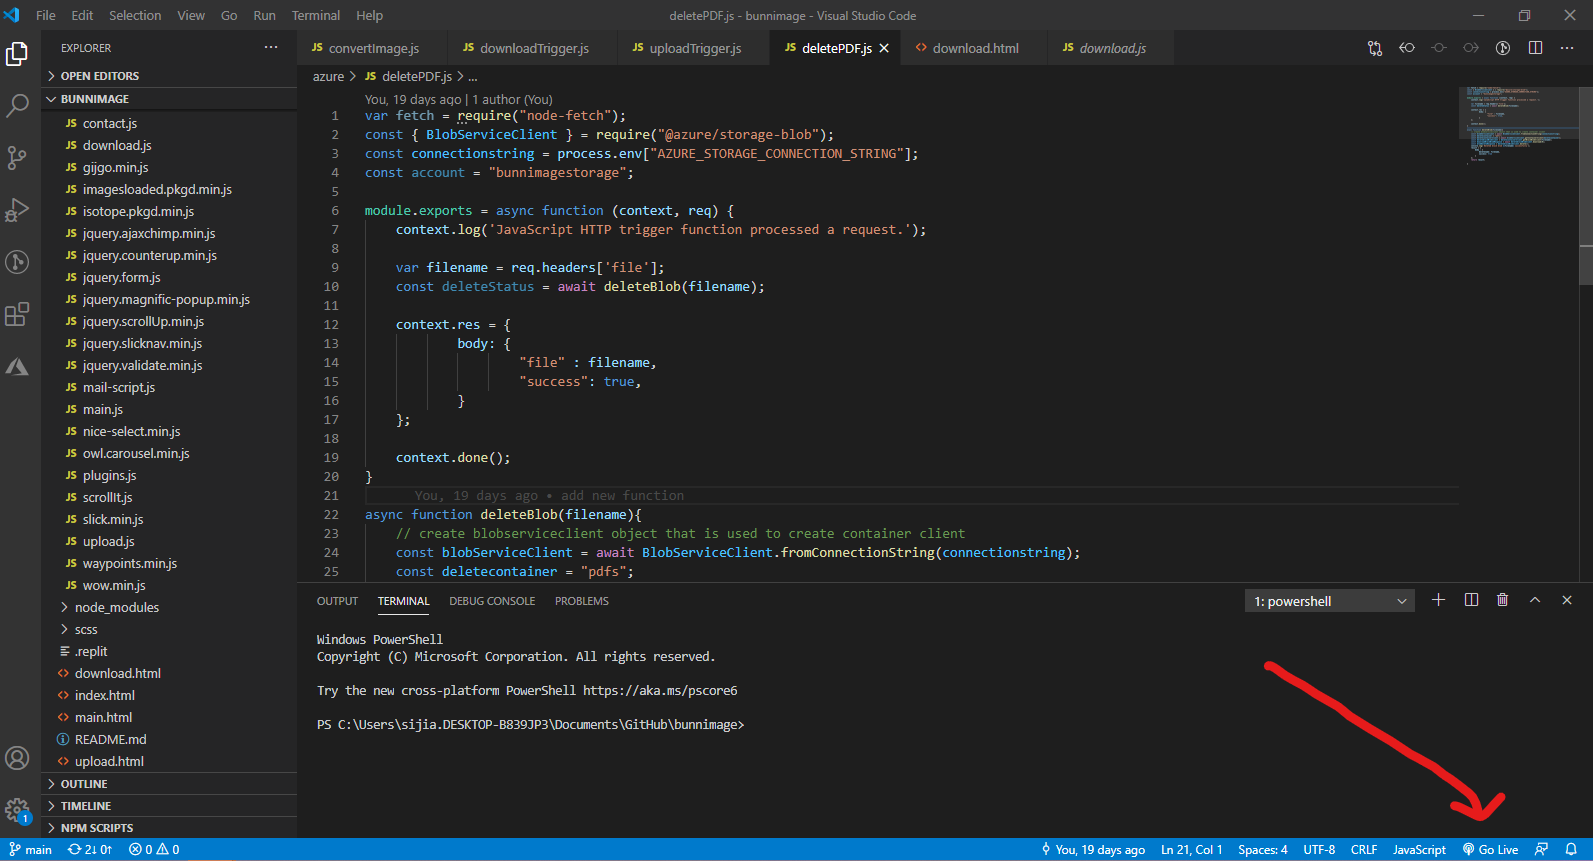 * To start a local server, click `Go live` at the bottom right of the screen, as shown in the image. * Make sure that you have the entire repo open on VS Code and not just the individual files. * If this is your first time installing LiveServer, you might need to close/quit VS Code and reopen it. * Test it out, and see what your HTML page looks like! *It's OK if it's boring, so feel free to style it with CSS!*
‼️ Create & Reference
index.jsinindex.html❓ How do I reference index.js in index.html?
Put it **at the very end of the body tag!** ```html ```1: Writing the Event Handler Function!
On websites, there are many different types of events that can occur. For example:
We need to create a function which triggers when someone submits an image, but first we will create a function which changes content on the page when we submit text.
I'm confused on how to do this
- In a new file named `index.js`, create a variable using the id **of the HTML form**: ```js const bunnForm = document.getElementById('bunnForm'); ``` - In your index.js file, create an event listener with an anonymous function. Inside of the function, create a variable for the value that was input in the text box. ```js bunnForm.addEventListener('submit', function (event) { const username = document.getElementById("username").value }); ``` > 💡 We are retrieving the value of the "username" text box with this code! > 💡 The document.getElementById() method gets the value of the input text from the HTML. - Create a variable to target html div with the id of "output" and use the textContent property to add a "❤" to the value that was input for username. > 💡 By default, the website will reload whenever a user clicks submit. This leads to our text on the page that we set being cleared away. We can prevent this by adding this to the top of our function. ```js event.preventDefault() ``` ```js bunnForm.addEventListener('submit', function (event) { event.preventDefault() const username = document.getElementById("username").value const output = document.getElementById("output") output.textContent = username + "❤" }); ```2: How do I trigger the function when the form is submitted?
The event listener triggers the JavaScript function when the form is submitted. Here is how the form should look in the bunnimage index.html file:
Here is the JavaScript which should be in a separate JavaScript file index.js: