 The-EG
commented
3 years ago
The-EG
commented
3 years ago This one is also already on the planned to-do list and something I definitely plan to implement at some level.
To be honest, I just started using UBL about 30 minutes before I started writing this plugin, so I'm still working out the process myself and what you've laid out is helpful. (edit: I was using MBL before, so I am familiar with the concepts, but the commands are different)
I do envision 2 'modes' for this, at least. One, like you've described, would be for building a mesh, or recalibrating multiple points by manually probing, similar to the LCD menu, but through the plugin. The other, would be more of a 'show me where on the bed this point is,' essentially just G42 (another user requested this on Discord earlier).
In general, instead of having hard coded scripts for the start and end ('user clicks the button to enable', etc) I'd opt to make that configurable with some sensible defaults.
On a different note: are you using this on a delta printer? I only started with square meshes in mind, so I have no idea how this will function on anything else. I'd be interested in how it's working, and outputs of M420 V T1 if it's not working properly.
 lightmaster
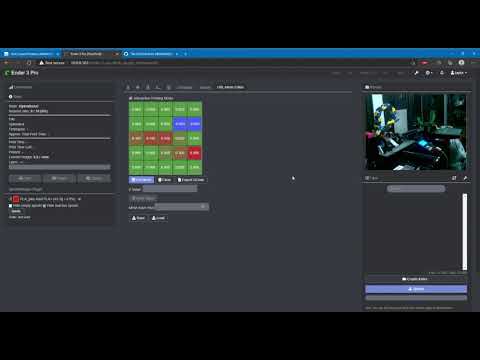
When using UBL without a LCD with an encoder wheel, you must manually enter the commands to go to each spot to fine tune the probing. I propose a toggle switch that enables and disables automatically going to the mesh spots when you click on the boxes to edit them. Due to the Z-Height speed difference between Deltas and Cartesian style printers, a Z Feedrate selector would be nice too.
With the proposed step #4 under
Once User clicks on a square, this Feature Request would also allow this plugin to be used to create a manual mesh from scratch as well as fine tuning an existing mesh.User clicks on button to enable this new feature:
M18 S3000to keep stepper motors from disabling while probing.M28to homeG1 Z2 Fxxxto get close to bed plate (vital for Deltas since they can not move horizontally until they have descended at least some, might as well get close to bed plate at this point too)M211 S0to disable software endstops so user can go Negative if needed.Once User clicks on a square:
G42 Ix Jyto move to the chosen spotG1 Z0.4 Fxxxto get as close to bed plate as is safe.M421 Ix Jy Q/Zx.xxxto set value of the spot. If the spot currently has no value, sendZx.xxxto set the absolute value, else if the spot had an existing value, sendQx.xxxto add or subtract from the existing value. 4.1. If user entered a value into the box, use the value they entered. If they left box blank send and checkM114to get current position and use that value automatically.G1 Z2 Fxxxto get back off the bed. This will also automatically take the new adjustment into effect so User can repeat this process to verify their adjustment.If User clicks on a 2nd square without saving an adjustment:
G1 Z2 Fxxxto get back off the bed.Once User clicks on a squareOnce User clicks the button to disable this new feature:
G29 Sxto save mesh.G28to get back home.M18 S300to set stepper motor timeout to 5m. Not sure of an easy way to get this value to be able to revert it, so I feel that a 5m timeout without any motion is reasonable. Obviously adjust this value if you disagree.M18to disable stepper motors now.