 tparkerd
commented
3 years ago
tparkerd
commented
3 years ago Redoing the reconstruction with the efX-CT software does not affect this (gpflederer).
Closed tparkerd closed 3 years ago
tparkerd
commented
3 years ago Redoing the reconstruction with the efX-CT software does not affect this (gpflederer).
tparkerd
commented
3 years ago Evidence of the screw:


tparkerd
commented
3 years ago I did a comparison of the volume:

Likely due to the screw, the threshold value automatically selected by the default segmentation method (v1.6.1) of the pipeline removes a substantial number of slices.

Make sure that the slices are named after their containing folder. For example, if the grayscale image folder is called 2183_109um-adjusted, each PNG image in it should be named along the same lines such as: 2183_109um-adjusted_0000.png.

Although I used the adjusted slices as the starting point for doctoring the volume, you can use the original grayscale slices produced by raw2img if large chunks of the volume had been omitted during segmentation.
batch-segmentation on original grayscale images and identify problematic slicesYou may have to repeat this multiple times, each time checking the binary images and point cloud data (.obj) for artifacts. Rinse and repeat.
I'm not sure if you can get away with a quick adjustment (option B) and still have reasonable data. The results for each are attached, and a decent amount of the values for the traits are not unreasonable. The traits measured as features are even closer (comparing B to C) since Skeleton relies on a single component representation of the data instead of binary slices for traits.
Describe the bug Many slices are missing from volume 2183 (found in 20200624ZmStd_CSU19_RPFT2_28).
To Reproduce Steps to reproduce the behavior:
Expected behavior It should not be removing these slices.
Screenshots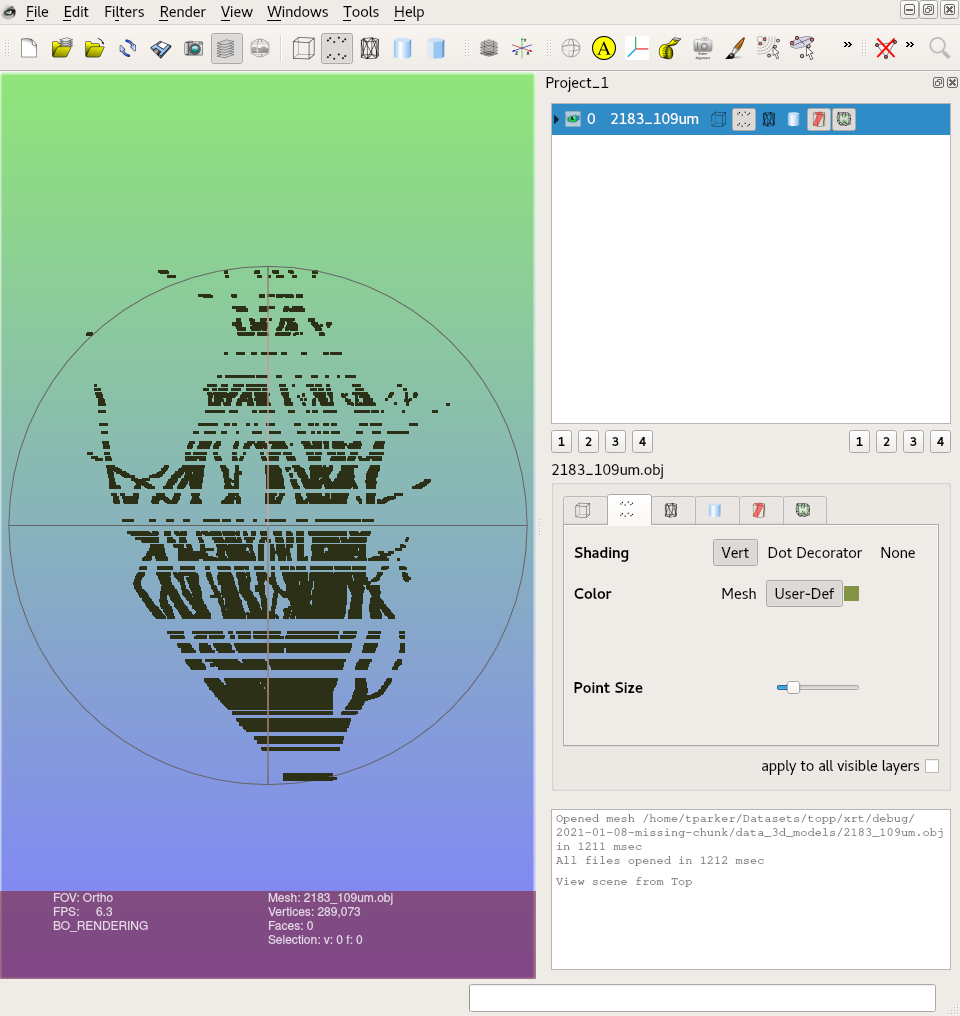
Desktop (please complete the following information):
Additional context It looks like the threshold value selected is a little too aggressive and is omitting value. There is a screw present in this volume which might have affected the brightness of other slices.