This looks like a great outline structure. 👍
Closed rishi-raj-jain closed 10 months ago
This looks like a great outline structure. 👍
Feature flags are a powerful technique that allows you to toggle features on and off dynamically without redeploying your code. This can help you to deliver faster and safer web applications, as you can test new user journeys in production, perform gradual rollouts, and revert changes as required, all without triggering a redeploy.
In this tutorial, you will learn how to use custom feature flags in a SvelteKit application that displays regional content to the users based on the location they're accessing the site from, using Vercel and Unleash. You'll use the official Svelte SDK by Unleash, @unleash/proxy-client-svelte, which provides easy integration of Unleash feature flags in any Svelte application.
This article is a contribution by Rishi Raj Jain as a part of the Community Content Program. You can also suggest a topic by opening an issue, or Write for Unleash as a part of the Community Content Program.
To set up, just clone the app repo and follow this tutorial to learn everything that's in it. To fork the project, run:
git clone https://github.com/rishi-raj-jain/regional-content-unleash-and-sveltekit
cd regional-content-unleash-and-sveltekit
npm installdocker-compose.yml for creating an Unleash instance outside of your current project directory:git clone git@github.com:Unleash/unleash.git
cd unleash
docker compose up -dThis will start Unleash in the background. Once Unleash is running, you can access it at http://localhost:4242.
Username: admin
Password: unleash4all
Create a new feature flag in your Unleash instance named regional:

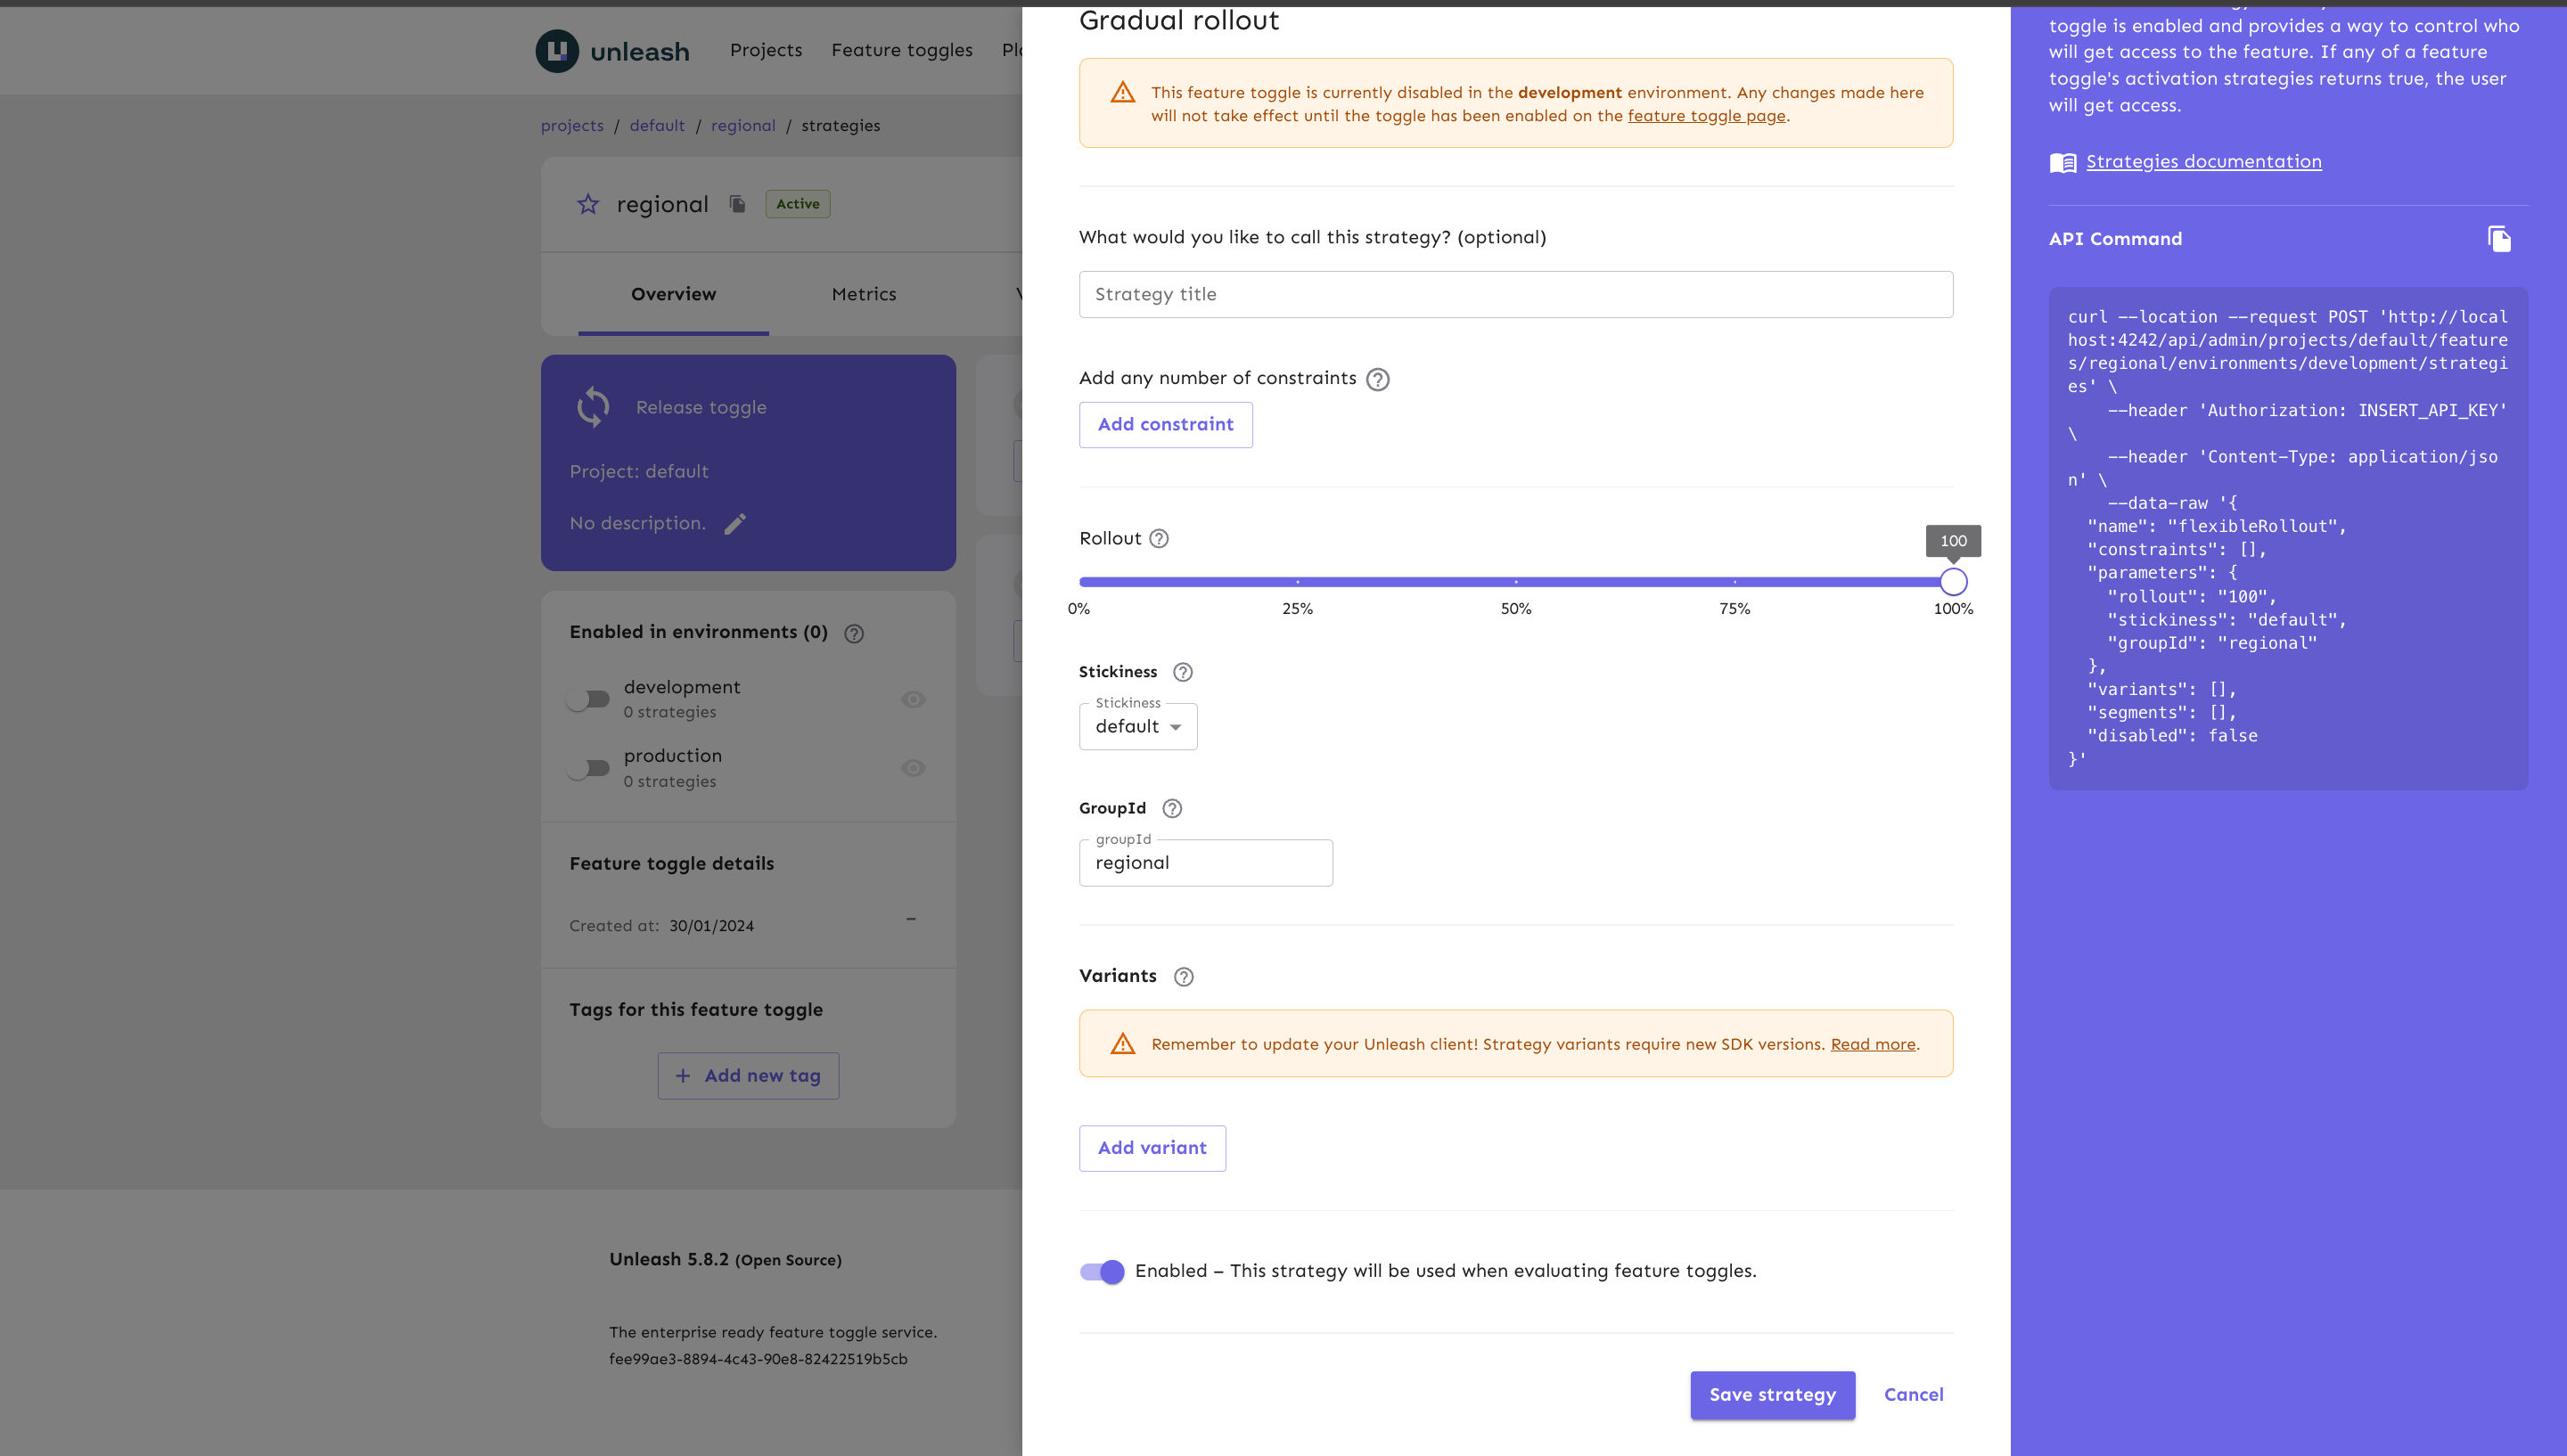
In the feature flag's dashboard, click on Add strategy in the developement environment:

Click Save to associate the pre-configured setup with the regional feature flag.

Let's move to creating a custom context field region, for which we'll define a set of values that'll indicate the languages are supported with their translation in our app.
First, click on Configure in the navigation bar and then click on Context fields:

You would then see a screen like below. Click on New Context Field button to create a custom field:

Now, enter the details of the custom field named region, such as HI and EN in this case.

Hit create context, and then go to your feature flag in the dashboard. Update the strategy to define the constraints to enforce region values.
Only users with one of these regions will see this flag as enabled.

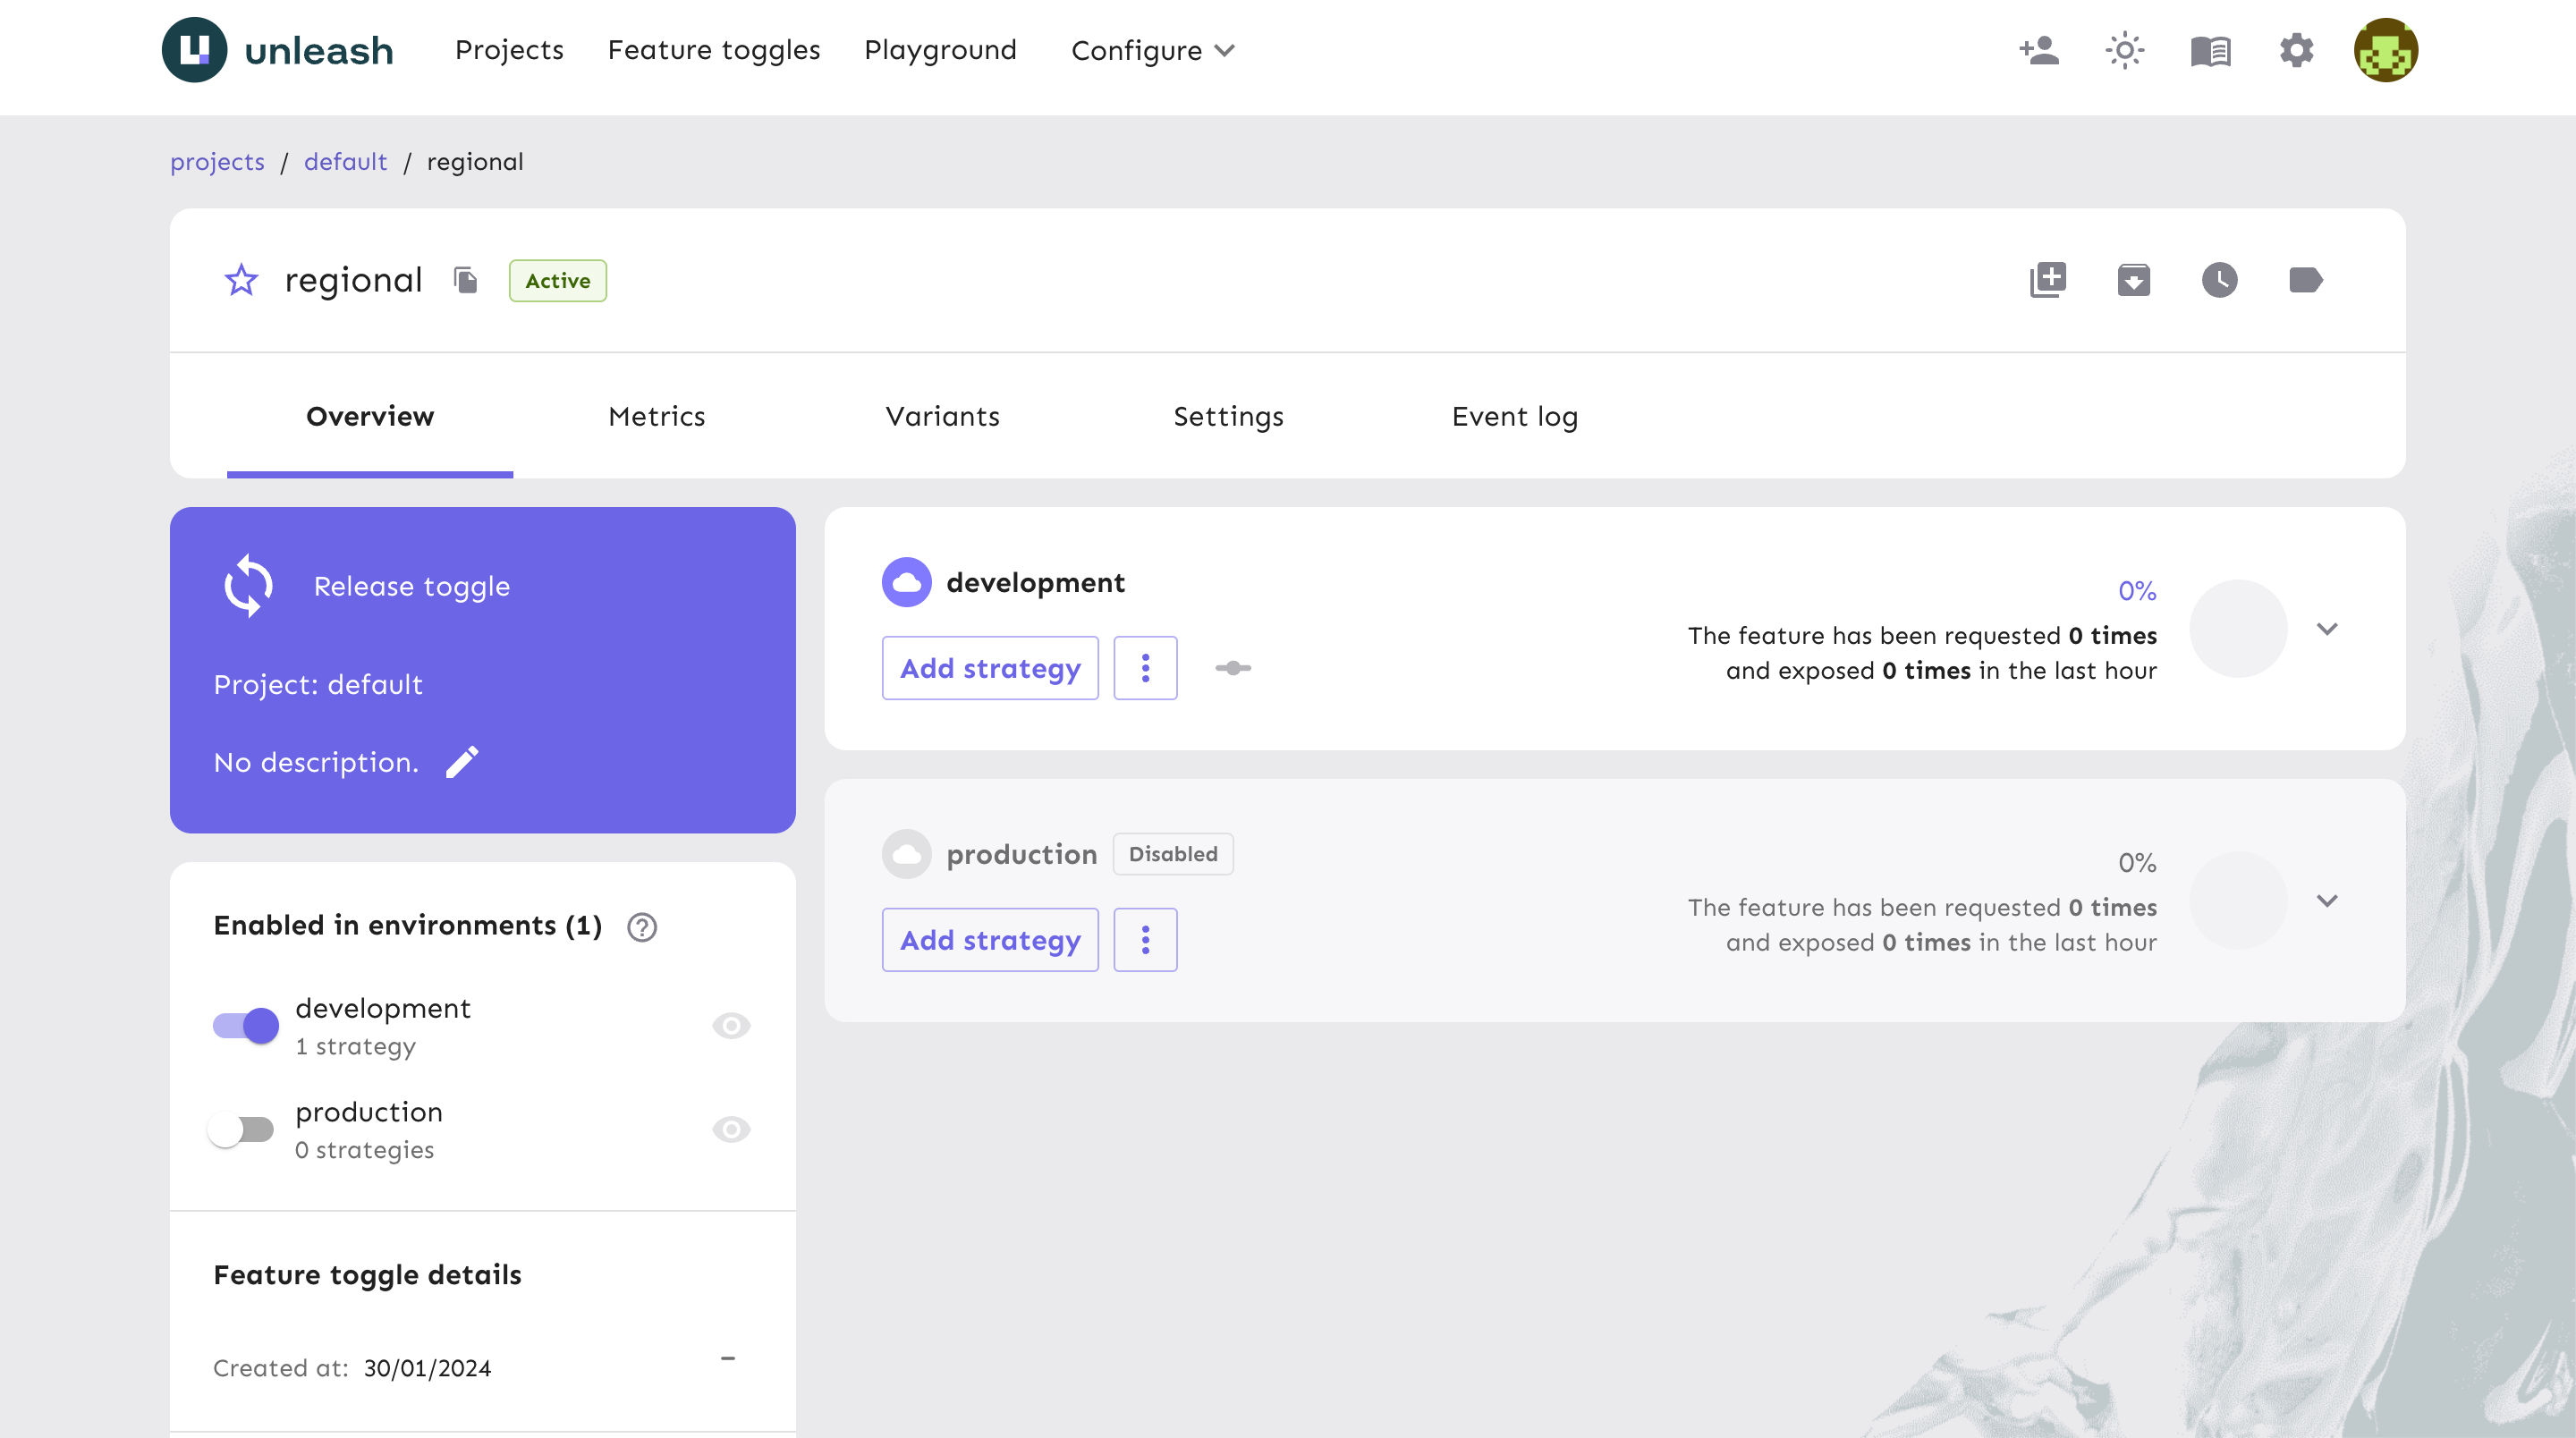
Great. Now, let's turn on the flag in the developement environment 👇🏻

To get started with SvelteKit and Unleash, you need to install @unleash/proxy-client-svelte package as a dependency in the project repository.
You can run the following commands in your terminal to do this:
npm install -D @unleash/proxy-client-svelteTo make feature flags available to our SvelteKit application, we will create an Unleash Context component. This helper will initialize the Unleash Svelte SDK and provide access to feature flags throughout our application. We will do this by adding it to our src/routes/+page.svelte file.
// File: src/routes/+page.svelte

<script lang="ts">
    import Content from "../components/content.svelte";
    import { FlagProvider } from "@unleash/proxy-client-svelte";

    const unleashConfig = {
    // How often (in seconds) the client should poll the proxy for updates
    refreshInterval: 1,
    // The name of your application. It's only used for identifying your application
    appName: "customName",
    // Your front-end API URL or the Unleash proxy's URL (https://<proxy-url>/proxy)
    url: "http://localhost:4242/api/frontend",
    // A client-side (frontend) API token OR one of your proxy's designated client keys (previously known as proxy secrets)
    clientKey: "default:development.unleash-insecure-frontend-api-token",
  };
</script>

<FlagProvider config={unleashConfig}>
  <Content {language} />
</FlagProvider>Next, we will show regional content to the user if 1. the regional feature flag is enabled, and 2. the language in their region is allowed in the feature flag. Let's break it into steps:
1. Regional feature flag is enabled
To check if the regional feature flag is enabled for a user, we'll use useFlag hook.
// File: src/components/content.svelte

<script lang="ts">
  export let language: string;

  import { useFlag } from "@unleash/proxy-client-svelte";

  const isRegionTranslated = useFlag("regional");
</script>

{#if $isRegionTranslated}
  <div class="mt-3">
    <span class="py-2 px-4 bg-green-100 rounded">
      Content in <b>{language}</b>
    </span>
  </div>
{:else}
  <div class="mt-3">
    <span class="py-2 px-4 bg-red-100 rounded"> Fallback Content </span>
  </div>
{/if}
Keep in mind that we've to set the region context with the regional to evaluate whether if their region is allowed (enabled) to be translated and shown to them. This all done via:
2. Pass language as context
To pass the language (HI OR EN) as the context while looking for regional flag, we'll update our Unleash Context Wrapper component to include the custom context value.
Here's how we'd do that:
+page.server.ts that'll use the Vercel's x-vercel-ip-country header to determine the region the user is in.import type { PageServerLoad } from './$types'
export const load: PageServerLoad = async ({ request }) => {
// get the vercel IP country header containing 2 letter string for that country
const region: string = request.headers.get('x-vercel-ip-country') || "US"
return { region }
}// place files you want to import through the `$lib` alias in this folder.
// create a super collection mapping country to the language used in that region
export const countryCodeMap: Record<string, string> = {
"IN": "HI",
"US": "EN",
}unleashConfig) to the Wrapper component (FlagProvider): <script lang="ts">
/** @type {import('./$types').PageData} */
export let data;
import { countryCodeMap } from "$lib";
import Content from "../components/content.svelte";
import { FlagProvider } from "@unleash/proxy-client-svelte";
+ // use the dynamic country's region 2 letter code
+ const language = countryCodeMap[data.region];
const unleashConfig = {
// How often (in seconds) the client should poll the proxy for updates
refreshInterval: 1,
// The name of your application. It's only used for identifying your application
appName: "customName",
// Your front-end API URL or the Unleash proxy's URL (https://<proxy-url>/proxy)
url: "http://localhost:4242/api/frontend",
// A client-side (frontend) API token OR one of your proxy's designated client keys (previously known as proxy secrets)
clientKey: "default:development.unleash-insecure-frontend-api-token",
+ // create custom Unleash context
+ context: { properties: { region: language } },
// To test if the value should be returned false, uncomment below and comment above line
// context: { properties: { region: "OP" } },
};
</script>
<FlagProvider config={unleashConfig}>
<Content {language} />
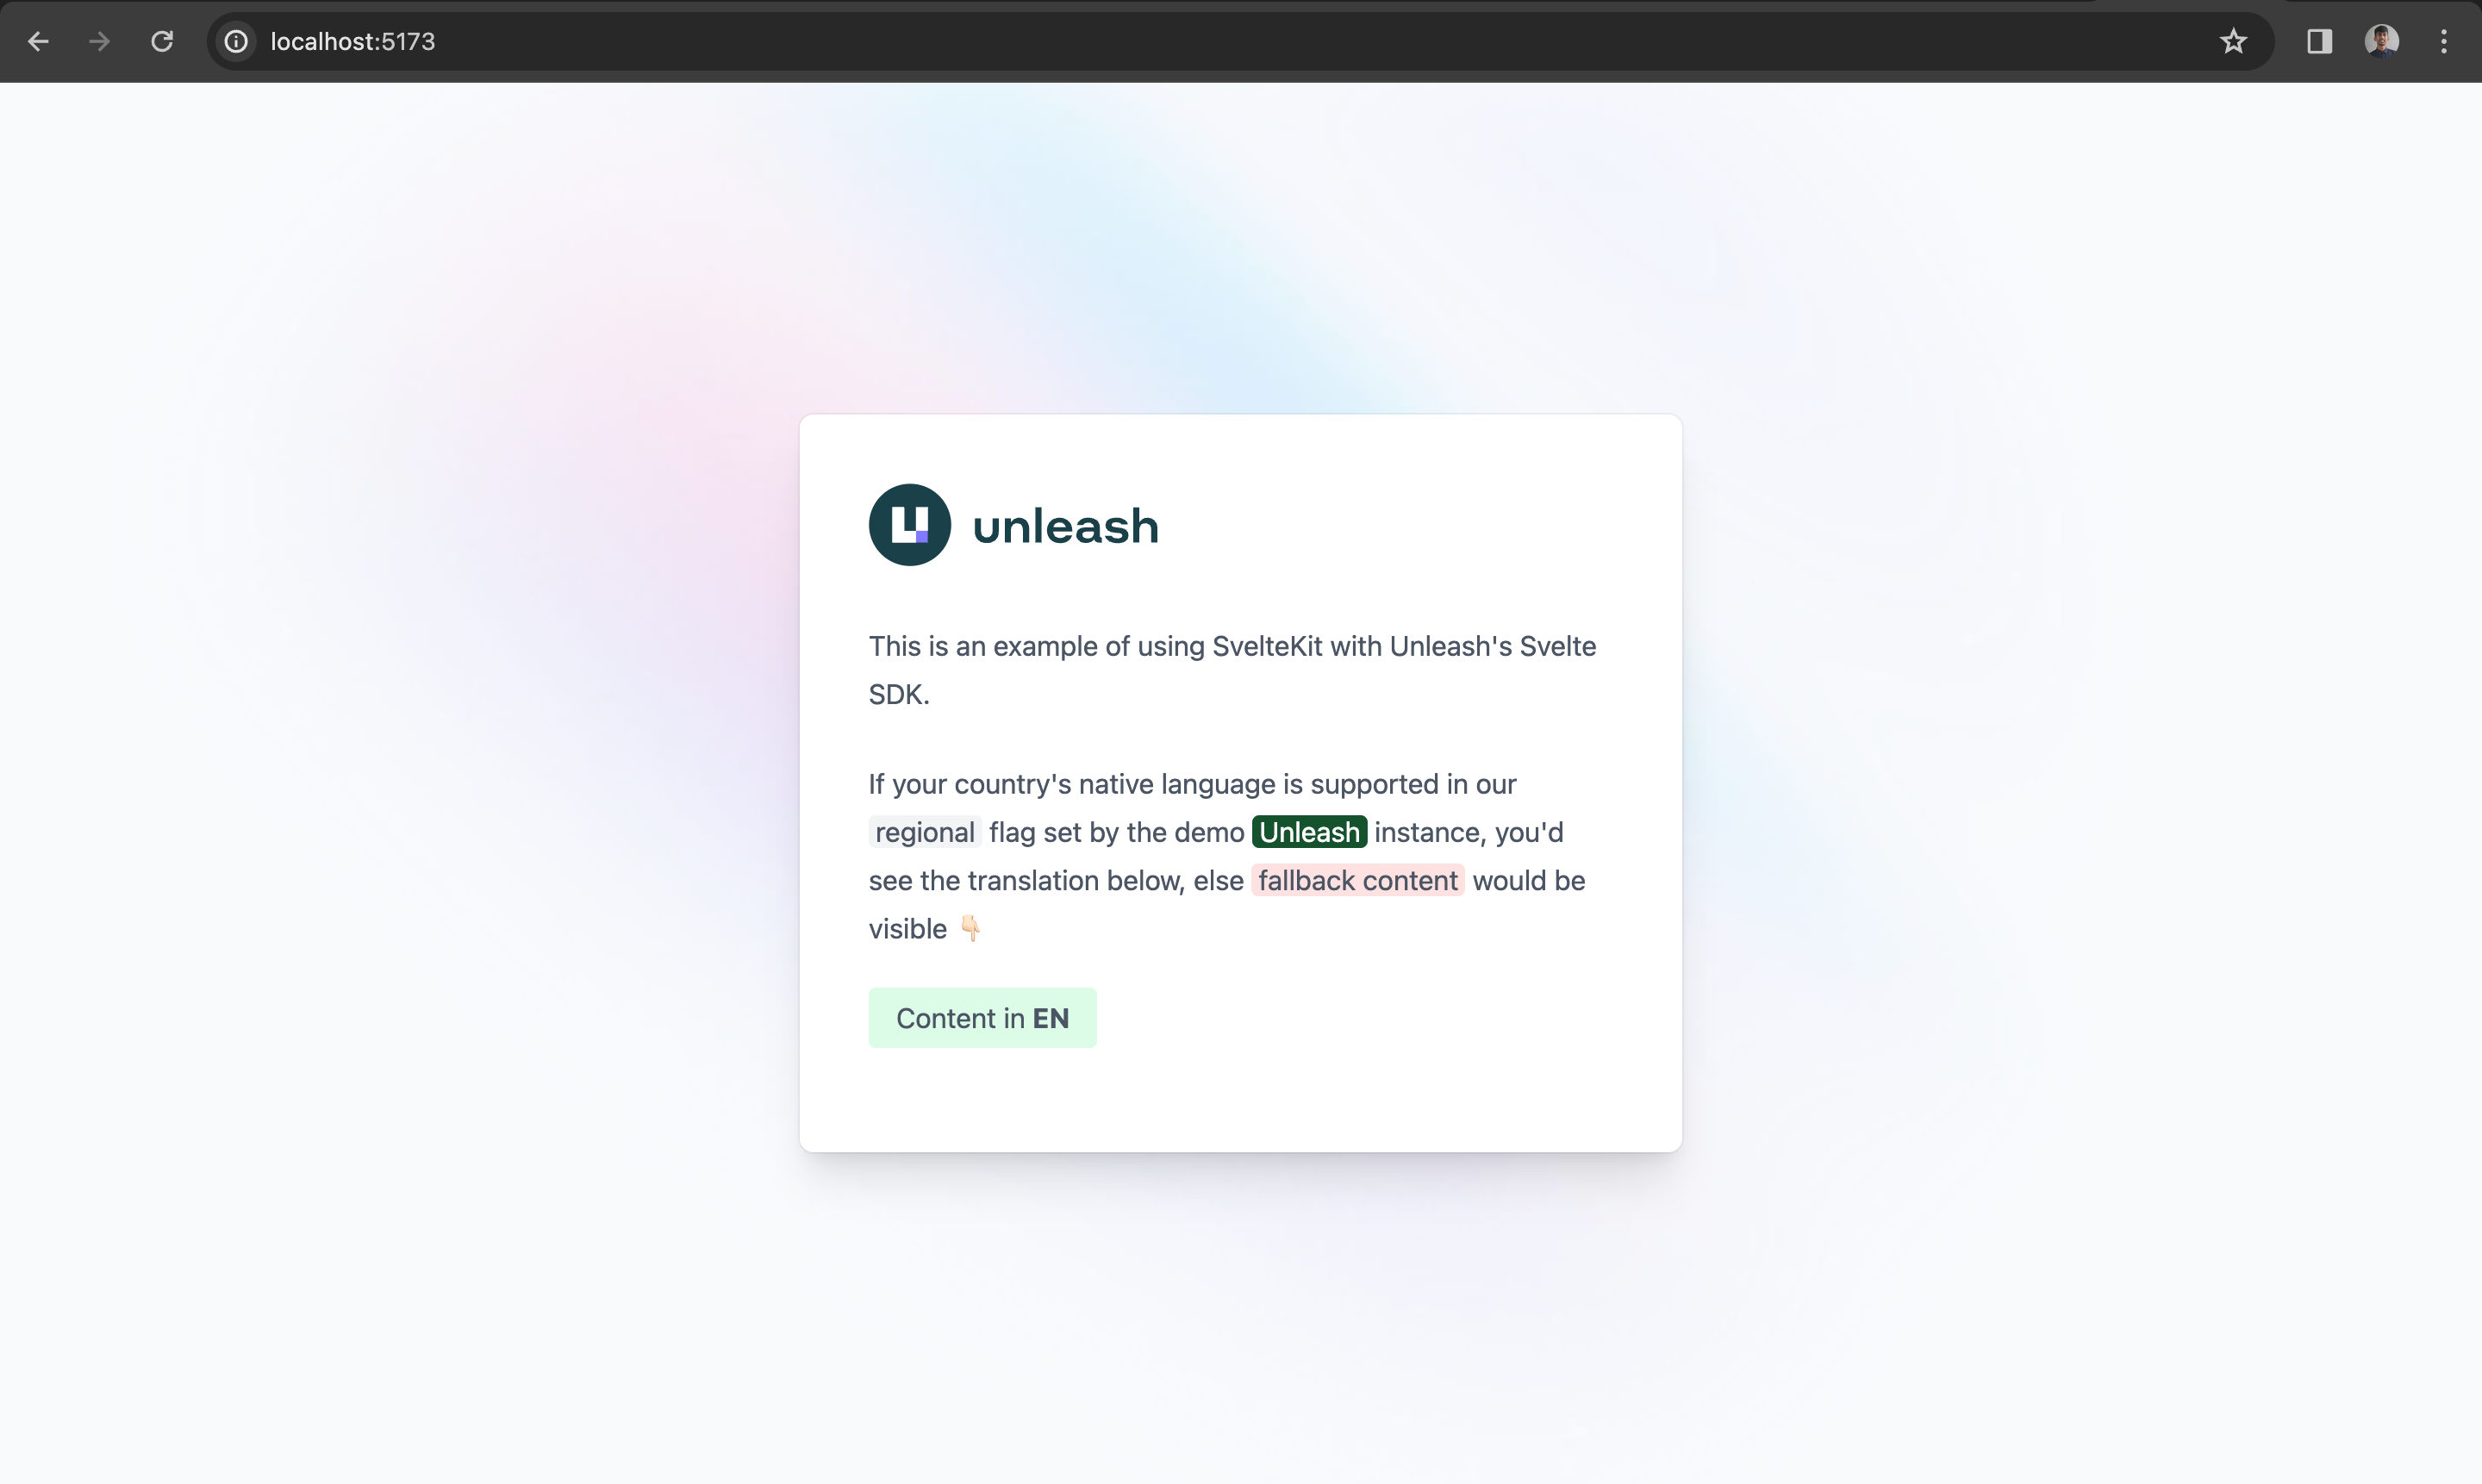
</FlagProvider>Awesome, now we're able to detect the location of the user per request, get the language spoken in their region and use that to determine if the feature flag is enabled for a user. Here's a preview of what we've made 👇🏻

To set up Unleash for production, please follow the steps below:
Self-host Unleash, or run an instance on Unleash Cloud.
Get an API key from the Unleash dashboard.
Store the API key in your Environment Variables of your hosting, which secures it and makes it accessible in your code.
Unleash has a full list of feature flag best practices that can help guide you as you architect your solution.
Feature flags are a powerful tool for managing features in web applications. This tutorial showed us how to use feature flags with SvelteKit and Unleash. We have seen how to create custom context field in conjuction with how to manage feature flags in the Unleash dashboard, and how to use them in our SvelteKit code with the @unleash/proxy-client-svelte package.
Some notes:
pnpm in your instructions, but pnpm is not part of the requirements to get started. Consider using Node's npm instead.wget is not included by default in most OSes. Consider @nnennandukwe's instructions here as an alternative.enabled"flagsReady logic to the example, as that's usually a good practice.I suggest submitting it as a PR next time, so it's easier to review 👍
I noticed a few things with your example repo:
favicon when running the project, either by adding a favicon or adjusting the link@nunogois
This is such a super detailed feedback!
I've updated the code & the blog to reflect all the changes 🙏🏻
I suggest submitting it as a PR next time, so it's easier to review 👍
I did it earlier, but it creates confusion as seen in: https://github.com/Unleash/unleash/pull/5246#issuecomment-1877520375
Great job addressing my notes @rishi-raj-jain, I think this is better!
I still feel a bit of a disconnect in the flow.
Try putting yourself in the shoes of a completely new user with no context. If you follow your guide step by step, you'll end up with an unleash folder inside the regional-content-unleash-and-sveltekit folder, which is probably not what we want. We're also cloning your regional-content-unleash-and-sveltekit project and installing its dependencies, but not really doing anything with it.
My suggestion is maybe restructuring the guide this way:
I think @nnennandukwe may be able to help with this and probably give you even better suggestions, so it may be worth waiting for her feedback before proceeding with any changes.
Other than that I'm mostly happy, thank you for taking my notes into consideration ✅
This is awesome @rishi-raj-jain !
I have a few comments/tweaks to make, but nice to see the start and improvement from the feedback @nunogois gave!
unleashConfig. We explain something like that here, for example: https://docs.getunleash.io/feature-flag-tutorials/react#3-create-enable-and-configure-a-feature-flag<FlagProvider> -> <Content> so they could easily search for it in their file and pass in {language}Let me know if you have any questions about my comments!
@nunogois @nnennandukwe
Thank you so much for taking time to give a detailed one on this one!
I've done my best to incorporate all the feedback ✨
"Integrating Unleash in SvelteKit"
For this, it's not exactly just installing. One is learning how to walk through the entire integration of Unleash in SvelteKit, hence I named it on that...
Outline 👇🏻
How to Implement Feature Flags in SvelteKit using Unleash
In this tutorial, you will learn how to use feature flags in a [SvelteKit](https://kit.svelte.dev/) application that shows a content in different languages based on their region, using Unleash. We will use the
@unleash/proxy-client-sveltepackage, which provides easy integration of Unleash feature flags in a Svelte application.What we’ll be using
Mention:
What you’ll need
Setting up the project
To set up, just clone the app repo and follow this tutorial to learn everything that's in it. To fork the project, run:
Scaffolding a SvelteKit app
Creating an SvelteKit app is as easy as a single command:
Setup Unleash
docker-compose.ymlfor creating an Unleash instance:This will start Unleash in the background. Once Unleash is running, you can access it at http://localhost:4242/.
Create a Custom Context Field
To display different contents to the user based on the region, we'll be creating a custom constraint named
regionin Unleash. This will help us define the country values for which the translation would be possible and use that flag in our app.Create a New Feature
Create a new feature flag in your Unleash instance named
regional-content.Integrating Unleash in SvelteKit app
Installation
To get started with SvelteKit and Unleash, you need to install
@unleash/proxy-client-sveltepackage as a dependency.You can run the following commands in your terminal to do this:
Set up Environment Variables
By default, the following values are setup in your local Unleash instance
Initialize Unleash SDK
Initialise Unleash SDK
Use Unleash SDK to fetch the feature flag value
Scenarios
Revert: Scenarios
Using Unleash in Production
To setup Unleash for production, please follow the steps below:
Conclusion