c0pperdragon / Amiga-Digital-Video

Add a digital video port to vintage Amiga machines
295 stars 30 forks source link

Scanline Problems on Amiga #16

Closed SirCathal closed 3 years ago

SirCathal commented 3 years ago

Hi there, I use the adapter in my Amiga 500 and am very enthusiastic about it. I only have one problem with the scanline option. I activated it in the Preferences menu and then changed the "FB Size" from normal to double height in the Geometry menu. Before, I had a sensational picture (ignoring the distortions from the cell phone camera) But after the change, I have a totally shaky picture. The photo is only a snapshot, in real life it is constantly shaking. Am I doing something wrong or is it a general problem? Maybee @IanSB knows about this? ScanlineSettings FB Size Normal FB Size Double Height

IanSB commented 
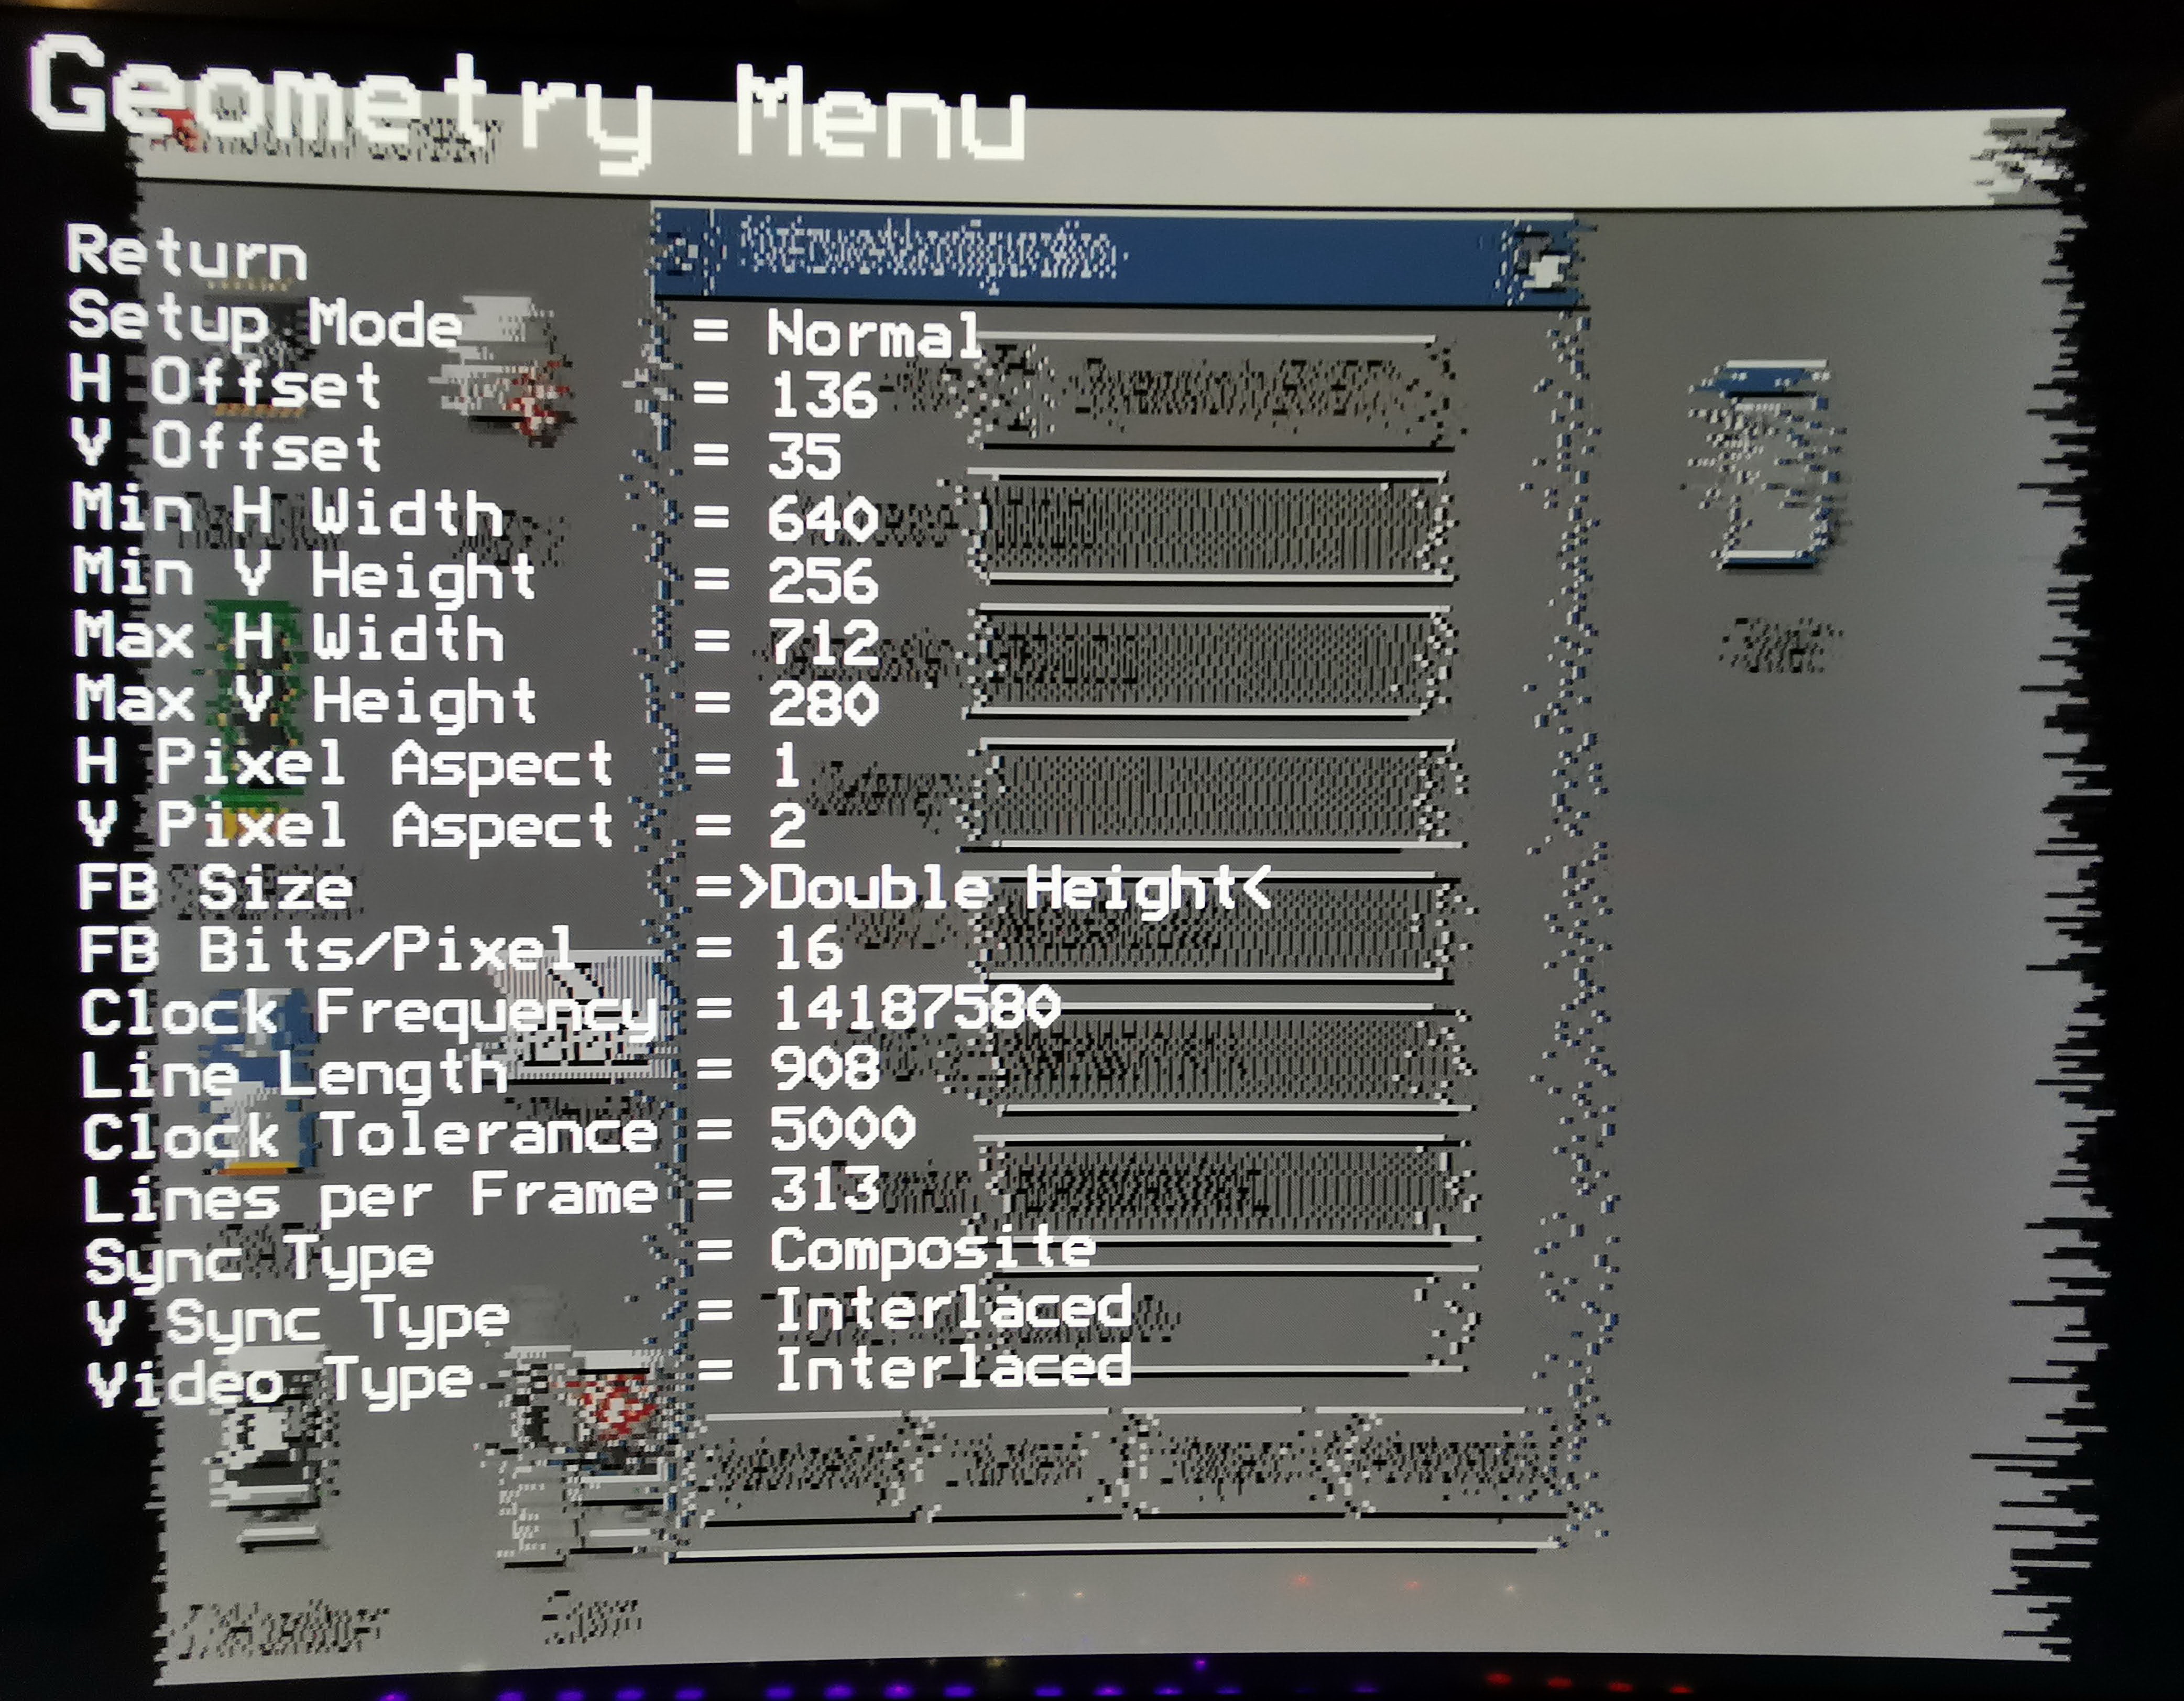
3 years ago

I activated it in the Preferences menu and then changed the "FB Size" from normal to double height in the Geometry menu.

Currently scanlines require double height enabled and switching that on means that there are two uncached memory writes per pixel instead of one. Unfortunately in 12 bits per pixel mode which the Amiga requires there isn't enough system bandwidth for the double writes so you get the above messed up display as pixels are being dropped.

You might be able to work around the problem by overclocking the Pi zero: Go into the settings menu and try adjusting the overclock values, the core setting usually makes the most difference followed by the cpu setting, the sdram setting doesn't seem to make any difference. If those values are too high, some Pi zeros will freeze so only save the settings if the system appears to be stable. Note if you have saved overclock settings that cause the zero to hang up before you can clear them you will have to manually delete the saved profiles folder on the SD card to recover normal operation.

It should be possible to implement scanlines in an alternative way which doesn't require the double height option set and it's on my list of things to look at.

SirCathal commented 3 years ago

@IanSB Another solution for Scanlines would be great. On a big screen, scanlines are better for me :-) But until then I will try the overclocking and hope that it will help.

SirCathal commented 3 years ago

Hi @IanSB Today I tested the overclocking and I could stabilise the Picture a bit, but not enough that I could live with it.
The interesting part is, I set Overclock Core to 90. If I go higher, the Picture flickers more. The other two Values don't have a significant impact. I even tried to set everything to the maximum value, but it dosen't get better than the 0 - 90 - 0 setting in the Picture below.

Overclocking

The other thing is, I had set the Scanline Level to 8 because I like scanlines that are halve bright compared to the normal lines. But they showed completely black I tried lower and higher settings, but they are always only black. Here are the result (In real live, the black lines are better visible than on the picture): ScanlinesZoom Scanlines

IanSB commented 3 years ago

@SirCathal

There is a download link for a beta test version in the hdmi capture card thread with scanlines support: https://github.com/c0pperdragon/Amiga-Digital-Video/issues/19 Note that scanlines can only be black because adjustable scanlines require the two writes which as you see above has problems due to bandwidth issues. It may be possibe to improve on this by using the GPU but there isn't much documentation for that so it may be a while before I can look at that. Also note the link for a micro SD card extender to make software upgrades easier.

IanSB commented 3 years ago

Updated to beta10 due to cache alignment timing issue https://github.com/IanSB/RGBtoHDMI/releases/download/626a527/beta10.zip

SirCathal commented 3 years ago

@IanSB Thank you, I will try this as soon as possible. My ordered Micro SD Extender should arrive today, then I will fit both together because it's a bit complicate to open that special Amiga Case. With the Micro SD Adapter I have to do that only once (thanks for the tip)

SirCathal commented 3 years ago

Hi @IanSB there is one thing I don't understand, you mentioned that the lines have to be written double with adjustable scanlines. But isn't that done too when no scanlines are selected? Because with no scanlines, the original line is there twice too. Or is that all done inside the scaler? If its done in the scaler, would it be possible to do the scanlines before the image is scaled? Or maybe only on none interlace screens? What I mean is, a 640x512 Pixel Screen without scanlines work fine but should need exact the same amount of pixels written then a 640x256 Screen with scanlines. So maybe it could be a possible solution to allow the adjustable scanlines only with non interlace inputs?

IanSB commented 3 years ago

@SirCathal

Because with no scanlines, the original line is there twice too. Or is that all done inside the scaler

The video is captured at 640x256 and written to a 640x256 buffer in normal mode. The line doubling is done by the hardware scaler in the GPU but it can only replicate the line with the default scaler options.

In double height mode, the video is captured at 640x256 but written to a 640x512 buffer with two writes per pixel. The second pixel can have changed intensity for scanlines. For black scanlines, only 1 pixel is written and the other pixel is always left black.

It should be possible to get the GPU scaler to generate scanlines but that requires detailed documentation on writing display lists for the Pi in bare metal and there isn't much of that available at the moment.

I have managed to get 50% scanlines working in 12bpp mode. There is not enough processing time for fully variable and even then the timing is marginal and the Pi is very overclocked: capture112

However, it only seems to work properly with the CPLD version of RGBtoHDMI (screencap is from that) and with c0pperdragon's board I get glitches due to pixel drops. I think this is be because the pixel clock on the Amiga is slightly asymmetric which means less processing time on alternate pixels and c0pperdragon's board has to use that as it's clock. The CPLD version regenerates the pixel clock in the CPLD from the Hsync pulses and that is always perfectly symmetric so equal time on every pixel.

EDIT: I found the actual reason that one worked when the other had glitches: It's because they were using different output resolutions, c0pperdragon's board was using 1920x1080 and the CPLD board was using 1600x1200. I guess the different number of memory cycles used for reading and scaling the the display buffer was just different enough to cause a timing issue when everything else was maxed out. After swapping resolutions the glitches moved to the other board.

I'll post another beta soon with this change so you can try it on your system. You might get it to work depending on the resolution of your monitor.

SirCathal commented 3 years ago

That seems that you are getting closer to a good solution, that's great and your image above looks perfect for me. 50% scanlines would be perfect, It's the setting I always use if it's available.

I will try to overclock as much as possible, I have some small heatsinks here to do that.

I didn't know that there are two different clocks, I always taught the signal is synced to the sync signal from the Denise Chip in the Amiga. But on the other hand, the Board has a Jumper to select between the different OCS and ECS Denise chip versions and I was wondering about that, because I always taught that those chips should produce completely identical signals as long as no ECS video mode is used.

The only bad thing is that the delivery of my micro sd extender was shifted from today to tomorrow. So I hope I can test tomorrow after work.

SirCathal commented 3 years ago

Ah OK the resolutions. I have monitors with 1280x1024 and 1920x1080 and a 4K TV. But no 1600x1200 or 1920x1200 monitor. Maybe it work with the 1280x1024 monitor

Edit: The monitor can handle 1600x1200 but then the Picture is blurred. 1440x1080 is a common resolution for older videos that could be handled by the most 1080p monitors without getting a blurred output because it has the classic 4:3 aspect ratio and uses all lines of the native display resolution.

IanSB commented 3 years ago

1440x1080 is a common resolution for older videos that could be handled by the most 1080p monitors

Yes, that works with no glitches: capture7

If your monitor has a 1:1 pixel mode it should be able to display 1440x1080 with no problem, however not all monitors can do that so I have also added a special resolution which puts overscan padding of 240 pixels on either side so it looks like a 1920x1080 signal.

Unfortunately there is a bug in the Pi's nearest neighbour scaling kernel when using the overscan padding as the scaled output is a little mangled if you examine it closely. If I switch to interpolated scaling it looks OK.

IanSB commented 3 years ago

@SirCathal

So I hope I can test tomorrow after work.

Here is the new beta version:

https://github.com/IanSB/RGBtoHDMI/releases/download/c673ab0/beta11.zip

Wipe and reinstall on the SD card and reboot the Pi from the info menu or repower the Amiga

To make changing the settings easier I have added two extra profiles. You can now change the Profile setting between: Amiga Amiga 0% scanlines Amiga 50% scanlines

Amiga 0% scanlines is the same as the default Amiga profile but with just the scanlines setting turned on This one should work at all resolutions

Amiga 50% scanlines has scanlines turned on, double height enabled and CPU and Core overclocked to 50 and 160 respectively. They may need to go higher but that's a good starting point. This profile will glitch in 1920x1080 mode but will give a stable image in 1280x1024, 1440x1080 and 1600x1200 modes

There are two new resolutions you can manually select: 1440x1080 - This is the preferred option but if your monitor can't display it at 1:1 pixels it may be unusable (You may need to change settings in your monitor to get it displaying 1:1)

1440(1920)x1080 - This is an experimental resolution which outputs 240 overscan padding pixels on either side of the 1440 image making a total of 1920 pixels. This should be treated by the monitor as 1920x1080 so no setting change should be required. However integer scaling doesn't work properly with this mode which I think is a bug in the Pi's boot firmware. If you compare the menus with a normal 1920x1080 image the text is a bit ragged/uneven even though all the ratios are correct for even scaling.

SirCathal commented 3 years ago

@IanSB WOW that works perfectly for me. 1440x1080 is pixel perfect on my monitor with the 50% setting.

The only thing that maybe could be a Problem is, as long as I chose a fix resolution, there is no 50/60Hz auto switching. For me personal, that's no problem because I always use 50Hz with the Amiga.

Thank you for your new release!

I will make more tests tomorrow and post some Pictures. Today it's a bit late here and I have to get up early for work.

SirCathal commented 3 years ago

I Made more tests and the results are fantastic.

Here some examples with 1280x1024 as output resolution and 50% Scanlines: capture1 capture2 capture3 capture4 capture5 capture6 capture7 capture8 capture9 capture10 capture11 capture12

And here 1440x1080 as output resolution and 50% Scanlines (Supporting Overscan): capture0 capture14 capture15 capture16 capture17 capture18 capture19 capture20 capture21 capture22 capture23 capture24 capture25 capture26 capture27 capture28 capture30 capture31 capture32 capture33 capture34 capture35 capture36 capture37 capture38 capture39 capture40 capture41 capture42 capture43 capture44 capture45 capture46 capture47 capture48 capture49 capture50 capture51 capture53 capture54

IanSB commented 3 years ago

I Made more tests and the results are fantastic.

They look great!

Have you tried the "Swap aspect 625-525" setting in the preferences menu. That will stretch NTSC sourced images so the above sources with the black border at the bottom should become full screen.

Also in the preferences menu is the screencap size option. By default screencaps are usually half size as that looks better when posting them but you can switch to full size to get 1440x1080 instead of 720x540.

I fixed the 1440 with 1920 pixel padding mode so that now works as well which means 1440x1080 can now work on all 1080p TVs and monitors (e.g. my TV didn't support 1:1 pixel mode so would always stretch 1440 to full width).

I also added a new option for up to 5 saved configurations for each profile so you can quickly switch between different sets of preferences.

I'll post an updated beta soon.

SirCathal commented 3 years ago

@IanSB I did not test the swap aspect option, but I will do more testing over the Weekend, today I had not the Time for testing but I will continue tomorrow.

IanSB commented 3 years ago

@SirCathal

Here is another beta version (beta12):

https://github.com/IanSB/RGBtoHDMI/releases/download/48dff12/beta12.zip

This has resolution and refresh split into two options which makes it easier to change settings Also new multiple saved configurations (5) Automatic overscan to eliminate glitches in 50% scanline mode so you no longer have to select 1440x1080 and can leave it on Auto and it should still work. Also has various bug fixes.

SirCathal commented 3 years ago

Hi @IanSB Sorry for not being able to test a lot. Unfortunately, I got sick, but I assume that it will get better shortly and then I will test more. But I tested something. The 625-525 aspect ratio menu item works fine. For me who is used to seeing a black stripe at the bottom of NTSC games, this is really unusual :-) but cool. The scanlines also work in the auto setting at 1920x1080. however, from time to time I have a slight flicker or twitch in the picture. If I continue to overclock to 60/175/0 it is gone, but then the Pi crashes after a few minutes. But I don't have a heatsink on it yet. Therefore I have set 1440x1080 again at the moment. What works great is the 50/60 Hz switching. I've heard from other users that they would like another mode with 75% scanlines. would that still be possible?

IanSB commented 3 years ago

@SirCathal

I hope you get better soon.

The scanlines also work in the auto setting at 1920x1080. however, from time to time I have a slight flicker or twitch

When using 1920x1080 I overscan limited the picture to 1600x1080 as that stopped most of the problem and some profiles used that wider image but it looks like the extra little bit of overscan to 1440 is needed for the Amiga.

I have now changed it to overscan to 1440x1080 if the max width is set to 720 or less in the geometry menu (which it is with the default Amiga profile). This output will now be identical to the 1440(1920)x1080 resolution in the above beta 12 (but not the same as the "1440x1080" profile which has no overscan).

When you feel better can you switch to "1440(1920)x1080" resolution with the above beta 12 and see if there are any problems?

SirCathal commented 3 years ago

Hi @IanSB I tested 1440(1920)x1080 and it woks fine, no flickering great picture. It look's exactly like 1440x1080. For me it's perfect.

I Made some Screenshots with and without the aspect scaling. Most Time it works fine, a few games stretches to far (for example Blood Money ) I think it uses some vertical ntcs overscan but I'm not sure. The Blood Money Intro stretches fine: capture11 capture12

The Game itself expands the vertical resolution a bit: capture14

The scaling of Monkey Island and Sysinfo is fine: capture9 capture10 capture23 capture24

SirCathal commented 3 years ago

@IanSB If I can test something else for you please let me know. And do you think you can add one more profile with 75% scanlines?

IanSB commented 3 years ago

@SirCathal

If I can test something else for you please let me know.

Here is beta14 with various fixes including Auto resolution reducing the width to 1440 so can you check that works for you:

https://github.com/IanSB/RGBtoHDMI/releases/download/98d62b35/beta14.zip

And do you think you can add one more profile with 75% scanlines?

I may be able to add 25% and 75% scanlines but it will require some rewriting and code optimisation so it may be a while before that happens.

SirCathal commented 3 years ago

@IanSB I tested beta 14 and it works very good. Auto resolution detects my 1920x1080 display and uses 1440 (displaying 1920x1080) but there is no flickering in 50% scanline mode so it must be 1440x1080. capture1

IanSB commented 3 years ago

@SirCathal

https://github.com/IanSB/RGBtoHDMI/releases

Beta 16 now has fully variable scanlines after I changed the frame buffer format. Can you test to see if it is OK for you.

I decreased the overclock settings because the code is now more efficient but if you see any issues, try increasing again.

SirCathal commented 3 years ago

@IanSB Thanks for the new beta. I tested the new variable scanlines and in general they work great. They work fine with auto resolution

But I also found some issues. 1) When I start a NTSC WHDLoad Game on my Pal Amiga (for example Frontier Elite 2) it switches correctly to 60Hz. But forgot my Scanline Level (I selected 12 and saved that configuration) but when it switches to 60Hz it steps back to the default of 6 2) After closing the Game, the workbench output is still 60Hz and the lower part of the screen is cut of because it’s a Pal screen

IanSB commented 3 years ago

When I start a NTSC WHDLoad Game on my Pal Amiga (for example Frontier Elite 2) it switches correctly to 60Hz. But forgot my Scanline Level (I selected 12 and saved that configuration) but when it switches to 60Hz it steps back to the default of 6

That is expected because there are separate 50Hz and 60Hz sub-profiles and it will auto select the 60Hz sub-profile when the timing changes. When a profile or sub-profile changes it loads it's own setting so you have to change the scanline level on that sub-profile and save the config. After that it should switch between the two profiles with the right scanline level.

To confirm this, look at the Sub-profile line on the main menu, it should have changed from Amiga 50Hz to Amiga 60Hz PAL

There are actuall 3 sub-profiles: Amiga 50Hz - normal 50Hz Amiga 60Hz - normal 60Hz Amiga 60Hz PAL - 60Hz but from a PAL amiga so it used the PAL crystal which means different timings from real NTSC

After closing the Game, the workbench output is still 60Hz and the lower part of the screen is cut of because it’s a Pal screen

If the computer is outputting 50Hz timings it should reload the 50Hz sub-profile and revert to full screen. When this happens, can you post a photo of the source summary option in the info menu and also let me know which sub-profile (not profile) is showing on the main menu.

SirCathal commented 3 years ago

@IanSB Yes you are right, I can save the settings for 50 and 60 Hz and then it works. The other thing was a bad WHDLoad Slave. It sets NTSC but don't changed it back to PAL. When I use the NTSC tooltype with the WHDLoad title it works correctly. Starting in Pal (Workbench) start the Game (switch to NTSC) and after exiting the game it switches back to PAL.

For me that version is great. All scanline levels work fine and without any flickering with auto resolution up to 1920x1080.

I found only one small issue with the auto resolution, but that's very special to my monitor setup. I use a active HDMI switch and with one of that ports I connected another active HDMI switch.

If I don't select the correct input port on both switches, Auto resolution fails and I get no Picture. I think that's because in that moment, there is no monitor to detect. Maybe a default resolution could help in that case. But overall it's not that important. As long as I do not test, I simply select 1440x1080 and have no Problem.

SirCathal commented 3 years ago

@IanSB , for me the scanline topic is complete now. with your Beta16 everything works fine. From my side you can integrate your changes into the main release