jdolinay / avr_debug

Source level debugger for Arduino - GDB stub for Atmega328 microcontroller used in Arduino Uno.
GNU Lesser General Public License v3.0
138 stars 33 forks source link

Stuck in initializing I2C LCD display #39

Closed jiriks74 closed 2 years ago

jiriks74 commented 2 years ago

Hi, I try to use your debugger with my project and it's awesome! The only problem I have is when I want to use my I2C display with the debug library. My project is in PlatformIO.

When I disable the display (by commenting out d.begin() and d.display() in main main.cpp everything works just fine, but when I enable it, it gets stuck on some waiting loop in twi.c. Here's my main.cpp and lcd.cpp.

main.cpp:

``` // Arduino libraries #include #define debug #ifdef debug #include #include #endif // My libraries #include #include #include #include pumps p; lcd d; // Sensor's pins #define WELL_MIN_PIN 2 #define WELL_MAX_PIN 3 // WELL #define WTANK_DOUT_PIN 4 // wtank weight sensor with HX711 analog to digital converter #define WTANK_SCK_PIN 5 // wtank weight sensor with HX711 analog to digital converter // Pump's (relay's) pins #define PUMP_WTANK_PIN 7 #define PUMP_GARDEN_PIN 8 #define DARLING_PIN 9 // Display pins //#define DISPLAY_I2C_PIN1 A4 //#define DISPLAY_I2C_PIN2 A5 // Keypad pins //#define SEL_BUTTON_PIN 6 //#define PREVIOUS_BUTTON_PIN A0 //#define NEXT_BUTTON_PIN A1 //#define UP_BUTTON_PIN A2 //#define DOWN_BUTTON_PIN A3 // Piezo and LED pins //#define PIEZO_PIN 10 // Alarm for low water level // #define LED_RED_PIN 11 // Water level is low // #define LED_BLUE_PIN 12 // Water level is high enough, darling is on // #define LED_GREEN_PIN 13 // Water level is high, garden pump is on void setup() { #ifdef debug debug_init(); #endif //Serial.begin(9600); //Serial.println(WELL_MAX_PIN); p.begin(WELL_MAX_PIN, WELL_MIN_PIN, WTANK_DOUT_PIN, WTANK_SCK_PIN, PUMP_WTANK_PIN, PUMP_GARDEN_PIN, DARLING_PIN); d.begin(); } void loop() { p.pump(); d.display(); //delay(1000); } ```

lcd.cpp:

``` #include "lcd.h" // Arduino libraries #include #include // Library for LCD // My libraries #include #include #include settings setti; sensors s; lang lan; #if defined(ARDUINO) && ARDUINO >= 100 #define printByte(args) write(args); #else #define printByte(args) print(args, BYTE); #endif // definice uživatelských znaků // velké / malé ž byte Z_s_hackem[8]={B01010, B00100, B11111, B00010, B00100, B01000, B11111}; // velké / malé š byte S_s_hackem[8]={B01010, B00100, B01111, B10000, B01110, B00001, B11110}; // velké / malé č byte C_s_hackem[8]={B01010, B00100, B01110, B10000, B10000, B10000, B01110}; //velké Ř byte R_s_hackem[8]={B01010, B00100, B11110, B10001, B11110, B10001, B10001}; // malé á byte a_s_carkou[8]={B00010, B00100, B11110, B00001, B01111, B10001, B01111}; // malé í byte i_s_carkou[8]={B00010, B00100, B01100, B00100, B00100, B00100, B01110}; // malé ů byte u_s_krouzk[8]={B00100, B01010, B00100, B10001, B10001, B10011, B01101}; // hodiny byte Hodiny[8]={B00000, B01110, B10101, B10101, B10111, B10001, B01110, B00000}; // nahradit za é LiquidCrystal_I2C dis(setti.DISPLAY_ADDRESS, setti.DISPLAY_COLUMNS, setti.DISPLAY_ROWS); void lcd::begin() { lan.set("cz"); dis.init(); dis.createChar(0, Z_s_hackem); dis.createChar(1, S_s_hackem); dis.createChar(2, C_s_hackem); dis.createChar(3, R_s_hackem); dis.createChar(4, a_s_carkou); dis.createChar(5, i_s_carkou); dis.createChar(6, u_s_krouzk); dis.createChar(7, Hodiny); dis.backlight(); dis.setCursor(0, 0); // move cursor to (0, 0) printText("Arduino"); // print message at (0, 0) dis.setCursor(2, 1); // move cursor to (2, 1) printText("GetStarted.com"); // print message at (2, 1) } void lcd::display() { main_screen(); } void lcd::printText(String input) { //char32_t x = 'test'; for (int i = 0; i < input.length(); i++) { //byte input = in[i]; if (i+1 <= input.length()) { char in = input[i]; if (input[i] == -59 && input[i+1] == -66) { i++; dis.printByte(0); } else if (input[i] == -59 && input[i+1] == -95) { i++; dis.printByte(1); } else if (input[i] == -60 && input[i+1] == -115) { i++; dis.printByte(2); } else if (input[i] == -59 && input[i+1] == -103) { i++; dis.printByte(3); } else if (input[i] == -61 && input[i+1] == -95) { i++; dis.printByte(4); } else if (input[i] == -61 && input[i+1] == -83) { i++; dis.printByte(5); } else if (input[i] == -59 && input[i+1] == -81) { i++; dis.printByte(6); } //else if (input[i] == "Š" || input[i] == "š") dis.printByte(7); else { dis.print(input[i]); } //output[i] = input[i]; } } } void lcd::main_screen() { lan.set("cz"); sensors::pstates res = s.get(); dis.clear(); dis.setCursor(0, 0); String wtank = lan.WATER_TANK + res.wtank_level + "L"; printText(wtank); String well_state; if (res.well == 0) { well_state = lan.WELL_TOO_LOW; } if (res.well == 1) { well_state = lan.WELL_LOW; } if (res.well == 2) { well_state = lan.WELL_HIGH; } String well = lan.WELL + well_state; dis.setCursor(0, 1); printText(well); } ```

If I pause the program, I always end up here: image

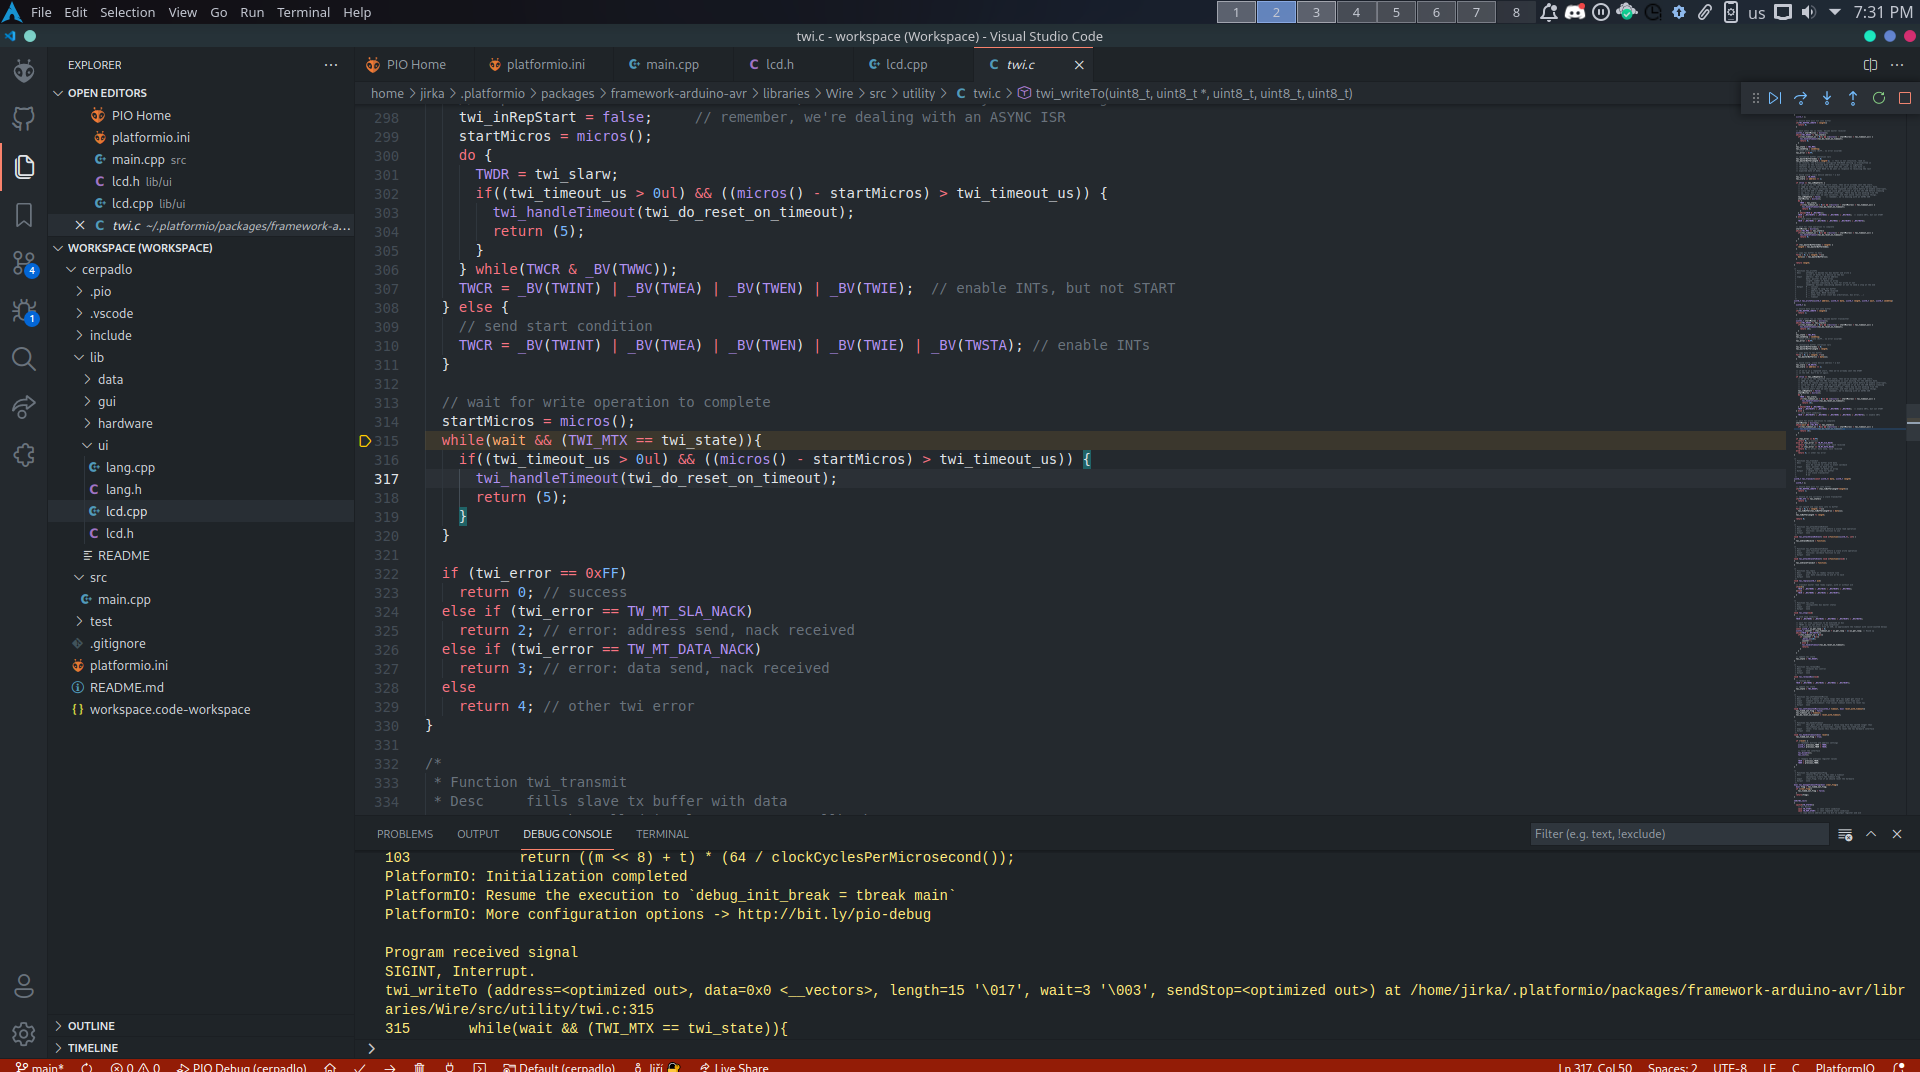
Am I doing something wrong?

jdolinay commented 2 years ago

Hi, unfortunately this is limitation of the debugger in the default 'RAM breakpoints' mode - no interrupts are executed except the one used by the debugger to step the program and check if a breakpoint was reached. The Wire library uses interrupts and those are blocked when you debug the program, even if you click the continue button and let the program run.

In the loop where you find the program, the code waits for variable twi_state to be changed in interrupt service routine, which will never happen. Normally the timeout would end this wait but the micros function is also not working because it depends on timer interrupt - so the program hangs there.

The only situation when other interrupts are not blocked and the program should work is if you remove all breakpoints and let the program run. But in this situation you can only stop the program by the pause (suspend) button, so it will stop at random moment. But maybe this can still be useful to some extent.

There are two solutions:

jiriks74 commented 2 years ago

@jdolinay Is it possible to flash the bootloader using another Uno or Arduino compatible board? I wasn't able to find any guides on it

jiriks74 commented 2 years ago

@jdolinay I flashed my bootloader from here, but I cannot get debugging to work. Here's my platformio.ini:

``` [env:uno] platform = atmelavr board = uno framework = arduino build_flags = -DAVR8_BREAKPOINT_MODE=2 lib_deps = bogde/HX711@^0.7.4 marcoschwartz/LiquidCrystal_I2C@^1.1.4 jdolinay/avr-debugger@^1.4 upload_port = /dev/ttyACM1 debug_tool = avr-stub debug_port = /dev/ttyACM1 upload_protocol = arduino ```
jiriks74 commented 2 years ago

@jdolinay After quite a lot of trouble, messing around with my older Uno and new Uno as programmer, both old and new IDEs, linking some libraries, I managed to get flashing working in the new ide and I flashed Optiboot from the main repository. Breakpoints now work flawlessly with mode set to 2, looks like way better than with 1. Thanks for help.

jdolinay commented 2 years ago

Hi, I am glad that you made it work. I have an article about replacing the bootloader here at codeproject: https://www.codeproject.com/Articles/5162481/Creating-and-Debugging-Arduino-Programs-in-Visua-3 but you already have it running :) With flash breakpoints the debugging is much better. The downside is that the flash memory is overwritten often. This is discussed in the avr_debug.pdf in chapter "Using breakpoints in flash memory ".