 lazyplatypus
commented
3 years ago
lazyplatypus
commented
3 years ago ![Uploading Mi_Amor 112x112.png…]()
Open lazyplatypus opened 3 years ago
lazyplatypus
commented
3 years ago ![Uploading Mi_Amor 112x112.png…]()
 ghost
commented
3 years ago
ghost
commented
3 years ago This week, you will be going through steps to set up tools needed to be successful in this camp. If you are already familiar with some, feel free to skip to the end and complete the task to move on.
 2. Choose “Function App” (it should be in the list of popular resources, with the lightning logo, but you should also be able to search it in the marketplace)
 3. Create a new resource group, with a unique resource name (related to what your app does e.g. "TimeFunction"). Add a unique Function App name as well (e.g. "ShreyasTimeApp").
4. Make sure the "Code" button is selected next to Publish, the Runtime stack is Node.js, and the Version selected is 12 LTS
3. Create a new resource group, with a unique resource name (related to what your app does e.g. "TimeFunction"). Add a unique Function App name as well (e.g. "ShreyasTimeApp").
4. Make sure the "Code" button is selected next to Publish, the Runtime stack is Node.js, and the Version selected is 12 LTS
 5. Select your region
6. All of the other tabs in this step should be correctly filled (you can double-check them if you want), so you should be ready to click "Review+Create" and then “Create”
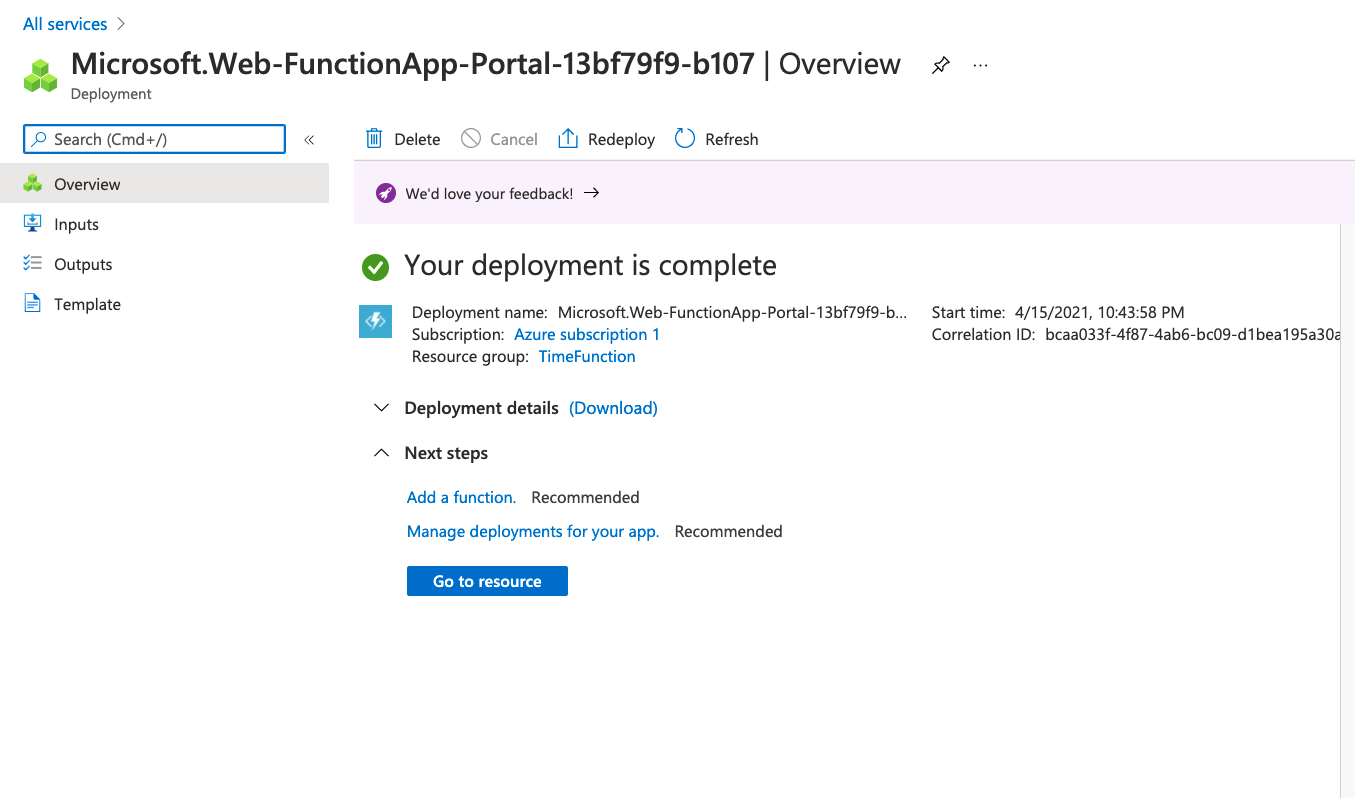
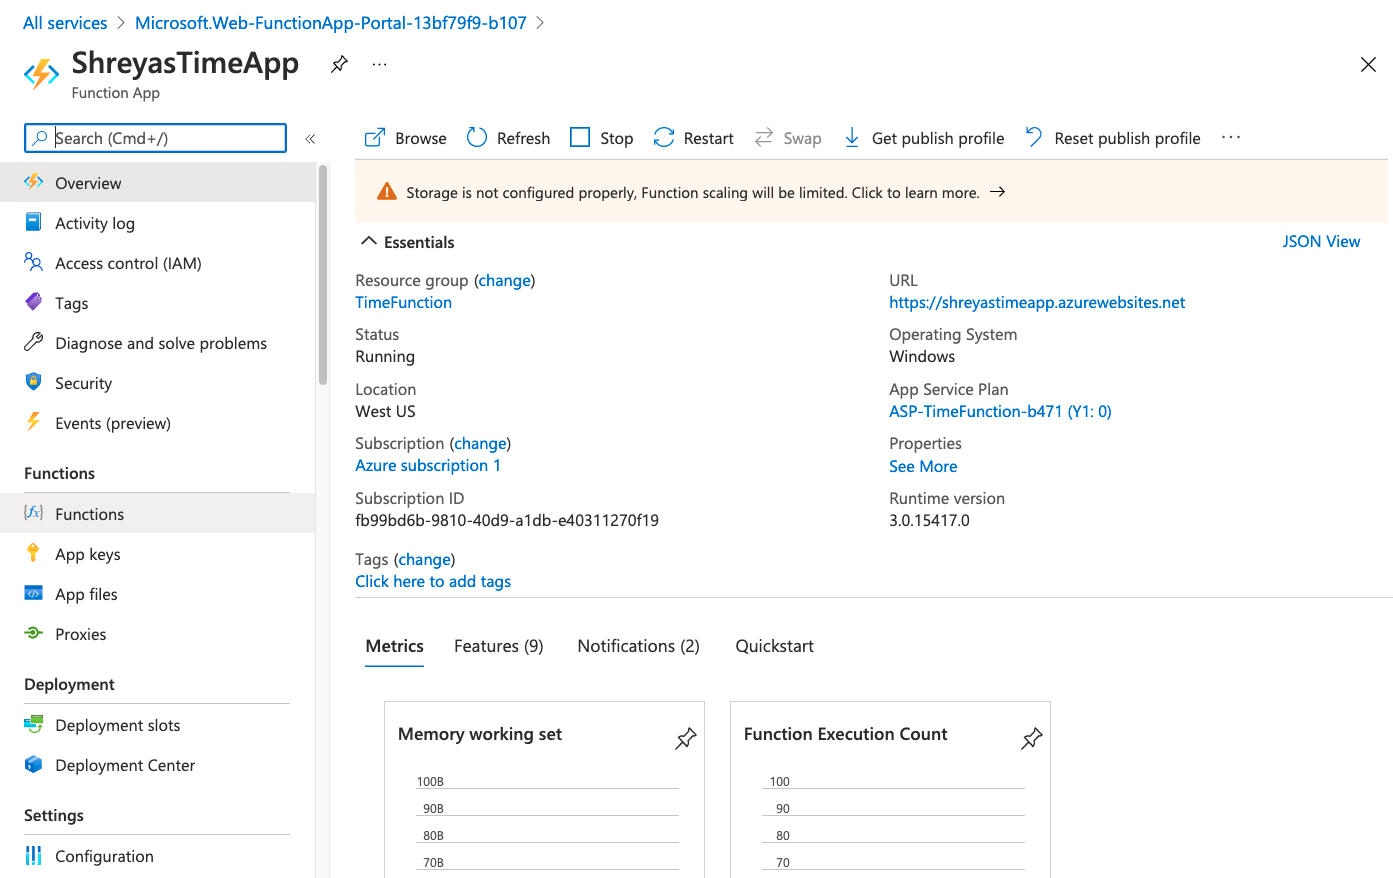
7. Deploying may take a few minutes – be patient! Once the function is deployed, open it.
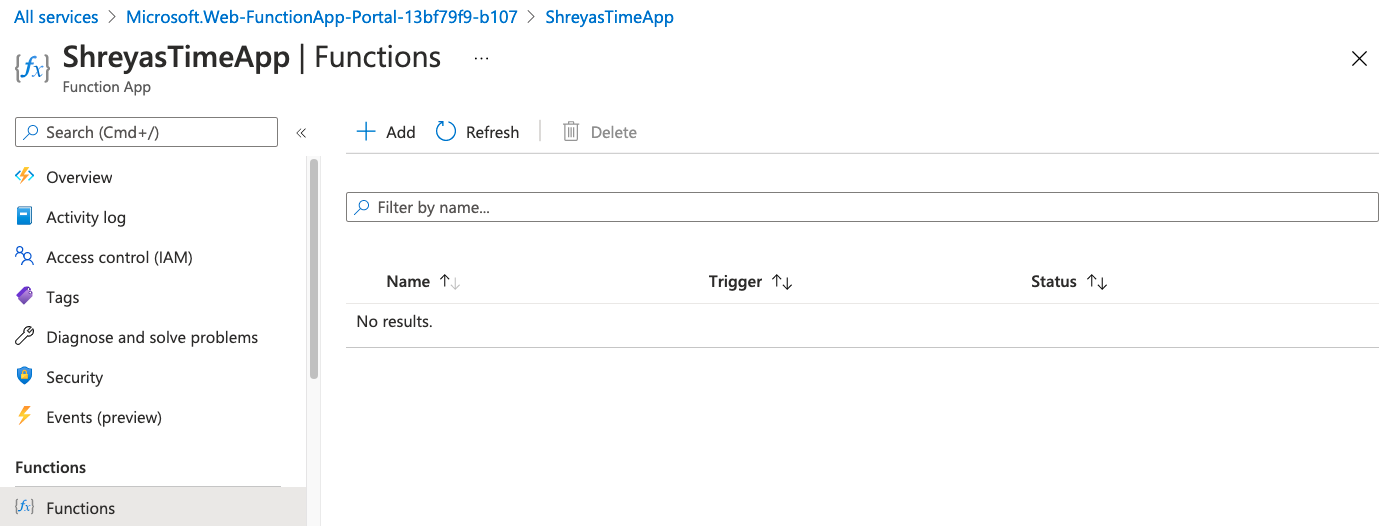
9. Go to the “Functions” tap on the left (with symbol {fx}).
10. Click “Add” on this page, and then search “HTTP trigger” (in the side window that opens)
12. Click “Add” (at the bottom of the side window) – creating this HTTP trigger may take a few seconds, so remember: patience!
5. Select your region
6. All of the other tabs in this step should be correctly filled (you can double-check them if you want), so you should be ready to click "Review+Create" and then “Create”
7. Deploying may take a few minutes – be patient! Once the function is deployed, open it.

9. Go to the “Functions” tap on the left (with symbol {fx}).

10. Click “Add” on this page, and then search “HTTP trigger” (in the side window that opens)

12. Click “Add” (at the bottom of the side window) – creating this HTTP trigger may take a few seconds, so remember: patience!
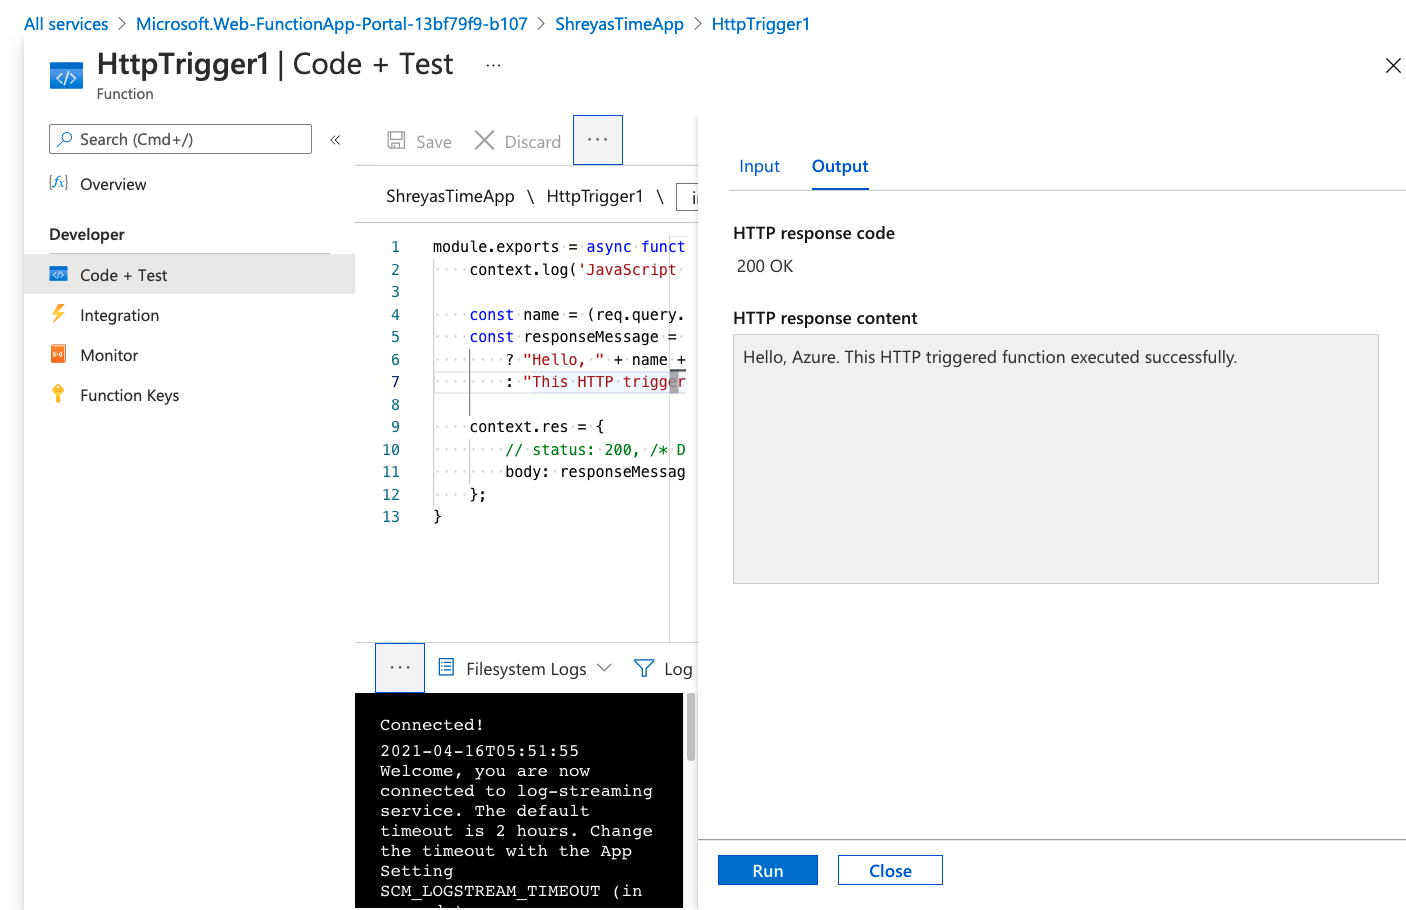
 11. Once this trigger is created, it should automatically open. Click the “Code + Test” tab on the left side, and you should be able to see and edit the code.
 12. Click “Save” and “Refresh” (in that order, and refresh only once the trigger has completely saved) when you have finished writing your code (or in between – it never hurts).
13. Click “Test/Run” once you are ready to try out your new trigger function. If it all works smoothly, and the code has no errors, you should receive an output that says "Hello, Azure. This HTTP triggered function executed successfully."
12. Click “Save” and “Refresh” (in that order, and refresh only once the trigger has completely saved) when you have finished writing your code (or in between – it never hurts).
13. Click “Test/Run” once you are ready to try out your new trigger function. If it all works smoothly, and the code has no errors, you should receive an output that says "Hello, Azure. This HTTP triggered function executed successfully."

 2. Run the function and check the HTTP response content - make sure that the output now contains your name.
 3. Next, let's try to use the body to change the name. In the input body, change "Azure" to another name (a different name) in double quotes and run the function. You should notice that the output still contains the first name you provided. Check out the code and see if you can figure out why this is.
 Try editing this function on your own! *(Don't forget to save when you make changes!)*
One more tip: don’t forget to save! Rewriting code can be challenging and extremely frustrating, so save yourself the trouble!
Example output:
Hello! The current time is: 17 : 41 : 34 PMThis time we'll try developing locally. Follow the directions in this link to set up and deploy your first Azure Function right in your local machine.
HTTP_ENDPOINT so we can check your function. Remember to commit the function's code in a file named httptime.js to the root of the week1 branch!Note: Every time you make a new commit to week1, we will check your function by making a request.
Week 1 Step 3
Postman, APIs, and requests
:question: What is Postman and why do we need it?
Later, when we begin to code our Azure Function, we are going to need to test it. **How?** Just like our final web app and the first function we will code, we'll be sending requests to the Function's endpoint.You can install Postman from the Chrome Store as a Chrome extension, or sign up here
:question: What is Postman going to do?
1. After this step, we will code an Azure Function that needs testing. 2. We will also later use Postman to **send a POST request** to our Azure Function to test if it works, mimicking what our static website will do. Our HTTP trigger Azure Functions will be an [API](https://www.youtube.com/watch?v=s7wmiS2mSXY) that receives requests and sends back information. To introduce you to sending requests to an API and how Postman works, we'll be **sending a GET request to an API this time.**:exclamation: Getting Started with Postman
1. You can choose to sign up or skip and go directly to the app. 2. Close out all the tabs that pop up until you reach **this screen** 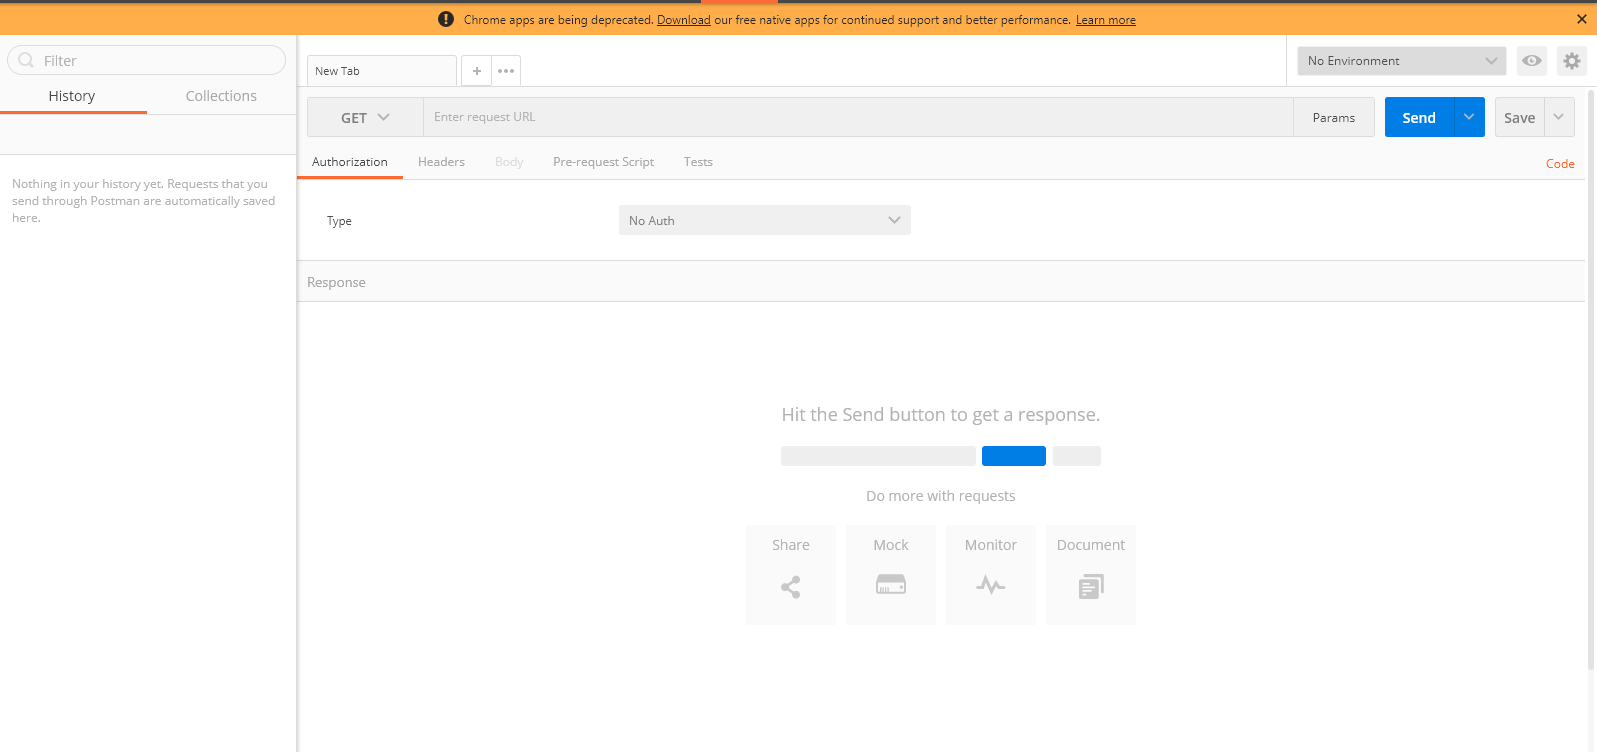:pencil: Task 4: Send a GET request to the Cat Picture API and receive a cat picture with "Bitcamp" written on it in a specified color and text size.
Try it out yourself:
color(color of the text) andtext(font size)Stuck? Check here:
1. **Specifying the API Endpoint:** Enter https://cataas.com/cat/cute/says/Bitcamp, which is the API endpoint, into the text box next to GET  2. **Setting Parameters:** Click on "Params" and enter `color` into Key and the color you want (eg. blue) into Value. Enter `size` into the next Key row and a number (eg. 50) into Value. > **Note on parameters:** > * the `size` parameter refers to the font size of your caption. It has a limit at around 1,200. > * Colors are pretty hit or miss; since the Cat API is on the web, but it generally adheres to HTML color names. Expect values such as "blue, green, yellow" to work. > * The API can take very large words as input for the caption, however only **34** characters can be seen on the picture at one time . 3. **Click `Send` to get your cat picture**
Interested in playing around with the API? Documentation is here.
:camping: To move on, comment your cat picture 🐱