Hi Cyrille,
Sorry for the delay getting back to you. The holidays were crazy. Thank you so much for your detailed report. I no longer have a MOD-t, and thus haven't moved this project forward any more than I outlined. If I get some time I'll factor your feedback into the overall process. I've made a note on the wiki home pointing to this issue, so that anyone who stumbles upon this will be directed to your writeup.
Thanks again!
Dear Matt,
First of all, a huge thank you. You've made this whole process accessible with your great instructions. This following 'issue' is a description of the issues I ran into - many of which you cover, some perhaps are unique to my Mod-t (?).
I'll describe chronologically as best I can my process, provide images (that you have my full permission to use for any and all purposes and integrate anywhere you see fit).
I'll skip the obvious steps for those who've already disassembled their machines in the past.
My MOD-t
It's the earliest batch possible - I was one of the 100(?) to get a discounted MOD-t ($USD100?) on the crowd-funding site. It's always been a delicate beast. I've disassembled it many times, usually due to the filament grinding or breaking then jamming after the filament feed/gear.
The Molex plug
I was able to reuse the molex plug by removing the crimped metal bits (Molex KK 254 - example 1, example 2).
If I had realized I could find and buy these little guys it would have made things a bit easier, as you had mentioned, but I did as you did and just crimped the existing wires to the Heater Block & Thermistor wires. However, by removing the KK254 bits I was able to slide over the sleeves for the insulation tubes and heat protection.
Removing existing hardware
My stack, plate, and bottom bolt heights were similar to yours: 12.13mm, 1.56mm, and 1.91mm (3.47mm - 1.56mm).
Rebuilt hot end
I bought some half width M6 nuts. This turned out to be not necessary for me and I will replace them with normal size ones and maybe washers if I need to disassemble it again. I'll explain why in a bit.
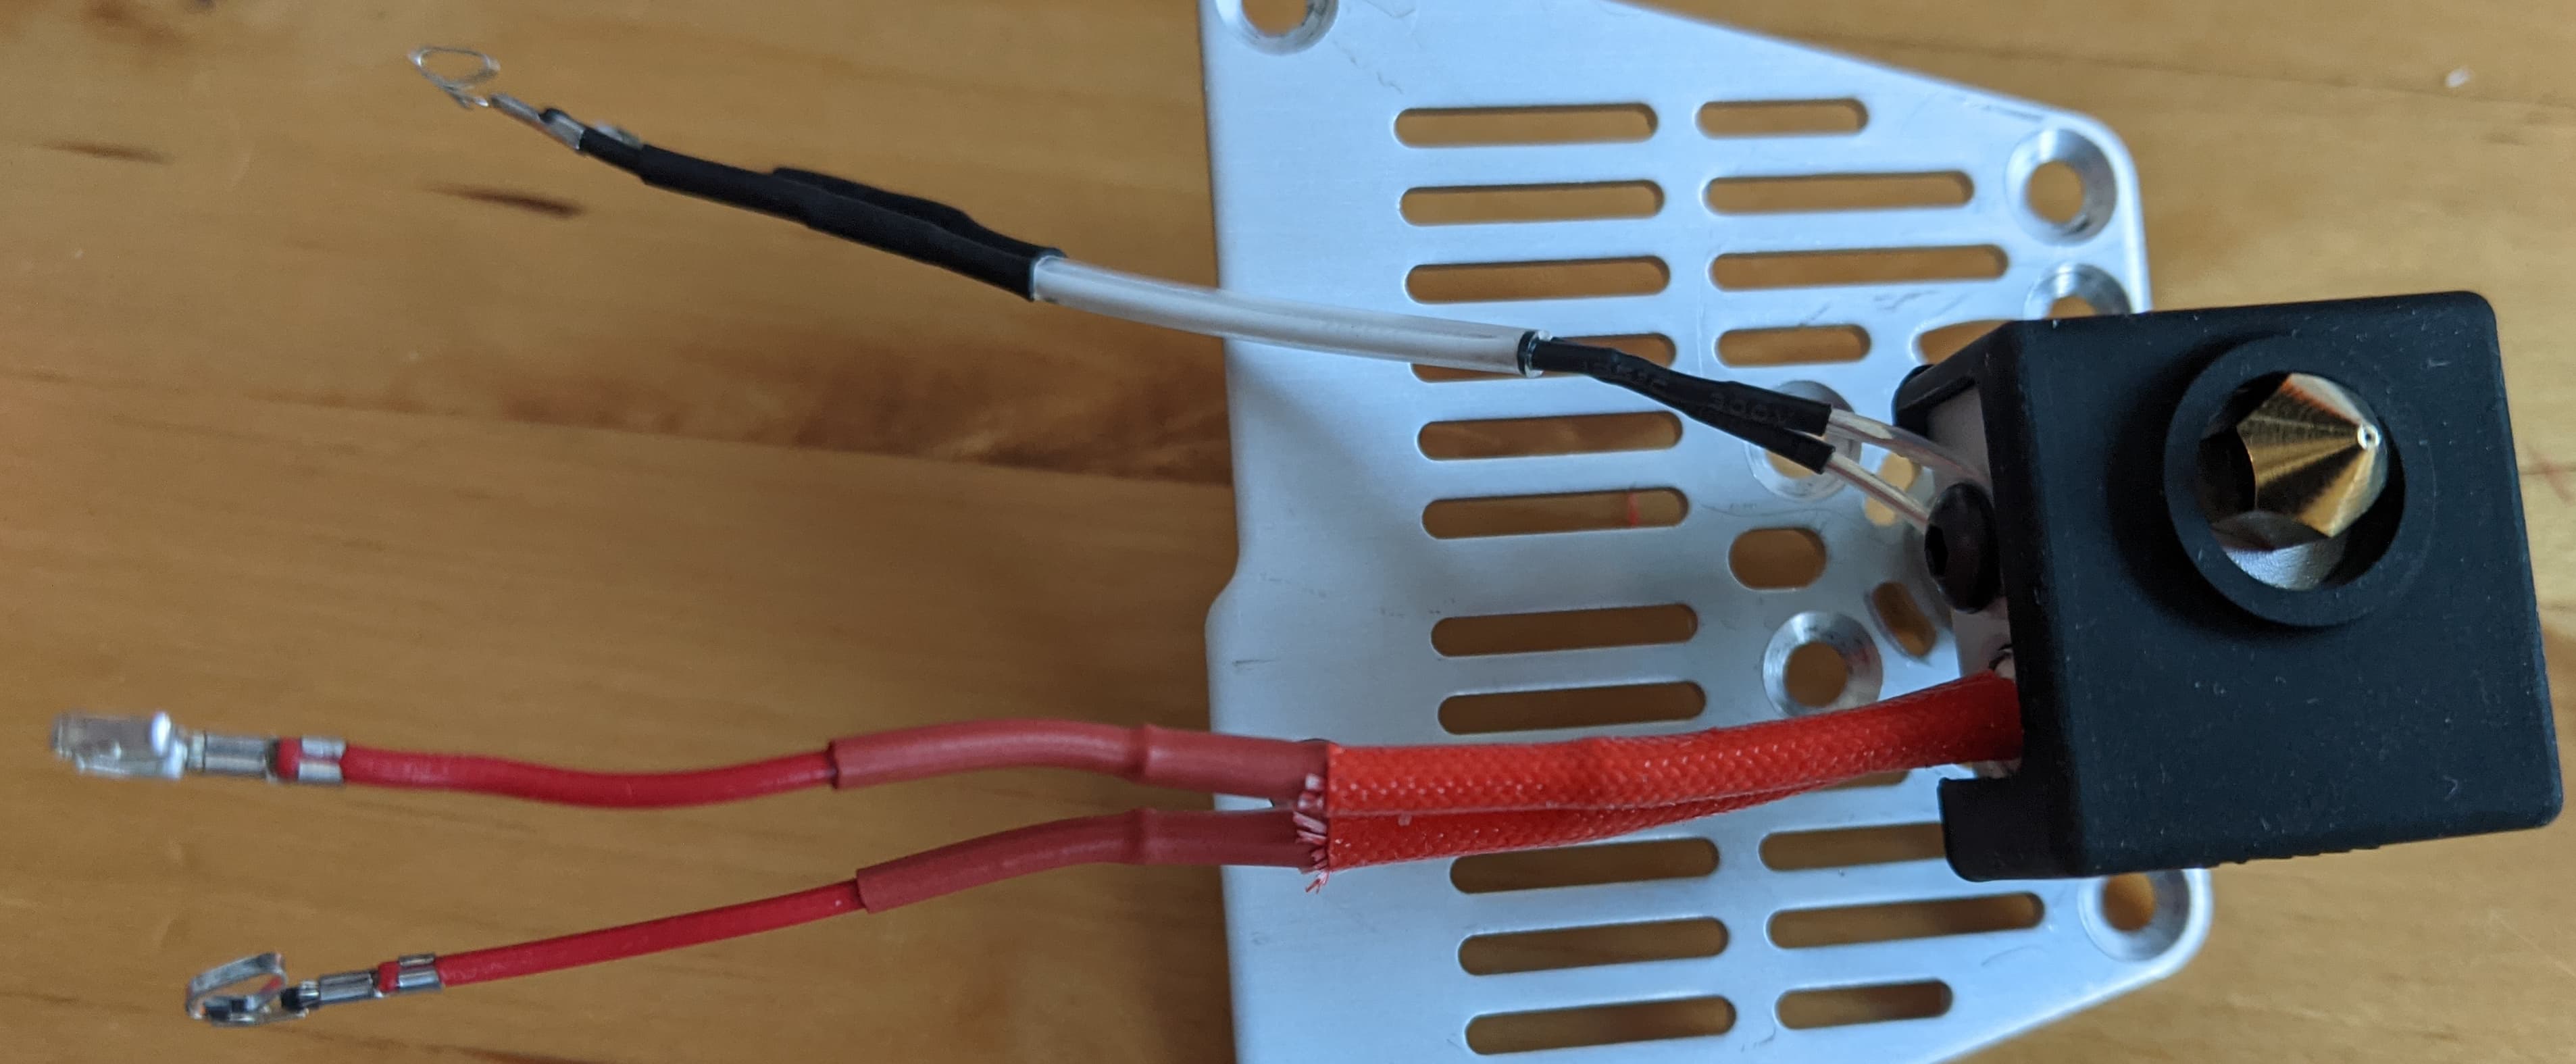
Here's my rebuilt hot end after crimping.
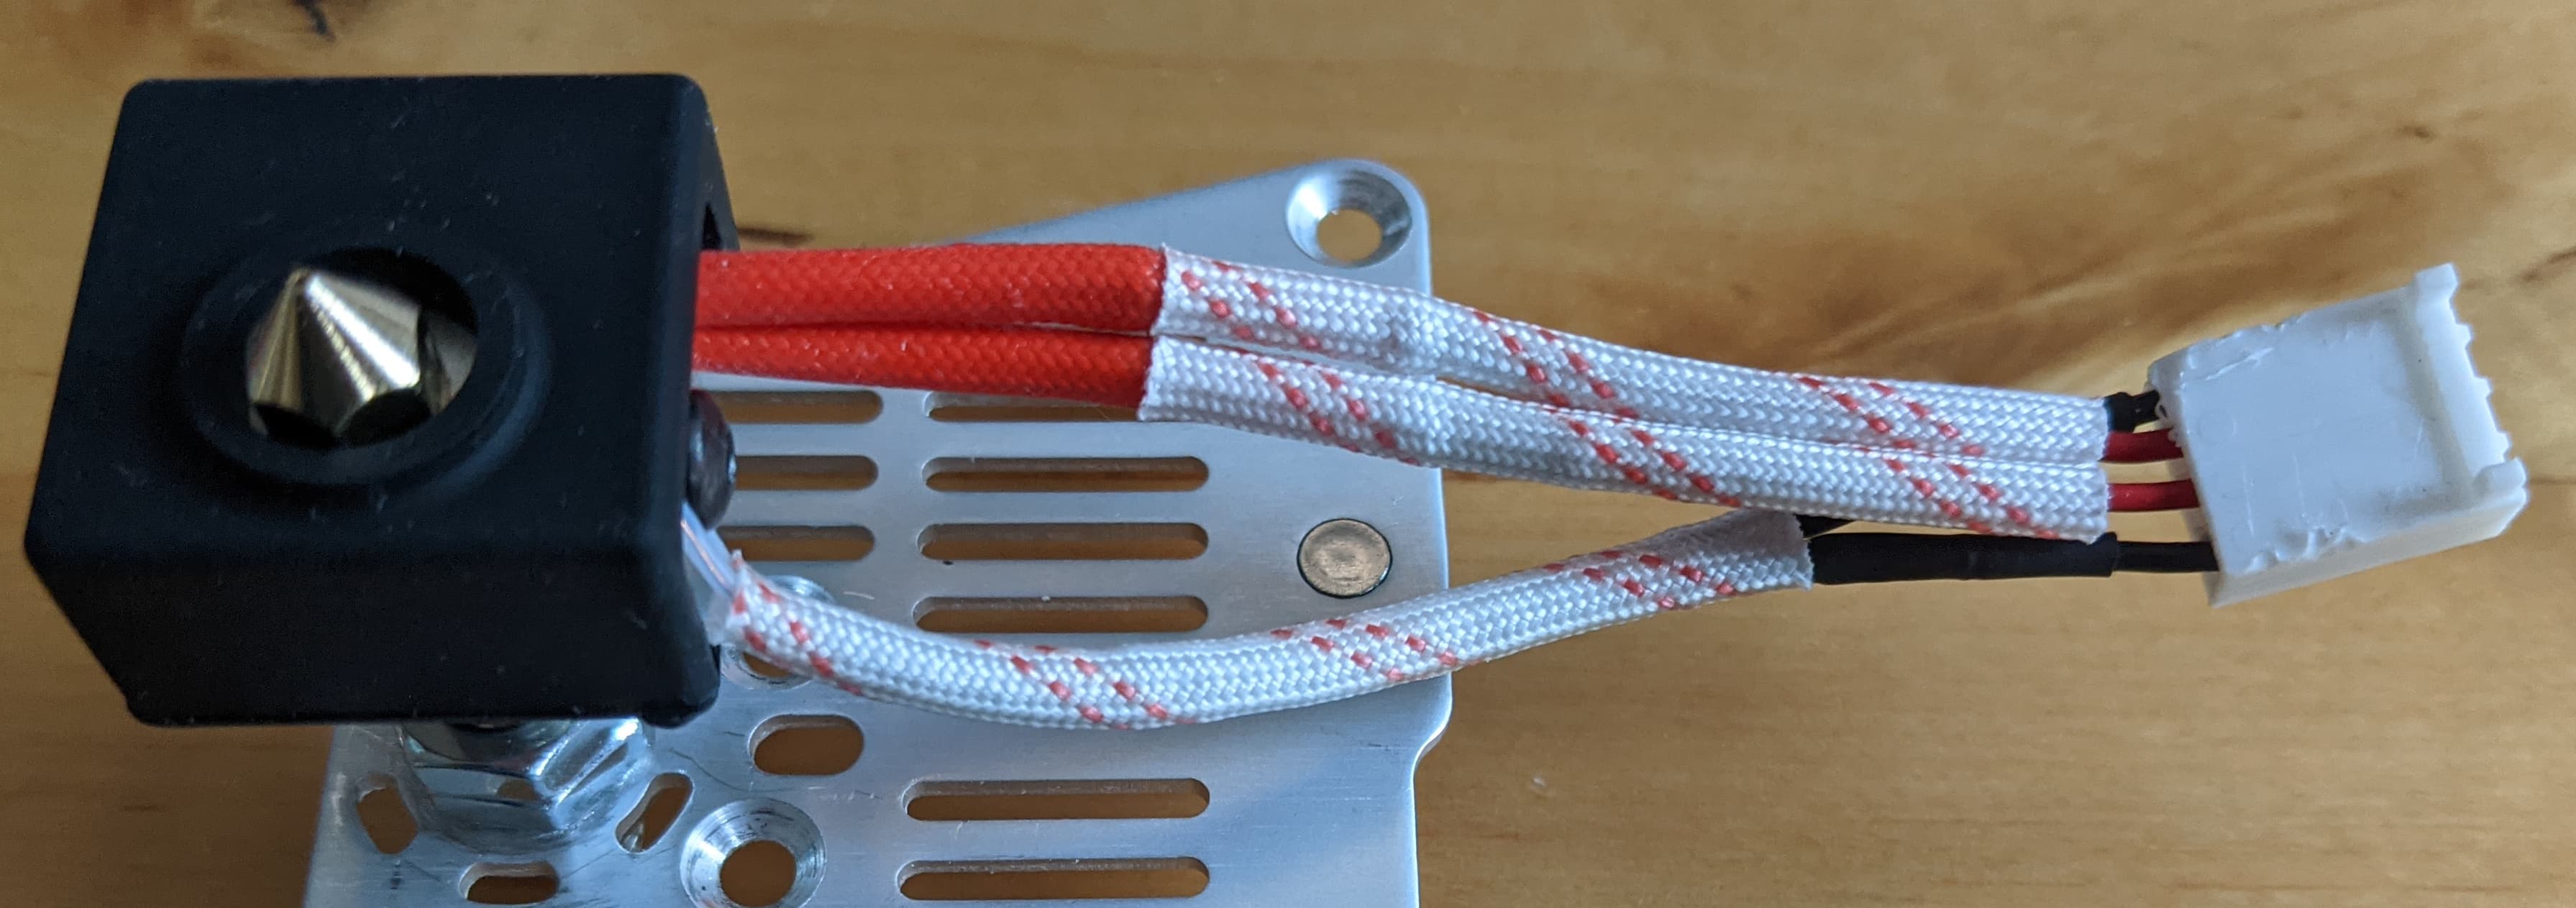
Then after installing the insulation.
Installing the hot end - problems
I had two main problems here:
Solution to problem #1
Looking in the image below you can see the previous stack fit in the plastic feed guide, which is below the extruder in the plastic feed assembly (PFA). The new M6 threaded teflon throat cannot fit inside.
I just cut away the arms that where in the way.
Solution to problem #2
The M6 nut doesn't fit above the plate. The plastic feed assembly sits flush against the plate and the hole is smaller than the nut's width.
I again cut away the 'excess' plastic. It's a bit chunkier than the last cutting exercise - I also used an X-acto knife to carve the bottom size (in the second image below).
While this seems worrisome in terms of structural support, it is two thin parts of plastic coming together at the hole. So it's fine. You can see however that I've over-tightened the screws in the past and it's stressing the plastic. I put some crazy glue on the cracks to hopefully hold off any problems a little longer.
Adjusting the teflon throat height
It turned out that measuring the throat height ahead of time wasn't useful for me.
I simply put the plastic feed assembly (PFA) in place and the pushed up the teflon throat to make contact with the assembly above. Holding it there I wound the outside M6 nuts to the plate, removed the PFA, tightened the inner M6 nut, and then checked that everything is inline and joined properly with the PFA back in place.
Because the plate hole is a bit larger than the teflon throat it took a few minutes of fiddling to get everything inline and tight.
Final adjustment to the hot end
I took a different approach to the merging of the throat and hot end inside the block (after some leakage problems).
I did the following:
I read that the nozzle shouldn't be flush. Also, and more practically, if you didn't tighten your nozzle-throat enough but your nozzle is bottomed, you can't easily tighten the pair anymore (due to plastic inside, connected moltex, etc...). If you have some space between the block and nozzle you can tighten this more if there's any oozing of plastic out the thread.
Conclusion
It's printing a little smoother now than before (with the same Cura profile). I'm now using the Cura profile you provided for less stringiness. Thanks!
I'm happy to answer any questions if I've left something out.
Matt, thanks a bunch. You made it look relatively straight-forward.
I feel like I have a better and more reliable printer on my hands now. So thanks again Matt.