 mattdibi
commented
2 years ago
mattdibi
commented
2 years ago Hi there,
I like the case that is https://github.com/mattdibi/redox-keyboard/blob/master/img/pcb-w-assembly1.jpg but not sure where the files for it are, or if it is compatible with the v2 WHS.
That was a case designed and manufactured by Falbatech. I do not own the design files nor the means to reproduce it.
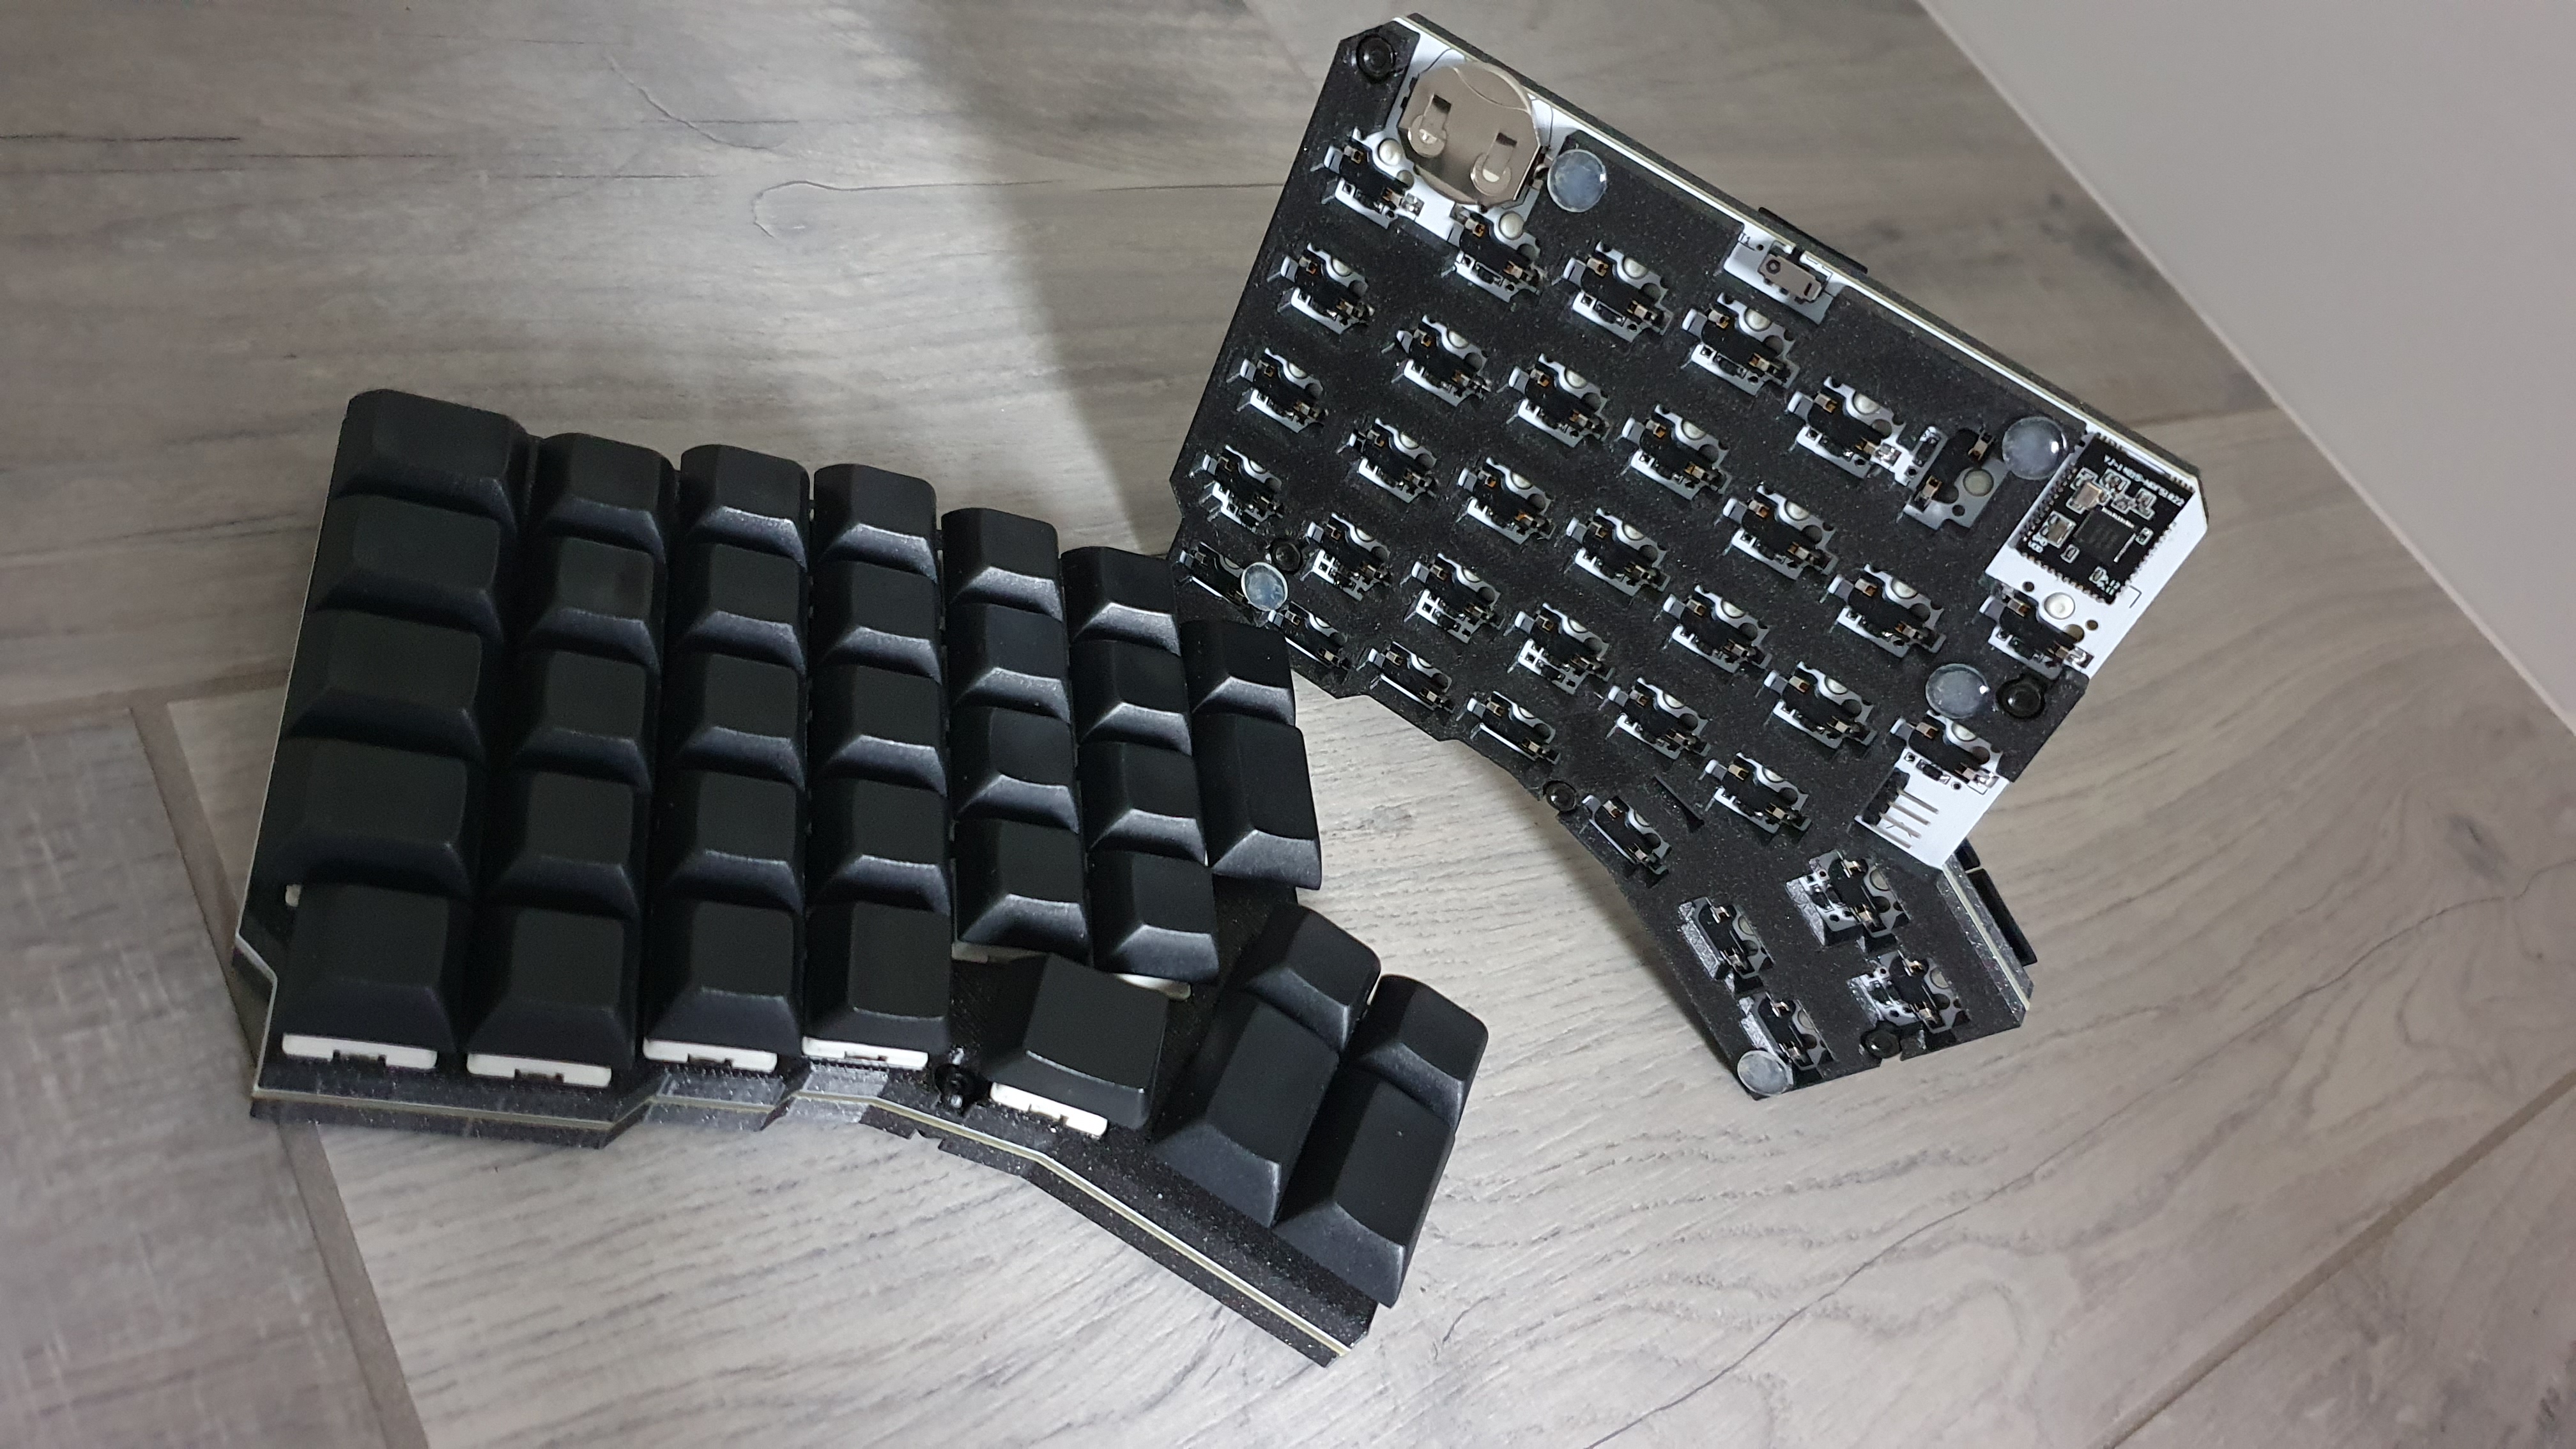
Is the case that is designed for the v2 just the open design like in this picture: https://raw.githubusercontent.com/mattdibi/redox-keyboard/master/img/redox-w-2.0-case-1.jpg
That is the case designed for the Redox 2.0WHS and is available here: https://github.com/mattdibi/redox-keyboard/tree/master/redox-w/rev2.0WHS/case
There's also a closed back design that I did not test.
If so I am even still a bit confused on what I need to print and how to assemble that.
You need to print the front plate and one of the back plates. Those are designed for the left hand, you'll just need to mirror them along the X axis on your slicer to get the right hand.
Assembly just need a few m3 screws and bolts.
Hope this helps...
 buddylindsey
So i am trying to figure out what case to print for the V2 wireless.
I like the case that is https://github.com/mattdibi/redox-keyboard/blob/master/img/pcb-w-assembly1.jpg but not sure where the files for it are, or if it is compatible with the v2 WHS.
Is the case that is designed for the v2 just the open design like in this picture: https://raw.githubusercontent.com/mattdibi/redox-keyboard/master/img/redox-w-2.0-case-1.jpg
If so I am even still a bit confused on what I need to print and how to assemble that.
Sorry for the questions on this. I might just be missing something somewhere or in the docs. Just not sure what to print. Hoping I can get to actually soldering up everything this week and maybe put this together this week, I hope.