Week 4 Step 2 ⬤⬤◯◯◯◯◯ | 🕐 Estimated completion: 20-25 minutes
Error Handling ~ Sir this is a Wendy's
Demo: 🐰
Ideally, users will fill the web form with the correct information. However, people make mistakes. In this step, we will be implementing some form validation to make sure that a user has inputted text value before submitting their password.

✅ Task:
- [x] Check you are on the
bunnimage-frontendbranch - [x] Change your HTML form to accept
multipart/form-datainindex.html - [x] Add a file input to
index.htmlthat acceptsimage/x-png,image/jpegand add the attributename=image - [x] Modify the
getImageevent handler function inindex.jsto create an alert if either the file input or thenameinput is null - [x] Modify the button so that it submits the form by changing its
typeattribute to"submit" - [x] Prevent the page from reloading after submission
- [ ] Commit your updated code to
bunnimage/index.htmlandbunnimage/script.js
🚧 Test your Work
Open up your LiveServer plugin and start your server.
:pencil: You have three test cases to try
1. **The "correct" way**: Submit both a file and text. Check that you receive "Thanks!" 2. **The "unexpected" way (file)**: Submit a file that is not png or jpeg. Does it work? 3. **The "unexpected" way (text input)**: Try submitting without entering a username. You should get an alert box that says "No name error."Preventing the Page from Reloading
By default, the website will reload whenever a user presses submit. This leads to our text on the page that we set being cleared away. We can prevent this by adding this to the top of our getImage() function:
event.preventDefault()Accepting Images as an Input
In HTML Forms, the enctype attribute specifies how the form-data should be encoded when submitting it to the server. Like we learned before, if we want to upload files, we need send form-data encoded as multipart/form-data
    <h1>Bunnimage</h1>
    <form onsubmit="getImage(event)" enctype="multipart/form-data">
        <label>Code: </label>
To add the image upload input, add an additional file input within the form & change the submit button's type.
<form onsubmit="getImage(event)" enctype="multipart/form-data">
   <input type="file" name="image"></input>
   <input id="name" type="text"  placeholder="Enter your file's name">
   <input type="submit" />
Input Validation?
We need to validate two things.

Week 4 Step 1 ⬤◯◯◯◯◯◯ | 🕐 Estimated completion: 20-25 minutes
Adding an Event Handler to your HTML Form!
Demo: 🐰
Congrats! If you made it this far, your Azure functions can now return data. However, users won't want to make POST requests with Postman to use your API though, so let's make it more user friendly.
✅ Task:
bunnimage-frontendbranchgetImageevent handler function when the submit button is clickedgetImageevent handler function inindex.jsto displayinputappended with a ❤️ in theoutputdivbunnimage/index.htmlandbunnimage/script.jsbunnimage-frontendtomain, but do not merge it🚧 Test your Work
Use LiveServer! This is a helpful VSCode extension that allows you to see your HTML that updates while you edit it.
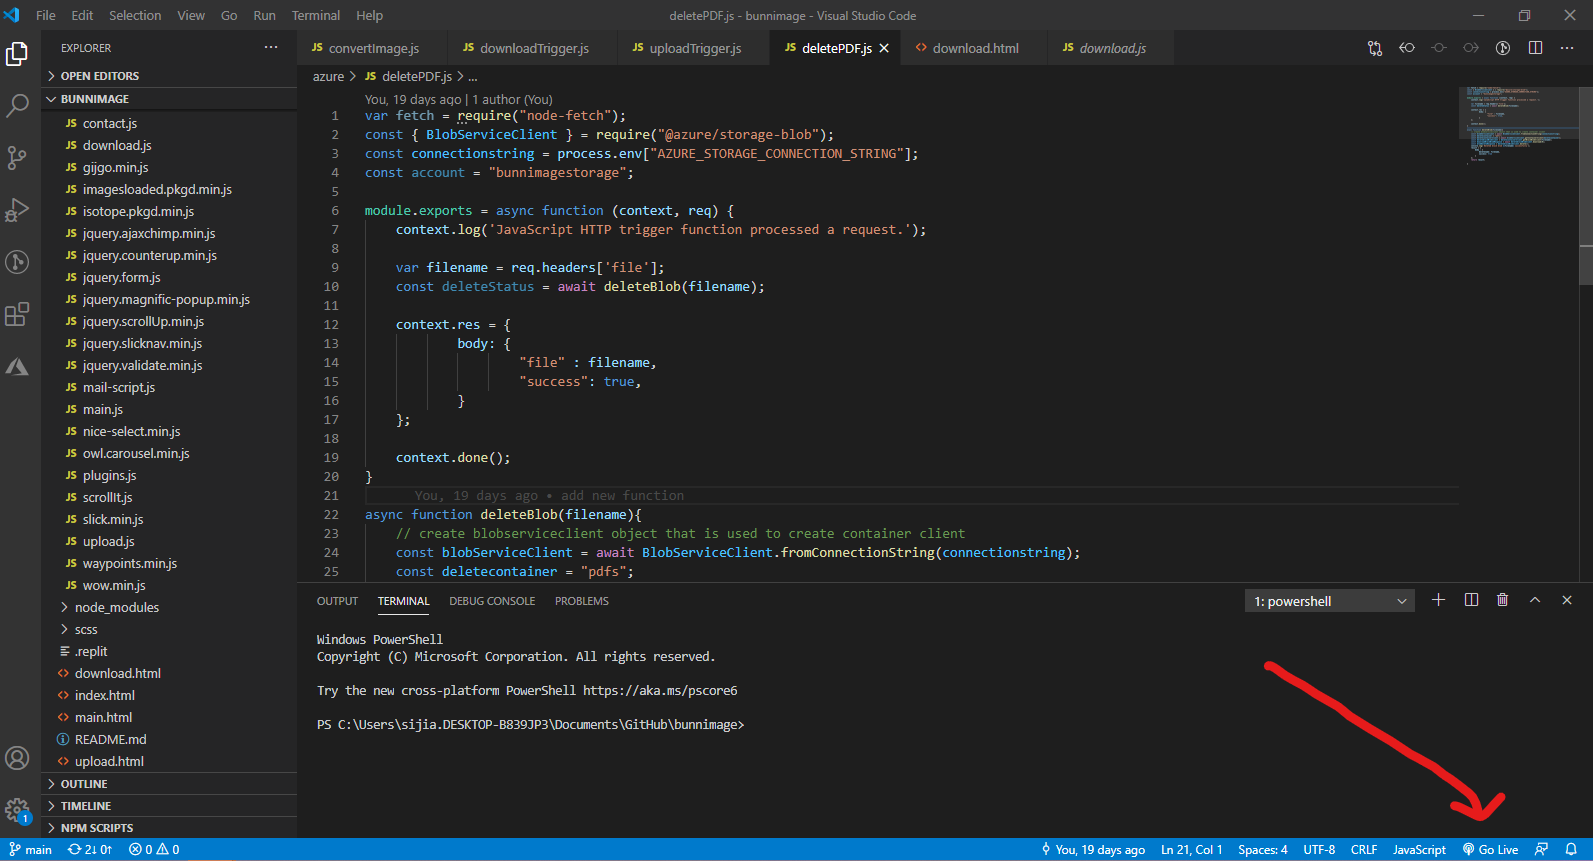
:question: How do you use LiveServer?
 * To start a local server, click `Go live` at the bottom right of the screen, as shown in the image. * Make sure that you have the entire repo open on VS Code and not just the individual files. * If this is your first time installing LiveServer, you might need to close/quit VS Code and reopen it. * Test it out, and see what your HTML page looks like! *It's OK if it's boring, so feel free to style it with CSS!*
Adding jQuery
jQuery takes a lot of common tasks that require many lines of JavaScript code to accomplish, and wraps them into methods that you can call with a single line of code. We are going to be using the
.textmethod to change the text displayed on theoutputdiv.index.jsinindex.html:question: How do I import jQuery?
Put it **at the very end of the HTML page outside of all the tags!** ```html ```:exclamation: How can I connect my JS file to my HTML?
Great question! All we have to do is reference it just like we did with the jQuery. ```html ... ``` > Place this directly under your jQuery reference.Writing the Event Handler Function!
On websites, there are many different types of events that can occur. For example:
We need to create an event handler function called
getImage(), which triggers when someone submits an image.We are going to do this by using the jQuery
text()method. The syntax to set the text for a div is$(selector).text(content).To learn more, read the docs here
I'm confused on how to do this
- The selector should be `#output`, or the name of the div with a # in front. - The content should be `document.getElementById("username").value + "❤️"` > :bulb: We are retrieving the value of the "name" text box with this code! `$('#output').text(document.getElementById("username").value + "❤️")`How do I call the event handler from my HTML form?
The
onclickevent executes a Javascript function when a button is clicked