 vtex-course-hub[bot]
commented
4 years ago
vtex-course-hub[bot]
commented
4 years ago You did great! :grin:
Results
:white_check_mark::white_check_mark::white_check_mark::white_check_mark::white_check_mark::white_check_mark::white_check_mark::white_check_mark::white_check_mark::white_check_mark::white_check_mark::white_check_mark:
Tests
:white_check_mark: Code compilation: menu.jsonc :white_check_mark: Code compilation: menu-flex.jsonc :white_check_mark: Major appliances submenu must contain a flex-layout row as children :white_check_mark: flex-layout row must be correctly stated :white_check_mark: flex-layout row must contain two cols as children :white_check_mark: flex-layout columns must be correctly stated :white_check_mark: flex-layout colum must contain major appliances menu as children :white_check_mark: flex-layout colum must contain image and rich-text as children :white_check_mark: flex-layout colum must contain correct props :white_check_mark: flex-layout colum must contain correct props :white_check_mark: image component must be correctly stated :white_check_mark: image component must contain correct props
 github-learning-lab[bot]
Menu
:sparkles: **Branch:** menu
Introduction
Having already configured and implemented the header, let's now add it to the Menu. Configuring the Menu is an important step in building your theme, since it's the block that's responsible for the user's navigation in your store. Because of its function and relevance, the Menu possesses a complex hierarchical structure, which involves menu items, submenus and, based on the latter, any Store Framework block (such as other Menus e Menu Items). Below we can see an image highlighting the Menu block's structure in practice:

Configuring the Menu
When compared to some of the other blocks, the Menu's configuration may seem more difficult due to its structure of menus, menu items and submenus. However the Menu does not necessarily need to be configured according to the most complex scenario. Below, we can check a basic implementation example for the block, containing just the following 3 Menu Items:
json { "vtex.menu@2.x:menu#categories": { "children": \[ "menu-item#major-appliances", "menu-item#small-appliances", "menu-item#electronics" \], "props":{ "orientation": "horizontal" } } }, \Activity
This activity will help us understand more about configuring the Menu\, in addition to its existing hierarchy based on building Menu Items and Submenus.
header-row#menu\block:json "header-row#menu": { "children": \[ "header-spacer", "vtex.menu@2.x:menu#categories", "header-spacer" \] },draweras theheader-row#main-mobileblock's first child;menu.jsonc\code to horizontally render the 3 main Menu items:json { "vtex.menu@2.x:menu#categories": { "children": \[ "menu-item#major-appliances", "menu-item#small-appliances", "menu-item#electronics" \], "props":{ "orientation": "horizontal" } },menu.jsonc, according to the example below:json "vtex.menu@2.x:submenu#major":{ "children":\[ "vtex.menu@2.x:menu#major" \] },vtex.menu@2.x:menu#categories\block, build a secondary Major Appliances Menu, declared in the last step inmenu.jsonc. You must set theorientationprop value toverticaland configure the following Menu Items in the block's children list:menu-item#refrigerators,menu-item#ovensandmenu-item#washers;json "vtex.menu@2.x:submenu#small":{ "children":\[ "vtex.menu@2.x:menu#small" \] },menu.jsonc. As with the Major Appliances, you must set theorientationprop value toverticaland configure the following Menu Items in the block children list:menu-item#mixers,menu-item#toastersandmenu-item#coffee;menu-item#cameras,menu-item#laptopsandmenu-item#tvs.:information_source: Remember to access the Menu's documentação\ if your have any questions during the activity.
Expected result: 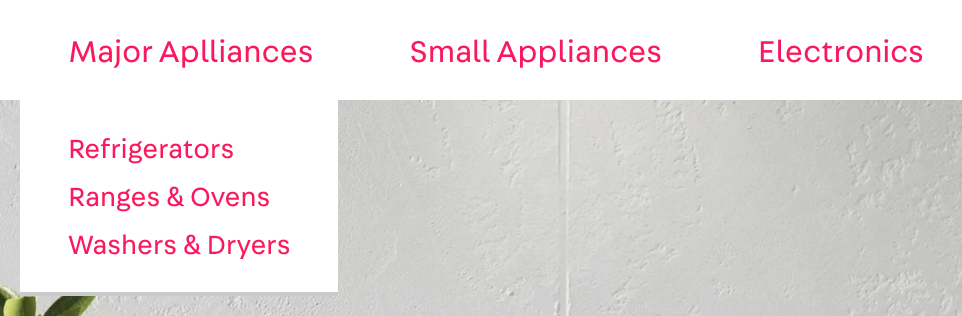
If you're still unsure as to how to send your answers, click here.