👍
Closed itsderek23 closed 5 years ago
👍
We have released Webhook notification channels. These can be combined with Zapier (free to use) in order to receive APM alerts in PagerDuty.
To integrate PagerDuty with Scout's Alert Notification system, you can utilize the Webhook feature on the Application > Notification Channels page.
In order for Scout and PagerDuty to be able to work together, you need to use a third-party service called Zapier.
Zapier is a service which allows you to connect different web services together to make custom work-flows.
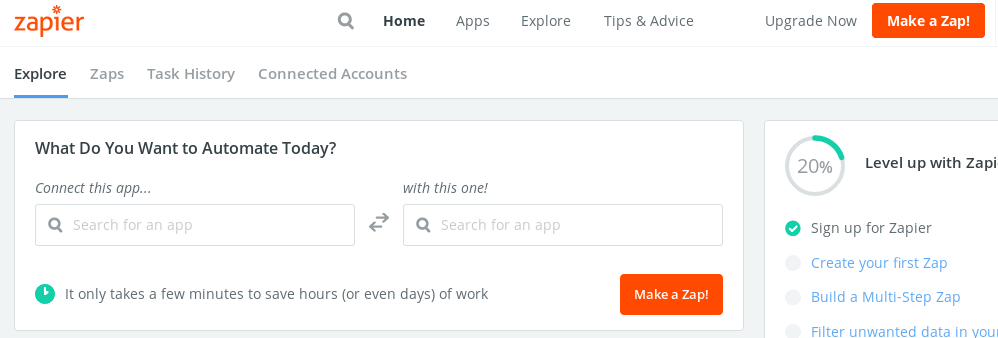
First of all you will need to create an account with Zapier, and once you have done this, you can go ahead and create a Zap, by clicking on the Make a Zap! button on the top right-hand side of the screen, as shown in the image below.
You need to create a Trigger (for Scout) and an Action (for PagerDuty) in order to make the two systems able to communicate. First of all, create the trigger by selecting Webhooks by Zapier as the App you want to work with.

Next you will need to select the type of trigger that you want, select Catch Hook. Next you will be given a URL, which is the Webhook that we will use to link to in Scout. Copy this URL and then open up Scout.

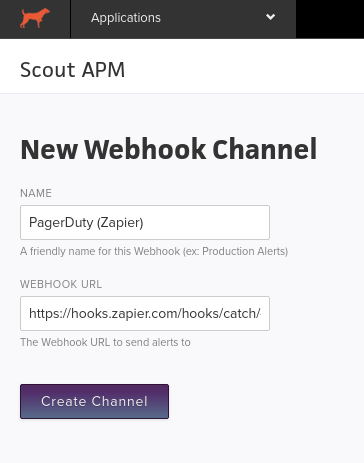
In Scout, navigate to Application > Notification Channels and create a new Webhook, like the picture below, copying in the Zapier URL.
Next you will need to add or edit a Notification Group to include this new channel.

At this point if you try to carry on creating the Zap in Zapier, it will try to pull a sample Alert from Scout using the Webhook that we set up. The reason it does this is that it requires sample data from Scout in order to understand the format of the trigger, and what fields are available from the Scout. However, at this point there are not going to be any Alerts it can use because this Webhook has only just been set up. So here you have two options:
We strongly recommend the first option, because later on when you are specifying the message that you are going to send to PagerDuty, if you do not have sample data, you will not be able to use data that came from Scout.

Open up Scout, go to Alert > Alert Conditions and create a simple condition that will alert, and choose the PagerDuty Notification Group we set up earlier.

After the Alert has occurred in Scout, go back to Zapier and click the Ok, I did this button and it will connect with Scout and look for an Alert with this matching Webhook. Choose this as the sample you want to use and click Continue.

Next you need to add an Action step to the work-flow, this is the part were we integrate PagerDuty. Click Add a Step on the left-hand side of the page.

Next click the Action/Search option, and you will be given the option to choose an app to connect.
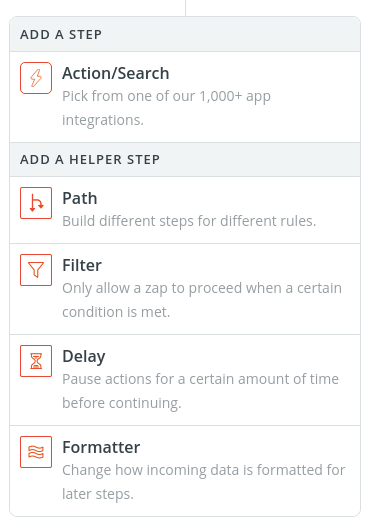
Choose PagerDuty, and then a new Action will be created on the left-hand side of the screen.

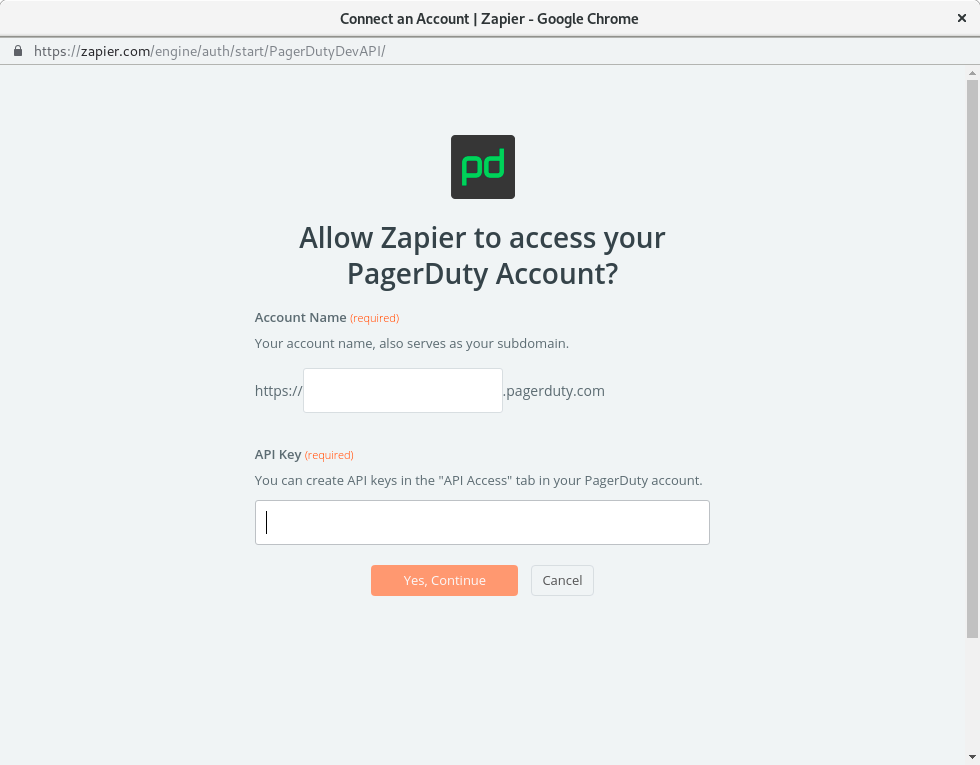
After you select the PagerDuty App, you will be asked to connect to your PagerDuty account within Zapier. In order to do this, you will have to open PagerDuty and do some configuration. But before you do that, click the Connect an Account button and a pop-up window will appear, do not fill in your details yet but keep the window open as we need it in a moment after we have configured PagerDuty.

Once you have opened PagerDuty and logged in, go to Configuration > API Access.

Next click on the green button to create a new API key for Zapier.
 "Add an API Key")
Give the key a descriptive name and then create it and copy it to your clipboard.

Now go back to the pop-up window from earlier, and type in your PagerDuty Account Name and paste in the generated API Key. After you click the Yes, Continue button, your PagerDuty account can be used in Zapier.
Before going back to Zapier, there is one more thing we need to configure, we need to add Zapier as a Service inside PagerDuty. Go to Configuration > Services.

Then click the green New Service button to add the Zapier service to PagerDuty.

Add a Service called Zapier and in the Integration Type field, search for the Zapier app. There are many more details that you can customize here.
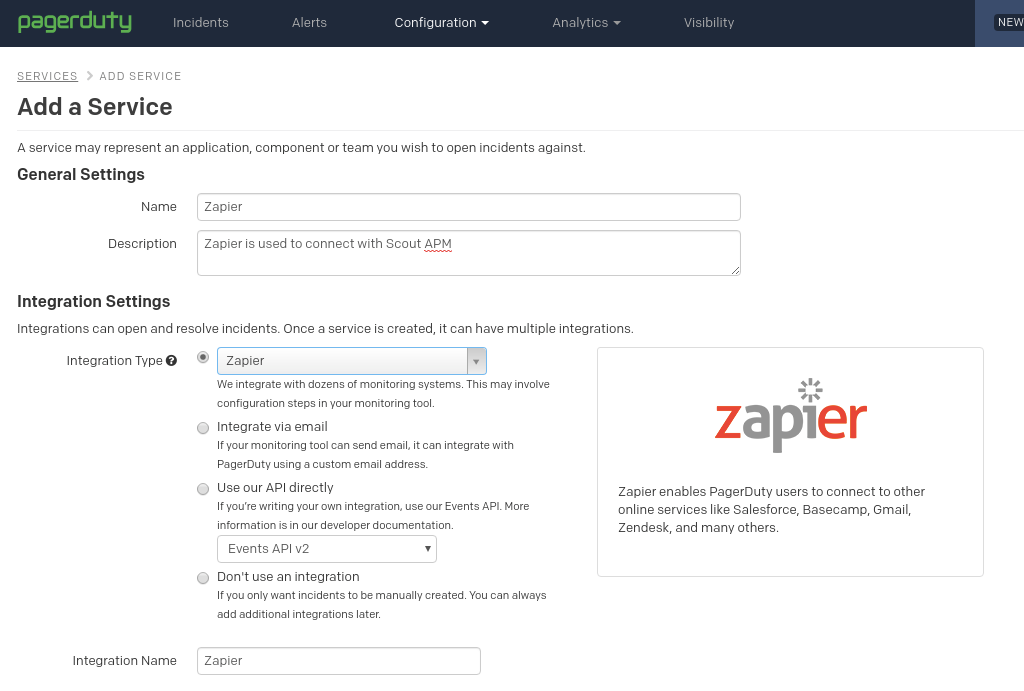
Once you have added the Service, we now have it set up on both ends, so we can go back to Zapier and finish configuring our Zap.
In Zapier we need to select the type of Action that will occur in PagerDuty when our Scout Alert triggers. There are many different types of PagerDuty Action that you can choose to perform, but let's choose Add Trigger Event.
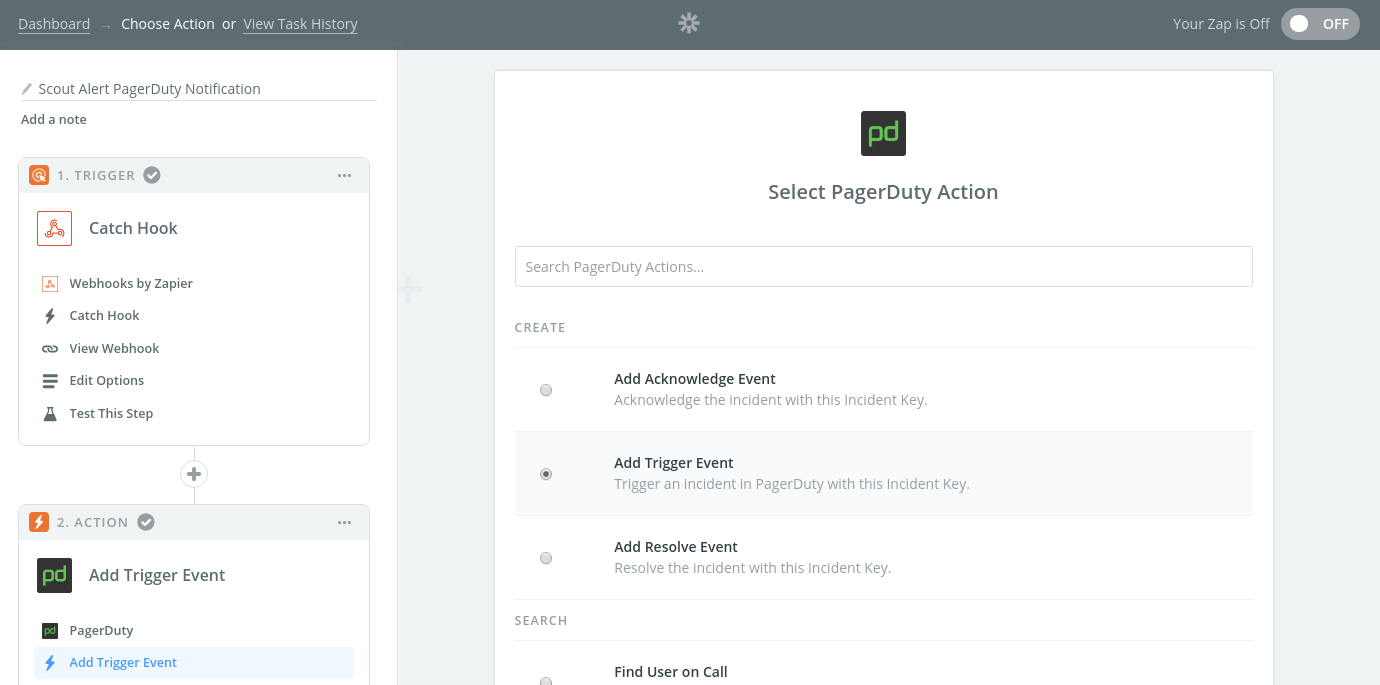
Next, you can configure many aspects of the Trigger Event that will be sent. Set the Integration Key to "Zapier - Zapier", populate the Description field with data from Scout, and include a Source URL & Name to provide the user with a link back to the Scout Alert, within the PagerDuty system. It is only possible to pull this data from Scout here if you created an Alert earlier like we advised.

Then all that's left to do is to give your Zap a descriptive name and enable it.
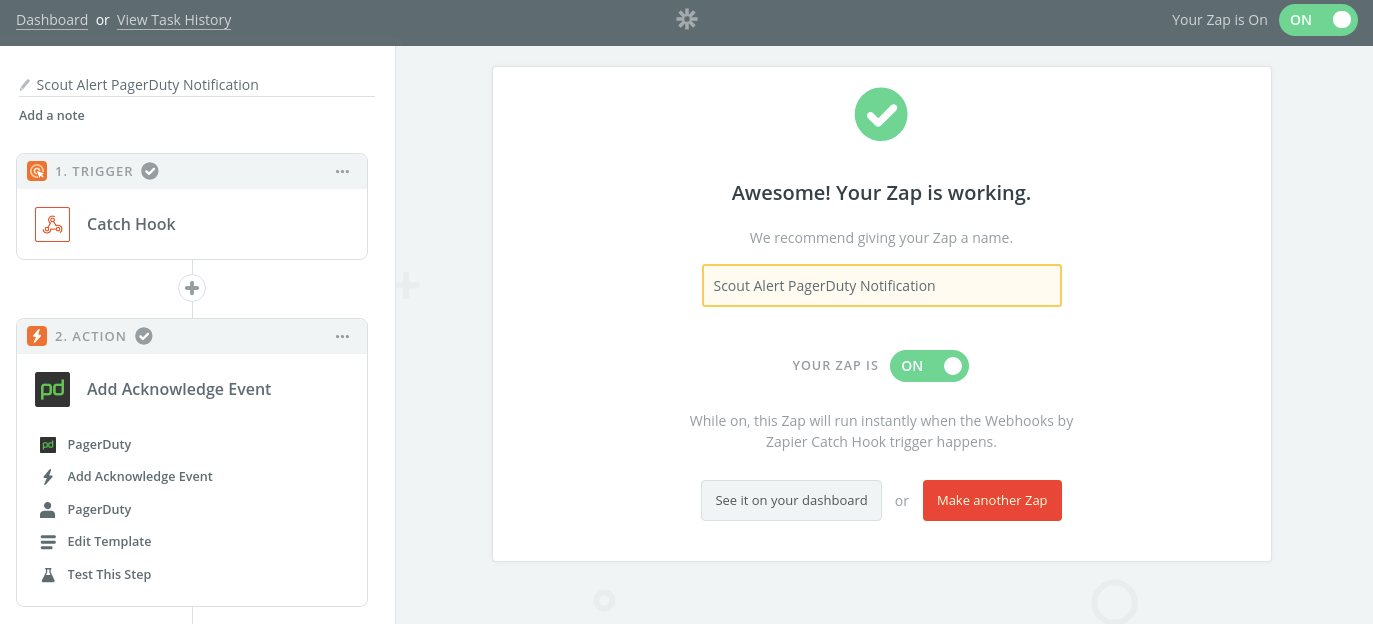
Now everything is set up so that whenever an Alert occurs in Scout which is linked to this Notification Channel, you will see a message in PagerDuty.

Ability to send alerts to PagerDuty