shareof / private-docs

0 stars 1 forks source link

Knowledge For Golang #9

Open shareof opened 4 years ago

shareof commented 4 years ago

トピックインデックス

shareof commented 4 years ago

Golangで爆速Logging

Goの勉強をしている最中になんかパッと使えて便利なLoggerがないか模索しているとcologというパッケージに出会いましたので軽く共有いたします。

// Set Up in Colog Condition func setLogCondition () { colog.SetDefaultLevel(colog.LDebug) colog.SetMinLevel(colog.LTrace) colog.SetFormatter(&colog.StdFormatter{ Colors: true, Flag: log.Ldate | log.Ltime | log.Lshortfile, }) colog.Register() } // Print Code log.Printf("info: This is INFO Log") log.Printf("error: This is ERROR Log") log.Printf("debug: This is DEBUG Log") log.Printf("warn: This is WARN Log") log.Printf("alert: This is Alert Log")


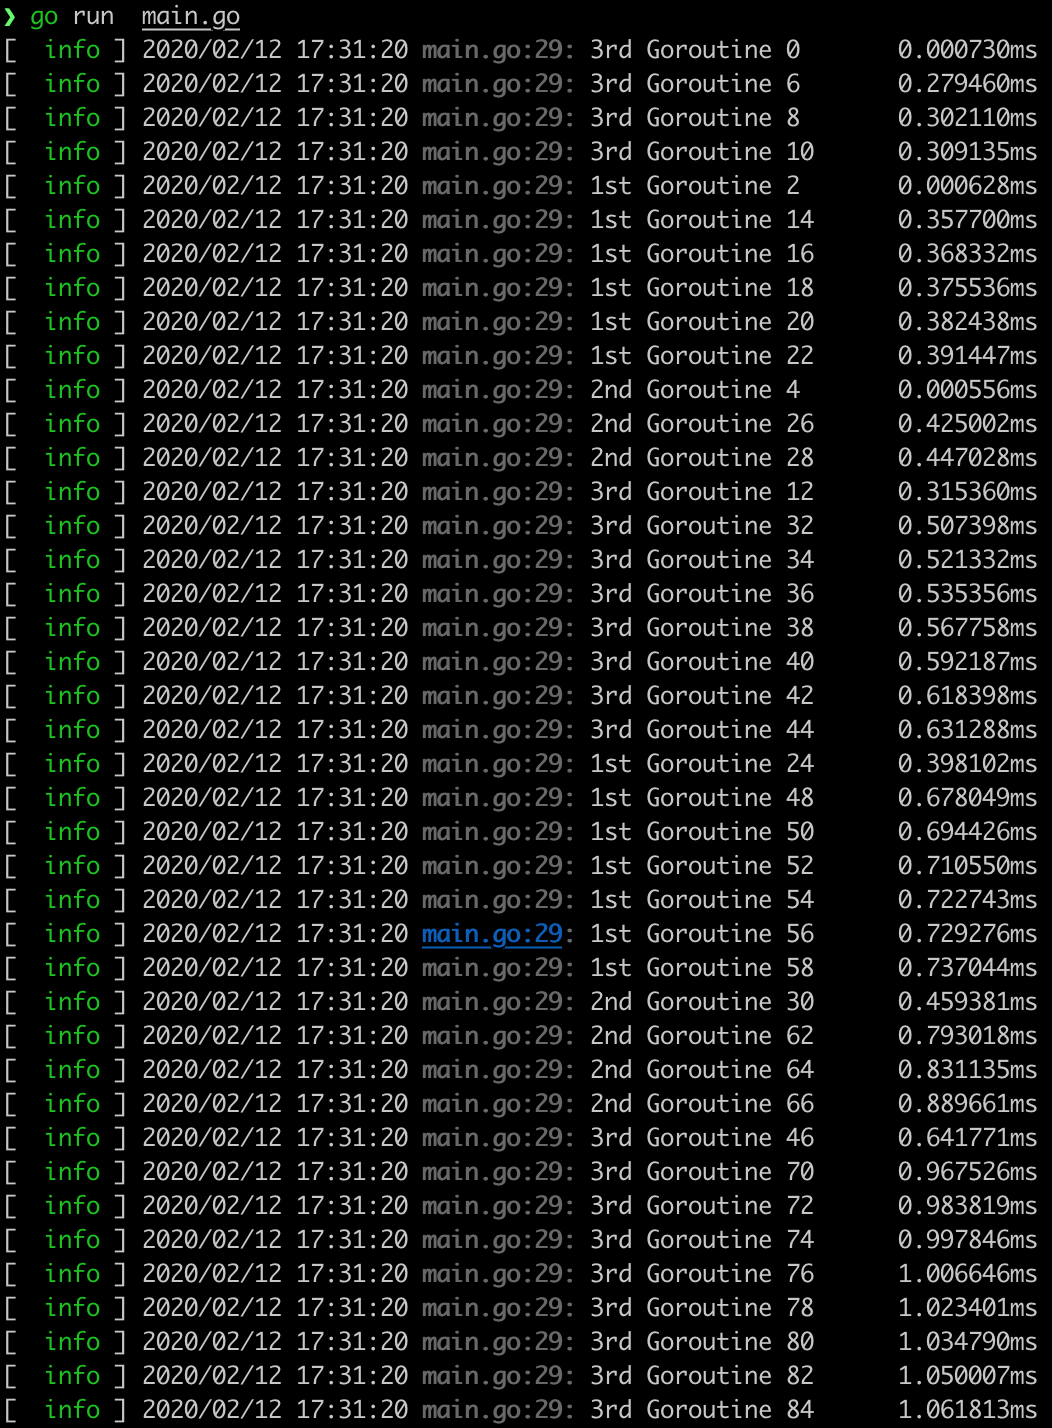
Print Example  For **INFO**
![image](https://user-images.githubusercontent.com/60165356/74316798-97410580-4dbd-11ea-8527-8d1720ef499f.png)
shareof commented 4 years ago

Map

GolangでmapのKVの何れかが構造体を持つ時にメンバー名で制御を行うケースがある。

shareof commented 4 years ago

環境変数をシュッと型付きで読み込む envconfigパッケージ

ginの設計思想を模索していたら... ginでのwebApp作成を設計からわかりやすく記述しているwebを見つけた そこで https://github.com/kelseyhightower/envconfig/blob/master を見つけた。 これは環境変数をいい感じに型付で構造体に落とし込んでくれるパッケージである。

具体的にどのような場面で使用するか

import ( "fmt" "github.com/kelseyhightower/envconfig" "log" )

type Configuration struct { Debug bool envconfig:"DEBUG" required:"true" AppPort int envconfig:"APP_PORT" required:"true" }

func main() { var c Configuration err := envconfig.Process("", &c) if err != nil { log.Fatal(err.Error()) } format := "Debug: %t\nPort: %d" fmt.Printf("Debug:%T\nPort:%T\n", c.Debug, c.AppPort) _, err = fmt.Printf(format, c.Debug, c.AppPort) if err != nil { log.Fatal(err.Error()) } }

- [ ] サンプルコードの実行
```sh
$ go run main.go
Debug:bool
Port:int
Debug: false
Port: 8080
shareof commented 4 years ago

HTTP サーバのテストコードについての考察

shareof commented 4 years ago

JSONデータを構造体に落とし込むときに使える便利なもの

JSONデータを構造体に変換する時に少量のデータ構造であれば頭の中で サクッとマッピングすることができるが、大抵の業務データだと複雑なデータ構造になっているためマッピングに時間がかかってします。 そこでなにか便利なツールがないか模索していたところJSON-to-GOという便利なマッピングツールに出会ったので今回はこのツールの素晴らしさについて実際に膨大なJSONデータをパパッと構造体にマッピングしてみます。

Windowsの方はこちらの方が扱いやすいと思います。 Mac Linux系の方はこちらのCLI

下記はCLIから操作することを前提とする手順です。

type Document []struct { About string json:"about" Address string json:"address" Age int json:"age" Balance string json:"balance" Company string json:"company" Email string json:"email" EyeColor string json:"eyeColor" FavoriteFruit string json:"favoriteFruit" Friends []struct { ID int json:"id" Name string json:"name" } json:"friends" GUID string json:"guid" Gender string json:"gender" Greeting string json:"greeting" ID string json:"_id" Index int json:"index" IsActive bool json:"isActive" Latitude float64 json:"latitude" Longitude float64 json:"longitude" Name string json:"name" Phone string json:"phone" Picture string json:"picture" Registered string json:"registered" Tags []string json:"tags" }

※**実際に使用する際はこの出力結果をさらにpbcopyに渡してクリップボードに保存がよさげです。**
```sh
$ cat SoAmountData.json | json2go | pbcopy
shareof commented 4 years ago

ファイルへの書き込みを行う上で注意を払うこと

goではosパッケージのOpen関数で一見するとファイルを開き書き込みができるように感じるが、 デファルトでは読み込み権限しかないためファイルへの書き込みを行おうとするとpanicになる。 panic: write Env.txt: bad file descriptor

※ Env.txtという名前でプログラムを実行した理由は私のローカル環境でos.Environ関数を用い全ての環境変数をファイルへ書き込むことを前提としているため

解決策

そもそもOpen関数内部ではOpenFile関数をコールしているだけなので、OpenFile関数を用い引数として書き込み権限を追加してあげればよい

f, err := os.OpenFile("write.txt", os.O_APPEND|os.O_WRONLY, os.ModeAppend)
shareof commented 4 years ago

モデルをどのように実装するべきか

MVCのMに該当するモデルの実装方針について纏めてみた。 今回実装するモデルとメインとの関係は以下のような設計にしました。

image

留意点

コンストラクタに該当するもの

//Setter func (m Model)setModelId(setId string) Model { m.id = setId return m }

- main.goからの呼び出し
```go
import (
  "./model"
  "fmt"
)
func main () {
  m :=  model.NewModel("ACCESS_MODEL")
  fmt.Println(m)   // &{id:ACCESS_MODEL value:map[]}

}
shareof commented 4 years ago

Go 1.13以上へアップデートを行う時に気を付けること

go言語でインポート文を使用する場合、以下のメソッドは非推奨です。

package main

import (
  ./somePackage
)
shareof commented 4 years ago

Benchmarkによる評価をGo標準のTestingパッケージで行い結果をpprofで可視化する

参考文献

https://maku77.github.io/hugo/go/benchmark.html https://www.sambaiz.net/article/47/

Goでテストを行う際に関数名称の接頭語としてBenchmarkを付与することで その関数はベンチマークによる実行を意味します。

どういうことか実際にコードを書いてみます。 パッケージ構成は以下です。

TML[ZsH] tree -L 1  | grep benchmark
├── benchmark
├── benchmark.test

まず 評価を行う実際の関数を定義します。

package bencmark

import (
    "fmt"
)
// N回ループさせ、内部でカウンターを表示する
func SomeLoop(n int) {
    for i := 0; i < n; i++ {
        fmt.Printf("Counter:%d\n", i)
    }
}

次にimpl.goで定義した関数のBenchmarkを用意します。

package bencmark

import (
    "testing"
)

// ここで注目すべき内容は *testing.Bを引数としている点です。
func BenchmarkSomeLoop(b *testing.B) {
    b.ResetTimer()
         // 評価関数の引数として`b.N`と呼ばれるBenchmarkを図るために必要なパラメータを指定する
    SomeLoop(b.N)
}

ここまでできたらあとはプロファイリングを行うための.profファイルを生成します。

# ① -benchでテスト評価を行う関数指定を行うことができる。
# ② -benchmemをフラグとして指定することで`メモリの割り当ての統計情報`を示してくれる。
# ③ -o でpprofファイルのdistを指定し、最後のcpuprofileの出力先を指定

$ go test -bench SomeLoop -benchmem -o pprof/test.bin -cpuprofile pprof/cpu.out ./benchmark

実行結果を別ファイルにリダイレクト

# ここで出力されている内容はベンチマークを図るために8バイトのメモリを使用し、初回だけメモリアロケーション(メモリ割り当て)が行われたということ
$ go test -bench SomeLoop -benchmem -o pprof/test.bin -cpuprofile pprof/cpu.out ./benchmark  > resultProfiling.log && tail -n 3 resultProfiling.log
  300000          4127 ns/op           8 B/op          1 allocs/op
PASS
ok      benchmark/benchmark 1.444s

graphizがbrewでインストールされていれば、svg形式でprofileを出力できます。

$ brew list | grep graphiz &&  go tool pprof --svg pprof/test.bin pprof/cpu.out > pprof/test.svg
shareof commented 4 years ago

echoパッケージでセッションマネージャを実装してみる

参考文献: 根底となるナレッジが記述されているDoc 大分長丁場となりそうでうが、Qiitaにとても参考になりそうなSessionManagerのサンプルが落ちていたので解釈を交えながら実装してみる

shareof commented 4 years ago

echoパッケージで共有のテンプレートの上に個々のテンプレートを配置する方法

参考文献 echo公式

ポイント

import (
    "github.com/labstack/echo"
    "github.com/labstack/echo/middleware"
    "html/template"
)
// ベーステンプレートに固有のテンプレートを配置するための型を用意する
var templates map[string]*template.Template

//  echo.Rendererインタフェースを実装するために空のTemplate構造体を定義する
type Template struct {
}

// echo.Rendererインタフェースの実装
func (t *Template) Render(w io.Writer, name string, data interface{}, ectx echo.Context) error {
        // この例ではlayout.htmlをベーステンプレートとしている
    return templates[name].ExecuteTemplate(w, "layout.html", data)
}

func main() {
  // echo構造体の初期化を行う
  e := echo.New() 
  // Template構造体の初期化を行う
  t := &Template{}
  //Template構造体はRenderインタフェース実装しているため代入することができる
  e.Renderer = t
  e.GET("/private_content",getPrivateContentFormHandler )
  e.Start(":8085")
}

// ベーステンプレートに個々のコンテンツを配置するための関数
func loadMyTemplates() {
  func loadMyTemplates() {
    var baseTemplate = "templates/layout.html"
    templates = make(map[string]*template.Template)
    // template.Must()でベーステンプレートに「private_content」という個のテンプレートをパースしている
    templates["private_content"] = template.Must(template.ParseFiles(baseTemplate, "templates/session_form.html"))
}
// main()のロード時にテンプレートの初期化を行う
func init() {
   loadMyTemplates()
}

//ハンドラの作成を行う
func getPrivateContentFormHandler(ectx echo.Context) error{
    return ectx.Render(http.StatusOK, "private_content", nil)
}