GitLab CI
- Add new trigger https://docs.gitlab.com/ee/ci/triggers/README.html#adding-a-new-trigger

- Create .gitlab-ci.yml file or add the job to existing one. E.g. - https://gitlab.com/bpastukh/testomat-example/-/blob/master/.gitlab-ci.yml
 It should contain next commands:
- export TESTOMATIO="#{testomatio}" - export TESTOMATIO_URL="#{testomatio_url}" - export TESTOMATIO_RUN="#{run}" - The job should include a step where the test runner is executed with --grep option and TESTOMATIO environment variables passed in. For instance:
- npx codeceptjs run-workers 2 --grep "${grep}" - Connect a GitLab CI in Testomatio:

- Save your connection
- Now, open the "Configuration" tab and check the default ref value. ref is a target branch or a tag on which tests will be executed. By default, it is set to master (most of the repositories still use master as the main branch name, but we will adjust defaults accordingly when things change), but you can choose a different one, like main.

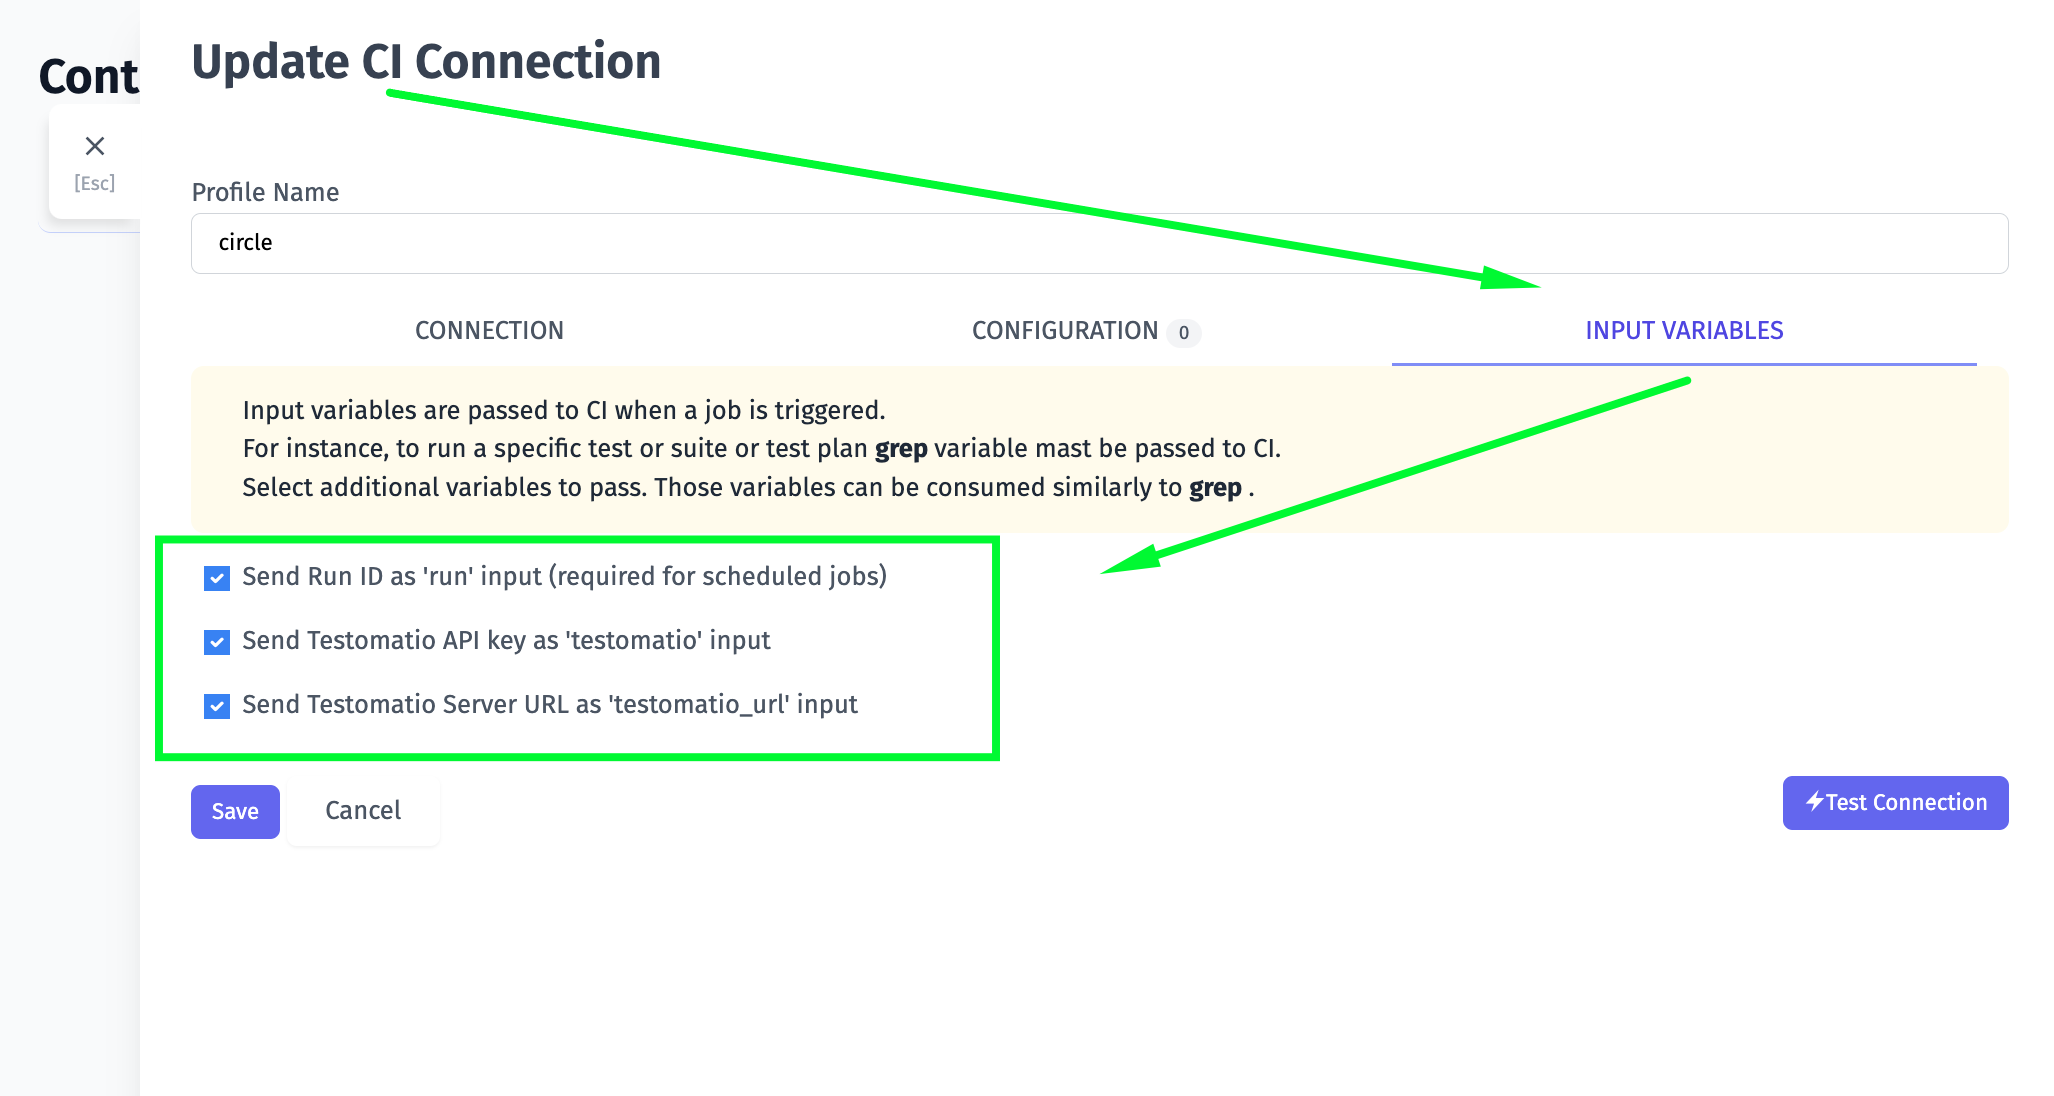
- run and testomatio inputs are passed from Testomatio. Enable them on the Input Variables tab
You can pass more input variables if you set them in Environment Configuration

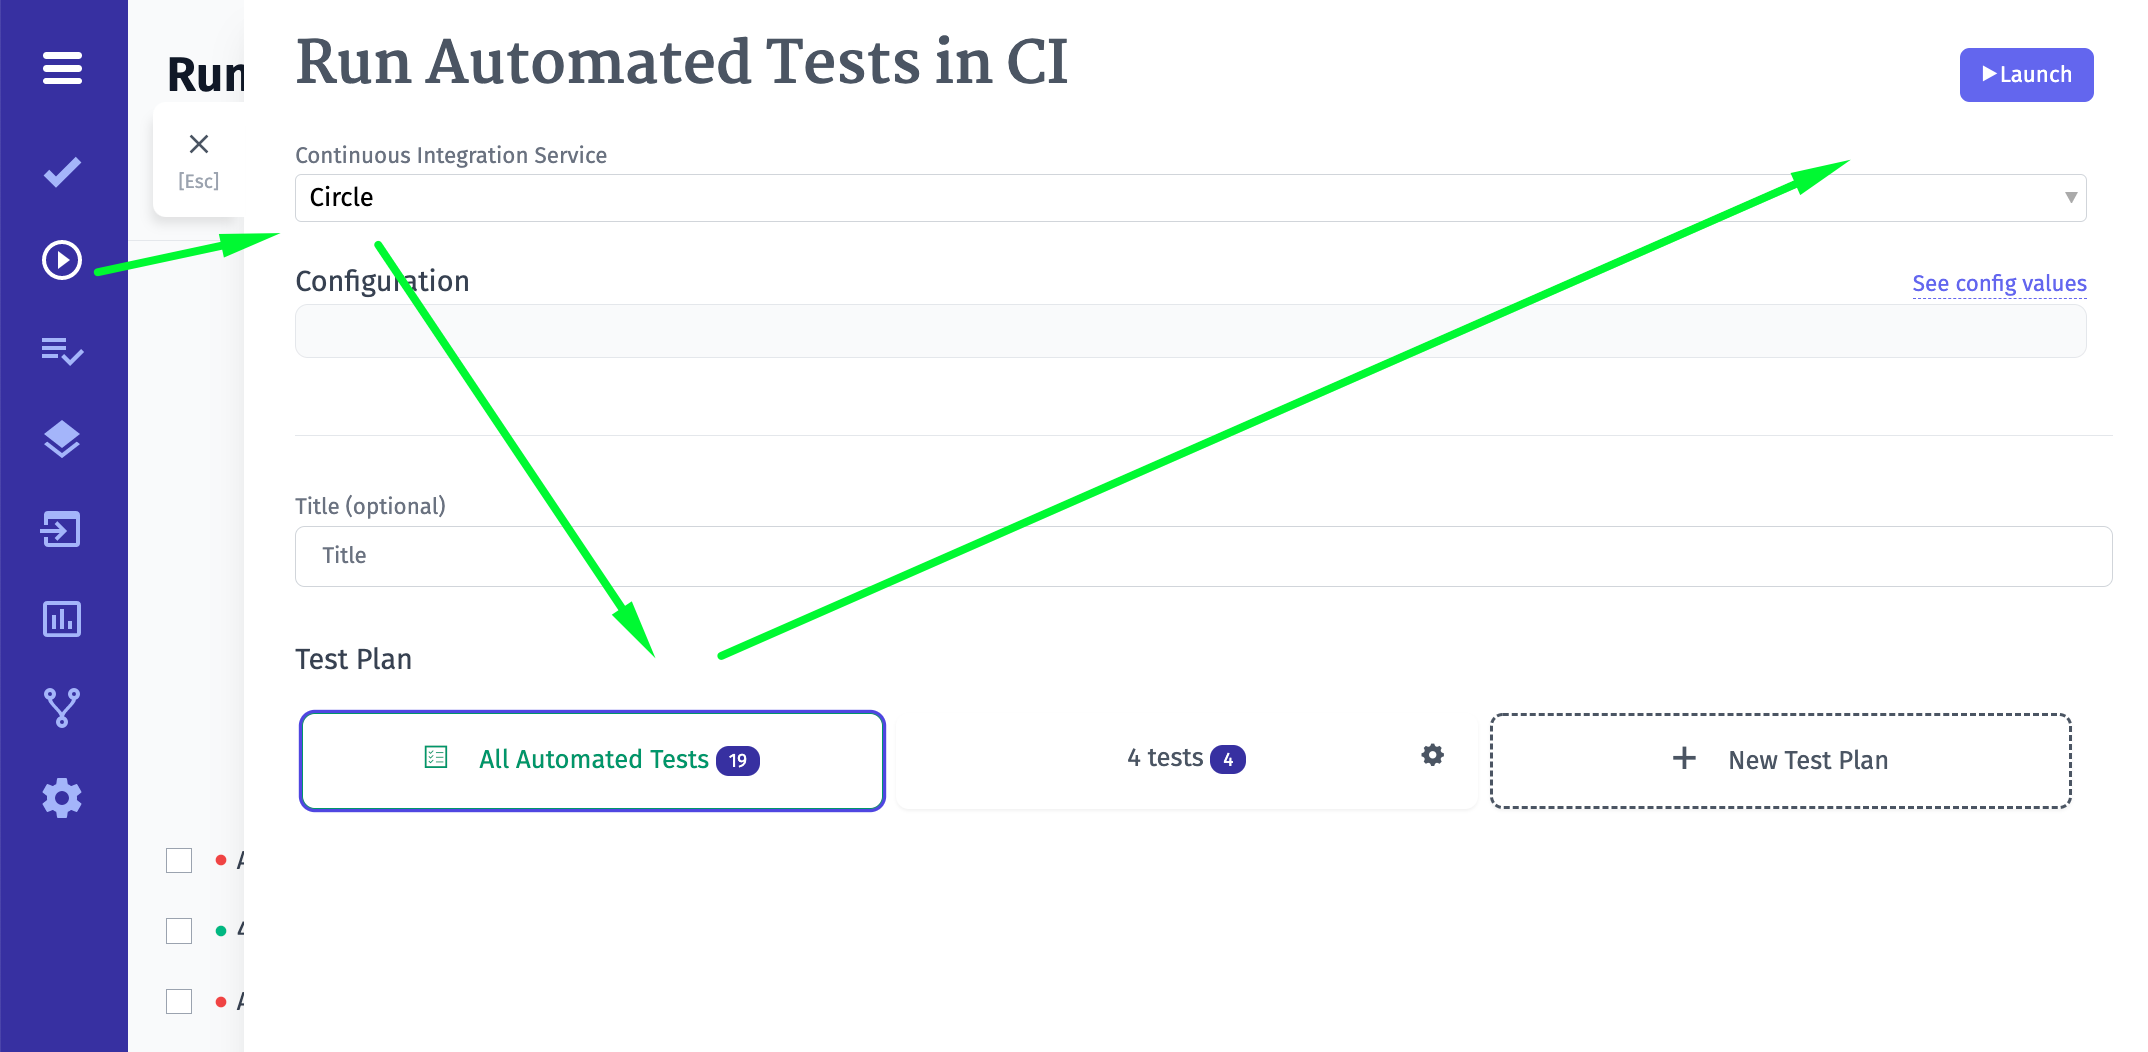
- When the connection is saved, open a test and select "Run in CI". Select a target ref and click "Launch"
- This will start a new pipeline in GitLab CI please check that the job was successfully triggered and completed. After the job has finished a run report will be available on Runs page of Testomatio


Testomatio allows executing tests on CI from its interface. A single test, suite, test plan, or all tests can be executed automatically on CI.
Currently following CI systems supported:
Overview
Testomatio uses REST API to trigger jobs on external CI systems. IDs of tests or suites can be passed to the job so only a specific test or suite will be executed. The test runner greps all tests by their IDs and executes a subset of tests. Then a report is sent back to Testomatio via reporter.
Connecting CI server to Testomatio consist of the following steps:
Assigning IDs
To execute a specific test or a suite a test runner should have a way to find a test by its unique name. For this reason, Testomatio IDs can be used. If tests in the source code will have Testomatio IDs it will be very simple to filter tests. We provide a semi-automatic way to assign Testomatio IDs to tests in source code.
For JavaScript frameworks use the same
check-testscommand you used for importing tests with--update-ids. The tests must be already imported in Testomatio:For Cucumber tests use
check-cucumbercommand with the similar--update-idscommand. The command should be the same as for importing plus--update-idsoption:This command will update your source code. Please check the changes before committing it. If the Testomatio IDs were placed correctly you can commit your changes to repository.
From now on, Testomatio can use Test IDs to run exact tests and suites on Continuous Integration servers.
Configuring CI
CI configuration has 3 steps:
Follow the guide for a corresponding CI to set it up.
Jenkins
To connect Jenkins to Testomatio you will need a user and an API Token created. API token can be added on "Configure" page of current user:
Then create a new Jenkins job. Select "Freestyle project".
Make this build parametrized:
Add the following parameters as a string with empty default values:
runtestomatiogrepIf you use on-premise Testomatio setup you will also need to add
testomatio_urlparameter.Inside "Build Triggers" select "Trigger build remotely"
Proceed with configuring the job and set all required parameters like SCM and build steps.
Within a step pass in configured parameters as environment variables into the test runner. Let's take CodeceptJS command as an example:
Save the build and switch to Testomat.io.
Open Settings and Connect a new CI:
Select "Jenkins" and fill in all required fields:
Jenkins Hostname- URL of Jenkins hostUsername- a user on Jenkins which will trigger buildsAPI Token- a token we created previously in the user's settings.Job Name- the name of a job we just createdSwitch to Input variables tab and enable variables that was configured for parametrized builds:
Click "Save" and check the connection.
Now you can run a test or a group of tests via Jenkins CI. For a custom configuration read about Environment Variables
Bamboo
Let's configure Bamboo CI server to work for CodeceptJS framework:
Note the plan key. In this case its "TES"
Configure the job to install node dependencies
Add the script to run codeceptJS tests:
Following environment variables must be set:
TESTOMATIOenvironment variable with API key of Testomatio project.TESTOMATIO_URLvariable to specify a host to which reports will be sent.add
grepandrunvariables with an empty string as a default valueNow, configure Bamboo integration at Testomatio:
A project and plan keys can be found from URL:
runoption on Input Variables tab. This allows CI to send a report to a specific Run inside Testomatio.You can pass more input variables if you set them in Environment Configuration
Run in CIoption in extra menu.Select "Bamboo" profile in a list. Optionally, configure a Run Title and select a Test Plan.
GitLab CI
Save your connection
Now, open the "Configuration" tab and check the default ref value. ref is a target branch or a tag on which tests will be executed. By default, it is set to master (most of the repositories still use master as the main branch name, but we will adjust defaults accordingly when things change), but you can choose a different one, like main.
When the connection is saved, open a test and select "Run in CI". Select a target ref and click "Launch"
This will start a new pipeline in GitLab CI please check that the job was successfully triggered and completed. After the job has finished a run report will be available on Runs page of Testomatio
GitHub Actions
workflow_dispatchevent. The event should be defined with the following input parameters:--grepoption and TESTOMATIO environment variables passed in. For instance:You will need to enter the following
testomatio.ymlrefvalue.refis a target branch or a tag on which a tests will be executed. By default, it is set tomaster(most of the repositories still use master as the main branch name, but we will adjust defaults accordingly when things change), but you can choose a different one, likemain.runandtestomatioinputs are passed from Testomatio. Enable them on Input Variables tabYou can pass more input variables if you set them in Environment Configuration
Circle CI
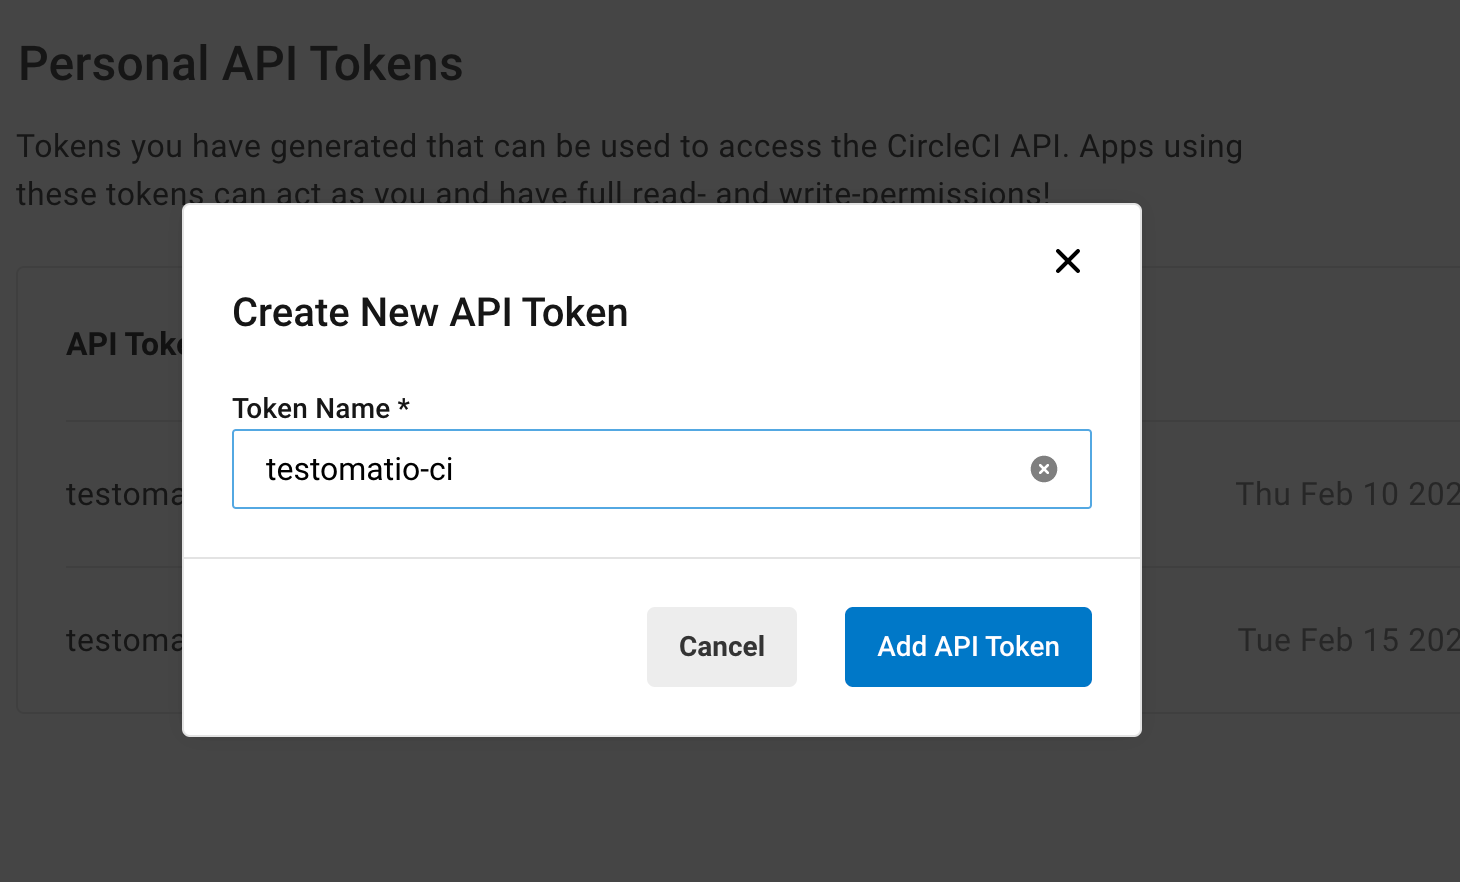
Create a workflow in
config.ymlfile in.circlefolder in the root folder in your repository.This workflow will be used solely by Testomatio so it should start only on workflow_dispatch event. The event should be defined with the following input parameters:
The job should include a step where the test runner is executed with --grep option and TESTOMATIO environment variables passed in. For instance:
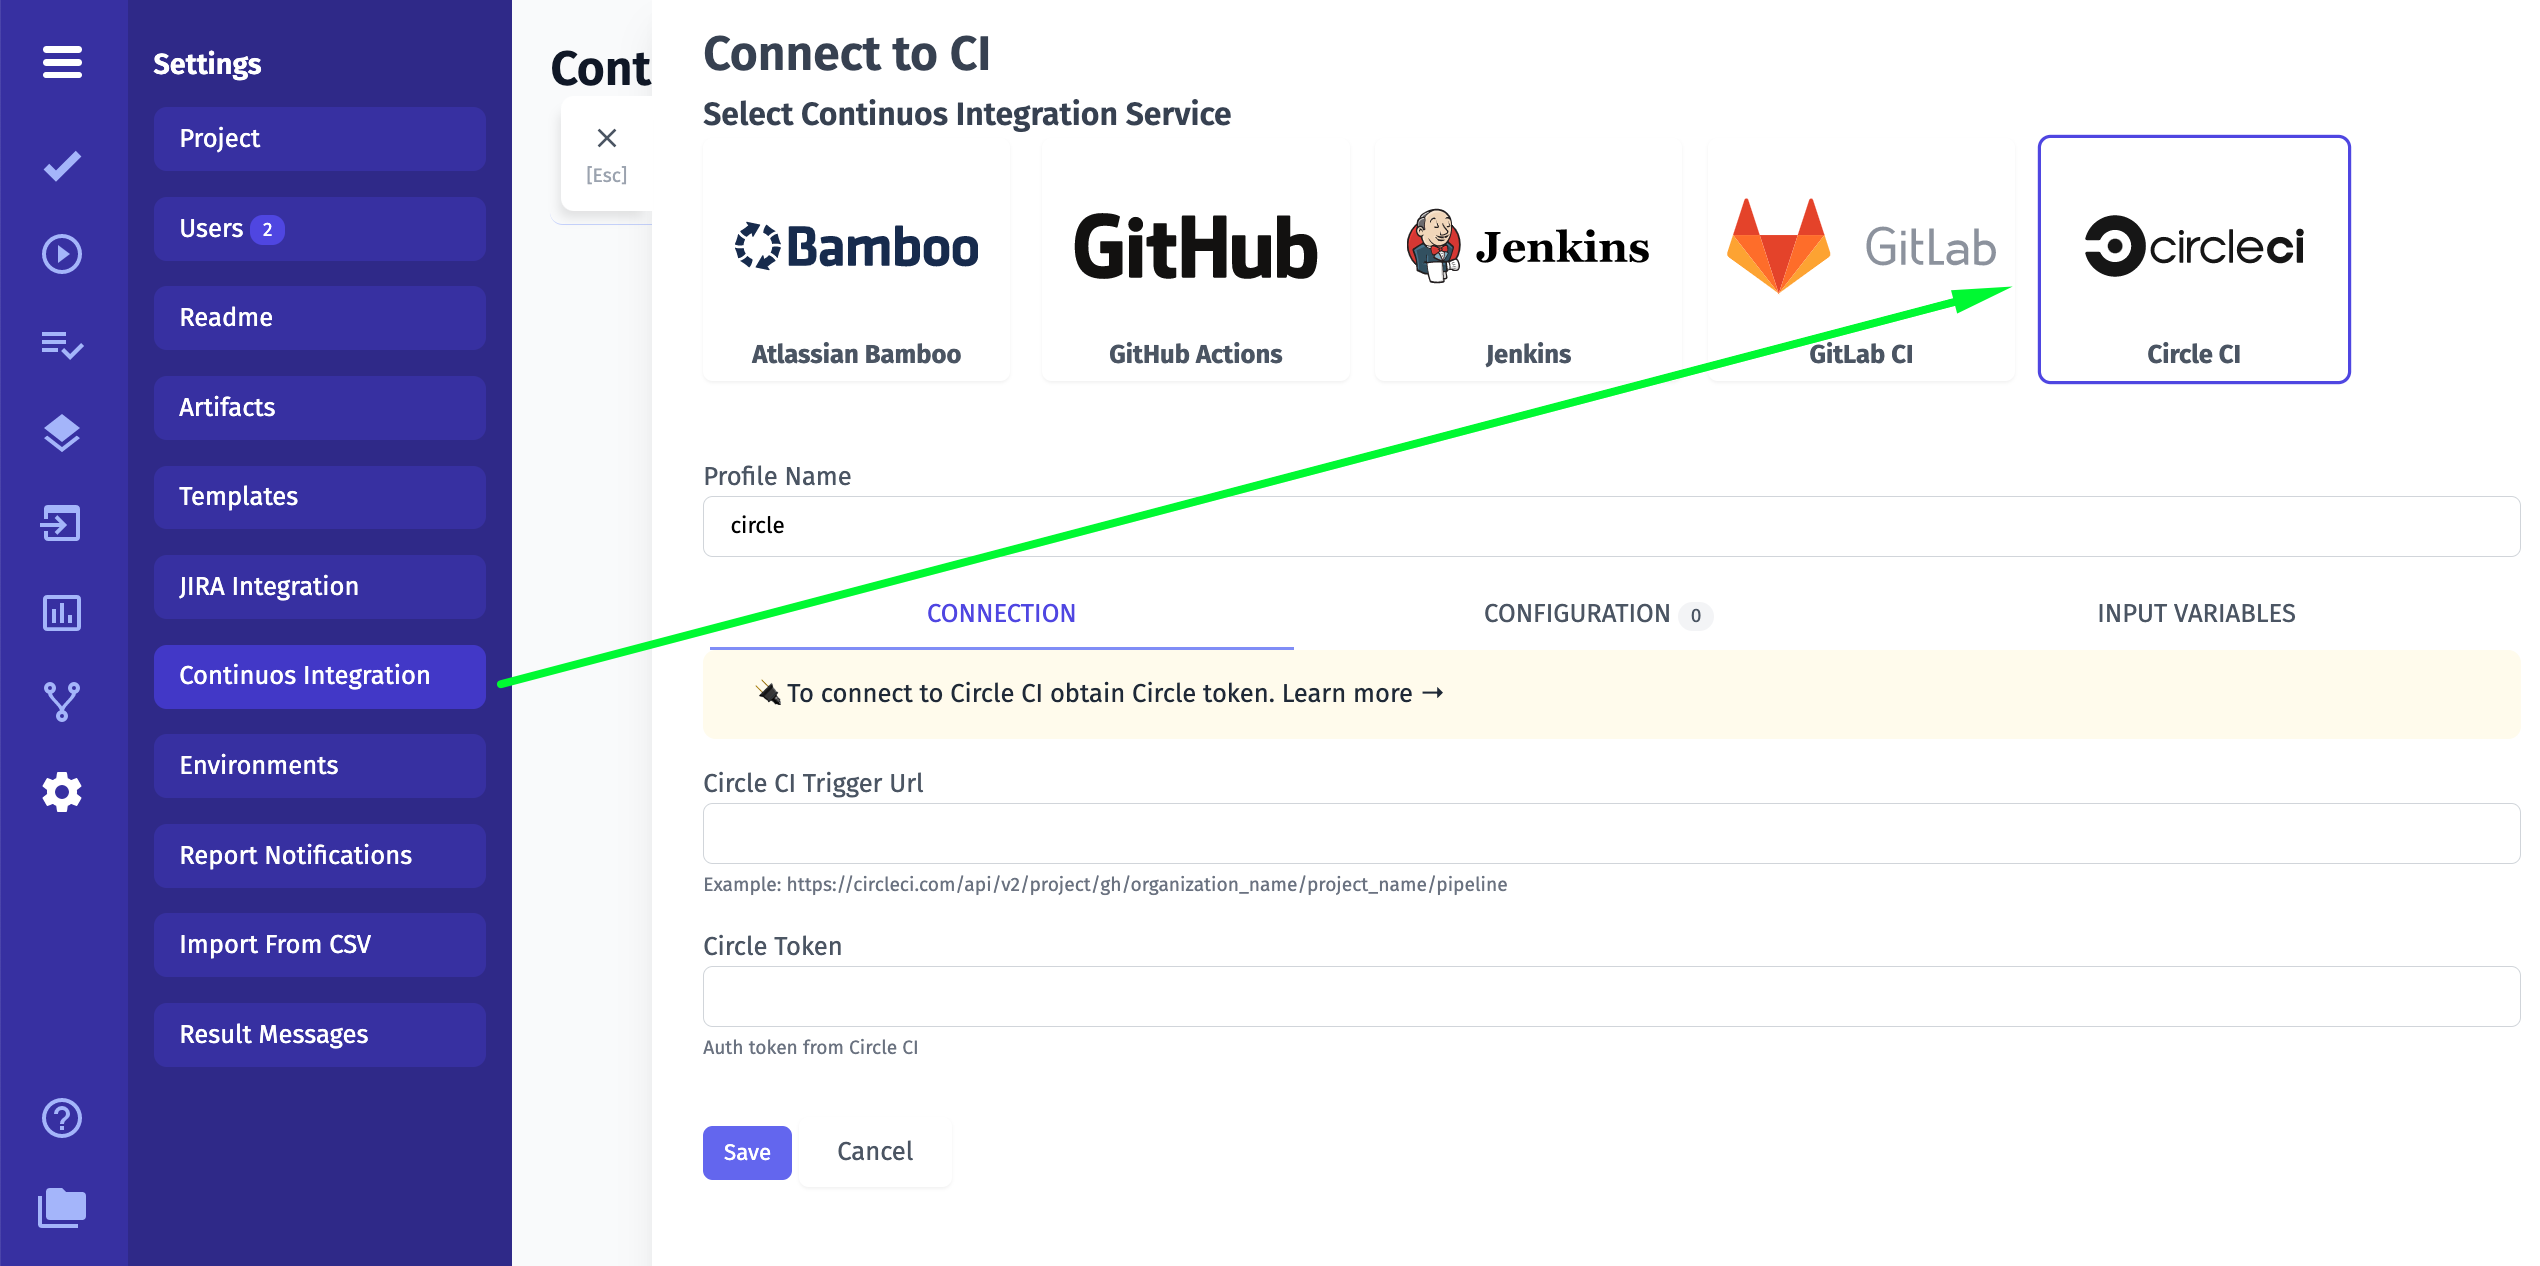
You will need to enter the following:
Azure Pipelines
definitionIdquery parameter. On this screenshot the ID is1:Fill in Private Access Token, Organization name, Project name, ID of a Pipeline
Switch to "Input Variables" tab and check boxes:
Save the conection
Testomat.io will need to send input variables into a pipeline. We need to enable them inside a pipeline using Azure DevOps UI. Open a Pipeline and edit it.
Do not set defaults to this variable and tick "Let users override this value when running this pipeline" so Testomat.io could set these variables via API request.
$(variable). For CodeceptJS this command will look the following way:You can pass more custom variables into a pipeline defining them in a Pipeline UI first and listing them in Testomat.io configuration as well. These variables should be set in Azure in the same way as
grep. See Environment Configuration to see how they can be configured in Testomat.ioTo specify a different branch to run tests add
refparameter on Configuration tab specifying target ref.To specify
developbranch add this as config parameter:Input Variables
While connection settings can be different across CI settings, the list of input variables is the same.
For example, Testomatio sends
grepvariable to CI to identify which tests should be executed. It may pass other input variables which can be used on CI to improve reporting.Here is how
runinput variable can be accessed on different CIs:${bamboo.run}${github.event.inputs.run}Here is the list of preconfigured input variables:
run- passes Run ID to CI. If this option is toggled on, when a run is created in Testomatio it is instantly added to the list of runs marked as "Scheduled". On CIrunvariable must be passed asTESTOMATIO_RUNenvironment variable to a reporter. This allows mapping a scheduled run to the run which is currently processed. IfTESTOMATIO_RUNis not set, a duplicate run will be created.testomatio- passes project access key to CI. This input variable must be passed asTESTOMATIOenvironment variable to match the Testomatio project. Toggle on this option if you prefer not to hardcode Testomatio Project ID in CI configuration but to obtain this value on launch. This may be useful if you have a different Testomatio project configured for on CI run.testomatio_url- when working on a self-hosted Testomatio instance, this variable can be used to pass Testomatio endpoint to CI system. Passtestomatio_urlenvironment variable toTESTOMATIO_URLEnvironment Configuration
Sometimes extra configuration is required for CI job. For instance, extra configuration variables can be used to specify:
Testomatio allows to predefine configuration variables and adjust them for each run. Config variables can be set in "Configuration" tab on CI connection settings.
Config variables should be put per line with the default value passed in with
=. The format is similar to.envfile format:Those variables will be available for a reconfiguration on each CI Run executed from Testomatio. If a variable value contains comma
,like in example above:chrome,firefox,safari, these values will be displayed with the select box. Otherwise, a simple input will be shown:These variables will be passed to CI in the same manner as
grepparameter. So, CI job should be prepared to handle these config variables. For instance, if GitHub Actions are used, values are passed asinputsand can be used like this: