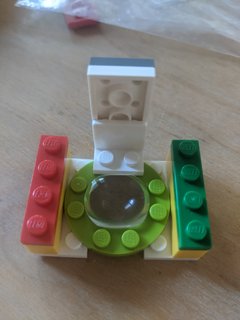
The Large Magnification glass is the iphone lense. The Low Magnification glass is the 18 mm focal length 26.5 mm
I think in total you look throu 2 lenses. but you can change the lense on the focusing assembly. So the eyepiece (ocular) lense stay there. But you can change the Objective lense. If you want more zoom you have to use the Iphone lense. with less zoom you have to assemble the low magnification lense


First off -- I love this idea. However, I haven't managed to be able to see a clear image through the eyepiece yet, and was hoping for some help.
I have an iPhone 5 camera assembly from eBay that I'm using for the objective:
 Question: is there a correct orientation for the objective? I think I have matched what was in the assembly PDF, but I'm not sure. (Some text explaining how to extract the lens from the camera assembly, and how to attach it to the Lego, would have been helpful here. I used hot glue.)
Following the discussion in issue #9, I'm using this lens for the eyepiece (a.k.a. "the large magnifying glass") https://www.surplusshed.com/pages/item/L1828.html
And I'm using this one for what you call "the small magnifying glass": https://www.edmundoptics.com/p/18-x-20mm-fl-grade-1-double-convex-lens/24352/ I sanded down the edges of the lens slightly to fit in the center of the Lego ring. Since this lens seems to be much thinner than what you're using, the other Lego ring that would go on top doesn't make contact with the lens, so I've left it off for now; the lens is just sitting there under its own weight.
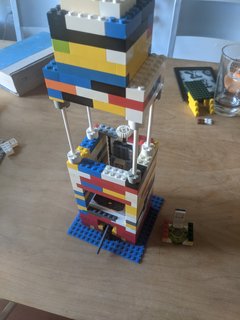
Here's where I get confused. The full PDF instructions tell you to put the objective on the focusing assembly, but then the small magnifying glass is just sitting there next to it, like what I have here:
But presumably the fully assembled microscope has that small lens attached to the focusing assembly too? Something like this?
As I said, I can't seem to get a clear image with the setup I've just described... am I missing something?