 schnell18
commented
5 years ago
schnell18
commented
5 years ago I just created a pull request to run instaviz without any need to modify the source. See https://github.com/tonybaloney/instaviz/pull/9
Open cxapython opened 5 years ago
schnell18
commented
5 years ago I just created a pull request to run instaviz without any need to modify the source. See https://github.com/tonybaloney/instaviz/pull/9
 tonybaloney
commented
4 years ago
tonybaloney
commented
4 years ago Resolved in 0.6.0
这里我需要说下,因为我按照原文的例子去照着做,发现根本就运行不起来,所以我就和大家说我的做法。 首先,我们不能通过pip的方式去安装运行,而是从github上把他的源码下载下来,然后在其文件下创建一个文件。 该程序需要在Python3.6+的环境下运行,包含3.6。 1.下载
2.写脚本 随意命名,比如example.py,代码如下
3.目录结构如下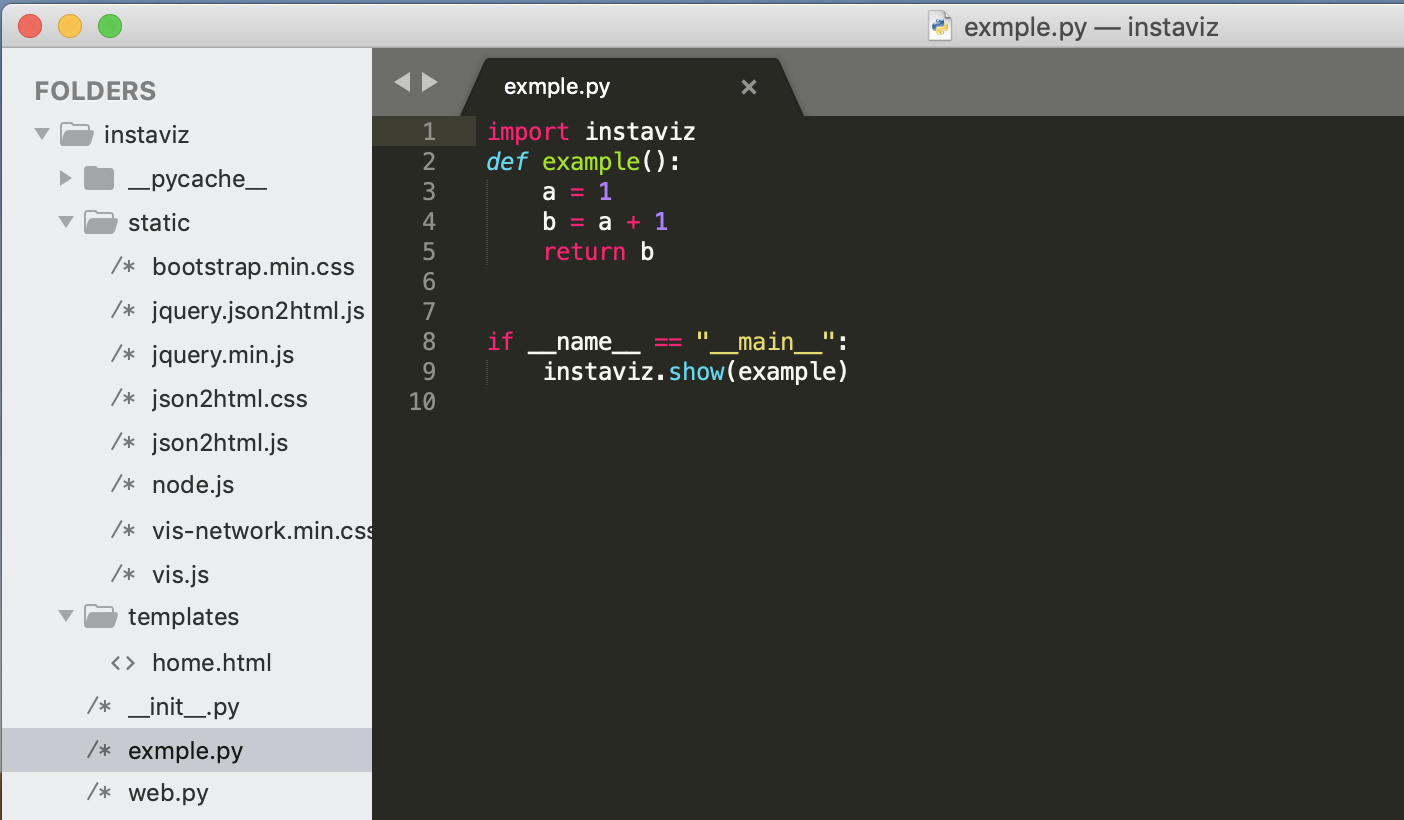 4.修改文件web.py
将原来的server_static函数和home函数用下面的代码替换
4.修改文件web.py
将原来的server_static函数和home函数用下面的代码替换
5.运行 好了,现在可以运行example.py文件了,运行之后会生成一个web服务(因为这个模块是基于bottle框架的),然后浏览器打开
http://localhost:8080/