zivid / zivid-python-samples

Python code samples for Zivid
https://zivid.com
BSD 3-Clause "New" or "Revised" License
38 stars 14 forks source link

Masking a point cloud #47

Closed pbermell closed 4 years ago

pbermell commented 4 years ago

Hello! I am looking for some good method to mask an existing pointcloud obtained using Zivid.

I have the pointcloud (PLY and ZDF) Screenshot from 2019-12-11 12-36-48

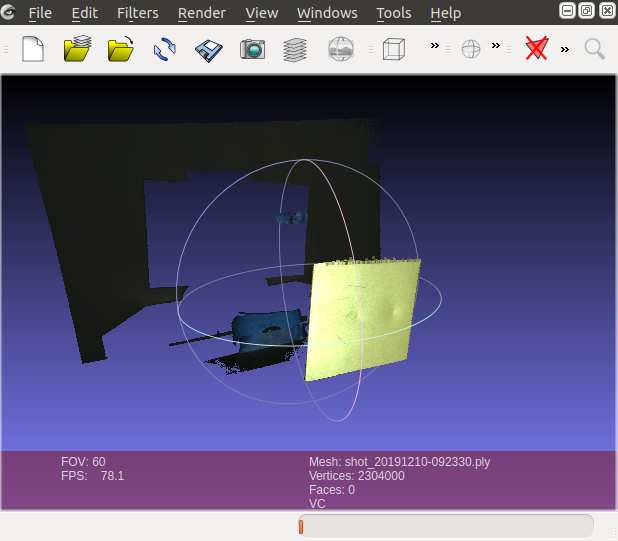
I have the RGB image: Screenshot from 2019-12-11 12-37-45

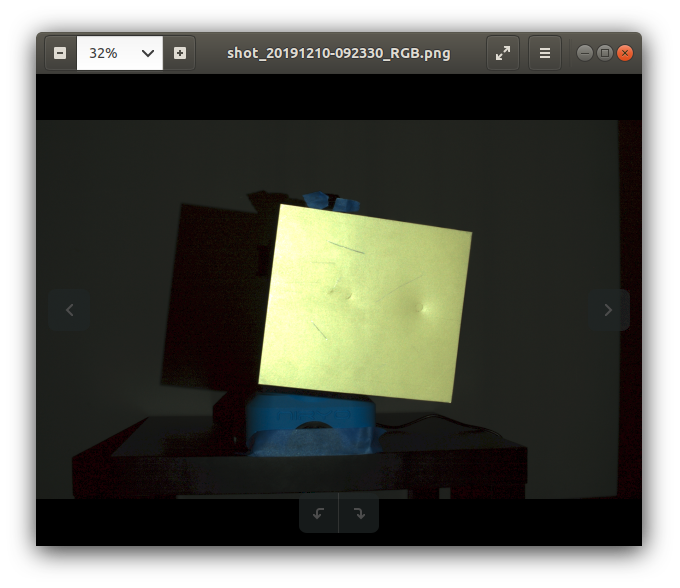
I have a binary mask that isolates the yellow plate on the RGB image. I also have a cv2 contour based upon this binary mask.

Screenshot from 2019-12-11 12-39-29

The point cloud and the RGB are zivid based so they have the same number of pixels. The question is regarding how I could use the binary mask to remove all the xyz points masked by the black picture.

Any ideas welcome.

thanks!

@pbermell

SatjaSivcev commented 4 years ago

Here is a quick guide for you to start with. This is a good idea for making an actual sample later on.

Create your 2D binary mask. Use a mask with ones and nans. If you have it as ones and zeroes do something like this:

mask= np.nan*np.ones_like(image_2d)

Extract x y z images from the point cloud. Check https://github.com/zivid/python-samples/blob/master/read_zdf.py but extract x y z as separate images, i.e.

x = np.dstack([point_cloud["x"]]) y = np.dstack([point_cloud["y"]]) z = np.dstack([point_cloud["z"]])

Then comes the masking. You can use numpy.multiply() to multiply each of the x y z images with a mask. That's pixel-wise multiplication.

x_new = np.multiply(x,mask) y_new = np.multiply(y,mask) z_new = np.multiply(z,mask)

Create the point cloud from the resulting x y z images.

xyz_new = np.dstack([x_new, y_new, z_new]) pc_new = np.dstack([xyz_new, image])

This is the idea. Please let us know if it works for you.

pbermell commented 4 years ago

Thanks @SatjaSivcev I have been trying this thing...

for i in range(len(ZDFs_in_dir[0:1])):
    ZDFinput_file = ZDFs_in_dir[i]
    MASKinput_file = MASKs_in_dir[i]
    RGBinput_file = RGBs_in_dir[i]

    frame = zivid.Frame(ZDFinput_file)
    p_cloud = frame.get_point_cloud().to_array()

    mask = cv2.imread(MASKinput_file, cv2.IMREAD_UNCHANGED)
    # plt.imshow(mask)
    # plt.show()
    updated_mask = np.where(mask == 255, 1, mask) # 0s and 1s in this 1200x1920
    # updated_mask = np.where(mask == 255, 1, mask)  # 0s and 1s in this 1200x1920
    updated_mask = np.where(updated_mask == 0, np.nan, updated_mask)
    # plt.imshow(updated_mask)
    # plt.show()
    mask_nan_stack = np.dstack([updated_mask])

    with Dataset(ZDFinput_file) as data:
        # Extracting the point cloud
        print(data)
        xyz = data["data"]["pointcloud"][:, :, :]
        # not very sure about this... trying to isolate x y z
        x = data["data"]["pointcloud"][:, :, :0]
        y = data["data"]["pointcloud"][:, :, :1]
        z = data["data"]["pointcloud"][:, :, :2]
        print(len(xyz[0]))

        new_x = np.multiply(mask_nan_stack, x)
        new_y = np.multiply(mask_nan_stack, y)
        new_z = np.multiply(mask_nan_stack, z)

        # Extracting the RGB image
        rgb = data["data"]["rgba_image"][:, :, :3]
        # not very sure about this... trying to isolate r g b
        r = data["data"]["pointcloud"][:, :, :0]
        g = data["data"]["pointcloud"][:, :, :1]
        b = data["data"]["pointcloud"][:, :, :2]

        new_r = np.multiply(mask_nan_stack, r)
        new_g = np.multiply(mask_nan_stack, g)
        new_b = np.multiply(mask_nan_stack, b)

        xyz_new = np.dstack([new_x, new_y, new_z])
        rgb_new = np.dstack([new_r, new_g, new_b])
        plt.imshow(xyz_new)
        plt.show()

This is my unfortunate output.........

Screenshot from 2019-12-12 16-48-05

The masking seems to be going through. However the RGB and XYZ are meshed up. Plus I am not very sure what I am doing with these sort of things: r = data["data"]["pointcloud"][:, :, :0]

SatjaSivcev commented 4 years ago

I am not sure how your mask looks like. It should have the following shape: (1200,1920,1) and type: float64. The points you want to discard should be np.nan and the ones you want to keep should be 1. Can you try to modify your code based on the following code (it works for me)?

import cv2
import matplotlib.pyplot as plt
import numpy as np
import zivid

from vtk_visualizer import plotxyzrgb

app = zivid.Application()

frame = zivid.Frame("your_zdf_file.zdf")
point_cloud = frame.get_point_cloud().to_array()

z = np.dstack([point_cloud["z"]])
y = np.dstack([point_cloud["x"]])
x = np.dstack([point_cloud["y"]])

rgb = np.dstack([point_cloud["r"], point_cloud["g"], point_cloud["b"]])

# Create nan mask

mask = np.nan*np.ones_like(rgb[:,:,:1])

# Replace nans with ones (pixels you want to keep)

for i in range(600):
    for j in range(1000):
        mask[i,j] = 1

x_new = np.multiply(x,mask)
y_new = np.multiply(y,mask)
z_new = np.multiply(z,mask)

xyz_new = np.dstack([x_new, y_new, z_new])

# Displaying the Depth Image
Z = xyz_new[:, :, 2]
plt.imshow(Z, vmin=np.nanmin(Z), vmax=np.nanmax(Z), cmap="jet")
plt.colorbar()
plt.show()

# Getting the point cloud
pc = np.dstack([xyz_new, rgb])

# Flattening the point cloud
pts = pc.reshape(-1, 6)

# Displaying the point cloud
plotxyzrgb(pts)

# Displaying the mask
window = cv2.namedWindow("Solved Image", cv2.WINDOW_NORMAL)
cv2.resizeWindow("Solved Image", 900,900)
cv2.imshow("Solved Image", mask)
cv2.waitKey(0)        
plt.show()