OSM BästaJävlaKartan
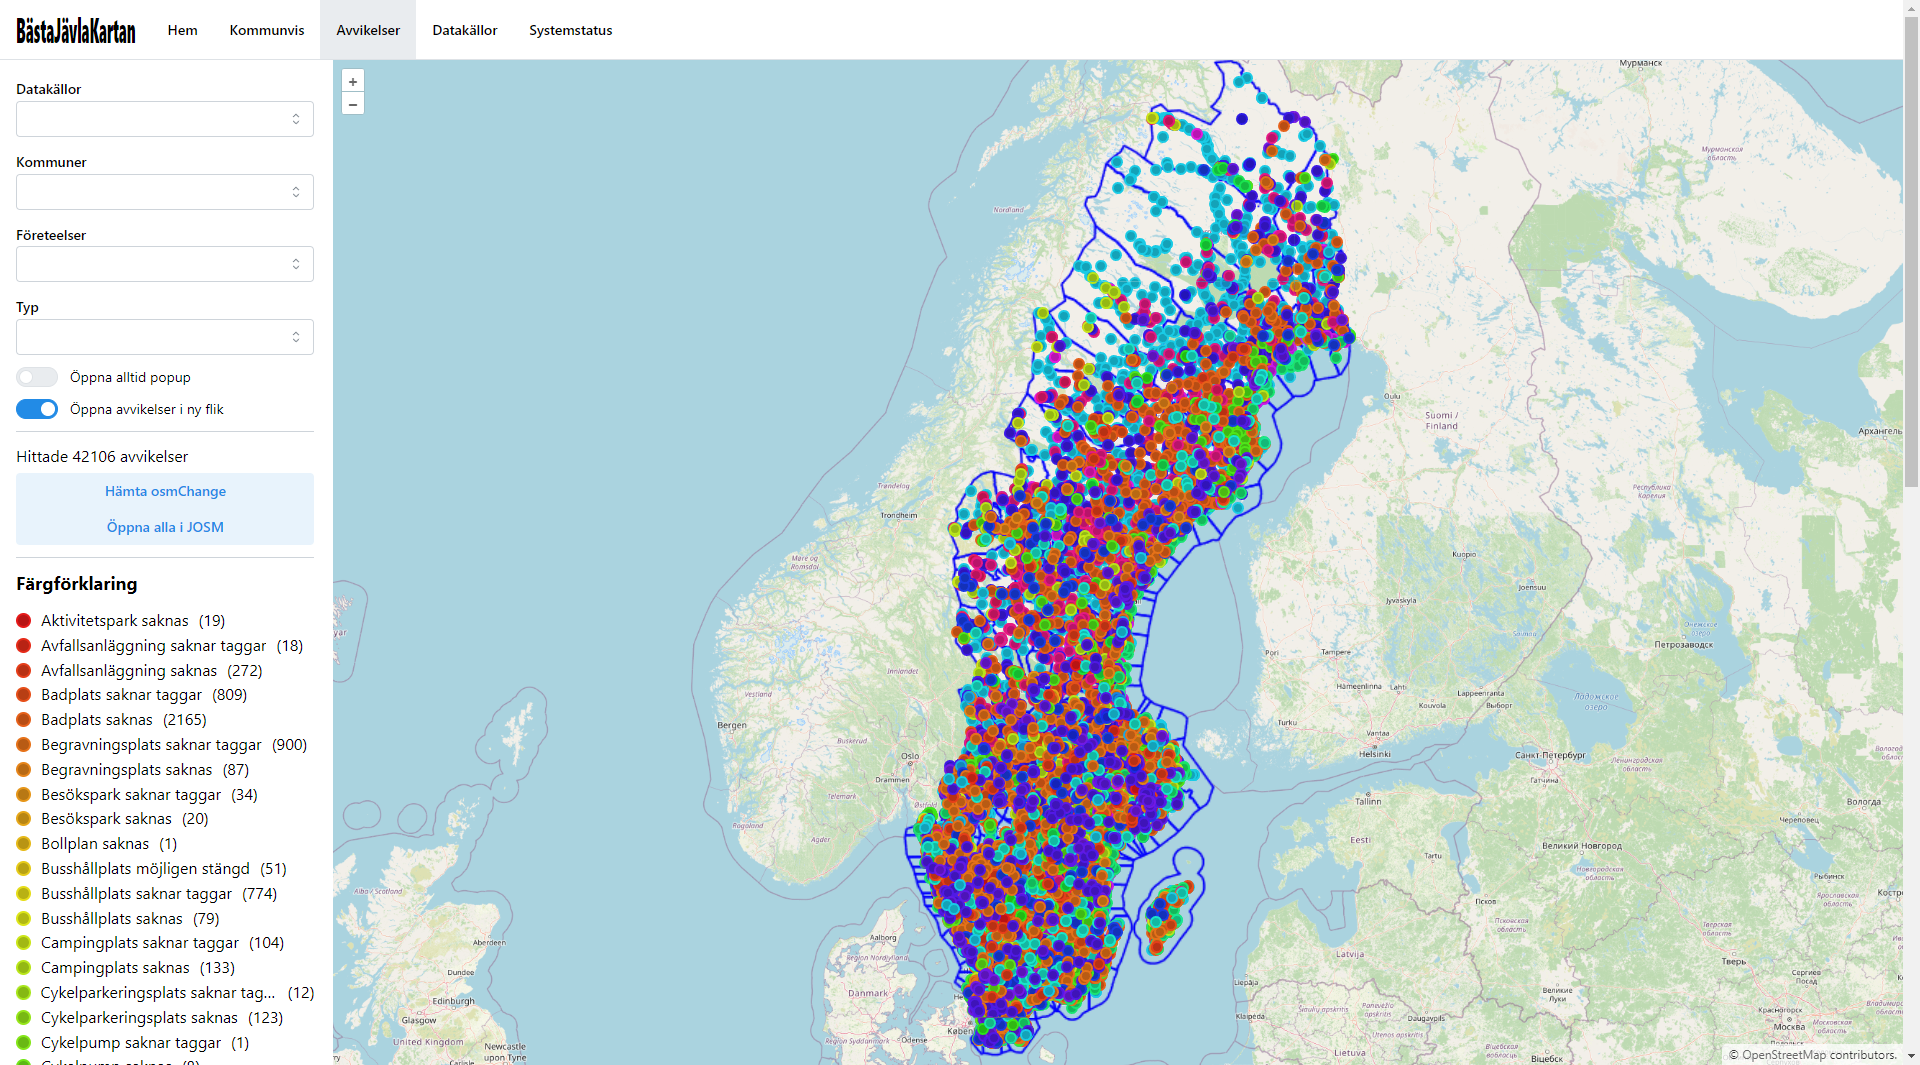
BästaJävlaKartan (or BJK, or OSM-BJK, for short, Swedish for best fucking map) is a tool that compares OpenStreetMap data against various open data sources from Sweden, and reports and deviations it finds.
Screenshots

Architecture
flowchart TD
    Frontend -->|HTTP| nginx-ingress
    subgraph Kubernetes
        nginx-ingress -->|HTTP| PostgREST
        PostgREST -->|SQL| PostgreSQL
        nginx-ingress -->|HTTP| pg_tileserv
        pg_tileserv -->|SQL| PostgreSQL
        Airflow -->|SQL| PostgreSQL
        pgAdmin -->|SQL| PostgreSQL
    end

    style Airflow stroke-dasharray: 5 5
    style pgAdmin stroke-dasharray: 5 5
BJK consist of four main components:
- A database (PostgreSQL with PostGIS)
- An Apache Airflow instance with several DAGs for fetching data and calculating deviations
- Two database-to-API-proxies (one for REST and one for vector tiles)
- A web frontend
The database contains one schema with OSM data, using a relatively "raw" table structure (comparable to that of the OSM main database but without history) which is synced using replication in one of the Airflow DAGs, currently once every 10 minutes. That DAG also calculates PostGIS geometries which are also stored in the database in the same tables.
A second schema in the database contains data from various upstream sources, which are also synced using Airflow DAGs.
A third schema contains the deviations and other metadata that is made available over the API.
A relatively large amount of the business logic is implemented in SQL. For example, deviations are calculated purely using SQL right now, the DAGs to recalculate them just call into SQL.
Installation & Contributing
Setting up the full BJK from scratch is a significant undertaking, and the initial loading of data can take several days depending on your hardware specs. However, it is still possible to contribute to some parts of it with just a limited setup, especially the frontend.
Frontend (changing how the deviations are presented to the user)
This one is easy, and you're even provided with a devcontainer for convenience. However, the manual steps are as follows:
- Prerequisites: Node.js with NPM
- Clone this repo
- Go into the
frontendfolder - Run
npm install - Run
npm run dev - Visit
http://localhost:5137/in your browser
Database (changing how deviations are calculated, adding deviation calculation for a new dataset)
A little harder, depending on what you want to do. Get started by:
- Prerequisites: Docker, Python
- Clone this repo
- Go into the
databasefolder - Run
pip install -r requirements.txt - Run
python db.py watch
You can now edit any of the files in the database/migrations or database/tests folder, and they will automatically be applied and tested in an ephemeral Docker container.
For just adjusting small parts this might be enough, however, if you want to add deviation calculation for an entirely new dataset or a similar change you'll need the data. If the data is already being fetched (see Datasets) you can ask in an issue for a database extract to work with, otherwise, you'll first have to add the fetching code (or ask for it to be added in an issue), see below.
DAGs (changing how data is fetched, adding a new dataset)
This is the most involved, and this section is likely to be incomplete (please file an issue if you find something that's incorrectly described here!).
You essentially have two options; you can either install a Kubernetes environment (I recommend using kind or microk8s) or run Airflow "locally".
Once you have Airflow running, you can start editing the DAGs in dags. See the existing dags for how this should be done.

