GeriLife wellbeing

Features
Activities
Record activities

Emotions

Record emotion for individual

Homes

Home residents (with activity level)

Home activity counts by resident and type (with filtering)


Home activity trends

Home Groups

Single group of homes (with percentage of residents by activity level)

Residents
Resident profile

Resident activity trend

Resident activity calendar heatmap

Resident activity type counts

Resident activity facilitator role counts

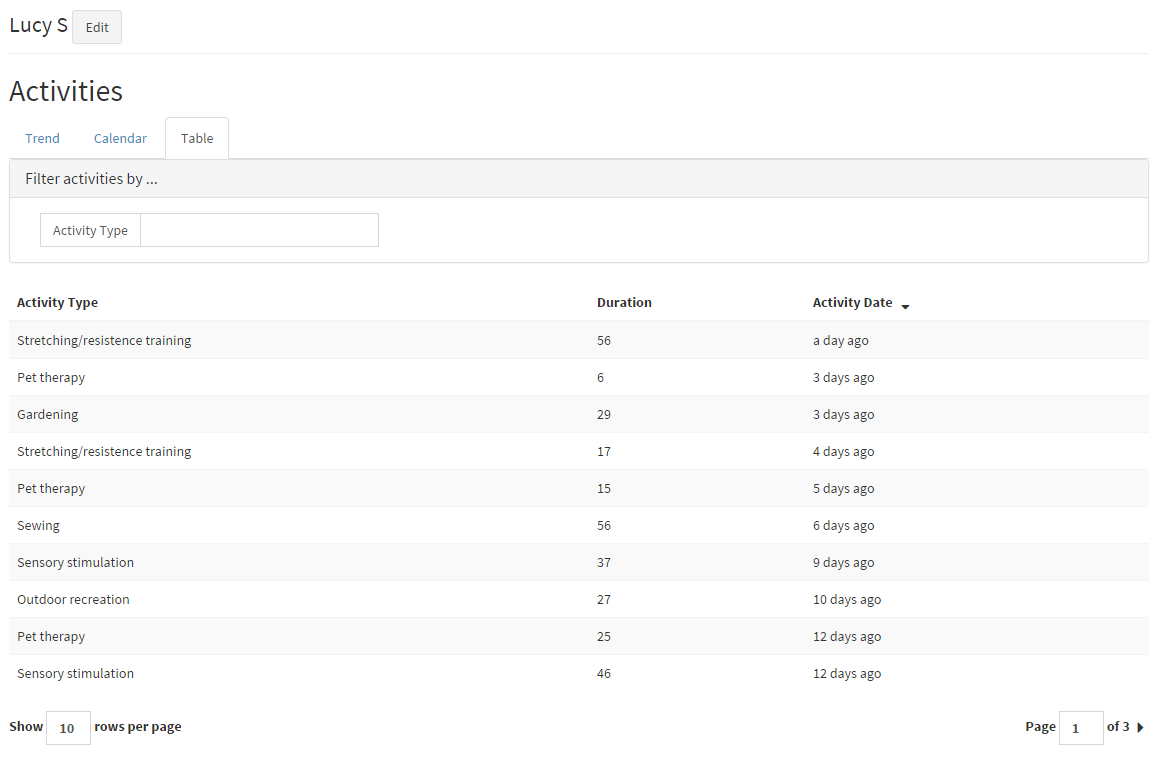
Resident activity table

System settings

User Stories
As a volunteer,
I want to know what activities residents enjoy
so that I can spend quality time with the residents
As a family member
I want to know that my relative is active
so that I know they are living an enjoyable lifeDeveloper instructions
Dev mode setup
- Install meteor. Follow instructions on https://www.meteor.com/install.
- Clone the directory
- The meteor app resides inside the wellbeing/app folder. Install npm modules here.
- To start the app, run
npm run dev.
Mock data
For running app in dev mode, there is a process to generate dummy data and user accounts.
To create the dummy data open the meteor shell and run Meteor.call("createMockData"). This method call will generate data that can be used fr testing and development.
To be able to use the app, a user account is needed. This can be created in the following way:
- Open
app/lib/accounts.jsand in the configurations setforbidClientAccountCreationtofalse. - Run the app
- Open the app in browser.
- On the login page, a user registration link will be now available. Register a user with the link. The first user registered this way, will always be an admin and the rest will be non-admin users.
Upgrade meteor version
-
rm -rf node_modules package-lock -
npm i -
meteor update -
meteor update --all-packages -
~/.meteor/packages/meteor-tool/1.8.1/mt-os.linux.x86_64/dev_bundle/mongodb/bin/mongod --dbpath .meteor/local/db --repair
if necessary run meteor reset. Warning: This will clear all collections and user accounts.
npm run dev
Running tests
Command to run
npm run test
This command will start a server on port 8000. It is better to run npm i if the tests are run for the first time.
Server code must be tested on server using Meteor.isServer flag. Code running in the if constructs of Meteor.isServer will show results on the console. For the others, Meteor.isClient must be used and they can be evaluated in the browser on http://localhost:8000.
Coverage
Coverage can be found at http://localhost:8000/coverage on the browser. This will show the coverage for server files.
Please note that the server for tests is started in watch mode so that client tests can be evaluated on the browser. These tests take 2 runs to get the correct results due to some issues with the underlying babel nyc module. Here's what can be done:
- start the server.
- Once the process logs this messages
listening on localhost:8000, change any file and save it. - This triggers the watch and tests are rerun correctly.
Steps to start the demo app
- Make sh file executable. Run
sudo chmod +x start-demo.sh - Make current user owner of meteor file by running
sudo chown -Rh shailee .meteor/local - The start-demo.sh file starts the app in demo mode (Make sure to not start it on the same server as the production server or else the mongo database will be overwritten).
- To start the demo as a cron job run
sudo crontab -e- This will open a cronjob editor. On the last line of the editor add
0 0 * * * cd /path/to/sh-file && /bin/sh start-demo.sh >> cron.log 2>&1. - Save and exit. This will restart and reset the app everyday at midnight.
Contributors
Thanks goes to these wonderful people (emoji key):
Shailee Mehta 💻 | PayalChoksey17 🐛 |
This project follows the all-contributors specification. Contributions of any kind welcome!