This is a Plugin for Homebridge to link Siri and the ZipaBox or ZipaTile.

It's based on many different plugin example that you can find by searching "homebridge-plugin" in all Git repository.
The approach is to add multiple accessory through a platform and get the base information and action through API request.
This plugin will NOT find the device itself. The devices need to be configured inside the config.json file of Homebridge.
You'll find 3 repository related to this project :
- homebridge-zipabox-platform : the present one with a relatively stable version
- homebridge-zipabox-platform-dev : the package used for the dev branch. Not for all day use (unstable)
- homebridge-zipabox-accessory : no more maintained, just for 1 accessory (the previous version of this project)
Installation
I usually install the package through the npm package with the help of homebridge-config-ui-x.
You can try another installation process but this is the simplest one that I found.
All the tests are done on homebridge installed on a rasperry Pi with the homebridge-Pi image.
Configuration
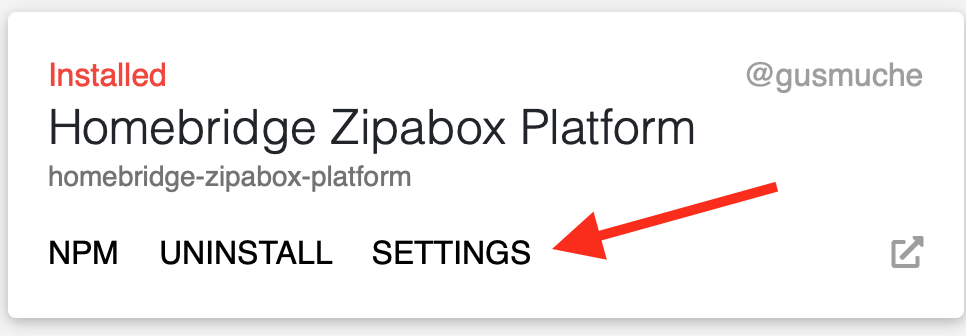
The best way to configure your accessories is to use the configure panel through the homebridge-config-ui-x plugin. To do this go to the plugin tab and select the "Settings" option on the plugin. There you can complete the needed parameters and if you want also the optional.
Another way is to edit the config.jsonfile of Homebridge and add a new platforms with the needed parameters.
Short example :
"platforms": [
        {
            "platform": "ZipaboxPlatform",
            "USERNAME": "you@email.com",
            "PASSWORD": "yourPassword",
            "server_ip": "remoteV3",
            "accessories": [
                {
                    "name": "Switch first room",
                    "UUID": "aa2zx65s-013s-1s12-12s2-s12312s9s253",
                    "type": "switch"
                }
            ]
        }
    ]
Larger example can be found here.
How it's working
To play the bridge between your Zipabox (or Zipatile), the plugin use 2 level of informations.
The platform level must contain all global information about the box. Some global parameters are also define at this level. With this information the plugin can connect to your box through API request.
The accessories input is an array who each item is an accessory in the Home App of iOS. If you have a device with multiples function, you need to create multiples accessories. For example the Quad Sensor of Zipato give you motion + ambient + contact + temperature. You need one accessories per sensor that you want in iOS Home App. The plugin need to know the lowest level UUID of your sensor to find his value. Too choose the correct sensor please see "uuid of Accessory" here below.
Parameters - Platform
| Parameter | Explanation |
|---|---|
platform |
Must be "ZipaboxPlatform" for select the correct plugin |
server_ip |
Local ip of your Box : format 192.168.0.1 - do not add http or port OR remote - see below - |
username |
Username use to connect to my.zipato.com |
password |
Password use to connect to my.zipato.com > never publish your Config with this infos |
pin |
(Optional) Your Pin in Zipato Board to arm or disarm alarm. |
debug |
(Optional) If true the console will display tests informations for the platform level and ALL the accessories - false in default |
debugApi |
(Optional) If true the console will display tests informations for the API request (independent of debug parameter) - false in defaultCan also set to FULL to have more details from API requests. |
refresh |
(Optional) Time for forced refresh of the status (in seconds) see below |
reset |
(Optional) If true the plugin will try to rebuilt all accessories from config.json |
Please note the lower and upper case of the parameters.
Parameters - Accessories
| Parameters | Default | Mandatory | Explanation |
|---|---|---|---|
type |
switch |
yes | Select the Accessory Type |
name |
- | yes | Name of your accessory, will be showed in Home App |
manufacturer |
zipato |
optional | Manufacturer of your device. No more use than info in HomeKit |
model |
zipato |
optional | Model of your device. No more use than info in HomeKit |
serial |
zipato |
optional | Serial number of your device. No more use than info in HomeKit |
uuid |
- | yes | uuid of your accessory |
debug |
false |
optional | If true the console will display tests informations for this accessory |
uuidb |
- | optional | Specify a second uuid for a service with two implemented Characteristics |
batteryLimit |
0 | optional | Level (in percent 1 to 100) to launch the BatteryLow Status |
refresh |
0 | optional | Time for forced refresh of the status (in seconds) |
noStatus |
false |
optional | Set to true if no Status (is connected) option is available for the device |
reverse |
false |
optional | Set to true if the boolean signal of the sensor need to be reversed |
min |
0 | optional | Fix a min value for a specific range |
max |
100 | optional | Fix a max value for a specific range |
nightMode |
false |
optional | Select Home or Night for Security system |
useEve |
false |
optional | If true and compatible, plugin will add automatically the battery percentage of the device |
hidden |
false |
optional | Delete the accessory inside Homebridge, keep the config |
Please note the lower and upper case of the parameters.
More information for a lot of parameters here below.
Not Implemented Accessory (cause I'm not using them)
- Doorbell
- Dioxide Sensor
- Smoke Sensor
List of implemented accessories and function
| Home App Device | Plugin type | get | set | range | Online | Low Battery |
Special |
|---|---|---|---|---|---|---|---|
| Switch (default) | switch |
O/I | O/I | - | yes | yes | - |
| Light Bulb | light |
O/I | O/I | - | yes | yes | - |
| Dimmer | dimmer |
value | yes | yes | yes | no | - |
| Outlet | outlet |
O/I | O/I | - | yes | no | In Use Eve |
| Temperature Sensor | temperature |
Value | no | yes | yes | yes | - |
| Light Sensor | ambient |
Value | no | yes | yes | yes | - |
| Motion Sensor | motion |
Value | no | - | yes | yes | - |
| Contact Sensor | contact |
Value | no | - | yes | yes | - |
| Window | window |
open/close | no | no | yes | no | - |
| Door | door |
open/close | no | no | yes | no | - |
| Covering | covering |
open/close | yes | no | yes | no | - |
| Leak Sensor | leak |
O/I | no | - | yes | yes | - |
| Battery | battery |
Value | no | yes | yes | yes | - |
| Carbon Monoxide | co2 |
O/I | no | yes | yes | yes | - |
| Security System | alarm |
O/I | yes | - | yes | no | Night/ Home |
Remarks
Remote or local use
The plugin is developped since the beginning on local access. To use this you must give your box IP in the parameter.
After some tests the plugin can also go on the API through the Internet. Better response are observe with remote access but no security validation is made by the plugin author (connection is made on https://my.zipato.com:443/zipato-web/v2/)
For a lot of accessories, remote access will give a really better result.
Name of an accessory
The name will be display in the Home app on your devices. For best practice use a short one.
You can use same name with different uuid.
You can't use same name AND same uuid for multiples accessories.
Debug modes
You can activate 3 level of debug
- API : parameter
debugApiwill activate all the API request information only. Without the next debug information it can be hard to follow - Accessory : will activate the debug information for only one accessory, no influence on the API or Platform level
- Platform : will give a lot of information for the platform level and set ALL the accessory
debugtotrue(will not affect thedebugApiparameter) If you setdebugtotruefor Platform andfalsefor one (or more) Accessory, the plugin will not consider the last one.
uuid of Accessory
The uuid need to be the lowest level (see STATE in the picture) uuid of your Zwave Device. The name can be another be it must be the lowest level.

Since v1.7.0 the plugin will compare your parameter to the list of all available attributes in the box. If he didn't find the UUID in the box, an error will occur : [PTFM] [checkUUIDAttributes] The UUID of the accessory DoorMotion da696653-2a9e-43c3-a7-8cab35e6bbc7 is not available in the box. Please check config. Accessory will not be added. Not implemented foralarm`.
To be sure you can try with the Zipato API to use this uuid as parameter for attributes request.
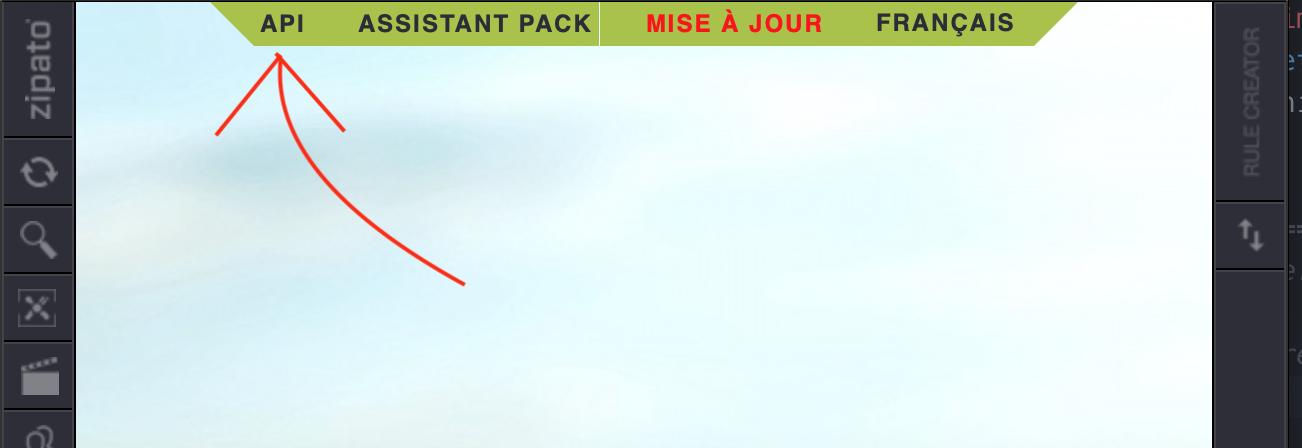
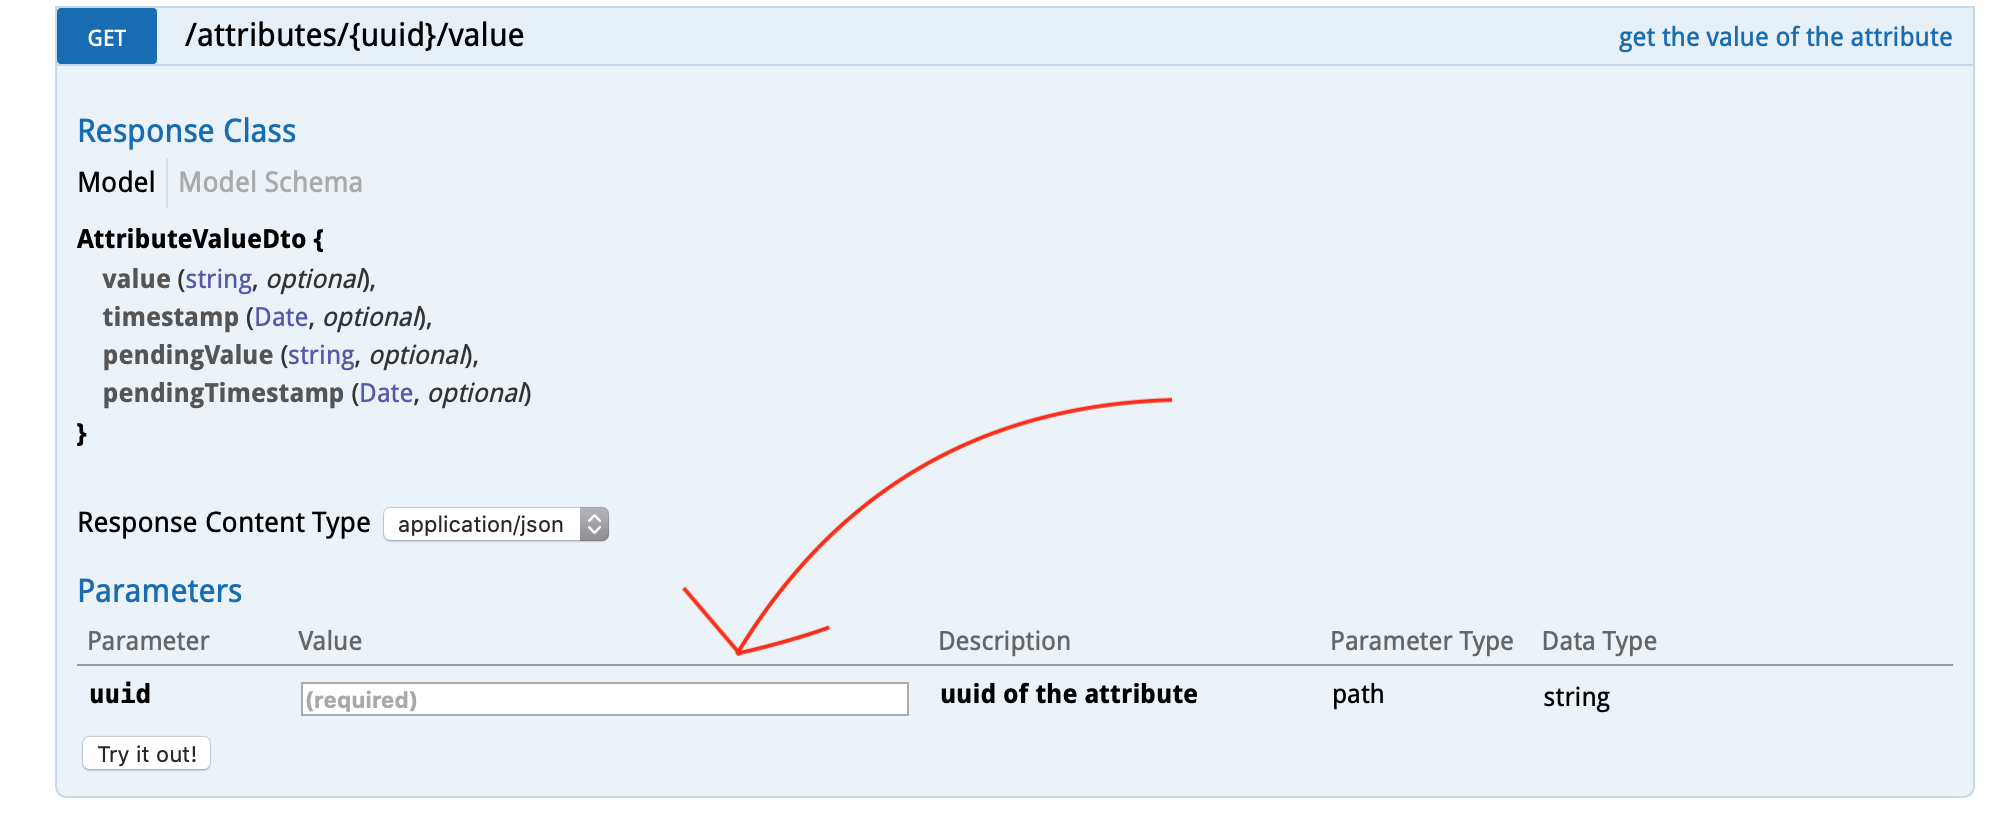
The Device uuid is find automatically by the plugin if noStatus is not specified.
uuidB - Second Characteristic for implemented Services
For some Accessory, two UUID are necessary to get all the needed Information.
| Accessory | uuid | uuidB | Optional / Mandatory |
|---|---|---|---|
| Battery | BatteryLevel | ChargingState | Mandatory |
| Outlet | State of device | Current consomption | Optional |
Clear the cache
Homebridge try to relaunch cached accessories before add the other one specified inside the config.json file. If some old accessories doesn't disappear, try to put option reset to true and restart Homebridge.
If the problem is not solve, try to delete the file cachedAccessories inside folder accessories your from Homebridge installation.
If you reset the cache, you can loose all your room configuration and other topic inside iOS.
Additionally see Troubleshooting at the end of this README.
Window and Doors
The plugin only get the status open or closed for door and window. It's like a contact sensor but with an other icon. If the user click on the button in HomeKit, the plugin will force the get position method.
min / max value
For some sensor, the scale need to be adapt. If Zipato give a percent and HomeKit want a scale, you can specify the min and the max parameter.
The plugin will calculate a range = max - min.
Then the value given to HomeKit will be calculatet = min + valueOfZipato/100 * range.
Reverse a value
Some sensor work inverted as HomeKit expect. Example : a motion sensor return true if no motion are detected. If you can't change your sensor return value in his configuration or Zipato configuration, you can add the reverse : true parameter to reverse the returned value. Work for all "get" for attributes.
This option is fixed to false by the plugin for an alarm.
Device Status Unavailable
In case of unavailable device status you can add the parameter noStatus: true to ask the plugin to not check the availability of the device. This can happen for wired device to the box (security module).
It can help if your Status UUID have no Parent device with a status option.
This option is fixed to true by the plugin for an alarm.
Refresh Rate
HomeKit update the status of your device when you reopen the Home App. If you want to force a refresh you can use the optional parameter "refresh" at the platform level and for each accessory.
You do not need this to keep the connection to the Box. The plugin will reconnect if need after a long time without connection.
Refresh the box will also refresh all the accessories states.
For installation with a lot of accessories, you can choose to refresh at different rates some accessories. The rule is simple : the refresh at accessory level is added to the global. If two request is made too shortly, the plugin will miss one.
TIP : put 600 (10 minutes) to the platform level and adapt the accessories to what you need (temperature can be empty, motion to 30, contact to 60, ...).
If you put a refresh to low, and try to have a new value before the finish of last request, the plugin will send the last knowed value without a new request to the box.
Battery Limit
To see in Home App if a device have a low battery, you can specify the related option with a limit to reach to activate this status.
The battery limit is disable if noStatus is on true or for some devices without compatibility in Home App (door, window, alarm, ...).
If used correctly, Home app will indicate a warning if the battery level is under the specified battery limit.
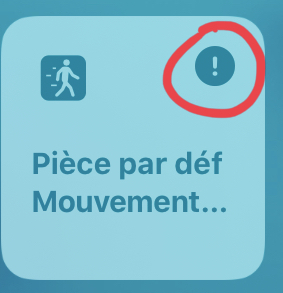
The information will be also displayed on the accessory pop-up.
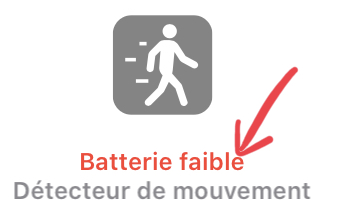
If you use the Eve App, you will also see the correspondent battery level in percent.
Alarm - Security system
Alarm configuration
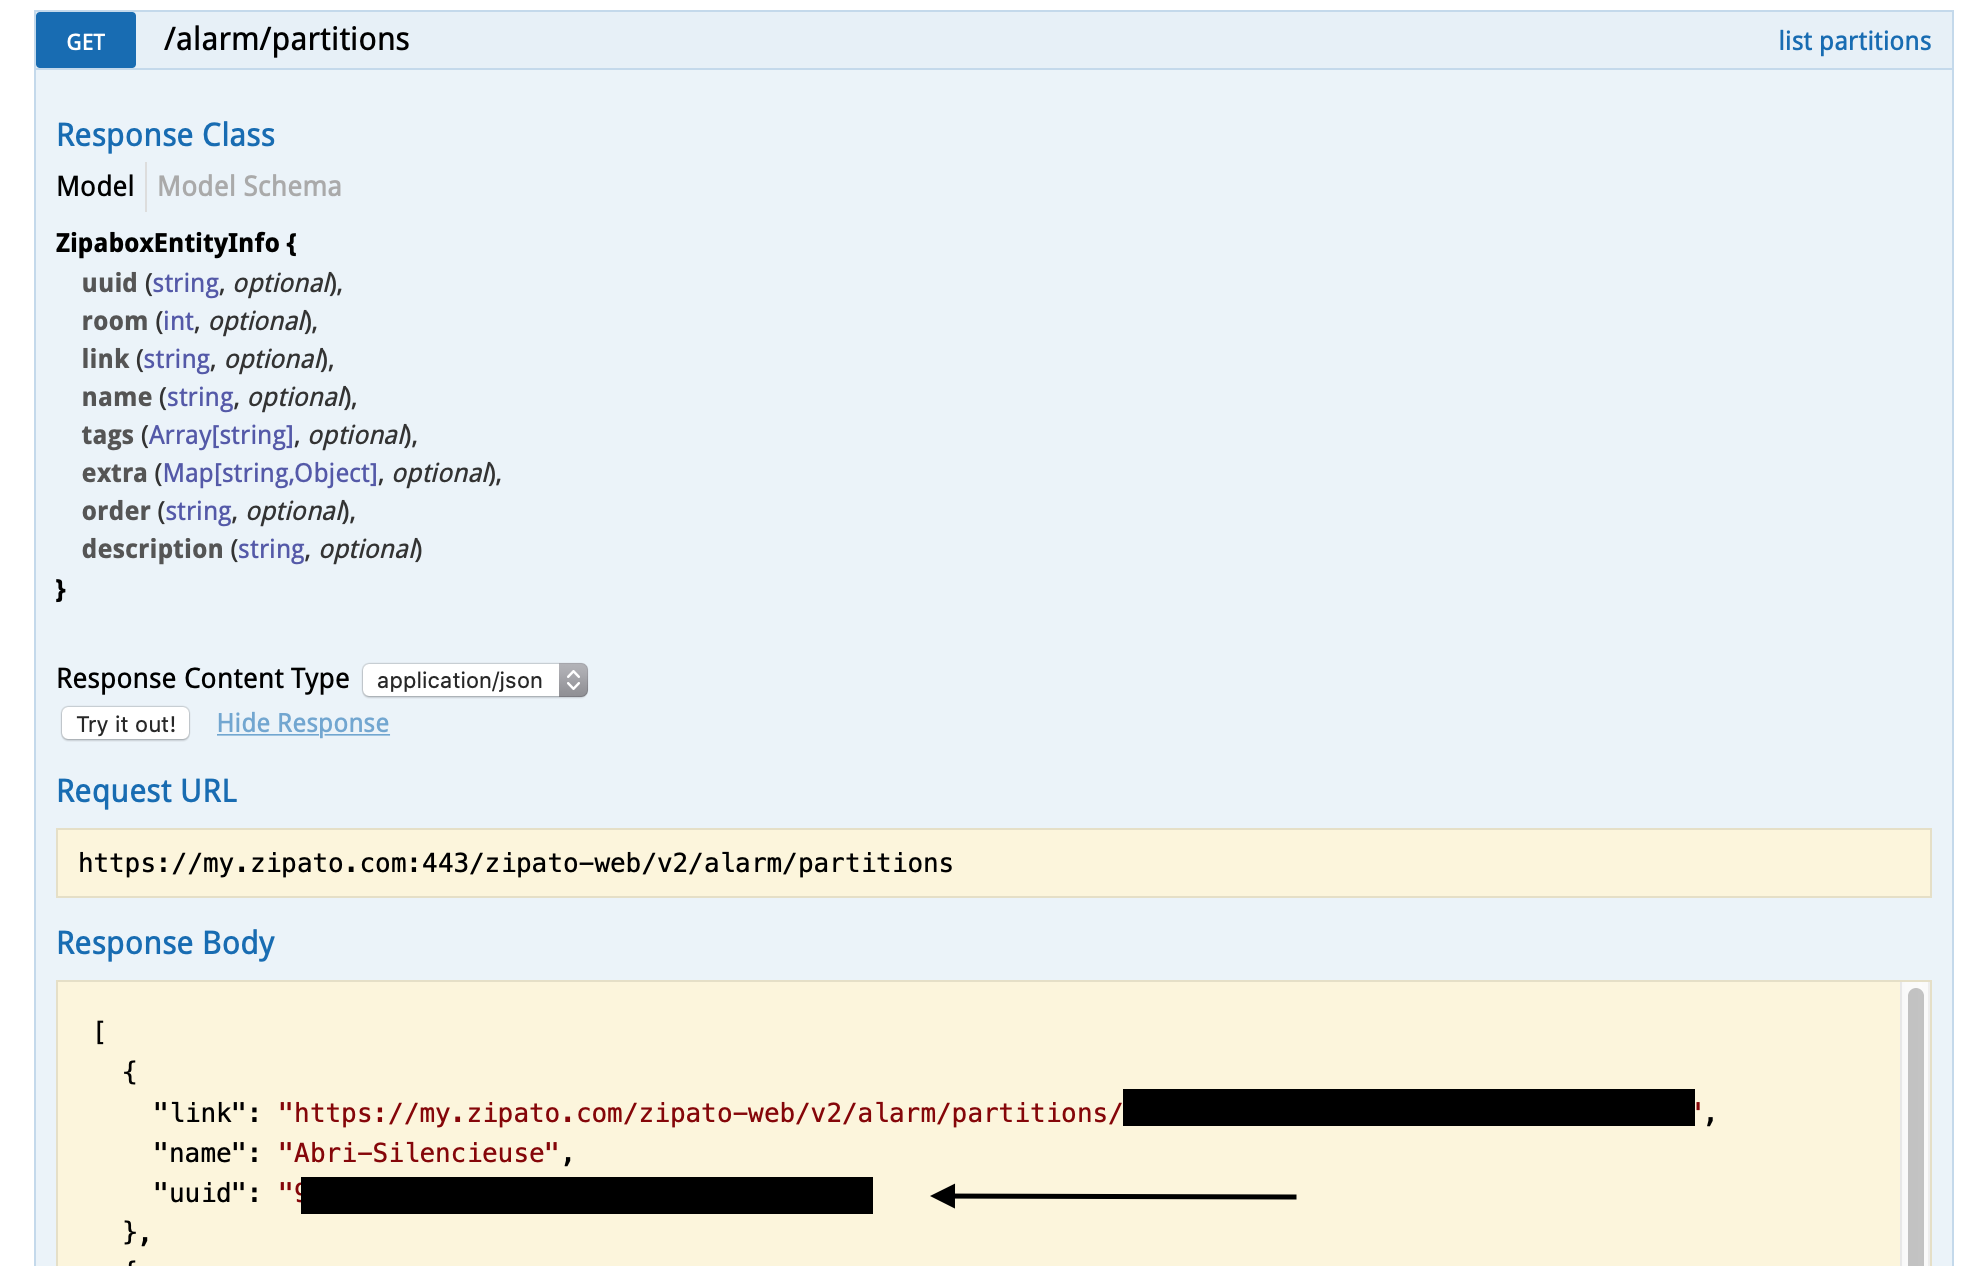
To configure an alarm, you must specify the UUID of the partition that you want to follow (not the device or sensor). Also the pin of the user is necessary to permit access to change the alarm (see next point).
To find the uuid of the partitions, you muss go to the API website after connection to your my.zipato.com deskboard. Use the alarm/partitions/ request.
Pin missing for Alarm
The pin parameter muss be set on the platform, not the accessory. Only one user with one pin can be used. In case of missing PIN parameter for a Alarm accessory, the plugin send a log warning.
Select night or home
Homekit can return "Night" status or "Home" status for an "Perimeter only alarm". Zipato can only have one of both. To choose if homebridge should return Night or Home, the user has to select nightMode = true if the system has to return Night.
Home mode is selected has default.
Special accessories
Some special button can be added to Home App to manage your box or plugin.
Log Off User
The plugin can create a Log Off Switch in Homebridge. If you activate this switch, the user will be disconnect from the Box. You need then to refresh the Home App or wait the refresh to reconnect automatically.
This can be use for debug purpose.
You need to choose disconnectBox as uuid and switch as type.
{
  "name": "Log Off User",
  "type": "switch",
  "uuid": "disconnectBox"
}
Reboot Homebridge
Same as the previous one but used to restart Homebridge. To do this the plugin force an error.
You need to choose rebootHomebridge as uuid and switch as type.
{
  "name": "Reboot Homebridge",
  "type": "switch",
  "uuid": "rebootHomebridge"
}
Reboot Zipato
Same as the previous one but for restart the Zipato box.
You need to choose rebootBox as uuid and switch as type.
{
  "name": "Reboot Box",
  "type": "switch",
  "uuid": "rebootBox"
}
Development route
The old Development route can be found here
Since v1.5.0 the next functionnality are lunched by issues.
Troubleshoting
Updated configuration not take
If you change parameters of an configured accessory, the change maybe not be taked by the plugin.
Best way to do this is to add the reset parameter to true and restart homebridge.
For some errors this action will not give the right answer. Then you'll need to delete the cachedAccessories file inside the accessories folder of your Homebridge installation.
Explanation : a big part of the parameter from accessories are saved inside Homebridge (context of an accessory, writen in the file cachedAccessories). The plugin will first try to reload a configured accessory and then apply the configuration. Please report an issue if this is the case.
Battery device not recognize by Home APP
In my test the battery Service is not recognize by the app, but the value and the status are correctly given. The icon will be a house with a status "not recognize".
If someone have a solution or idea, please send mp or fetch.
CREDITS
Thanks to the best plugin example
homebridge-gpio-wpi2
homebridge-camera-ffmpeg
homebridge-hue
And of course thanks to Homebridge team !