Brackets-Themes
Set CodeMirror and Custom themes in Brackets.
Features
- Automatic loading of CodeMirror's themes shipped with Brackets.
- Enjoy a variety of custom themes created by other users like yourself! For custom themes 101 primer, please read below.
- Import themes from http://studiostyl.es/.
- Configure font size and font type.
- Disable scrollbars defined in themes. Good if you just want to use the default scrollbars.
- Support for LESS files!
- Auto reload themes upon saving changes made to theme files.
- Configure custom folders to load themes from. This is good if you want to have a folder to hold your custom themes that you want to persist after Brackets/Themes updates. Read this issue if you want to see why sometimes you need this feature.
- Doctype specific styling. See below for an example.
- Auto detection of dark themes so that Brackets can do its dark theme specific styling.
Screenshot
Visual Studio
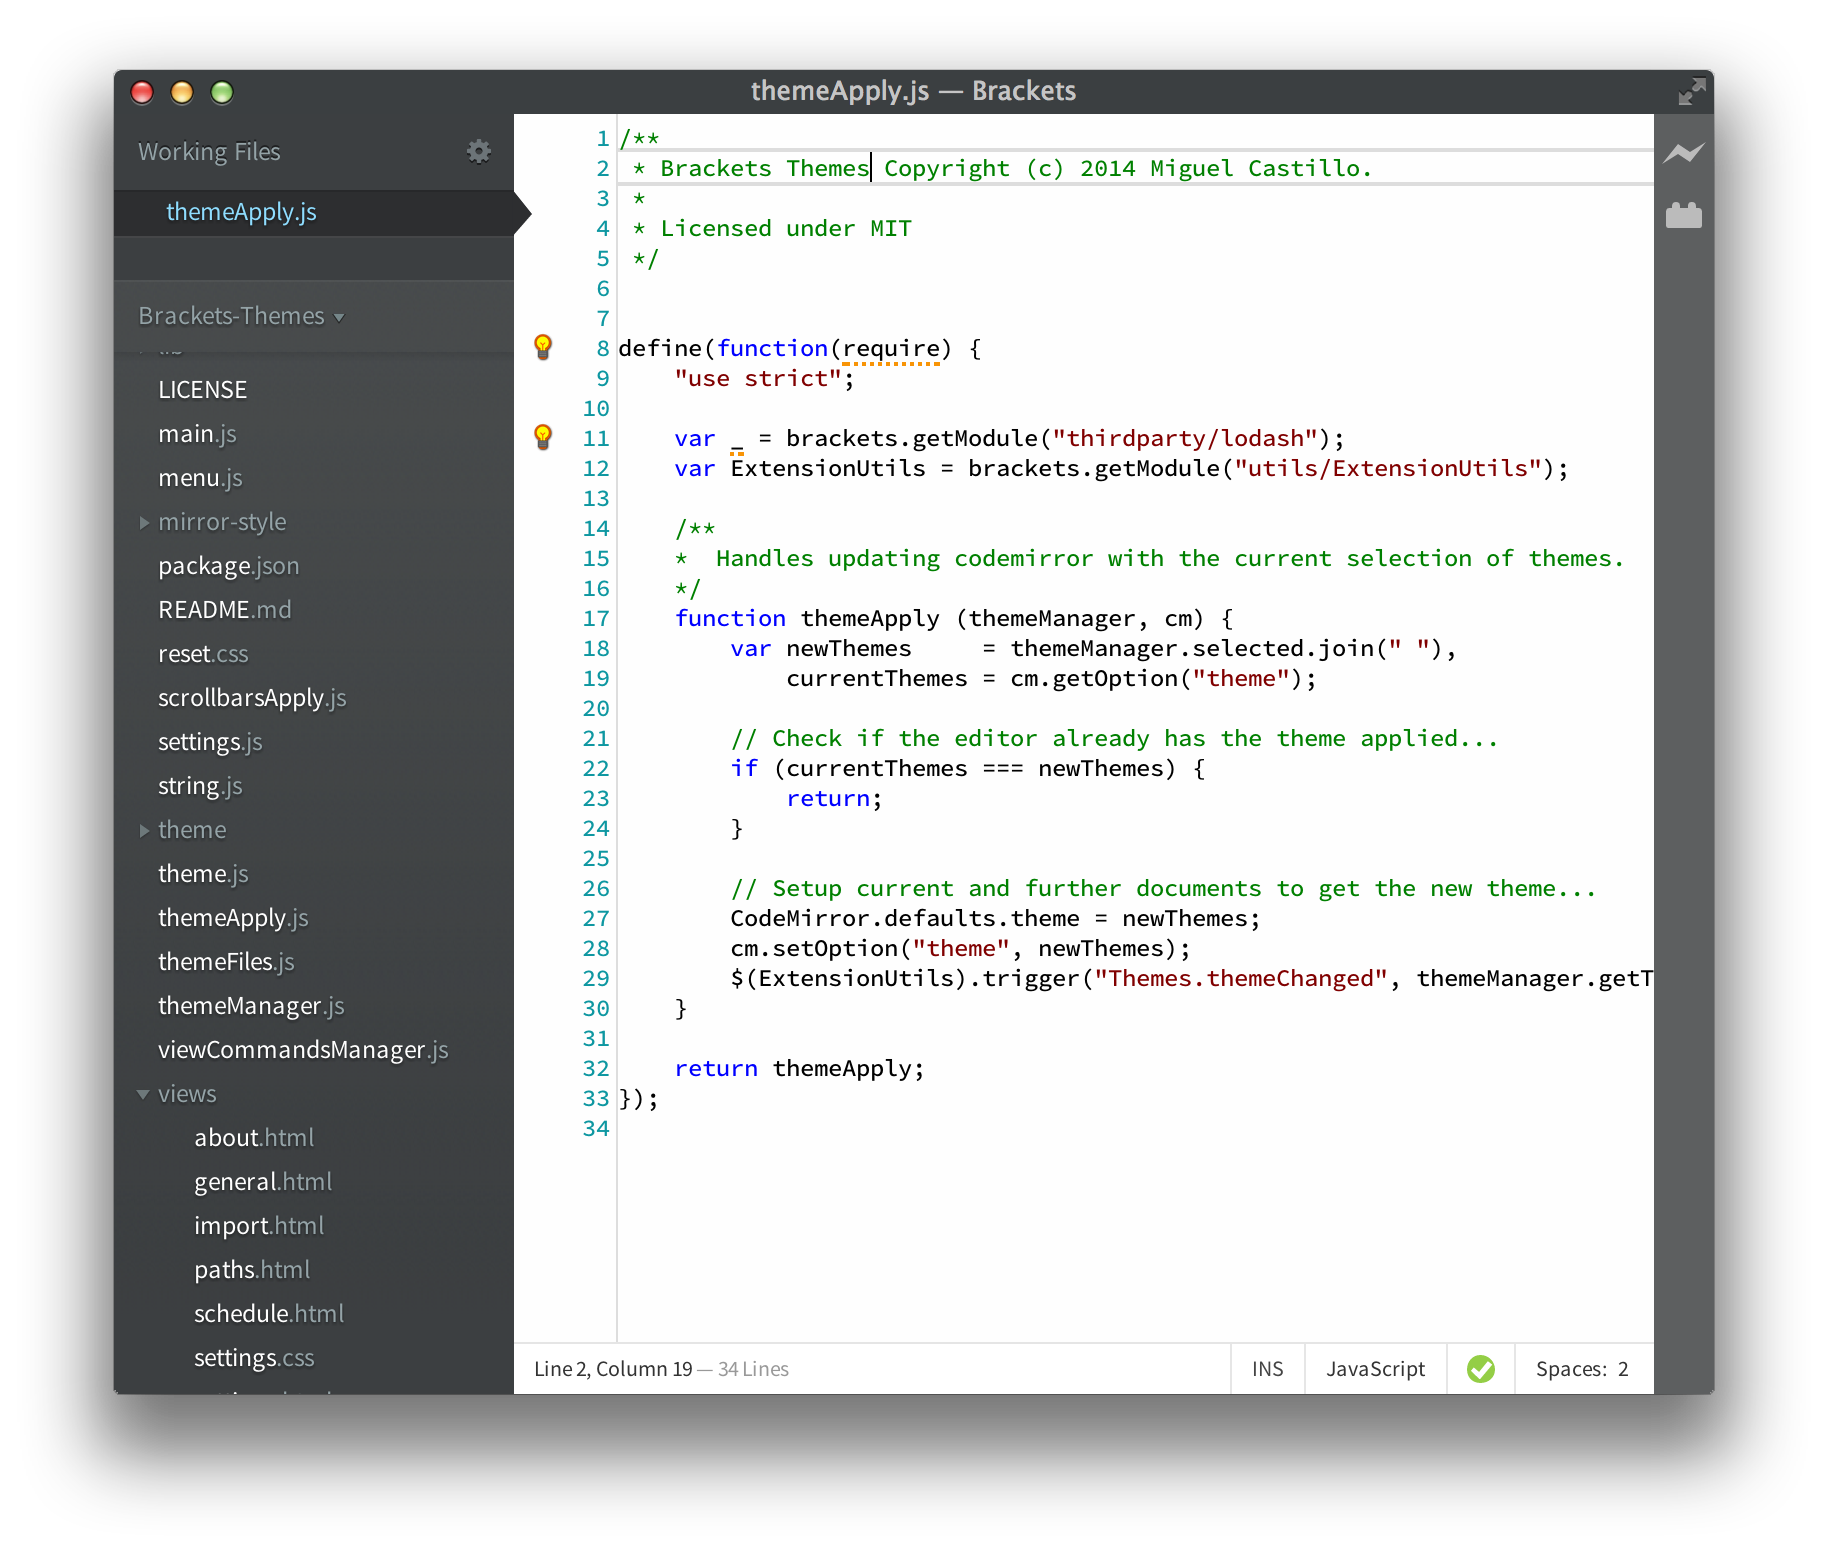
Monokai Dark Soda
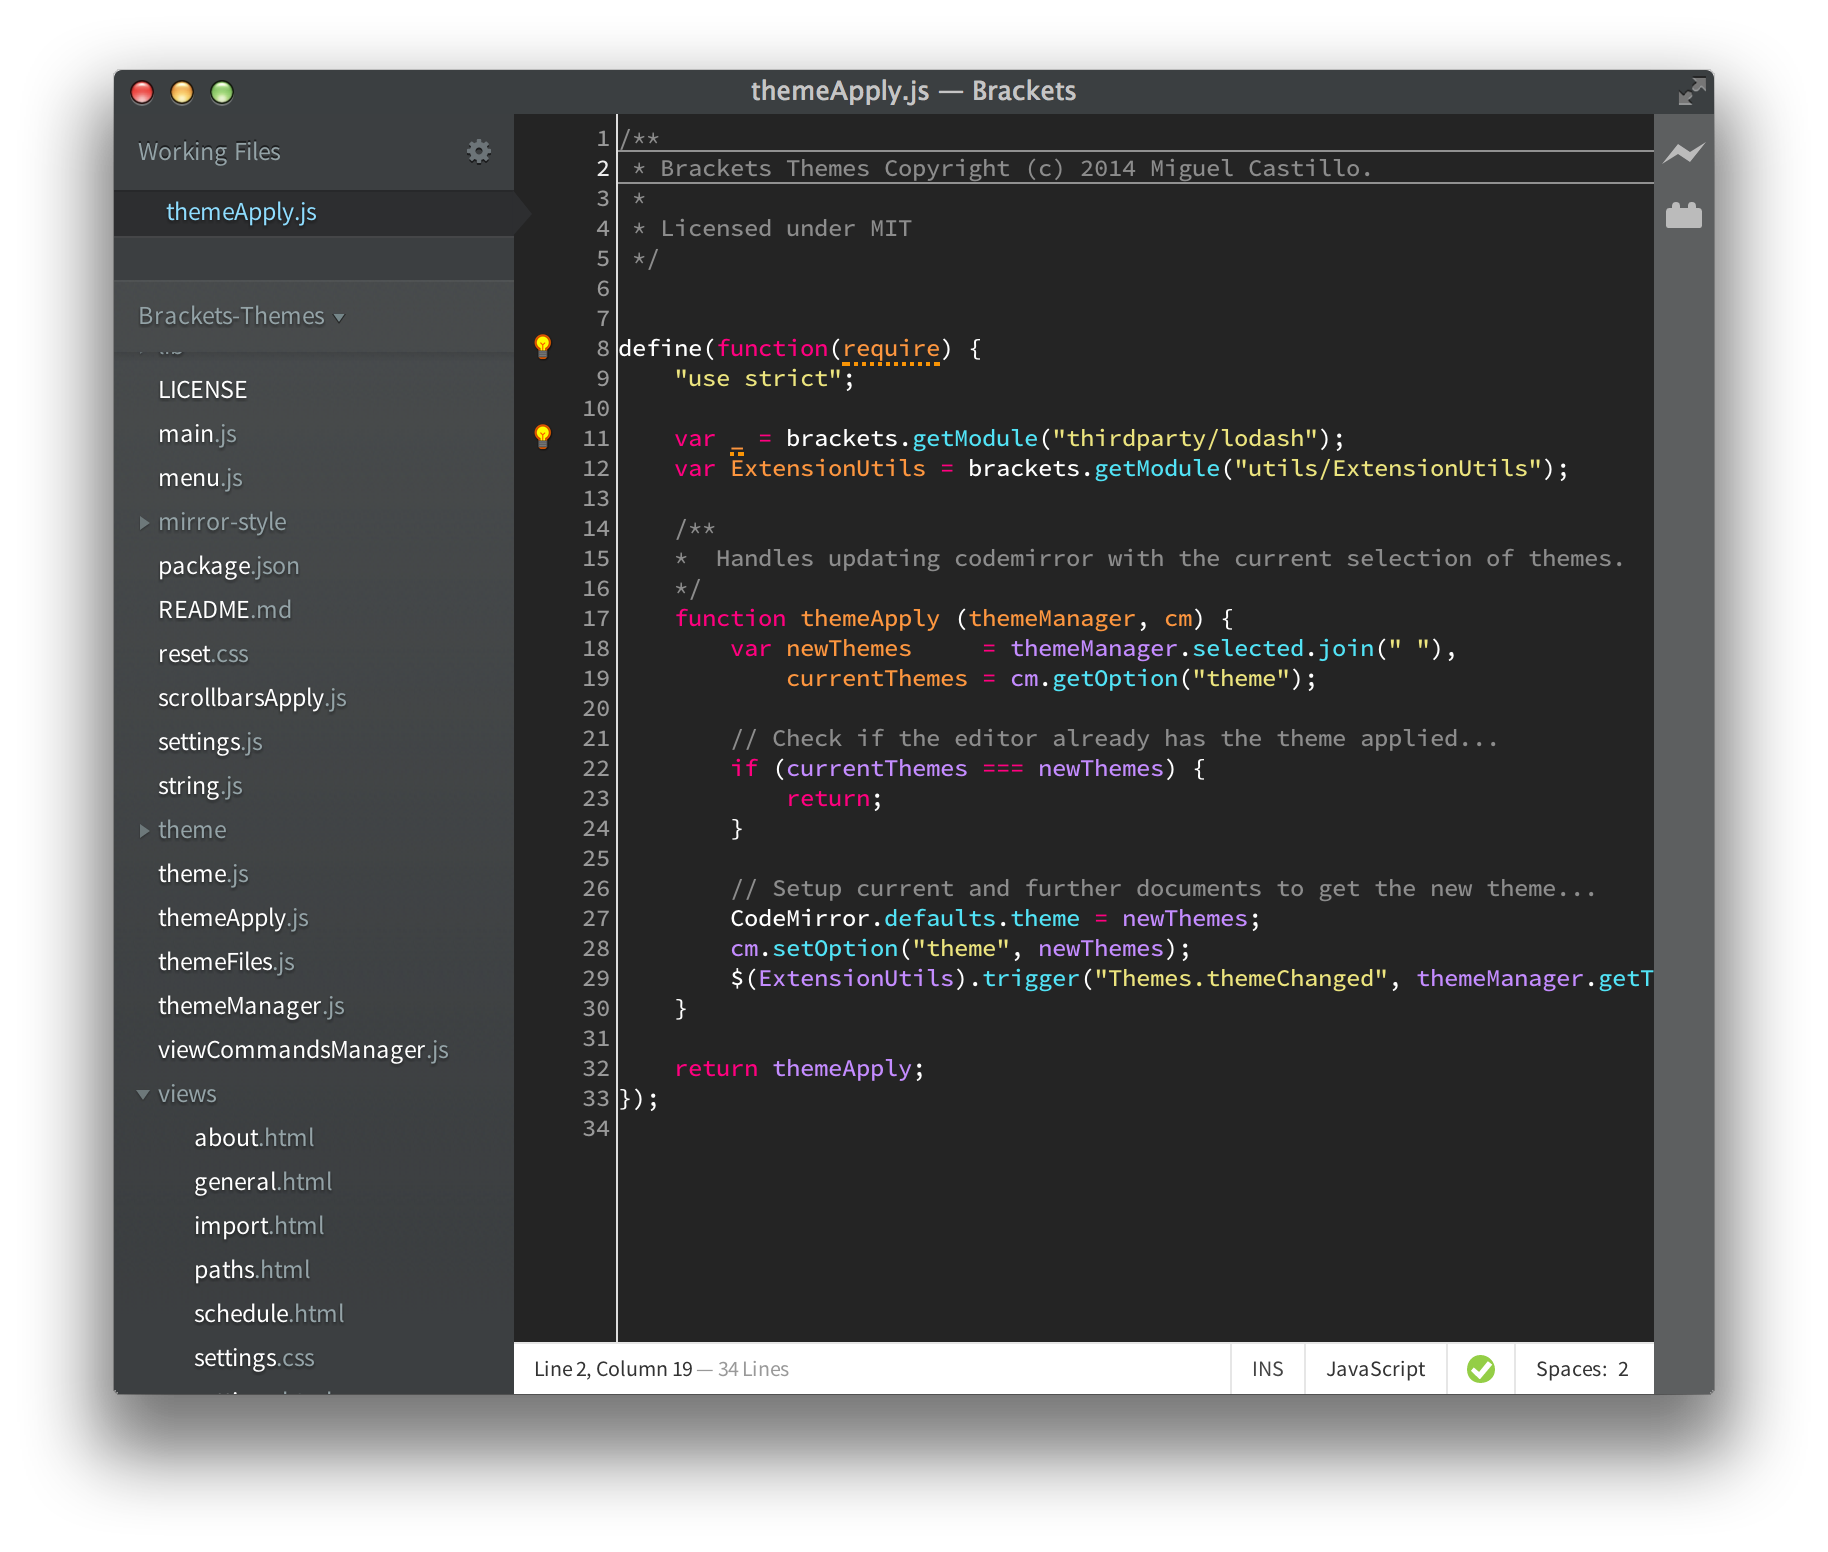
Dracula
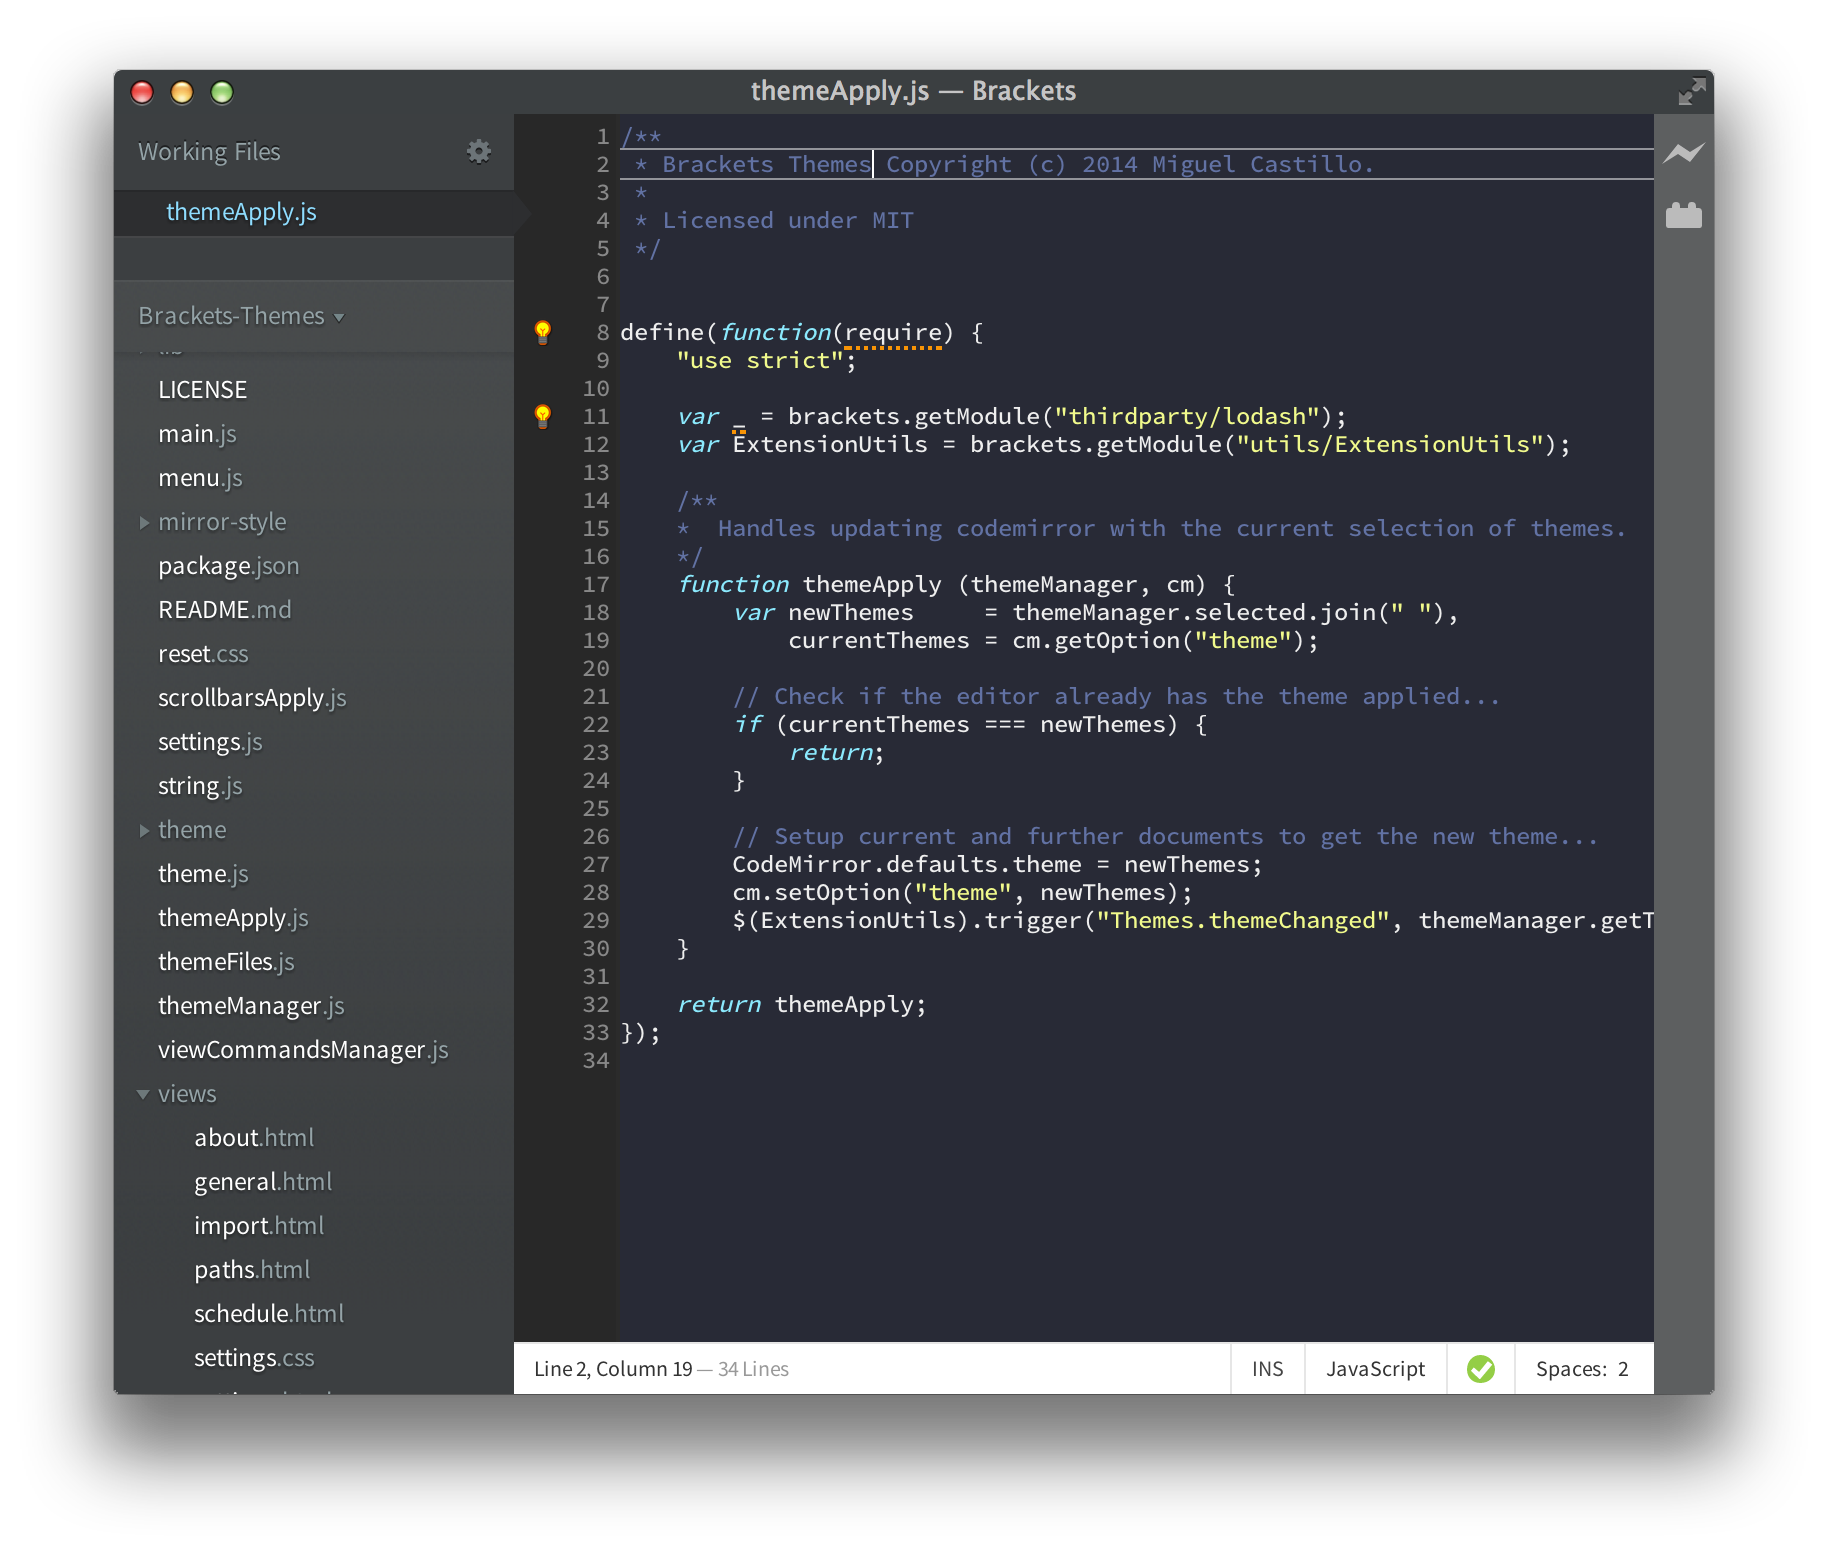
Solarized
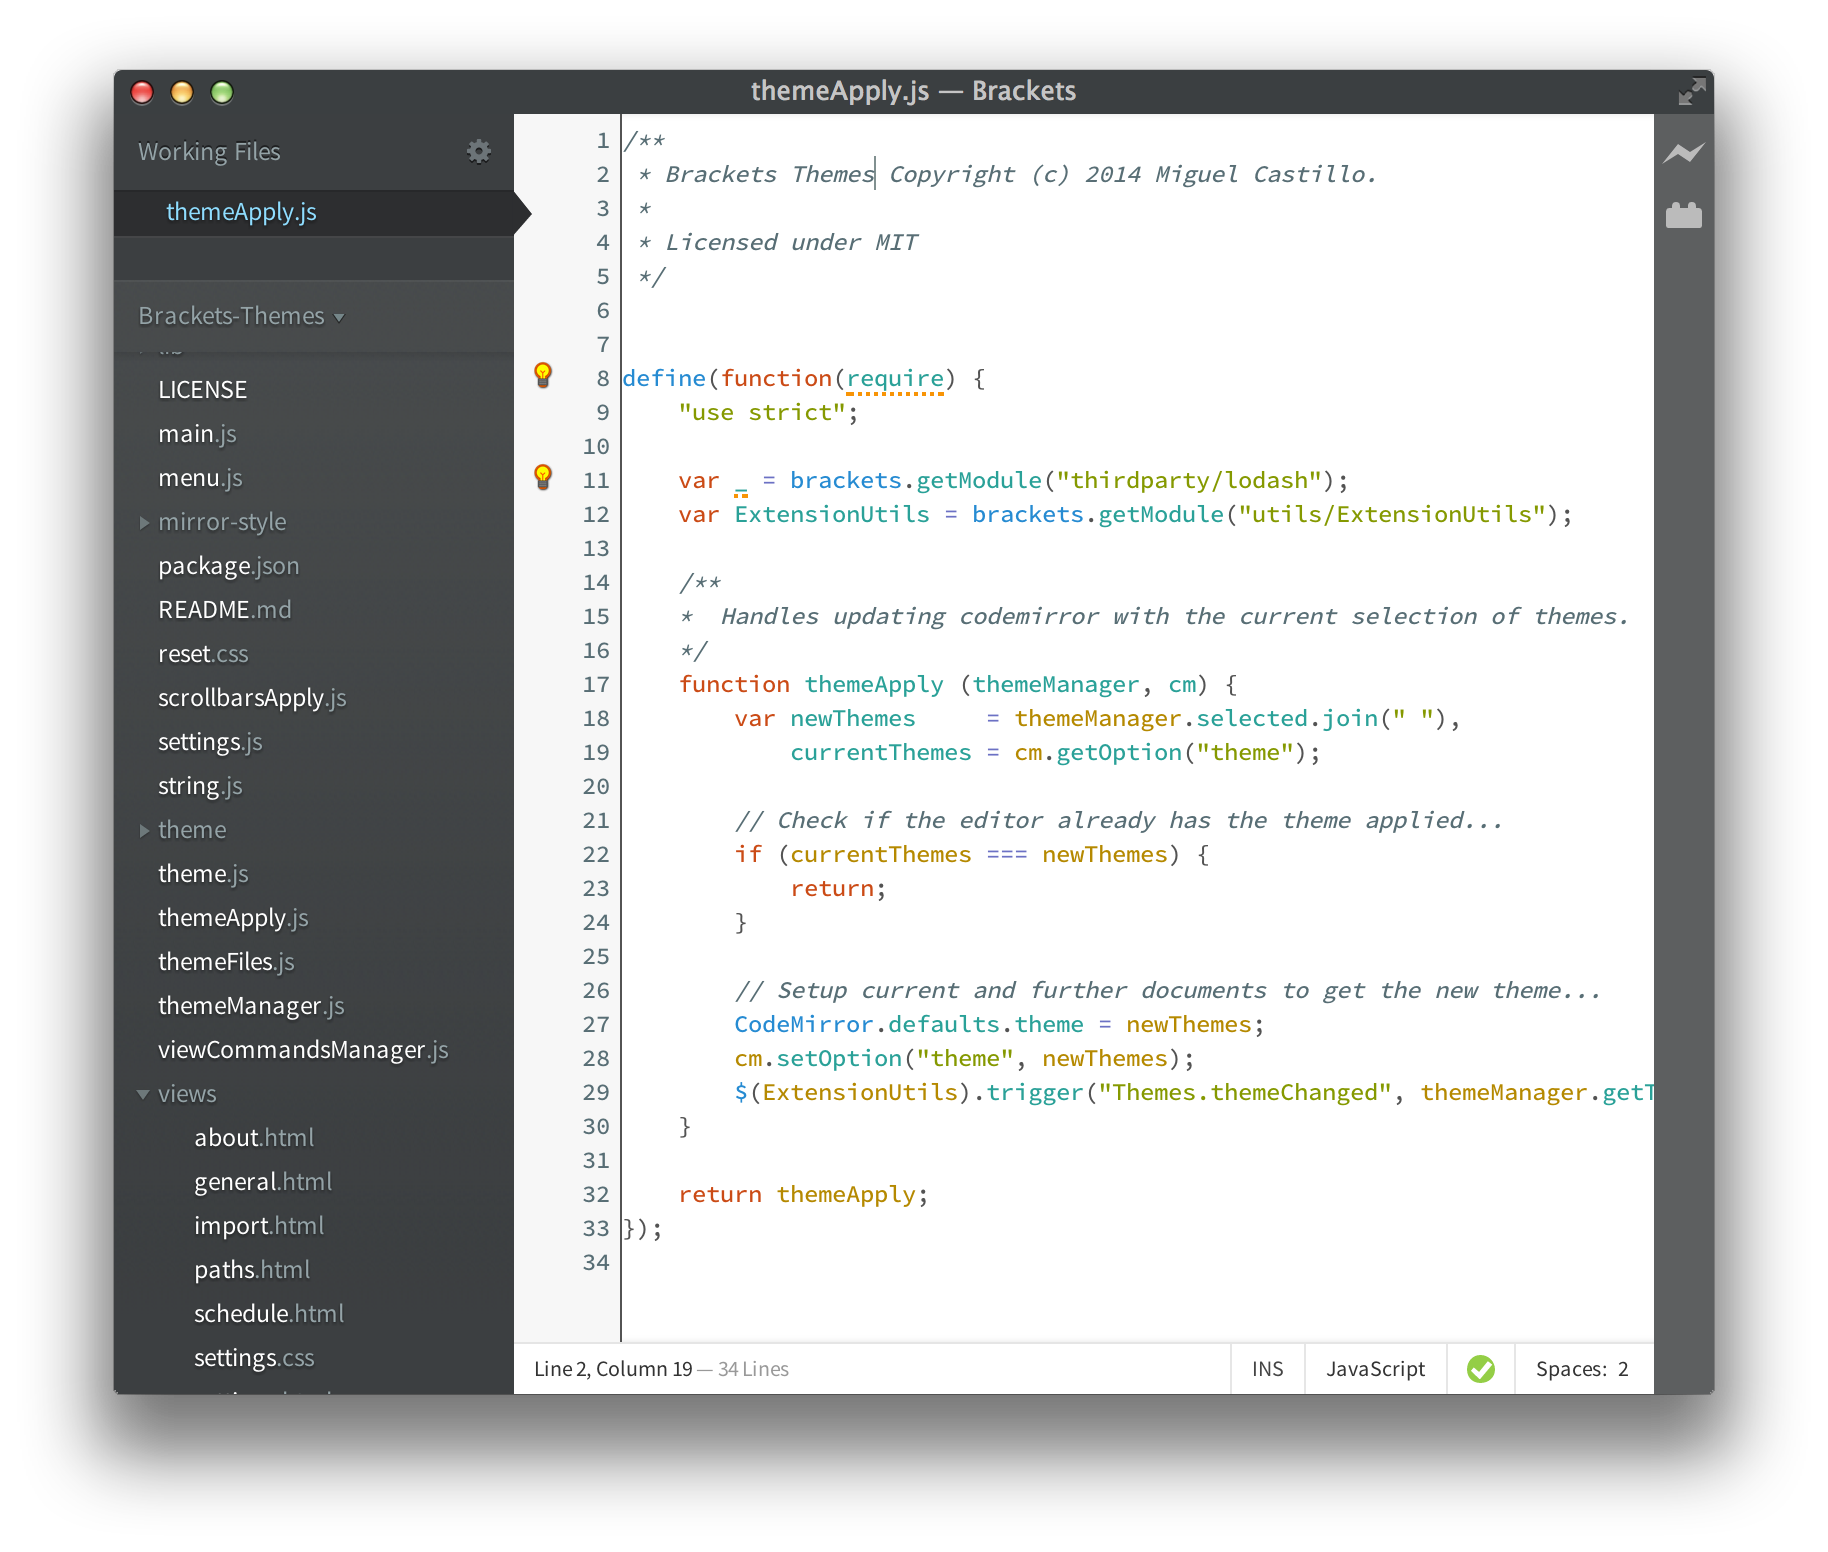
Delkos
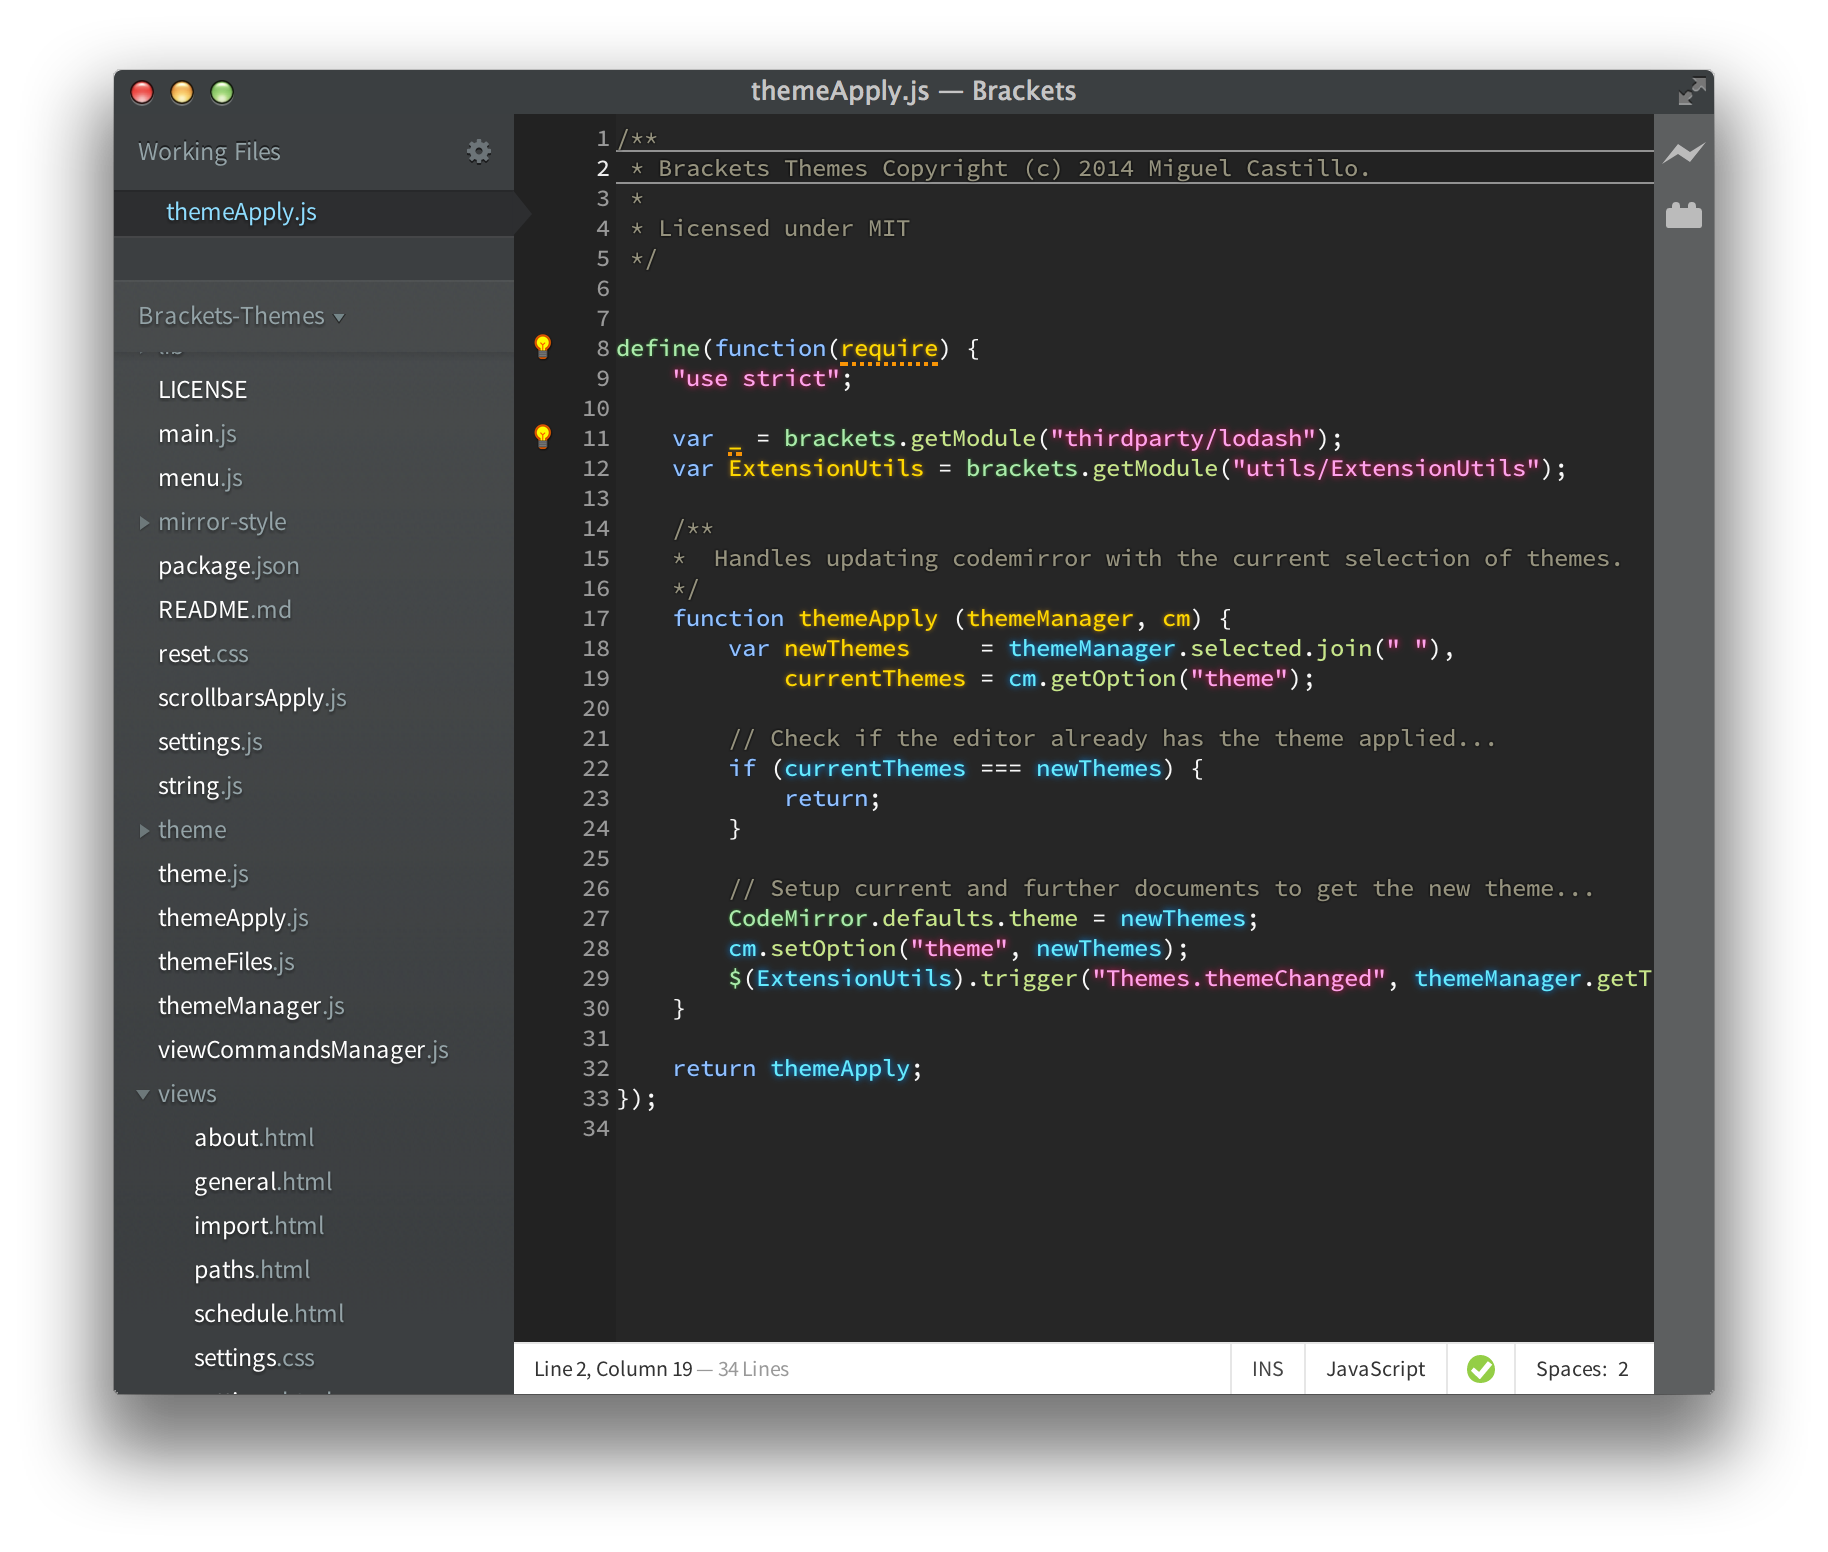
Obsidian
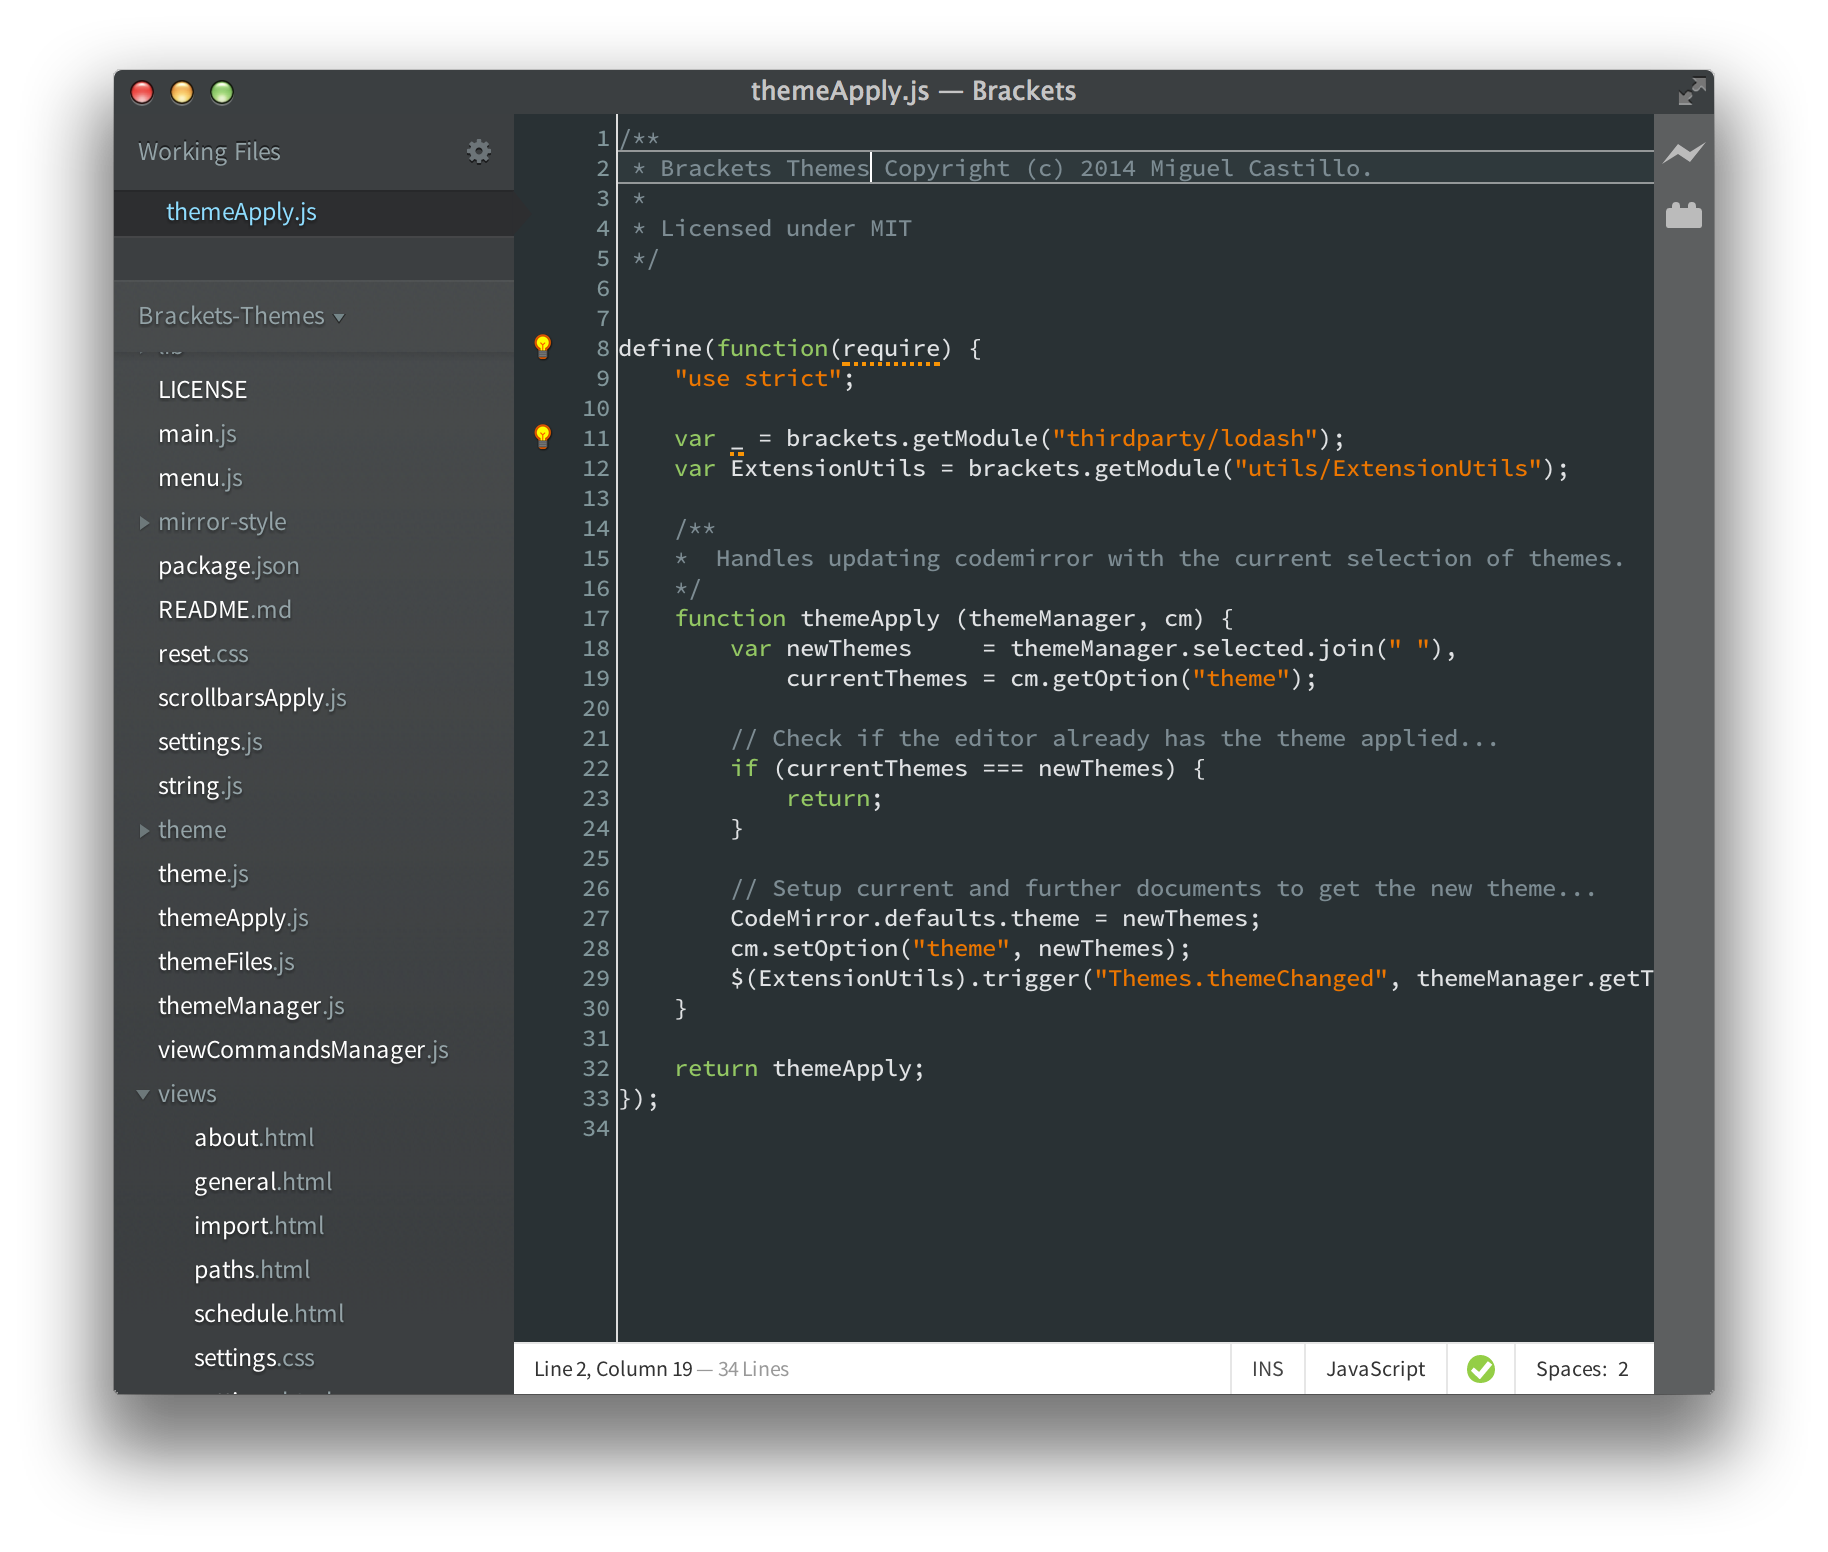
Zamiere
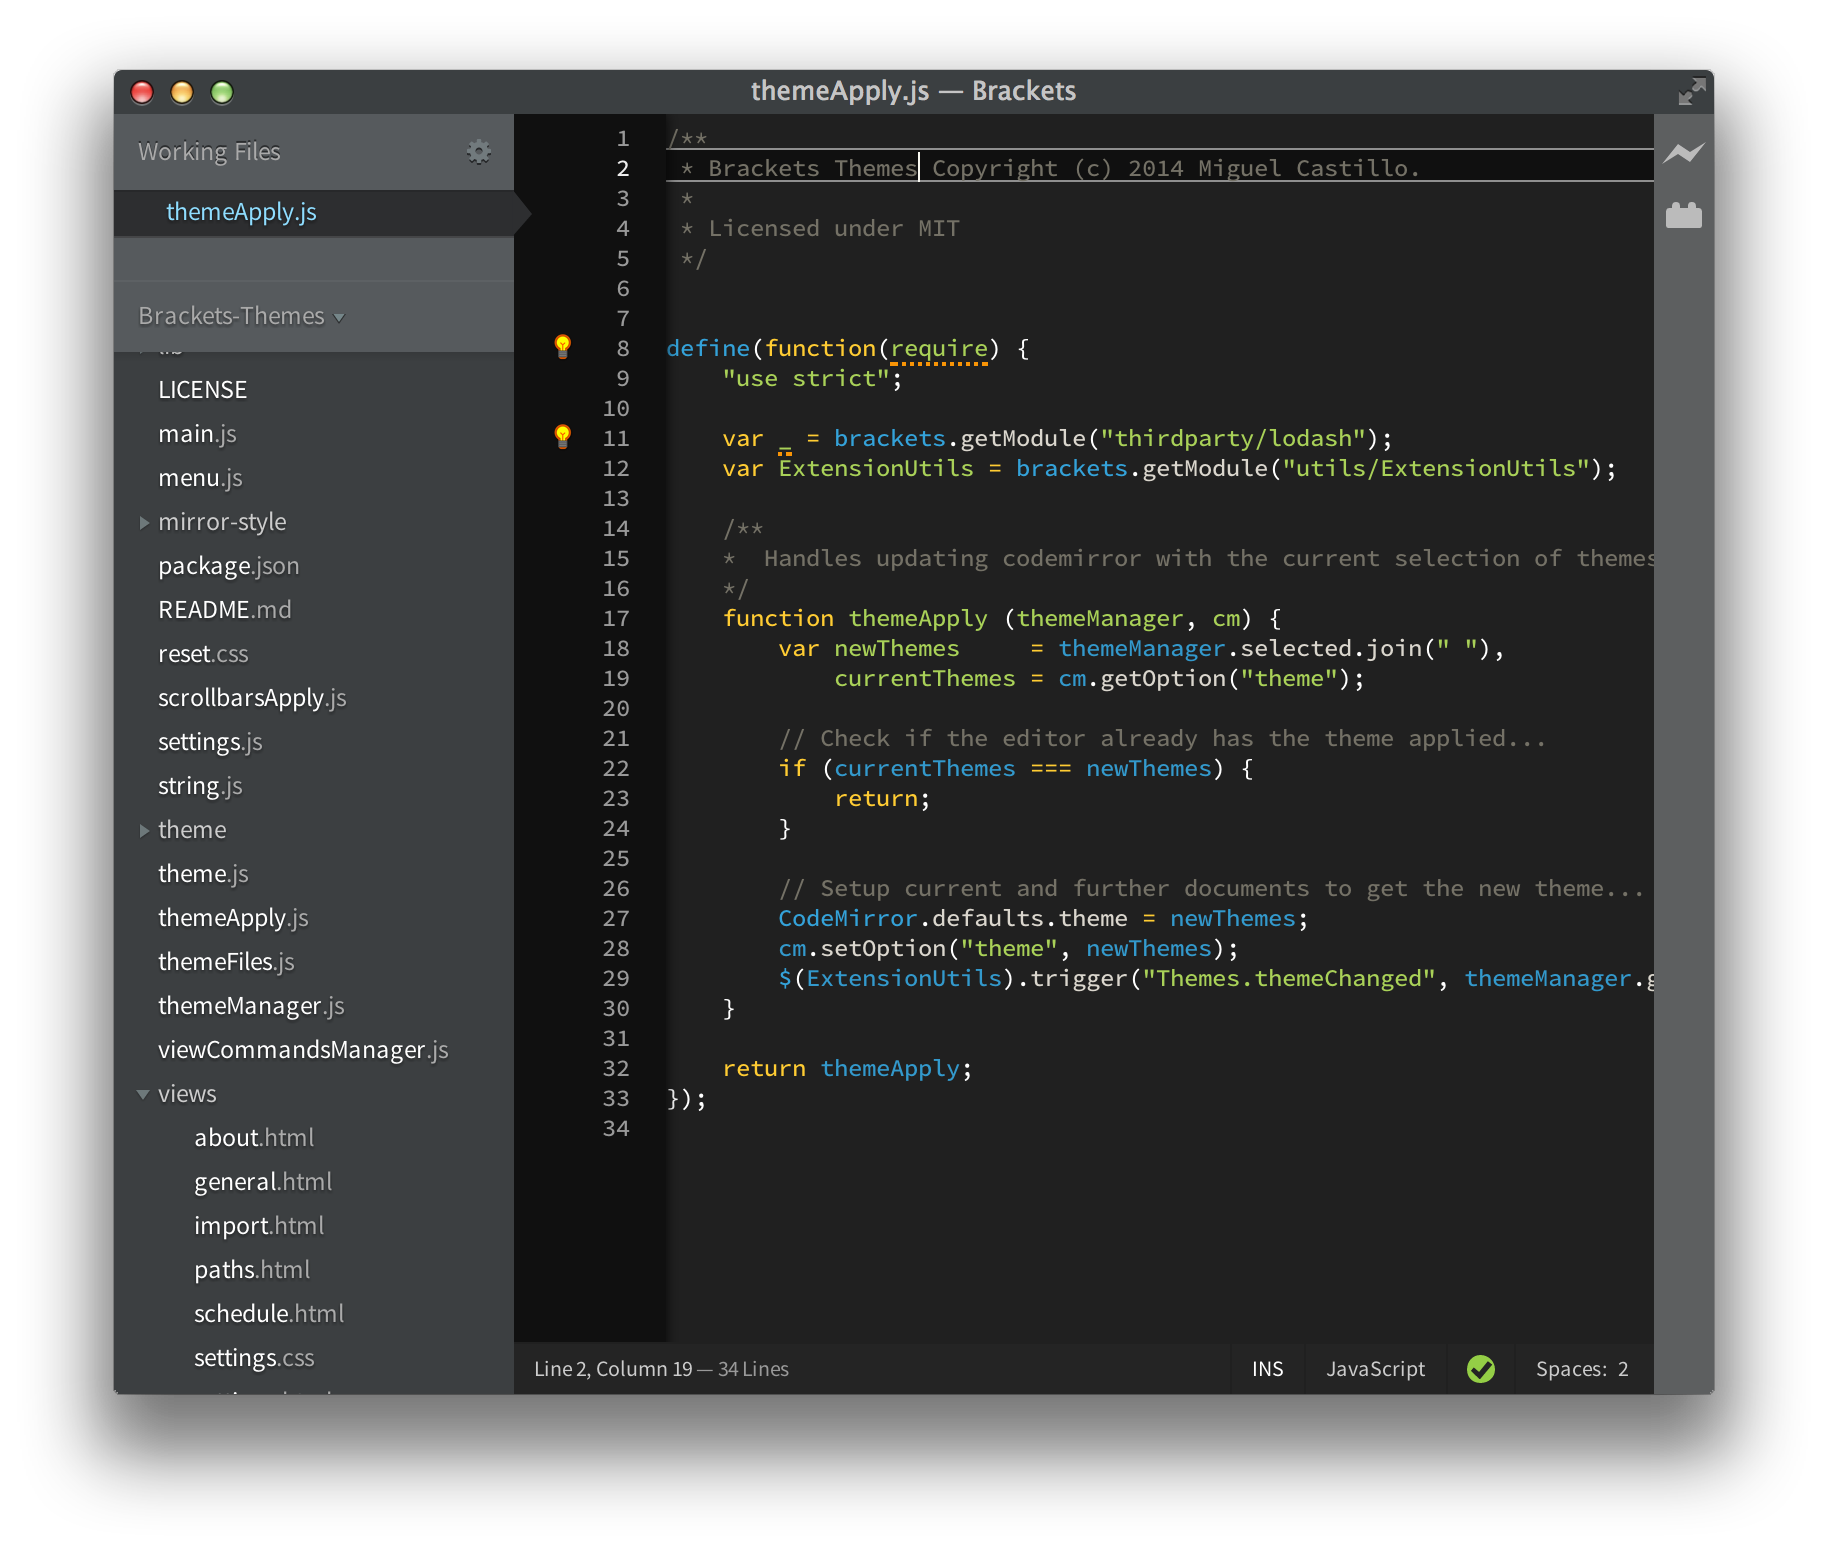
Doctype styling
Themes will add a doctype to the codemirror instance so that you can easily craft css rules to style different document types.
.CodeMirror[doctype=javascript] .cm-property {
    color: brown !important;
}

.CodeMirror[doctype=less] .cm-property,
.CodeMirror[doctype=css]  .cm-property {
    color: red !important;
}
Custom themes 101 guide
Custom themes are codemirror's themes, so you will need to be familiar with codemirror's theme guidelines. I provide a set of steps to get you started below, but for more details please navigate to http://codemirror.net/doc/manual.html and search for "theme".
Codemirror's themes are css files. Important requirement is that the file name has to match your css class definition. E.g. If your theme file is called "default", then your primary css class name needs to be "default". Codemirror's guidelines require that the actual css class name starts with ".cm-s-", so your fully qualified css class name will be ".cm-s-default".
To get you started, you could use the already existing custom theme "default.css". Let's do the following.
- Open the custom theme directory. Navigate to your themes manager directory (extensions directory/themes) and you will find custom themes in the "theme" directory. Brackets provides a quick way of accessing your extensions directory... Help > Show Extensions Folder.
- Copy and paste the file "default.css" and rename it to "my-theme.css".
- Open "my-theme.css" and replace "default" with "my-theme", which should end up looking like ".cm-s-my-theme". You will also have a second class ".CodeMirror", just leave it there and the net result will look like ".cm-s-my-theme.CodeMirror".
- In "my-theme.css", change "background-color: #F8F8F8;" to "backgound-color: red;".
- Relaunch brackets, open a JavaScript file and you should see the document with a red background.
For details on what can be customized, please navigate to http://codemirror.net/doc/manual.html and search for "Customized Styling". As you will notice, the documentation isn't exhautive but they suggest you use "codemirror.css" as a reference. Give it a try, it is pretty straight forward.
If you have a cool theme you created and want to share, please send it my way and I will gladly add it to the custom themes.
FAQ
-
Why disabling/enabling the scrollbars don't always take effect?
- This due to the fact that CodeMirror builds "fake" scrollbars that only get created when the document is loaded. So toggling the scrollbars with the document open might not take effect as expected. To get around this behavior, reopen the document or restart Brackets.
-
How can I use Themes with Edge Code?
- You can install using this URL
https://github.com/MiguelCastillo/Brackets-Themes/archive/v1.0.4.zip
- You can install using this URL
How to
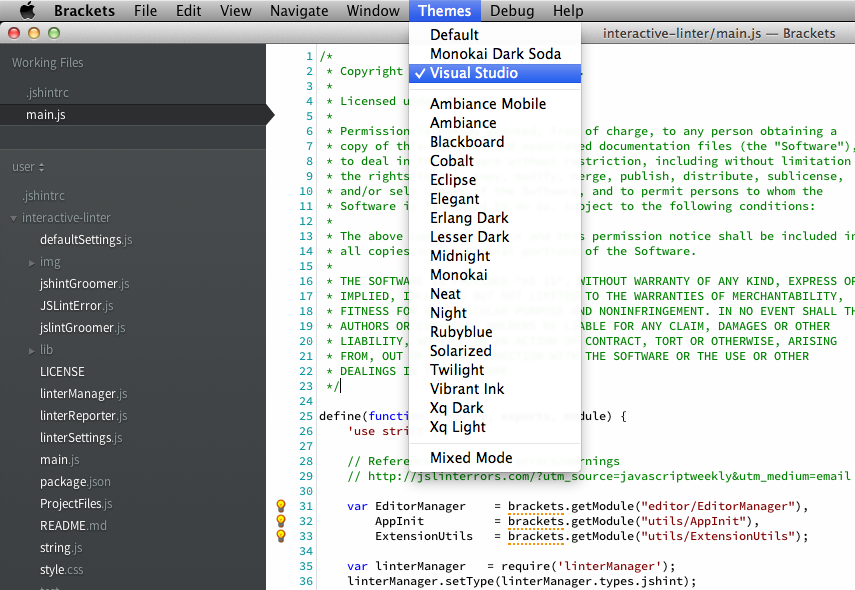
- Set a theme? Find the Themes menu and make a selection.
Credit
Corey Gwin: Monokai Dark Soda
Kulcsár Kázmér: Zamiere
Diego Alvarez: Aquaman
Felipe K. de Mello: Dracula
Fernando Hurtado: Nando
Jordan Hess: Pixie
John Hamm: Hammsidian
Christopher Kelly (scriptmunkee) for additions to reset.css
Contact me
If you have any issues or want to just drop in a line, you can use my personal email at manchagnu@gmail.com
License
Licensed under MIT