wiki
Contents
- Overview
- Git Workflow
- Navbar Structure
- Uploading Images
- Adding Pages
- Adding Sections
- Building Site on Local
- Contributing
Overview
Comprehensive NDCLab documentation, viewable online at: https://ndclab.github.io/wiki/.
Jekyll theme detailed in the original developer repo.
Git Workflow
main branch
The main branch reflects the content of the live site. Commits cannot be made directly to this branch, and all changes must be reviewed (as a pull-request) before merge.
dev branches
New content is added on a development branch. New branches are named to reflect the content being added and the author. For example: updateREADME-farukh or etiquette-jess.
Dev branches must be reviewed by a pull-request before being merged into main.
Navbar Structure
wiki
├── _sass
├── docs
|    ├──Onboarding
|    ├──_assets
|    ├──around-the-lab
|    ├──etiquette
|    ├──project-specific-docs
|    ├──technical-docs
|    ├──welcome
|    ├──contributing.md
|    ...
├── LICENSE
├── _config.yml
├── index.md
├── ndcwikiicon.png
...-
_sass/directory that contains sass styling files that control the color-scheme, font, and other NDCLab wiki styles (light guide to sass) -
docs/directory that details the navbar structure; pages and sub-pages (including image content under_assets) reside here -
_config.ymlyaml file that details wiki meta-data (title, theme, logo, etc.) -
index.mdhome-page content: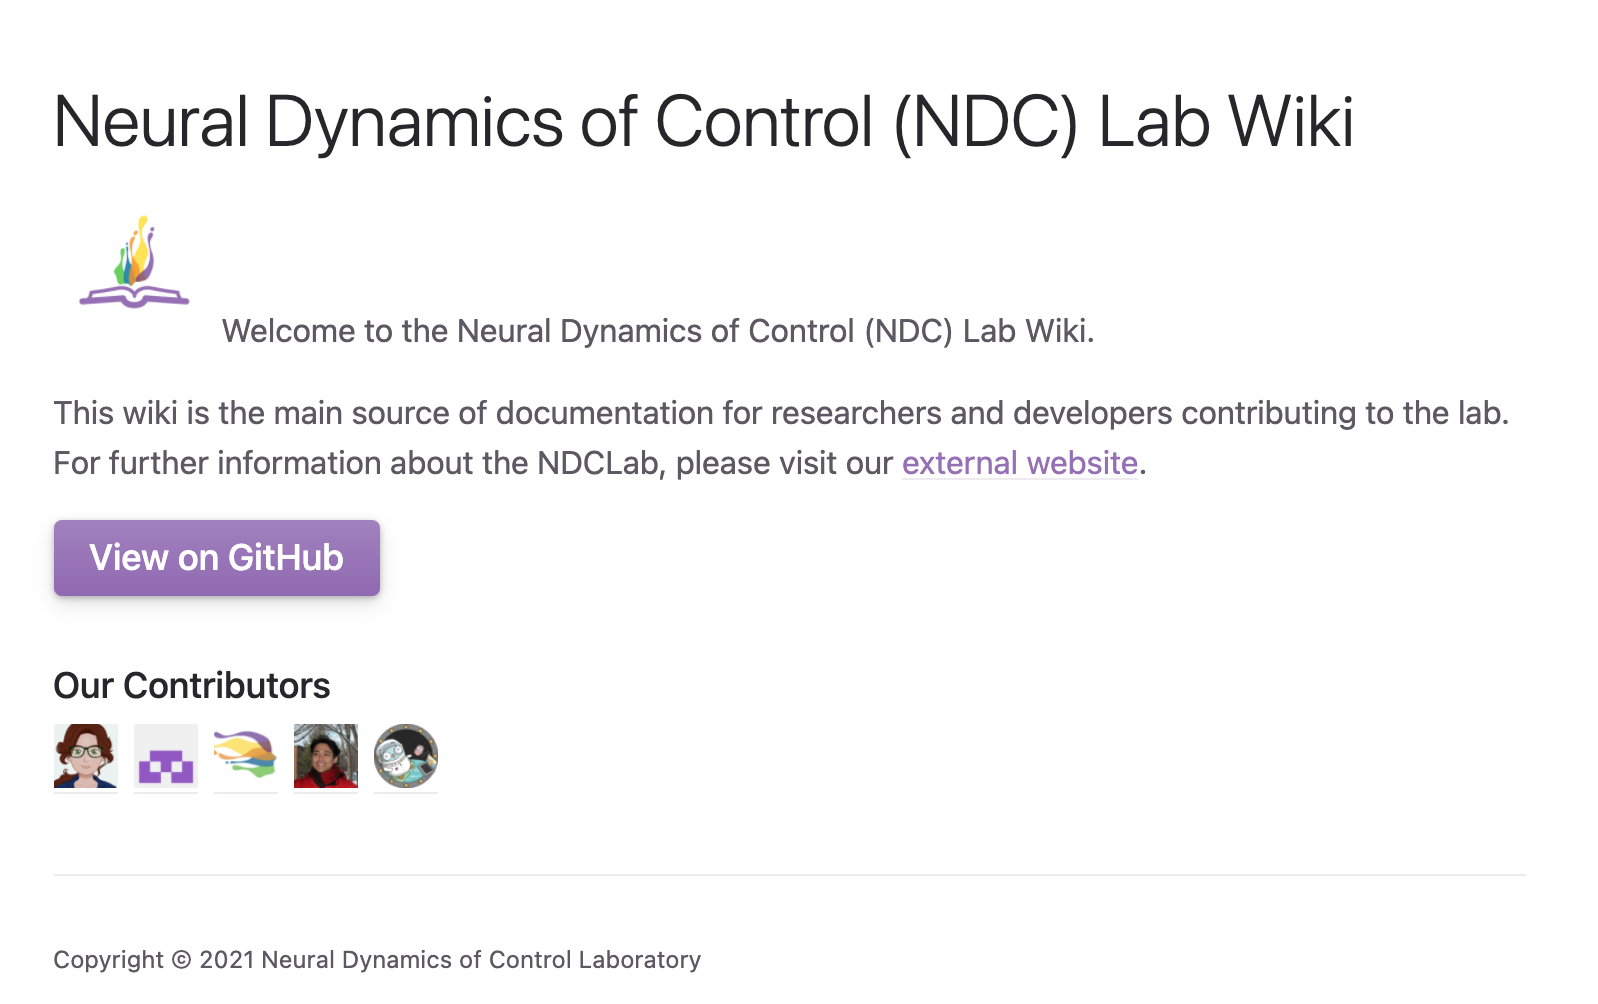
Uploading Images
To add an image to any wiki page:
- Place the image file within the most appropriate subfolder under
docs/_assets/. - Name the image file with an intuitive name. Many existing wiki images are named
[topic]_[detail].png, such as:readme_nav-example.png. - Insert the image into your webpage with the appropriate markdown:
For example, the image that appears above (showing the wiki homepage) is called in this markdown file as:
This method for linking images has two key benefits:
- The image file is easily accessible within the wiki repo.
- Given that the
mainbranch is the published branch, the image displays correctly upon publication.
However, this method does have one major disadvantage of which users should be aware: the image will not render correctly on their working branch until it is merged with main. As a result, users are encouraged to double-check all images after the merge with main to ensure they are displaying as intended.
Adding Pages
To add a brand new page on the wiki, copy the page-template.md to create a new markdown file inside of the appropriate directory. This markdown file should begin with the following content, which specifies its name and nav order in the wiki structure:
---
layout: default
title: <title>
parent: <parent-title>
nav_order: <navbar-ordinal-within-this-section>
---

//page content
Working Example:
The Community Standards page is placed in the first navbar position within the Around the Lab tab by specifying the following header in the docs/around-the-lab/community-standards.md file:
---
layout: default
title: Community Standards
parent: Around the Lab
nav_order: 1
---
When adding a page, be careful to adjust the nav_order for all other pages that reside within that section.
Adding Sections
To add a brand new section on the wiki (and link it to the left-hand navigation bar), you need to do three things:
- create a new directory inside of
docs/named after the new section - within this new folder, create the base markdown file that controls the section
- also within this new folder, create one new markdown page for each content page that will live within this section of the wiki (see Adding Pages section above for details).
The base markdown file (#2 above) specifies the slug that will be used to access all new pages in the section, as well as its position on the navbar. This markdown file should be named [slug].md and should begin with the following content:
---
layout: default
title: <title>
nav_order: <navbar-ordinal>
has_children: true
permalink: docs/<slug>
---

# <title>
When adding a section, be careful to adjust the nav_order of any other navbar sections that will be impacted by the addition of a new section. This is accomplished by opening the appropriate markdown file(s) within the associated directory and changing the nav_order number in the header(s).
Working Example:
The Around the Lab tab on the wiki is placed in the fourth position in the navbar by specifying the following header in the docs/around-the-lab.md file:
---
layout: default
title: Around the Lab
nav_order: 4
has_children: true
permalink: /docs/around-the-lab
---

# Around the Lab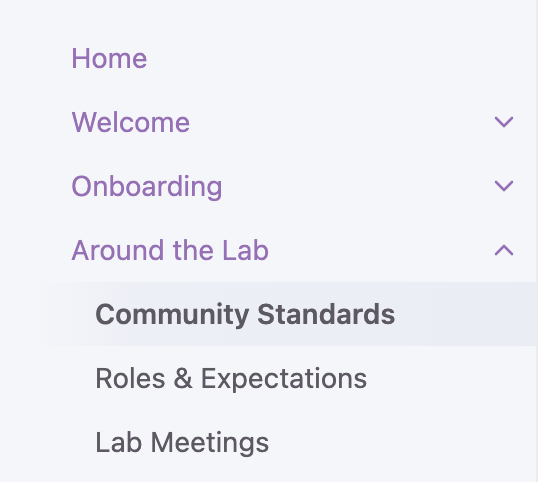
Building Site on Local
To view what the site would look like with the applied formatting and styles as seen on the live site, you can build a local copy by following the steps listed below.
All commands listed in a quote-block are Terminal commands.
After completing the listed steps, bundle exec jekyll serve is the only command needed to build the local site (unless the gem-files are updated).
Windows/Linux
-
Navigate to your system's root folder and install Ruby using the developer documentation.
-
Install bundler and jekyll by running:
gem install jekyll bundler -
Navigate to the wiki repo and install the newly listed gems using:
cd wiki bundle install -
Run the following command to build the website on your local machine:
bundle exec jekyll serve
MacOS
MacOS comes with a default system installation for Ruby. However, it's advisable to use a separate version of Ruby installed using Homebrew in order to avoid permission errors.
-
Navigate to your system's root folder and install command-line-tools:
xcode-select --install export SDKROOT=$(xcrun --show-sdk-path) -
Install Homebrew by following the instructions on the Homebrew homepage to paste a specific command into your Terminal. (This step is unnecessary if you already have Homebrew installed.)
-
Install Ruby using Homebrew commands:
brew install ruby echo 'export PATH="/usr/local/opt/ruby/bin:/usr/local/lib/ruby/gems/3.0.0/bin:$PATH"' >> ~/.bash_profile -
Install bundler and jekyll by running:
gem install --user-install bundler jekyll -
Navigate to the wiki repo and install the listed gems using:
cd wiki bundle install -
Run the following command to build the website on your local machine:
bundle exec jekyll serve
Contributing
Contributions are always welcome. Before creating a new branch (or forking this repo) and initiating any pull request, please carefully review the information and standards available on the following pages:
- the details of this readme file
- our general contributing page
- our naming conventions page
- our GitHub etiquette page
Thank you in advance!