LensUp
![]()
Have you ever attended a wedding or a birthday party? If yes, you probably saw photo booth there. You get in, take a photo and paste it in the guest book - simple and fun. But what if we could bring this fun into the digital world? This is where LensUp comes to the rescue. LensUp is a web application that serves as a virtual gallery, allowing party guests to upload their photos from the event and also write down their wishes.
:mega: Project status
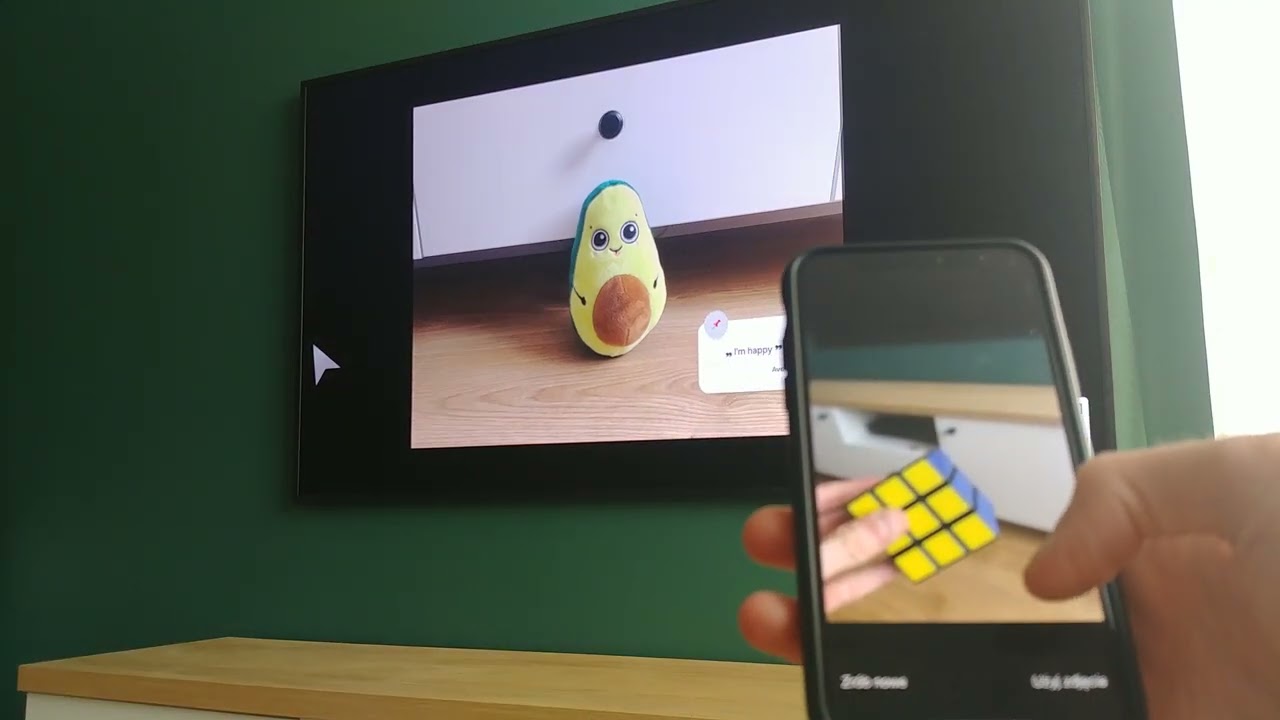
The video shows the project status as of 08.06.2024 and the core functionality of the application.
Previous status video: 26.04.2024
:rocket: 100 days roadmap
Conclusion: The main goal of 100 days plan is to deliver core functionality related to adding photos and wishes. I also want to do that without any extra cost for Azure services. So whole app should works on local environment with azure simulators like Azurite. This fact forces certain application architecture decisions, because not all Azure services can be simulated locally. Additionally MVP version doesn't focus on authentication, authorization and security.
Core functionality

-
Guest sees
Gallery UIwith other guest photos. He also sees QR code in the application corner. -
Guest scans QR code, which redirects him to
Photo Collector UIand there he can upload photo and wishes. -
Photo Collector UIsend data toPhoto Collector Service. -
Photo Collector Serviceupload guest photo to blob storage. -
Photo Collector Serviceadd guest data to database. -
Photo Collector Servicepublish event to queue. -
Gallery Servicereceive the event and process it. -
Gallery Servicepush notification about new photo in the gallery forGallery UI, and thenGallery UIadds new guest photo to gallery collection.
LensUp big picture:

Description:
-
Backend services:
-
UI applications:
-
Azure Services:
- Table Storage
- Queue Storage
- Blob Storage
:bomb: How to run LensUp locally
You can run the project locally on your machine using Docker. Follow the steps below to run the application locally:
-
Before we start you should generate
dev-certsfor LensUp on your machine. This operation is required to hosting ASP.NET Core images with Docker over HTTPS. So generate a certificate using these commands:dotnet dev-certs https -ep "%USERPROFILE%\.aspnet\https\lens-up.pfx" -p localCertPassword dotnet dev-certs https --trustReplace
%USERPROFILE%with your computer name. Example"C:\Users\Dell Precision 7520\.aspnet\https\lens-up.pfx"For local development purposes, we will use the password
localCertPassword. Do not change this, as the same password is used in thedocker-compose.ymlfile.The above commands should generate a
lens-up.pfxcertificate, and should place it in the directory as shown in the screenshot below.
This is necessary step, because docker-compose refers to that certificate!
-
Install
docker desktopon your machine (skip if you already done it). -
Run your
docker desktopapplication. -
In the main project directory (
lens-up), where thedocker-compose.ymlfile is located, run the commanddocker-compose build. This will build 7 necessary LensUp images. The first time build may take a few minutes (up to 10 minutes). After completing these steps, you should see new images in the Docker Desktop application.
-
After the build command, run the
docker-compose upto start the entire infrastructure. You should see in Docker Desktop that 7 containers related to LensUp have been started.
-
Now the entire application is running on your machine. You can use the following addresses:
-
Backend services:
LensUp.BackOfficeService.APIswagger - https://localhost:8085/swagger/index.htmlLensUp.GalleryService.APIswagger - https://localhost:8083/swagger/index.htmlLensUp.GalleryService.WebhookTriggerSimulator- http://localhost:8086/LensUp.PhotoCollectorService.APIswagger - https://localhost:8081/swagger/index.html
-
UI applications:
-
LensUp.GalleryService.UI- http://localhost:5001/ -
LensUp.PhotoCollectorService.UI- http://localhost:5002/
On LensUp.PhotoCollectorService.UI you will see error page, because you need to navigate to the view associated with a specific gallery, which you haven't created yet.
-
-
How to create your first gallery and have fun with LensUp?
-
Go to
LensUp.BackOfficeService.API- https://localhost:8085/swagger/index.html -
Use
Createendpoint to create your gallery. The endpoint returns the gallery identifier after it is created (1).
-
Before using the gallery, we need to activate it. In that case use
Activateendpoint and passgalleryIdandendDatein request body. Remember theendDateis validated and must be greater than the current time. Otherwise, your gallery will be treated as expired. The endpoint returns the galleryenterCodeafter it is activated (1).
-
With your gallery
enterCodeyou can open your gallery usingLensUp.GalleryService.UI- http://localhost:5001/Log in to your gallery using
enterCode.
-
Now you can scan gallery QR code and upload photos to it. The code redirects to a form for adding photos to the gallery. You can use browser tool to scan QR code or if it doesn't work you can just go to
http://localhost:5002/upload-photo/{enterCode}.
-
QR Code redirects you to add photo and wishes form. Now you can upload your data to gallery.

-
After successfully completing the form, we should see success notification and the photo should appear in the gallery.

:clipboard: 100 days TODO list
General aspects:
- [x] Set up monorepo infrastructure for backend
- [x] Set up monorepo infrastructure for frontend
- [x] Create LensUp running scripts
- [x] Create documentation how to run LensUp locally
- [ ] Create movie tutorial "How to run LensUp locally"
- [ ] Create documentation how to run LensUp locally in WLAN network.
Backend aspects:
- [x] Create shared common backend project
- [x] Create coding rule set for backend services
- [x] Create Queue package in shared common project
- [x] Create Table Storage package in shared common project
- [x] Crate Blob Package in shared common project
Back Office Service:
- [x] Create project structure
- [x] Create add user endpoint
- [x] Create add gallery endpoint
- [x] Create activate gallery endpoint
Gallery Service:
- [x] Create project structure
- [ ] Create get gallery info endpoint
- [x] Create gallery notification hub
Photo Collector Service:
- [x] Create project structure
- [x] Create add photo and wishes endpoint
- [ ] Create image resizer
Frontend aspects:
- [x] Create shared common frontend project
- [ ] Create coding rule set for frontend applications
- [x] Create shared components in shared common frontend project
Back Office UI:
- [ ] Create Admin Panel (optional)
Gallery UI:
- [x] Create login to gallery page
- [x] Create main page with gallery
- [x] Handle notifications from backend
- [ ] Add animations to gallery
- [ ] Add carousel for photos
Photo Collector UI:
- [x] Create single page with add photo and wishes form