Implementation of parameter optimisation and isualisation models for the Impact Engine Framework
Project Description
This project includes the creation and integration of three unique models inside the Impact Engine Framework (IF) to support green computing practices in response to the growing environmental concerns connected with the carbon footprint of information and communication technologies.
The Carbon Advisor, Right-sizing, and Plotter models are intended to support organisations and software developers in making well-informed decisions that minimise energy use and lower carbon emissions without sacrificing functionality. Utilising the Carbon Aware SDK, the Carbon Advisor model determines the optimal carbon-efficient operating parameters—like time and place—for software programmes to function. The goal of the right-sizing model is to minimise wasted energy and capacity by optimising the use of cloud resources. Lastly, the Plotter model's user-friendly visualisations improve the clarity and accessibility of complicated environmental data. Our extensive testing, which includes usability, performance, and unit evaluations, shows how well the models work to encourage software developers to embrace environmentally responsible practices. Future work will focus on refining these models and exploring additional avenues for reducing the tech industry's environmental footprint.
Project Team
- Bouras, Dimitrios TL
- Gudmundsdottir, Telma
- Kopunec, Tomas
- Lou, Jiafan
- Lu, Jiashun
- Saleh, Mohamed
- Wang, Yi-Yu
- Wang, Derek
Background Reading
Green Software Foundation
Green Software Foundation Documentation
Software Carbon Intensity Specification
Green Software for Practitioners
GSF Team
- Chris Lloyd-Jones
- Asim Hussain - Green Software Foundation director, Open Source WG PM
- Sophie Trinder – Green Software Foundation director, Open Source WG PM
Here is the link to the resource: Link
Video Presentation for Requirements Phase Link
Final Video Presentation for Implemented Project Link
Models Implemented
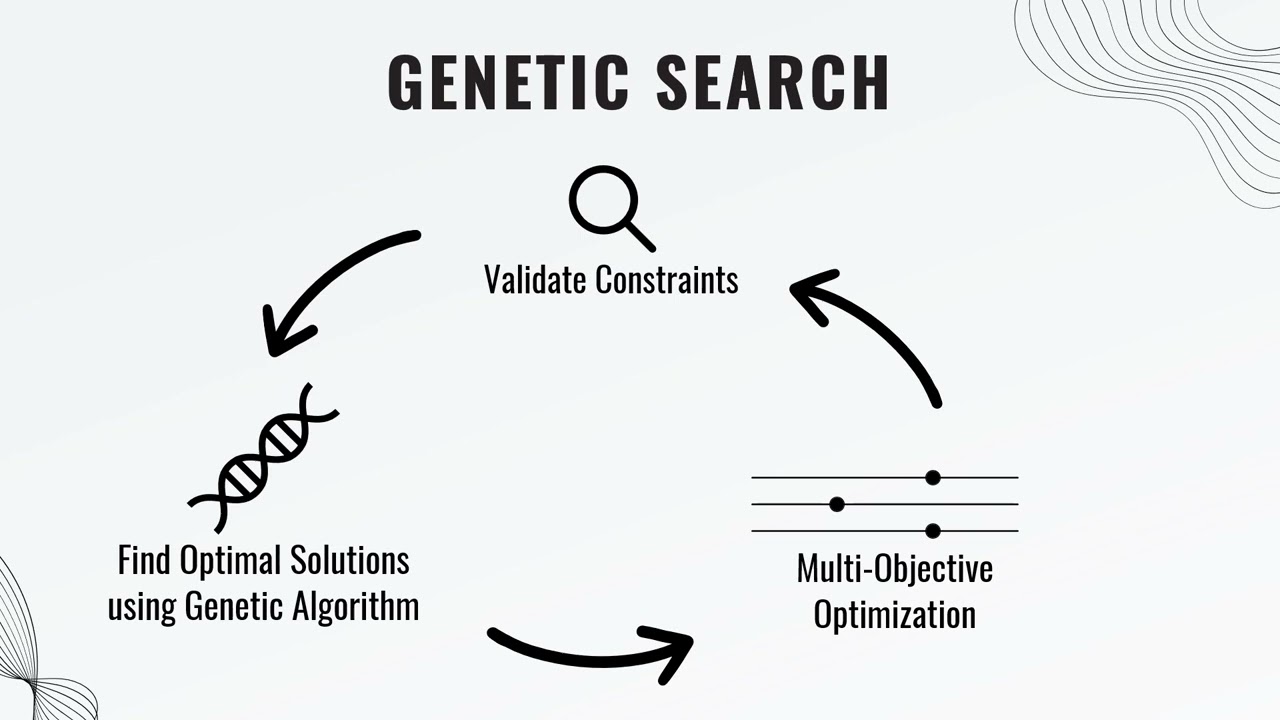
Carbon-aware-advisor
The CarbonAwareAdvisor model is designed to provide carbon emission data based on specified locations and timeframes. It interacts with the Carbon Aware SDK to fetch the most carbon-efficient options for given parameters.
Key Features
- Location Filtering: Users can specify a list of locations to consider for carbon emission data.
- Timeframe Filtering: Users can define time ranges to narrow down the search for carbon emission data.
- Sampling: An optional parameter that allows users to specify the number of data points to sample from the available data, providing a broader view of the carbon emission landscape. If sampling is not defined in the impl then no data points are sampled and the plotted-points is not added in the ompl.
Outputs
- Suggestions:: List of the best location and time combination to minimize the carbon score along with that score.
- Plotted-points:: ONLY IF THE SAMPLING PARAMETER IS INITIALIZED IN THE IMPL. A sampling number of samples for trade-off visualization. A best combination from each timeframe is always included . So sampling must be >= number of time regions in the allowed-timeframes. The plotter model can then be used in the pipeline to plot this samples.
Link for carbon aware advisor
The carbon aware advisor model and its documentation can be found here
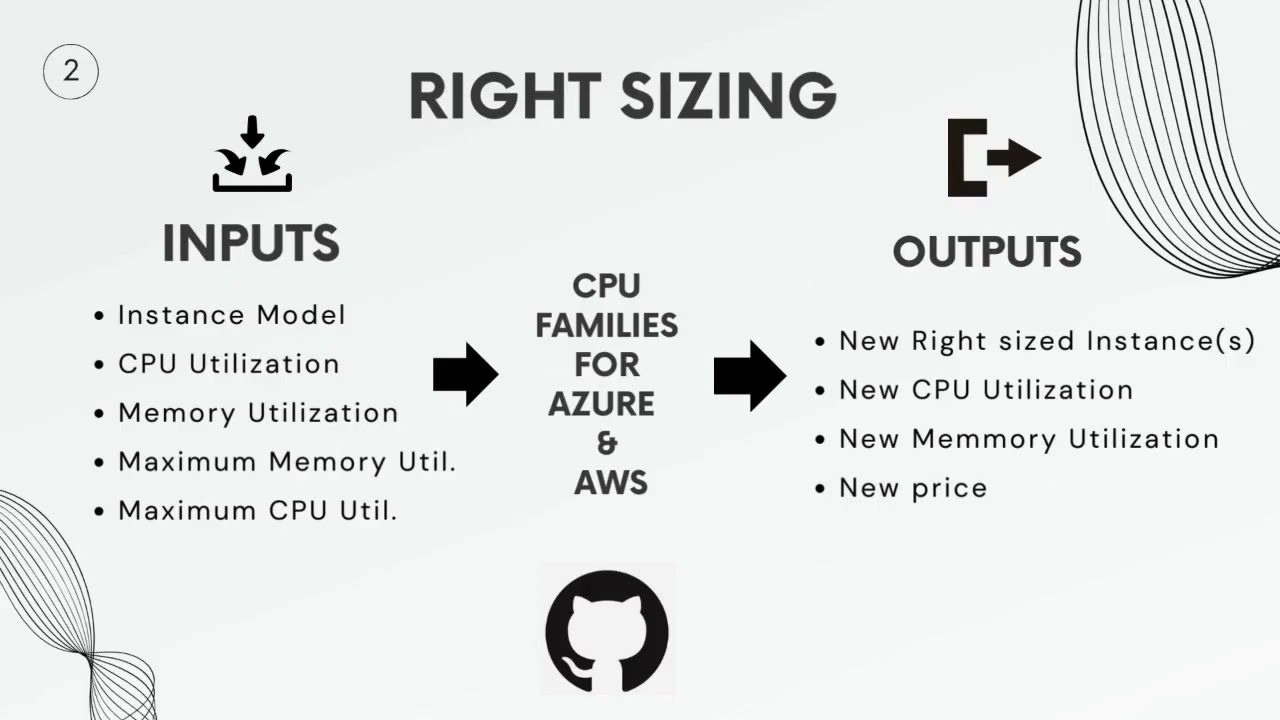
Right-Sizing
The right-sizing model for Impact Engine Framework is designed to identify cloud computing instances that better align with the performance and capacity requirements of the customer's workload, with the goal of achieving the highest possible cpu usage , ram usage while minimising the cost and maintaining performance . It takes input in yaml format, ultimately providing more optimal instances based on the current cloud instance type, cloud vendor, current CPU utilization, target CPU utilization, and RAM requirements. Currently, this model primarily targets virtual machines of Azure and AWS.
Link for right-sizing
The right-sizing model and its documentation can be found here
Plotter
The Plotter model created for the Impact Engine Framework is designed to visualize data through various types of graphs such as bar, line, and scatter plots. It takes input in YAML format or csv format , defining the x and y values along with additional parameters to customize the plots. This model is typically used in a pipeline following data-enrichment models like carbon-advisor, which populates the plotted-points parameter required by Plotter. If the user prefers he can specify the plotted-points parameter himself in the Impl file but the main value of the model is its ability to visualize the data provided by other models of the Impact Engine Framework. The user can also specify a csv file to read the data to plot from.
Link for plotter
The plotter model and its documentation can be found here
Installation
Prerequisites
Make sure you have Node.js version 18 installed
- Execute the following commands to install Node Version Manager and switch to version 18
curl -o- https://raw.githubusercontent.com/nvm-sh/nvm/v0.39.3/install.sh | bash
nvm install 18
nvm use 18
Install instructions
. Initiate the npm project:
- Execute the following commands
cd Code/if-optimisation-models
npm install
- Execute the following commands
-
Calculating an Impl file:
- To execute implementation files located in the
examplesfolder, use the following command structure:./run.sh <file_name>For instance, if you want to run an example file named
new_carbon1.yml, you would execute:./run.sh new_carbon1 - For instruction on how to write Impl files and the available model check the Official IEF documentation.
- To execute implementation files located in the
Running the Dockerized Version
Tutorial video
 \
To use the Dockerized version of the application, follow these steps:
\
To use the Dockerized version of the application, follow these steps:
-
Run Docker Container:
- In a new terminal window, initiate the Docker container by running:
./docker_run.sh - If you're using a Mac, please run:
./docker_run_mac.sh - This process might take up to 3 minutes as the Docker image is being built.
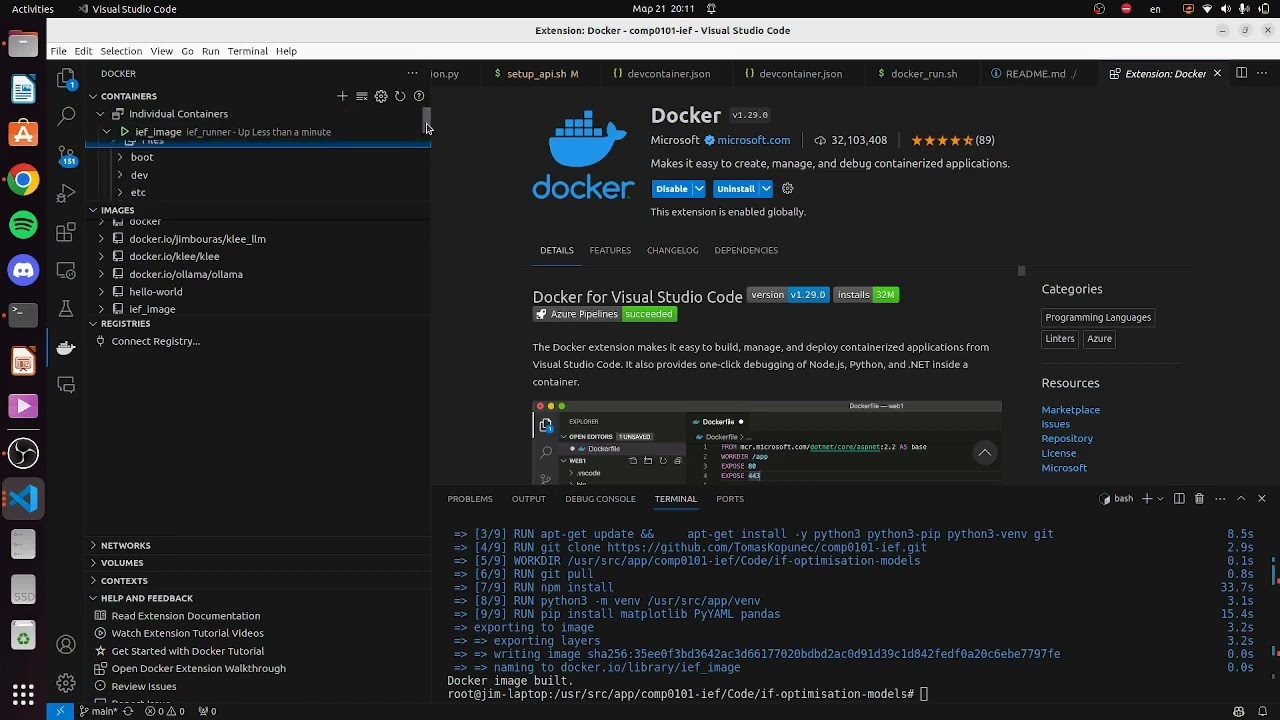
Alternatively build from Dockerfile
- The Dockerfile can be find in the parent directory comp0101-ief
- Build and run it using:
docker build --no-cache  -t ief_image .
docker run -it --net=host --name ief_runner ief_image
- In a new terminal window, initiate the Docker container by running:
-
Using the Docker Environment:
- Once the Docker container is ready, you'll be automatically placed into the Docker environment's terminal.
- To execute implementation files located in the
examplesfolder, use the following command structure:./run.sh <file_name>For instance, if you want to run an example file named
new_carbon1.yml, you would execute:./run.sh new_carbon1
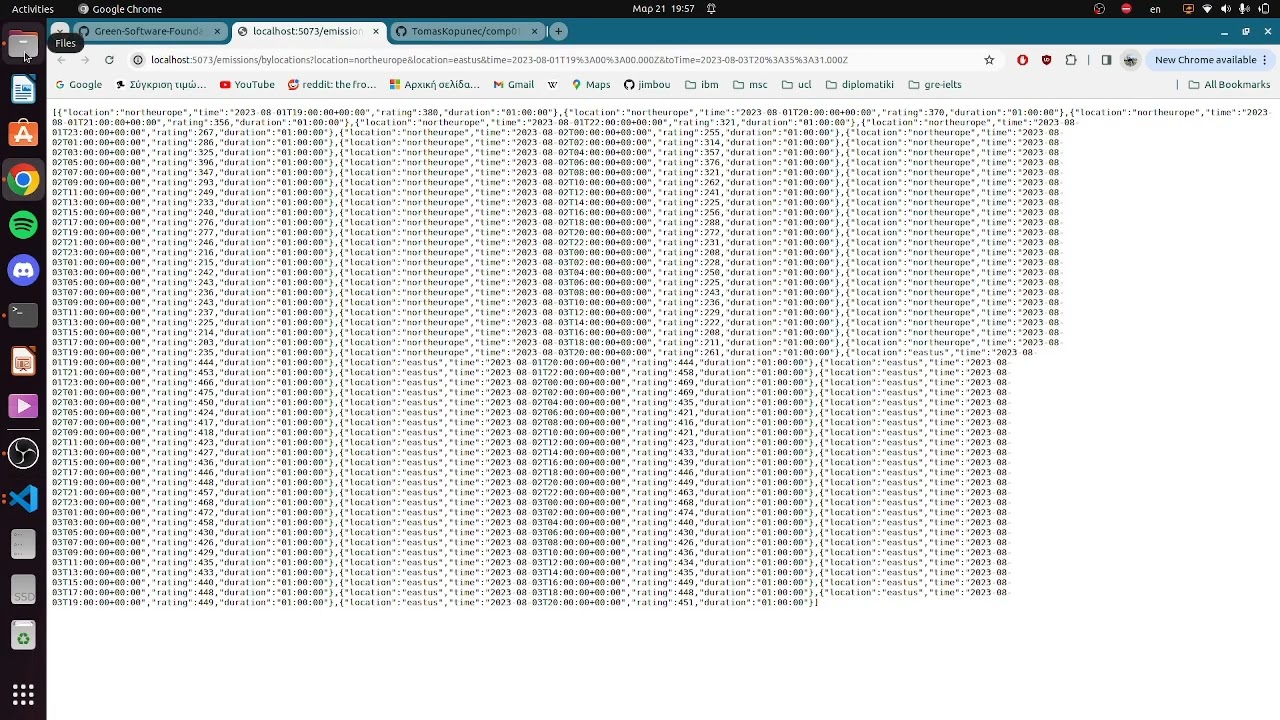
Starting the Carbon Aware SDK API
The SDK API is necessary for the carbon-aware-advisor model
Instruction how to Deploy it on localhost
Detailed instructions on how to run the API on localhost, check original WebAPI documentation for quickstart.
Tutorial video
Simpler approach 1 - using our method with container
We have created certain scripts and use a docker container provided to simplify the process of deploying the WebAPI:
- You may need to gain administrative or root access to execute the following code.
- Start the API:
- Open a terminal window in the root directory of your project.
- Execute the script by running:
./api_start.sh
-
Open Command Palette:
- Press
Ctrl+Shift+Pto open the Command Palette in your code editor.
- Press
-
Select Project Folder:
- Use the Command Palette to select the
carbon-aware-sdkfolder, which should be located in the same directory where you cloned this project.
- Use the Command Palette to select the
-
Run Startup Script:
- In the terminal that opens within your selected folder, start the necessary services by running:
./start.sh
- In the terminal that opens within your selected folder, start the necessary services by running:
Simpler approach 2 - using our method without in container
Prerequisites
Make sure you have .NET Core 6.0 installed (Use dotnet --list-sdks to check,Prefer version 6.0.418)
- Simply install it with a single command (For example in Ubuntu
sudo apt install dotnet-sdk-6.0). This might download version 6.0.127, you need to change the version parameter in global.json in the sdk root directory. if incompatible, proceed to the next step. - To install the specified version, please visit the Microsoft .NET 6.0 Download website for more information.
Installation process
- You may need to gain administrative or root access to execute the following code.
- Open a terminal window in the root directory of your project, add execute permissions to the script:
chmod +x api_start_without_in_container.sh - Execute the script by running:
./api_start_without_in_container.sh
- Open a terminal window in the root directory of your project, add execute permissions to the script:
Testing
Unit Tests
To run the whole test suite, run the following command from the if-optimization-models directory:
npm run test -- src/tests/models/carbon-advisor/CarbonAdvisorModelUnit.test.tsor to run specific tests:
npm run test -- src/tests/models/carbon-advisor/CarbonAdvisorModelUnit.test.ts --testNamePattern="CarbonAdvisorModel.Unit.TimeframeEmptyArr"Scenarios
To run the all the test suites in the whole project, run the following command from the if-optimization-models directory:
npm run testTo run any specific tests, for example, the CarbonAdvisorModelScenarios.test.ts file, run the following command from the if-optimization-models directory:
npm run test -- src/tests/models/carbon-advisor/CarbonAdvisorModelScenarios.test.tsor to run specific unit test in a specific test source file, for example, the Scenario1 test in the CarbonAdvisorModelScenarios.test.ts file, run the following command from the if-optimization-models directory:
npm run test -- src/tests/models/carbon-advisor/CarbonAdvisorModelScenarios.test.ts --testNamePattern="CarbonAdvisorModel.Scenario1"Forecasting tests
To run individual tests, run the following command from the if-optimization-models directory:
npm run test -- src/tests/models/carbon-advisor/CarbonAdvisorModelForecasting.test.ts --testNamePattern="CarbonAdvisorModel.Forecasting.{Scenario}"replacing {Scenario} with the scenario number, for example:
npm run test -- src/tests/models/carbon-advisor/CarbonAdvisorModelForecasting.test.ts --testNamePattern="CarbonAdvisorModel.Forecasting.Scenario1"which would run only the Scenario 1 test.
Before running any scenario tests, the carbon-aware-sdk WebAPI must be running with the right data source configuration. Each scenario requires a different data input, which has to be adjusted in the appsettings.json file, as follows:
"DataSources": {
    "EmissionsDataSource": "test-json",
    "ForecastDataSource": "ElectricityMaps",
    "Configurations": {
      "test-json": {
        "Type": "JSON",
        "DataFileLocation": "{scenario JSON file}"
      },
      "ElectricityMaps": {
        "Type": "ElectricityMaps",
        "APITokenHeader": "auth-token",
        "APIToken": "jDLmBL4tkhr4LDrzuUj3i96077Ozj3g1",
        "BaseURL": "https://api-access.electricitymaps.com/2w97h07rvxvuaa1g/"
      }
    }
  }
For example, if you want to run the Scenario 1, you would need to place scenario1.json under the following path in the carbon-sdk repository:
src/data/data-sources/scenario1.json| In the Table below, the requirements of individual scenarios can be found: | Scenario | Data Input |
|---|---|---|
| Scenario 1 | scenario1.json | |
| Scenario 2 | scenario2.json | |
| Scenario 3 | scenario3.json | |
| Scenario 4 | scenario3.json | |
| Scenario 5 | scenario3.json | |
| Scenario 6 | scenario3.json |
Right-sizing tests
To run the whole test suite for the right-sizing plugin, run the following command from the if-optimization-models directory:
npm run test -- src/tests/models/right-sizing/RightSizingModel.test.tsThe test suite of the right-sizing plugin is divided into two parts: basic unit tests and scenario tests for algorithm correctness validation. The basic unit tests test the fundamental functionalities of the plugin, while the scenario tests are composed by a set of black-box tests that tests the algorithm by providing various combinations of input data and expecting specific output data.
All the scenarios are defined in the src/tests/models/right-sizing/scenarios directory as JSON files. For example, in scenario1.json you can find the content as follows:
{
    "INPUTS": [
        {
            "timestamp": "2023-11-02T10:35:00.000Z",
            "duration": 300,
            "cloud-vendor": "custom",
            "cpu-util": 75,
            "mem-util": 75,
            "location": "uksouth",
            "cloud-instance-type": "Test1_16_32"
        }
    ],
    "EXPECTED": [
        {
            "timestamp": "2023-11-02T10:35:00.000Z",
            "duration": 300,
            "cloud-vendor": "custom",
            "cpu-util": 100,
            "location": "uksouth",
            "cloud-instance-type": "Test1_8_16"
        },
        {
            "timestamp": "2023-11-02T10:35:00.000Z",
            "duration": 300,
            "cloud-vendor": "custom",
            "cpu-util": 100,
            "location": "uksouth",
            "cloud-instance-type": "Test1_4_8"
        }
    ]
}
The input is an array of objects defined in INPUTS field that simulates the input from the manifest input (impl) file, and the expected output is defined in the EXPECTED field. The expected output is an array represents the expected output (ompl) as JSON format from the right-sizing plugin. In the algotithm testing section in RightSizingModel.test.ts, the plugin will be tested by providing the input data from the INPUTS field and comparing the output with the expected output from the EXPECTED field using the Jest testing framework.
In algorithm scenario tests, each unit test is corresponding to one scenario defined in the scenarios directory. Here is a table of the unit test names and the corresponding scenario file names:
| Unit Test Name | Scenario File Name |
|---|---|
| Is the total number of vCPUs of the combination the fittest? (default cpu-target-util) | scenario1.json |
| Is the total number of vCPUs in a valid range? (custom cpu-target-util) | scenario2.json |
| Instance combination RAM doesn't below the minimum required? | scenario3.json |
| When vCPU is fittest, Is the total RAM the fittest? | scenario4.json |
| When vCPU and RAM are fittest, Is the sum price the lowest available? | scenario5.json |
| Does the algorithm consider multiple identical instance in a combination? | scenario6.json |