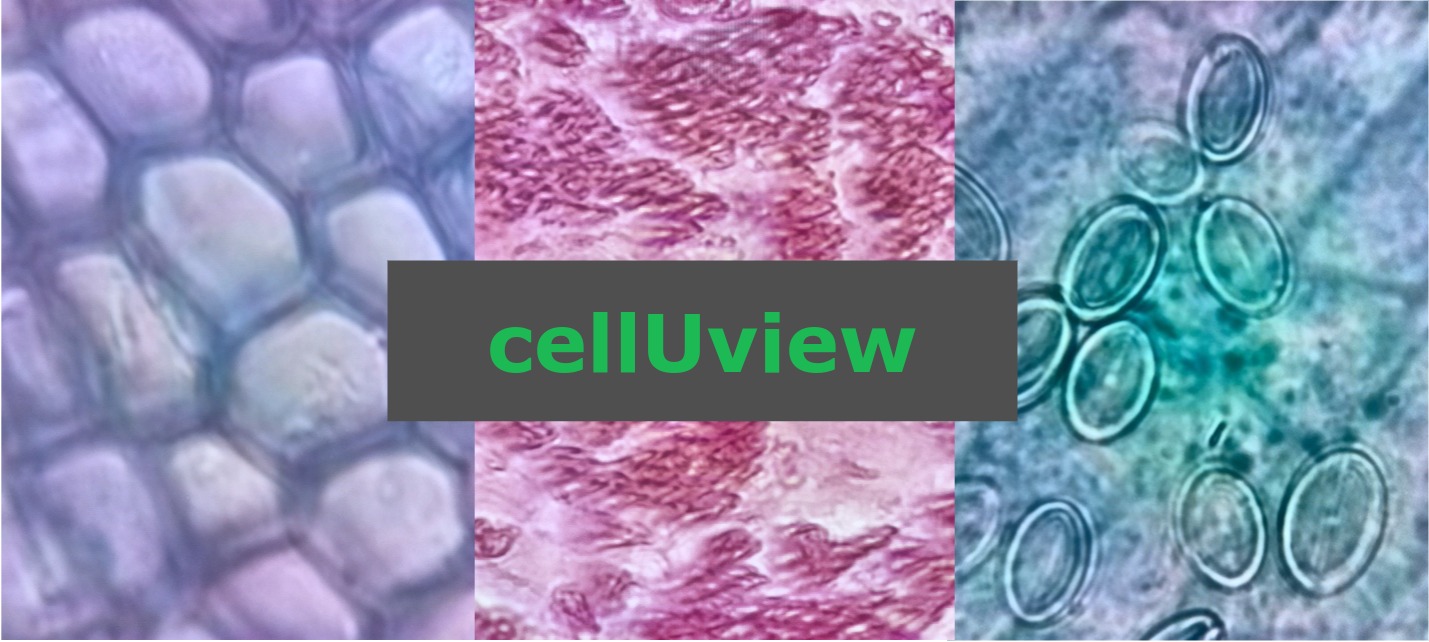
cellUview
A real-time image processing suite for digital microscopy.
[](https://github.com/adamvallance/openflexure-microscopy-enhancement/actions/workflows/cmake.yml) 
Report a Bug or Request a Feature
Summary
cellUview provides a real-time image processing suite designed for the open-source, Raspberry Pi based OpenFlexure microscope platform - with capabilities such as contrast and exposure adjustment, erosion and dilation, chromatic aberration correction, edge detection/enhancement, and classification using k-means clustering. It also allows for easy image capturing with an in-built gallery viewer, which features a quick, simple way to restore processing settings from a previous capture.
Getting Started
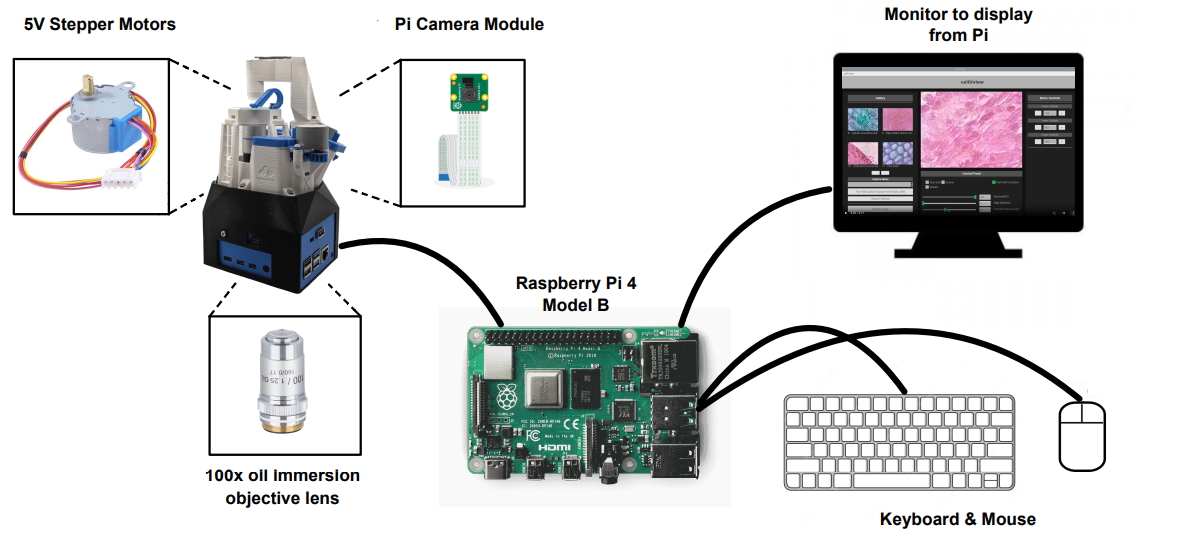
Hardware
cellUview is designed for the Raspberry Pi based OpenFlexure microscope, an open-source 3D printed microscope platform (pictured below). More information, including full manufacturing and assembly instructions as well as the required STL files can be found on the OpenFlexure website. A model of the microscope can also be seen below, from the OpenFlexure YouTube channel.
It is recommended to use a Raspberry Pi 4B for OpenFlexure. In order to use cellUview, we advise using a clean install of Raspbian v10 (Buster), rather than the supplied Raspbian OpenFlexure OS.
cellUview, just like OpenFlexure, supports motor control built on the open-source SangaBoard motor controller. However, any custom Arduino-based motor controller board that can use the SangaBoard firmware is supported. Instructions on how to build your own custom SangaBoard- and OpenFlexure-compatible motor board can be found here. If using a custom board, please ensure this is flashed with the SangaBoard firmware, available here.

Installing the Software
Please note: this project is designed for Raspberry Pi systems, and as such is not guaranteed to build on all Linux distros. In particular the WiringPi library, which is installed by default on Raspbian systems, does not have releases on all platforms.
The following procedure also requires git, which can be installed by typing sudo apt install git in a terminal if it has not already been installed.
The installation process for cellUview is simple.
In a terminal, first clone this GitHub and enter the project directory by typing:
git clone https://github.com/adamvallance/cellUview.git
cd cellUview
Then run the setup script with:
sudo bash setup.shThis will install all the libraries required to run cellUview. This process can take some time, up to around 10-15 minutes to build all the dependencies. Alternatively, to speed up the process if OpenCV 4.7.0 is already installed on the system, this part of the setup can be skipped with:
sudo bash setup.sh -nNext, build cellUview by running:
sudo bash build.sh -iAnd that's it, cellUview is now ready for use.
To launch cellUview, simply type:
cellUviewThis can be typed in the terminal from anywhere.
Using cellUview
cellUview has an easy-to-use UI to make real-time microscopy image sample processing simple, even for novice users. The interface, shown in the guide videos below, is split into different sections. In the centre is the microscope video stream which updates in real-time to show all of your applied image processing settings - which are controlled in the panel directly below the stream. In the upper right hand corner is the motor control panel, and below that the image analysis panel. On the left hand side are the capture controls and image gallery.
The following guide contains step by step instructions on how cellUview can be used. If you would prefer a video walkthrough format, please click here.
In the motor control panel you can view and control the position of the OpenFlexure motors for x, y, and z axes, either by typing in the desired position or using the buttons to step the motors. Controls for the x- and y-axis will move the microscope slide laterally, whereas z-axis control can be used to focus the image correctly. If the motors are not connected, for instance if cellUview is being used on an earlier version of OpenFlexure with manual control only, then this panel is disabled.
With the sample now in focus, it's time to apply the image processing algorithms to help with analysis. Processing settings are changed with the labelled sliders and toggle buttons. In the image analysis panel, the coverage of each centroid in the frame can be calculated when k-means clustering image classification is being used. Please note that the below video guides were captured before the classification feature was implementated.
When the image settings are to your liking, a capture can be taken with a brief description. This will then be shown in the gallery on the left hand side.
Any of the images in the gallery can be selected to show them at full size in a separate window. The captured images also store their processing settings which can be reapplied to the current stream with just a click for convenient repeatability.
Captures from cellUview
Check out some of the samples captured using cellUview.


Follow us on social media
Keep up to date on project development by starring this GitHub and following us on social media:
![]()
![]() ·
·
![]()
Documentation
Documentation for cellUview can be viewed here.
These documents are generated using Doxygen, using the docstrings added throughout the code. Documentation is kept up-to-date automatically through the GitHub continuous integration action 'Docs'.
License
This code is distributed under the GNU GPL-3.0 license. See LICENSE for more details.
Contributors
This is a project being carried out by a group of University of Glasgow engineering students. Please feel free to get in touch with any of us if you have questions about the project.
Credits
Credits to Richard Bowman and the OpenFlexure microscope platform that this project was built upon.
Also, credits to Bernd Porr's OpenCV Camera Callback Class, and Phil Harvey's C++ ExifTool library for reading and writing metadata.
Additional Developer Instructions
Further Build Instructions
The cellUview build script build.sh also has some additional options:
Syntax: build.sh [-h|r|i|c]
   options:
   -h     Print this Help.
   -r     Build and run.
   -i     Build and install executeable onto path /usr/bin. Requires sudo.
   -t     Build and run tests.
   -c     Clear CMake Cache and build.
For instance, if you want to build and run the program straight away, type:
bash build.sh -r Or, to build, remove the cmake cache, run unit tests, and install the program onto the system:
bash build.sh -c -t -iIf not installing cellUview with the -i option, then cellUview can be launched by running the executible in the /bin/ directory by typing:
bin/cellUviewUnit Tests
Unit tests, using the Google Test framework, have been written for cellUview. Google Test system dependencies are installed with the cellUview setup.sh script. As mentioned in the Further Build Instructions section, unit tests can be run by using the -t option in the build script, i.e. by running:
bash build.sh -tinside the cellUview project directory.
These tests are also run as a part of the GitHub continuous integration action 'CMake'.