Pulp
This repository is no longer being maintained. Please use https://github.com/mhkeller/pulp2.
An open-source viewer for displaying comics online, developed for the story Terms of Service. Layout your pages with Pulp press and place the resulting the pages.json file the data/ folder. For more detailed instructions. Read below.
Live demo
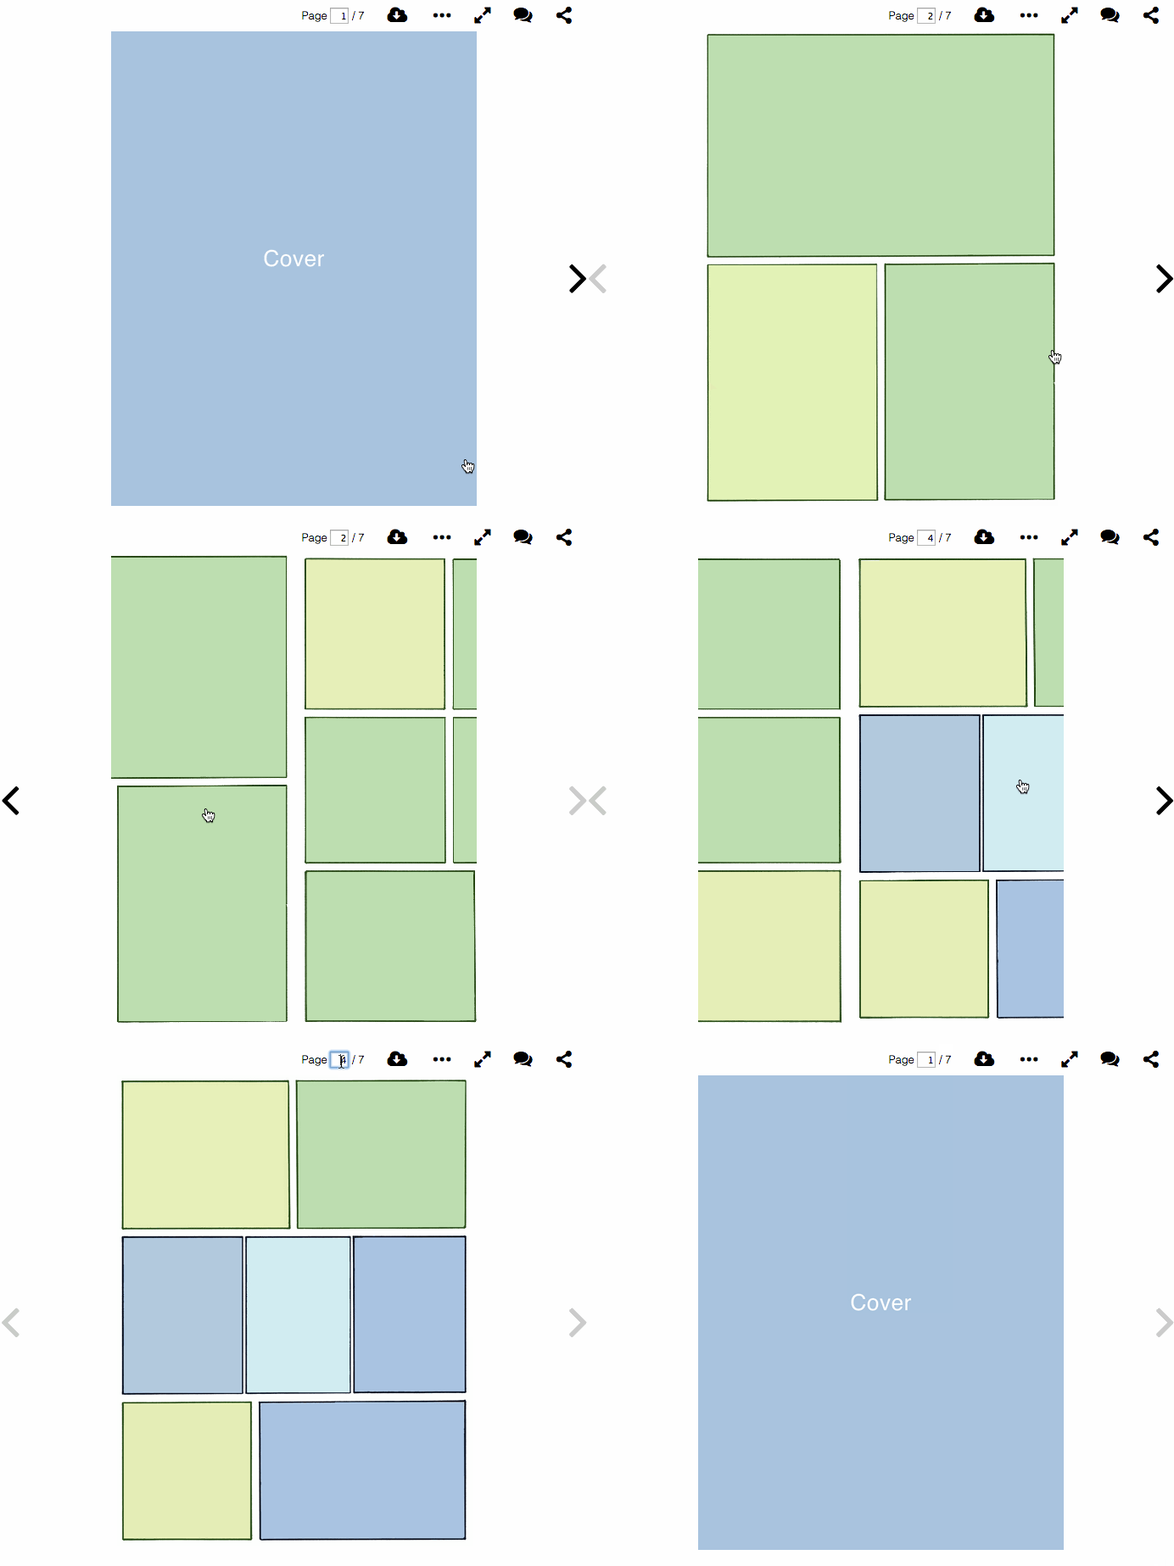
Double view

Single view

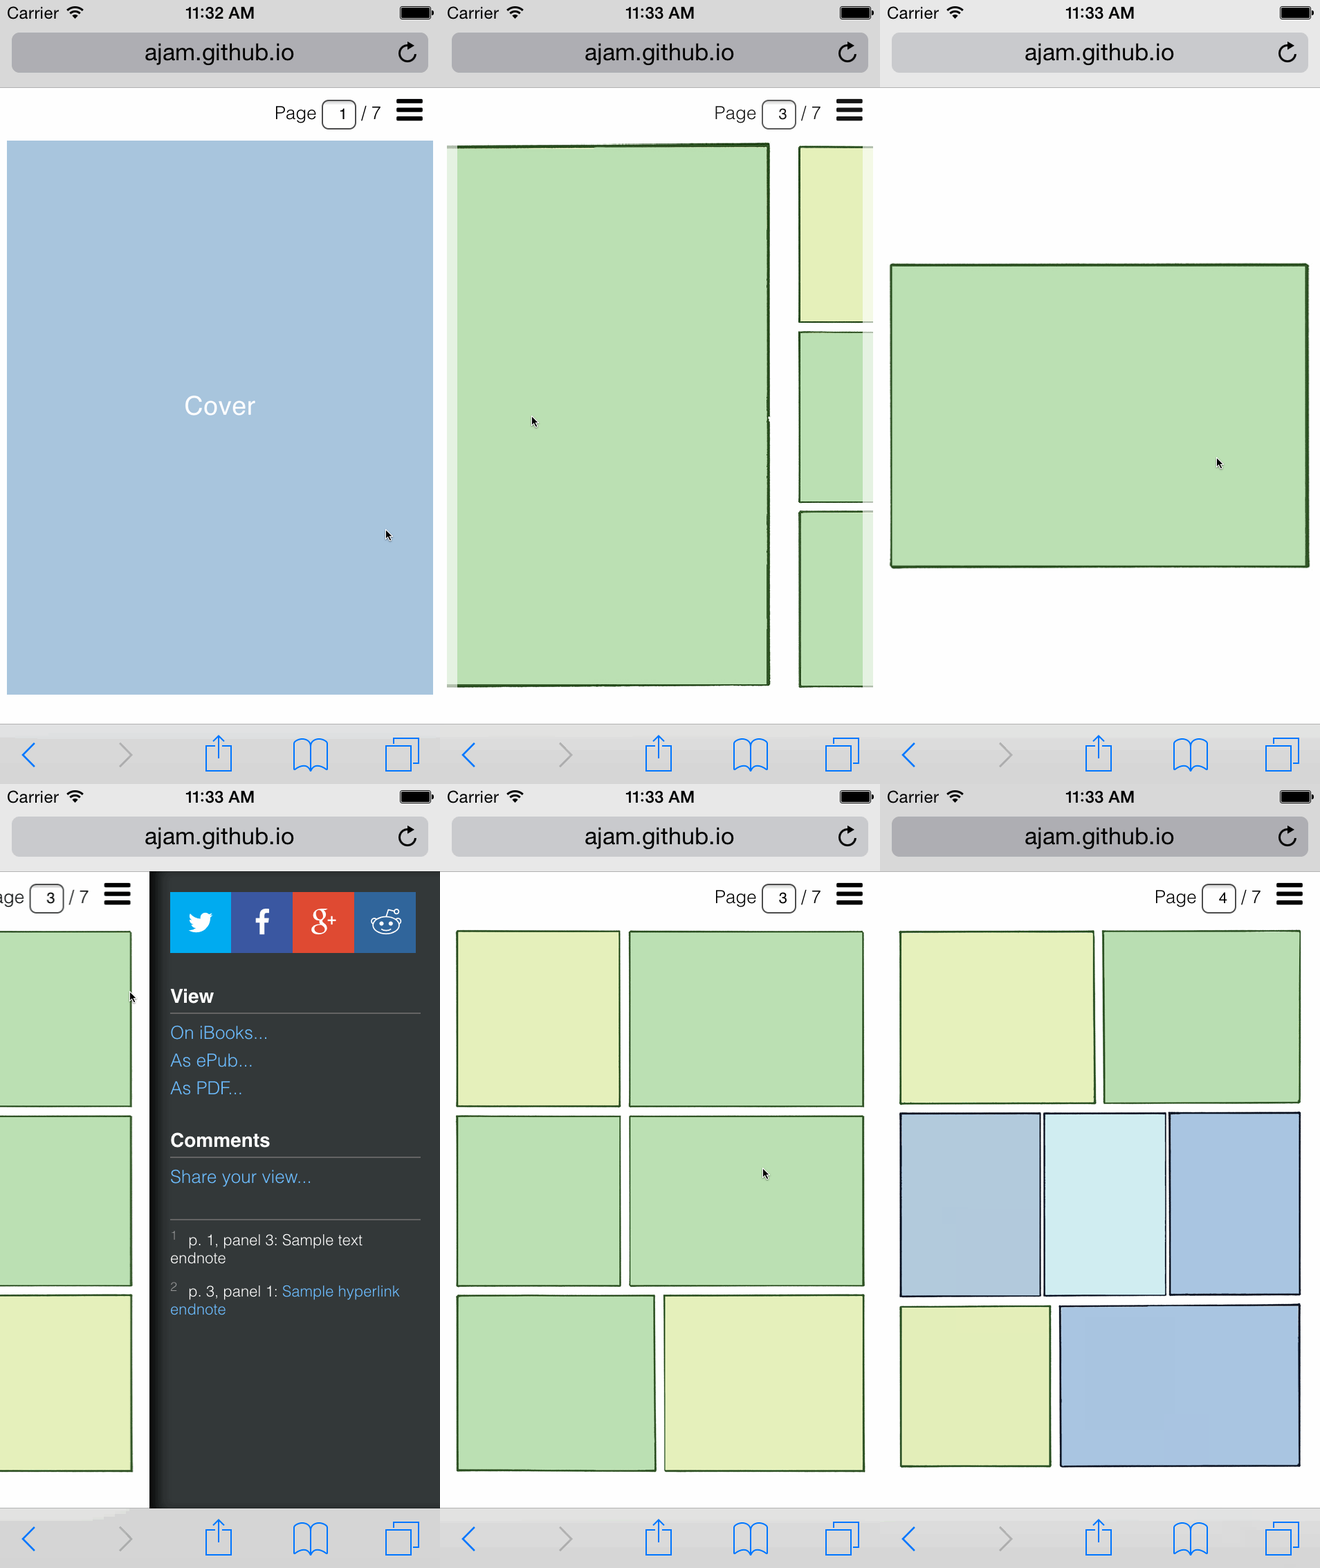
Mobile view (panel by panel swiping, tap to zoom)

Mobile drawer

Requirements / assumptions
- You have one image for every page in your comic and each page is made up of panels.
- You have a cover image that should be displayed on its own page.
Features
- Mobile responsive.
- On large screens, you'll see a two-page spread.
- On medium-width screens, you'll see a single page
- On mobile screens (or any browser width that's smaller than the normal image width) Pulp will navigate panel by panel
- Swipe-able on mobile.
- Fullscreen mode.
- Endnotes for including hyperlinks.
- Configurable share buttons
- The final page in the comic takes arbitrary text so you can link out or otherwise give instructions for readers to do when they're done.
- Configurable logo for whitelabeling.
- Tested on
- Chrome 38
- Safari 7.1
- Firefox 32
- iPhone 4
- iPhone 5c
- iPhone 6
- iPad Retina
- iPad 2
- iPad Air
- Samsung Nexus
- Android - Samsung HTC One
- Android - Moto X
Getting started
Getting up and running takes three steps
- Download this repository, either click "Download Zip" on the right or
git clone https://github.com/ajam/pulp. - Place your images in the
imgs/pages/folder — they can be any format, e.g..jpg,.png,.gifetc. - A
pages.jsonfile that defines the coordinates of your panels on the page — more on this next. Place this file in thedata/folder.
To define your panel regions, we've made a companion interface called Pulp Press. It has its own instructions page and is fairly simple to use.
- Upload your images
- Click and drag to define the order of your panels
- Save the page
- When you've saved drawn all your panels on all your pages, click "Download data" and that will give you a nice
pages.jsonfile which you can place in the Pulpdata/folder.
Pulp Press has a few other options such as specifying endnotes or alt text for each page image, which can be nice for including the script. "Page text" is abitrary paragraph text you might want to overlay on the page. This text will appear on any page but if you want this text to be clickable, that will only work on the last page. We used this feature to include hyperlinks on the last page of the comic so readers could have a place to go once they've finished.
Comments
Beacuse comments aren't built into the interface, we've included an icon in the header that link to a page that hosts your comments. It's a simple anchor tag so you can add an external link to a comments page. Or, if you don't have comments, you can delete that toolbar button.
Feeling at ease
The CSS animations and transitions use a custom ease cubic-bezier(0,0,.2,1) which is a slightly modified easeOutQuint, so it's faster at the beginning than it is toward the end. This movement makes the animations feel snappier and more reactive when the user initiates an action, such as opening the side drawer, for instance.
Extra configuration
Pulp also has a few options that it lets you change, if you so wish. They are all in the config.json file. Here's what a sample configuruation looks like with an explanation of what the values do. You shouldn't have to change any of the animation or scaling settings, unless you want to.
Note: The example here has comments in the code but don't include comments in your own config.json file, since the JSON format does not allow comments and the page will throw an error.
{
    "pubDate": "Jan 1, 1970", // This will appear in the header on desktop and in the drawer on mobile
    "imgFormat": "jpg", // What format are your images in?
    "whitelabel": {
        "logo": "<img src='imgs/assets/logo.png'></img>" // Do you want to include an image in the top left?
    },
    "panelZoomMode": "desktop-hover", // If the toolbar button is clicked, users will zoom into the page on hover following animation settings below
                                                                      // Set to `false` to disable this functionality. You'll also want to comment out the toolbar button.
    "desktopHoverZoomOptions": {
        "scale": 1.75, // How much you want it to zoom
        "fit": 0.98, // A value between 0 and 1. Defaults to 1. Set this to something around .96 if you want to cut off the edges a little bit, like in this demo. This setting is useful if you have white space around your panels
        "padding": 0.25, // A value between 0 and .5. Sometimes you don't want the mouse to have to reach the edge of the page to fully zoom. Setting this to something like .25 will mean you've reached the edge of the zoomed in image when you're within 25% of the page edge.
    "zoomInDelay": "200ms", // A delay that will not trigger a zoom when the mouse is quickly passing over the page
    "zoomOutDelay": "1500ms", // How long to wait after the mouse has exited the page to zoom out. This allows users some leeway if they accidentally zoomedo ut
    "zoomInSpeed": "600ms", // How fast to zoom in
    "zoomOutSpeed": "500ms", // How fast to zoom out
    "mouseFollowSpeed": "350ms" // How fast to follow the mouse
    },
    "lazyLoadExtent": 6, // How many pages behind and ahead do you want to load your images
    "transitionDuration": "400ms", // In milliseconds, how fast the panels zooms and page turns animate.
    "gutterWidth": 2, // How much space between the two panels in `double` mode. This is the `padding-left` value for `.viewing.right-page`.
    "drawerTransitionDuration": "500ms", // In milliseconds, how fast the mobile drawer comes in and out.
    "social": {
        "twitter_text": "Read this comic, it's great!", // The text to display when someone clicks on the Tweet button
        "twitter_account": "myhandle", // This will display in a tweet as `via @myhandle`.
        "fb_text": "A new web comic about etc etc topics topics.", // The text to display when someone clicks on the Facebook button
        "promo_img_url": "http://www.website.com/comic-project/imgs/promo.jpg", // The full path of the image to display in the FB share or Tweet button
        "fb_app_id": "000000000000000" // Facebook requires that you tie these buttons to an app. You have to create an app through the FB dev interface and your app will have the id.
    },
    "requireStartOnFirstPage": false // On load, will the comic require users to land on the first page? Better to disable this to allow for page-specific links
}
You might also want to include some <noscript> for people who have JavaScript disabled, such as:
<noscript>
    <p>It appears you have JavaScript disabled.</p>
    <p>View the PDF version: <a href="https://github.com/ajam/pulp/blob/master/link/to/comic.pdf">link/to/comic.pdf</a></p>
</noscript>
Choosing an image format
Pulp can handle a variety of image formats. Here's one thread that discusses some choices. See the "In the wild" section below for more examples.
In the wild
- Al Jazeera America — Terms of Service
- SF Public Press — Traumatized by the Streets
- BBC — Hooked
- Camille Bissuel — Climate Change explained to Frogs, to Toads, to Batrachians Generally, and All Earthlings Who Might Feel a Little Concerned
- Al Jazeera America — Fare Game
Customizing
Pulp uses Gulp to conver the Stylus styleshet files into CSS as well as concatenate and minify its JavaScript. The CSS is written using a preprocessor called Stylus with an add-on called Nib. Nib greatly simplifies writing animations as it writes all the CSS vendor prefixes for you. You can look at gulpfile.js to see what the build process does. The main files you'll want to edit are js/main.js and css/styles.styl
To have changes to these files be compiled, first make sure you have NodeJS installed. Then install the project's dependencies with the following:
npm installCompile the CSS into css/styles.css and the JavaScript into js/main.pkgd.min.js with:
npm run buildTo launch a webserver and recompile your files whenver they change:
npm run devLICENSE
MIT