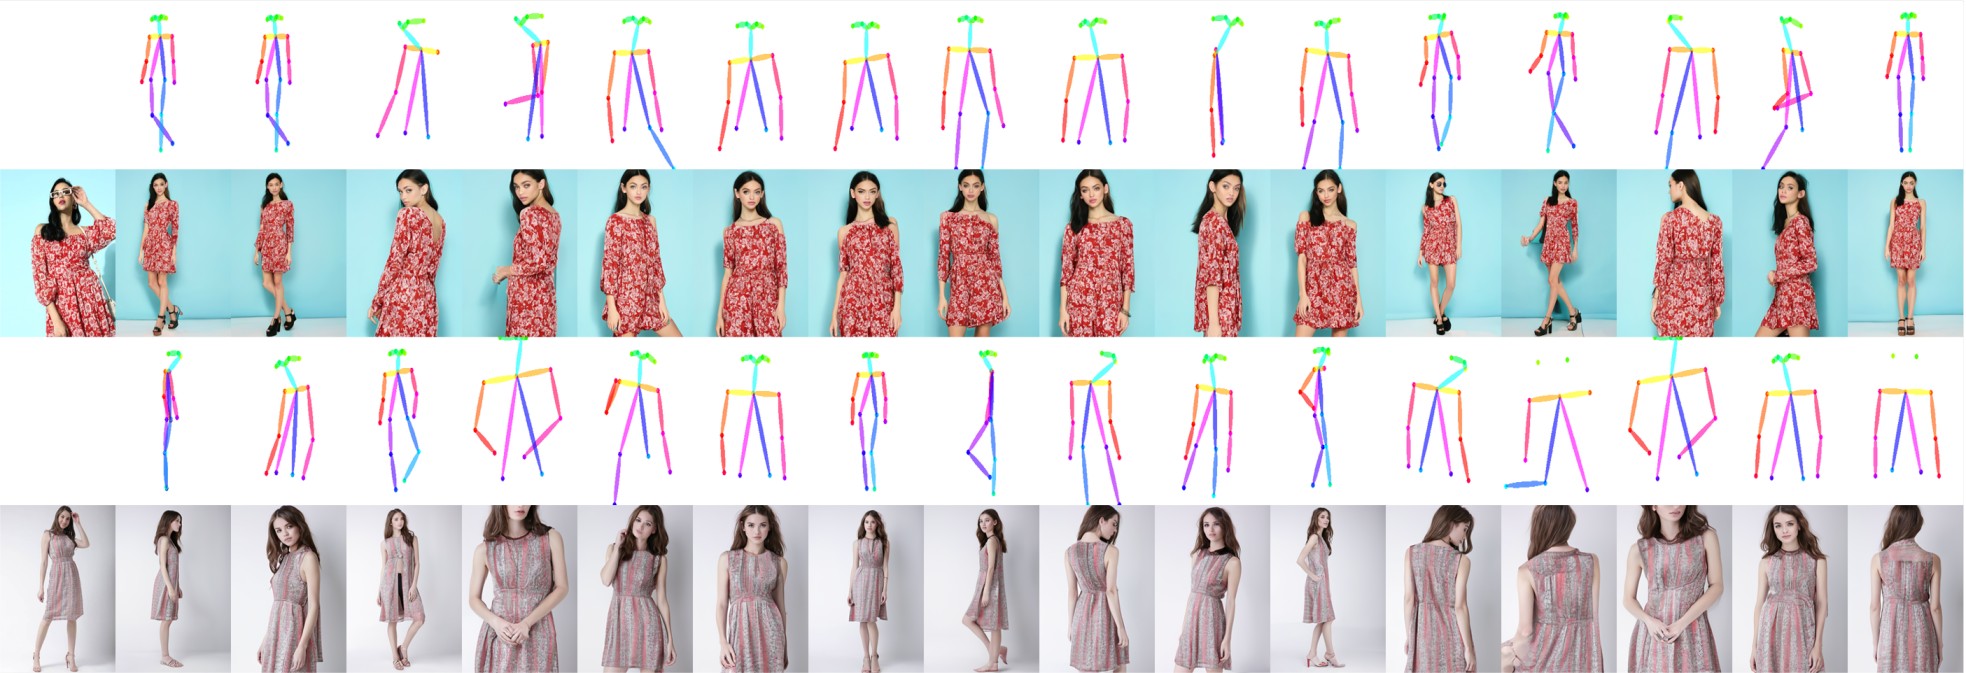
Person Image Synthesis via Denoising Diffusion Model 
ArXiv | Project | Demo | Youtube
 ## News
- **2023.02** A demo available through Google Colab:
:rocket:
[Demo on Colab](https://colab.research.google.com/github/ankanbhunia/PIDM/blob/main/PIDM_demo.ipynb)
## Generated Results
 You can directly download our test results from Google Drive: (1) [PIDM.zip](https://drive.google.com/file/d/1zcyTF37UrOmUqtRwwq1kgkyxnNX3oaQN/view?usp=share_link) (2) [PIDM_vs_Others.zip](https://drive.google.com/file/d/1iu75RVQBjR-TbB4ZQUns1oalzYZdNqGS/view?usp=share_link)
The [PIDM_vs_Others.zip](https://drive.google.com/file/d/1iu75RVQBjR-TbB4ZQUns1oalzYZdNqGS/view?usp=share_link) file compares our method with several state-of-the-art methods e.g. ADGAN [14], PISE [24], GFLA [20], DPTN [25], CASD [29],
NTED [19]. Each row contains target_pose, source_image, ground_truth, ADGAN, PISE, GFLA, DPTN, CASD, NTED, and PIDM (ours) respectively.
## Dataset
- Download `img_highres.zip` of the DeepFashion Dataset from [In-shop Clothes Retrieval Benchmark](https://drive.google.com/drive/folders/0B7EVK8r0v71pYkd5TzBiclMzR00).
- Unzip `img_highres.zip`. You will need to ask for password from the [dataset maintainers](http://mmlab.ie.cuhk.edu.hk/projects/DeepFashion/InShopRetrieval.html). Then rename the obtained folder as **img** and put it under the `./dataset/deepfashion` directory.
- We split the train/test set following [GFLA](https://github.com/RenYurui/Global-Flow-Local-Attention). Several images with significant occlusions are removed from the training set. Download the train/test pairs and the keypoints `pose.zip` extracted with [Openpose](https://github.com/CMU-Perceptual-Computing-Lab/openpose) by downloading the following files:
- Download the train/test pairs from [Google Drive](https://drive.google.com/drive/folders/1PhnaFNg9zxMZM-ccJAzLIt2iqWFRzXSw?usp=sharing) including **train_pairs.txt**, **test_pairs.txt**, **train.lst**, **test.lst**. Put these files under the `./dataset/deepfashion` directory.
- Download the keypoints `pose.rar` extracted with Openpose from [Google Driven](https://drive.google.com/file/d/1waNzq-deGBKATXMU9JzMDWdGsF4YkcW_/view?usp=sharing). Unzip and put the obtained floder under the `./dataset/deepfashion` directory.
- Run the following code to save images to lmdb dataset.
```bash
python data/prepare_data.py \
--root ./dataset/deepfashion \
--out ./dataset/deepfashion
```
## Custom Dataset
The folder structure of any custom dataset should be as follows:
- dataset/
- -
  ## Training
This code supports multi-GPU training. Full training takes 5 days with 8 A100 GPUs and a batch size 8 on the DeepFashion dataset. The model is trained for 300 epochs; however, it generates high-quality usable samples after 200 epochs. We also attempted training with V100 GPUs, and our code takes a similar amount of time for training.
```bash
python -m torch.distributed.launch --nproc_per_node=8 --master_port 48949 train.py \
--dataset_path "./dataset/deepfashion" --batch_size 8 --exp_name "pidm_deepfashion"
```
## Inference
Download the pretrained model from [here](https://drive.google.com/file/d/1WkV5Pn-_fBdiZlvVHHx_S97YESBkx4lD/view?usp=share_link) and place it in the ```checkpoints``` folder.
For pose control use ```obj.predict_pose``` as in the following code snippets.
```python
from predict import Predictor
obj = Predictor()
obj.predict_pose(image=