Solid Pod
Solid Pod package provides functionality to manage a Solid personal online data stores (Pods) via a Flutter application. It supports high level access for an application to authenticate users to their Pods, access the users' data from their Pods, and then share the data stored in users' Pods with other Pods through Flutter Widgets.
What is Solid?
Solid (https://solidproject.org/) is an open standard for a server to host personal online data stores (Pods). Numerous providers of Solid Server hosting are emerging allowing users to host and migrate their Pods on any such servers (or to run their own server).
To know more about our work relatd to Solid Pods visit https://solidcommunity.au
Features
- SolidLogin widget supports authentication against a Solid server:
Default style:
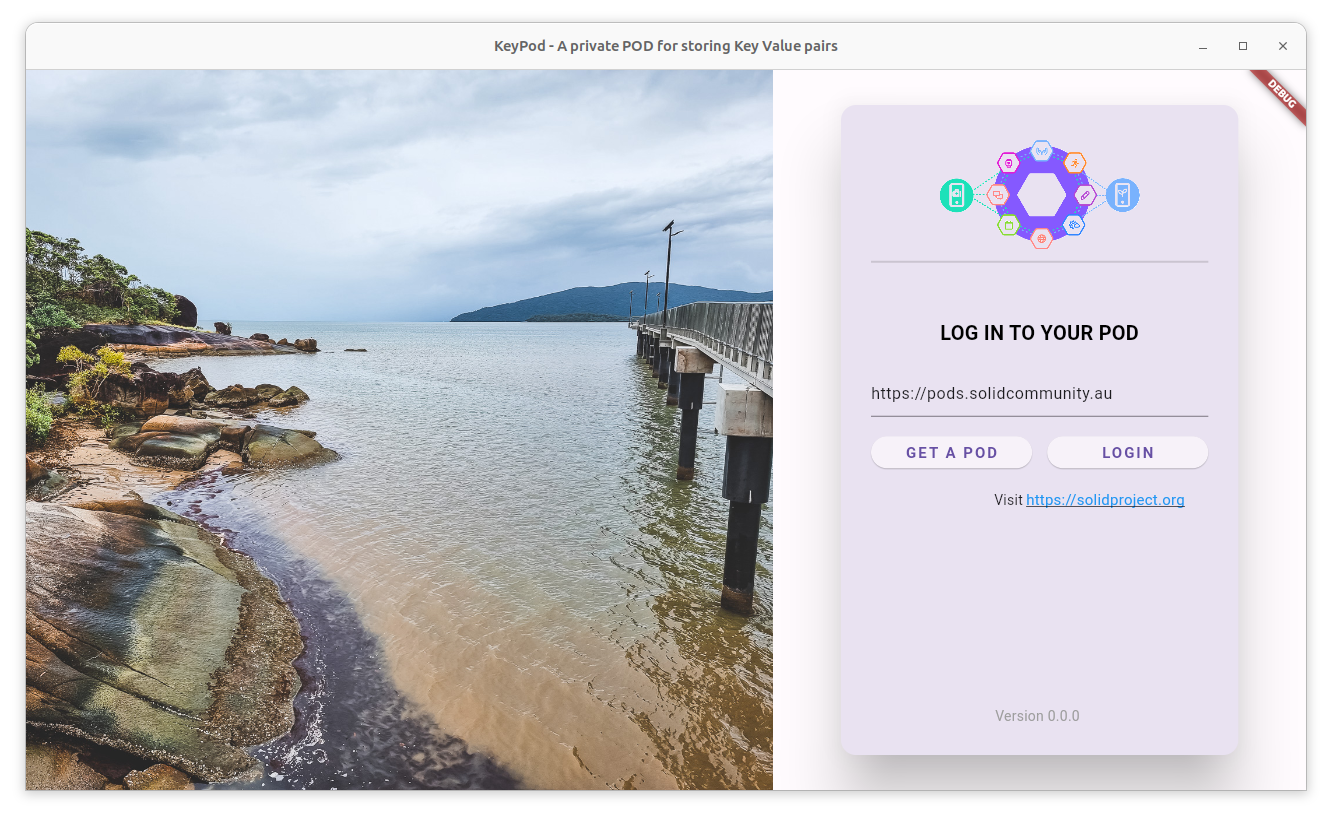
Optional version and visit link:
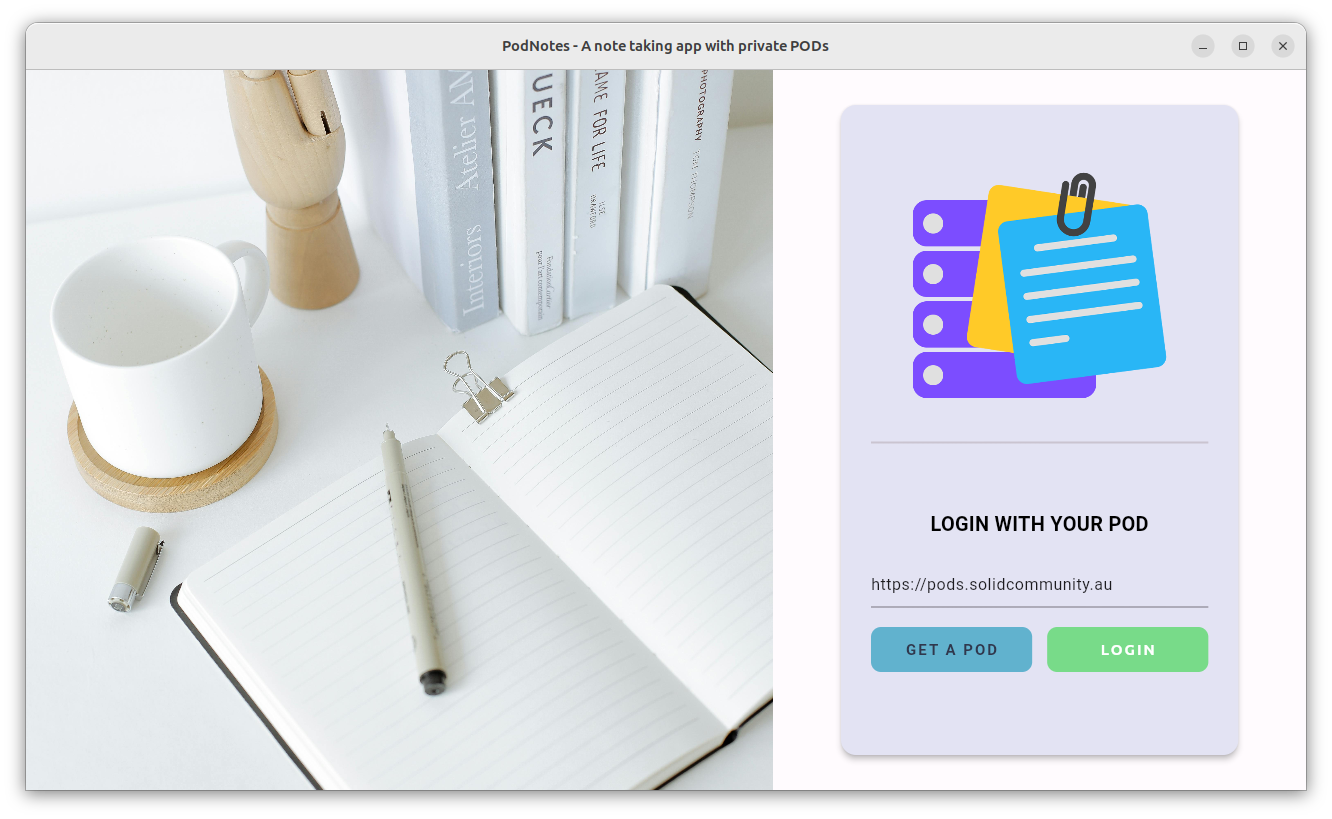
Changing the image, logo, login text, colour scheme:

Change the image, logo, login text, button style, colour scheme:
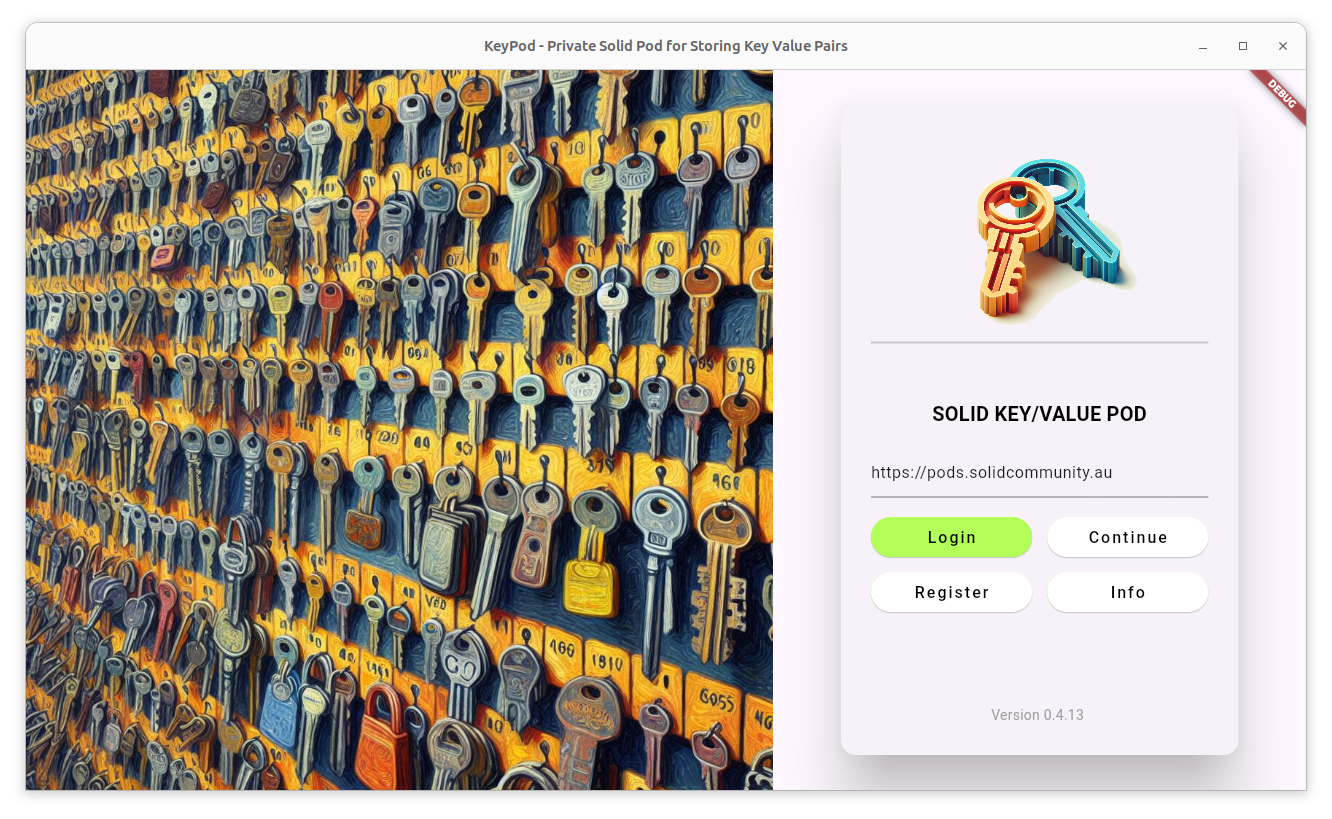
Fine tune to suit the theme of the app:
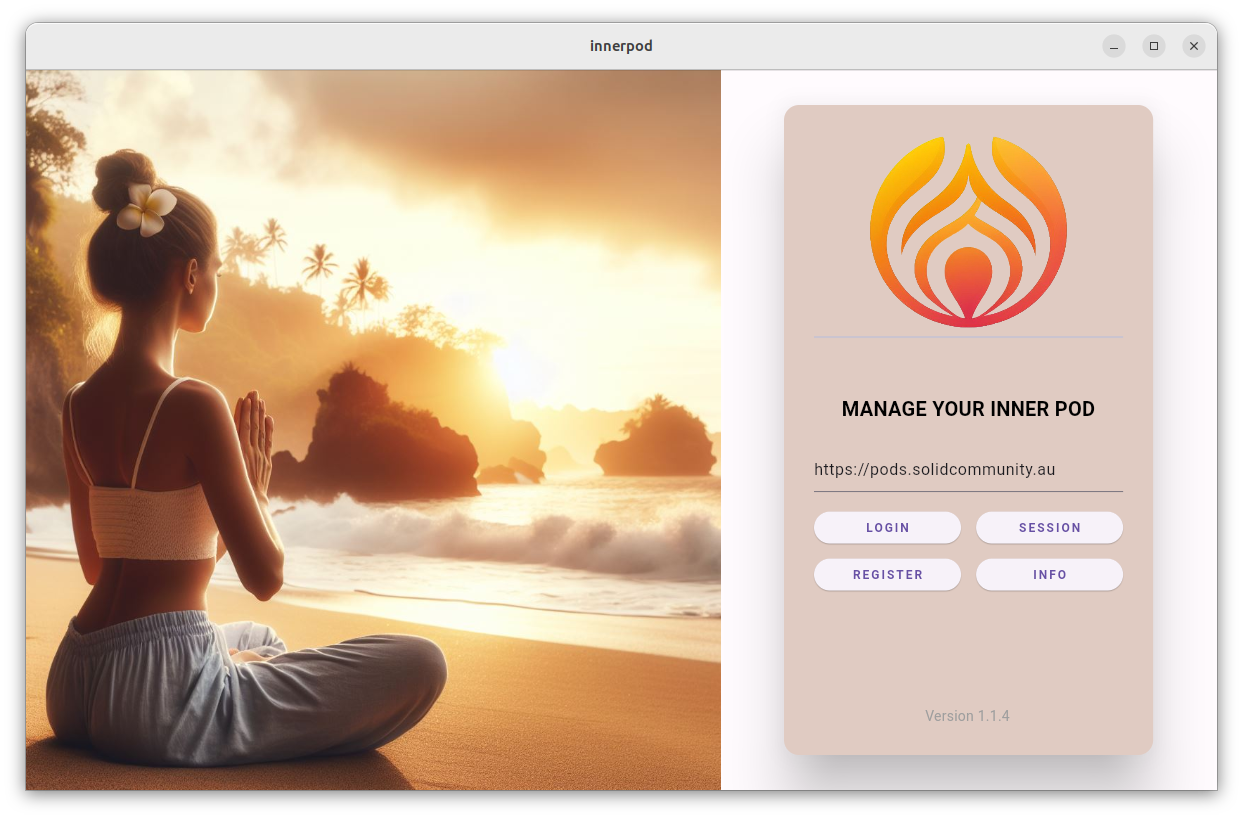
-
SolidPopupLoginwidget supports authentication within an application. The widget will trigger authentication if a user action requires authenticated access. -
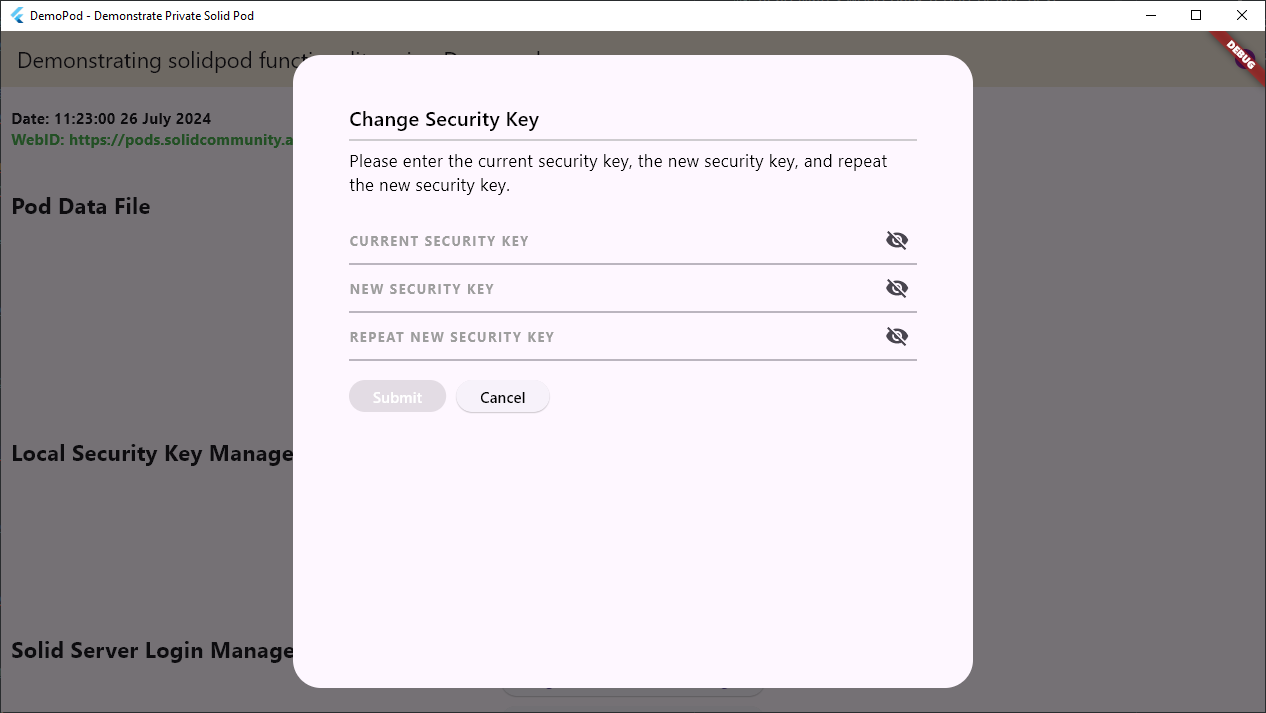
changeKeyPopup widget supports changing the security key (used to make your data private through encryption):
-
readPod() function reads file content (either encrypted or plaintext) from a Pod.
-
writePod() function writes content (either encrypted or plaintext) to a file in a Pod.
-
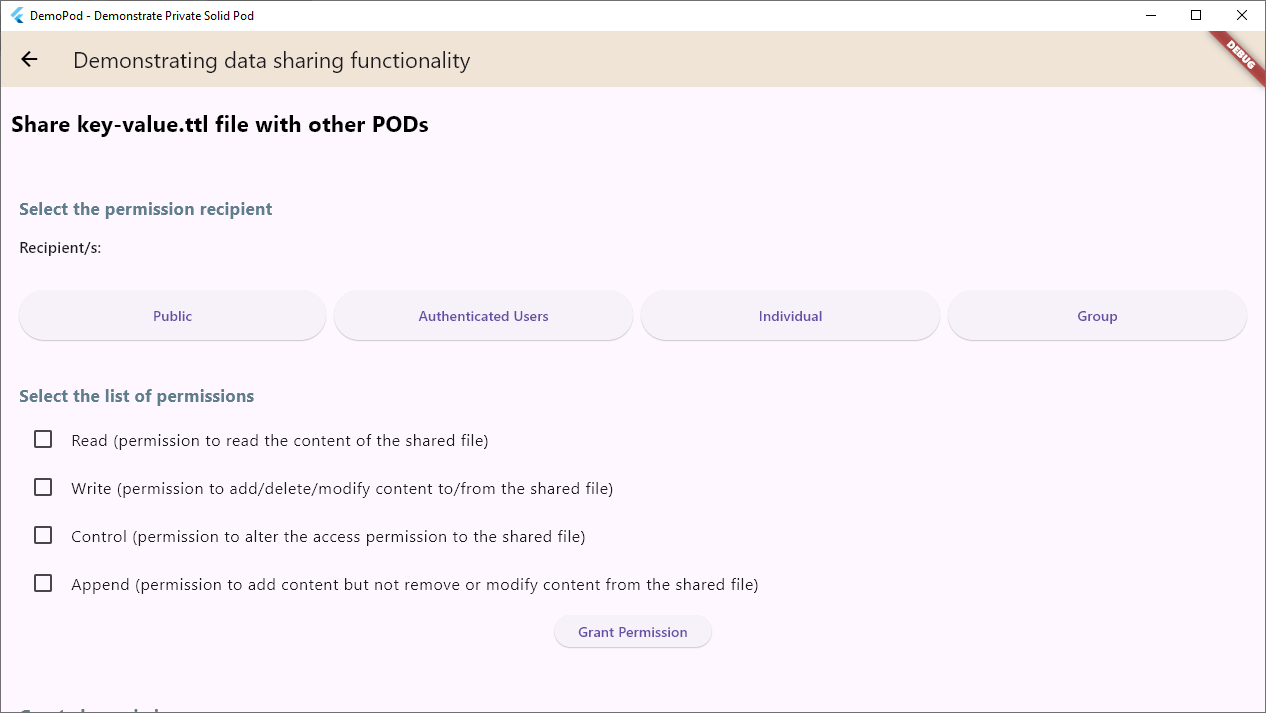
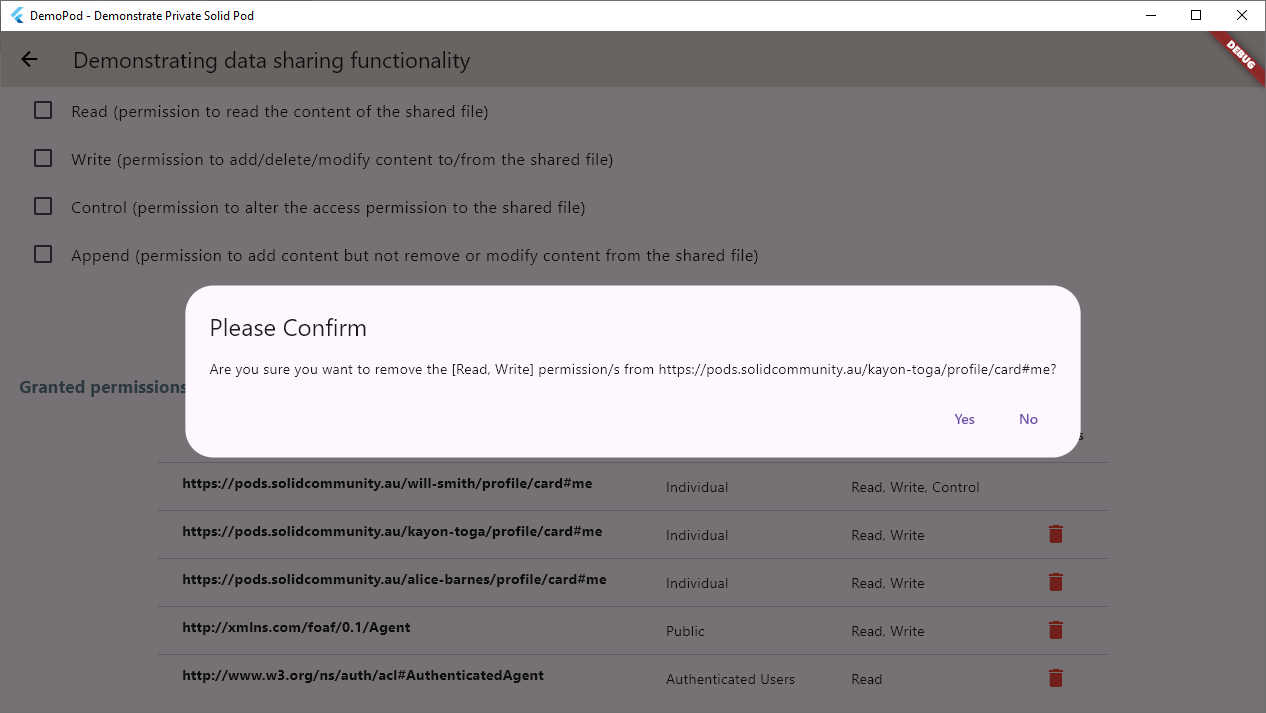
GrantPermissionUi widget supports permission granting/revoking for resources:
Granting permission:
Revoking permission:
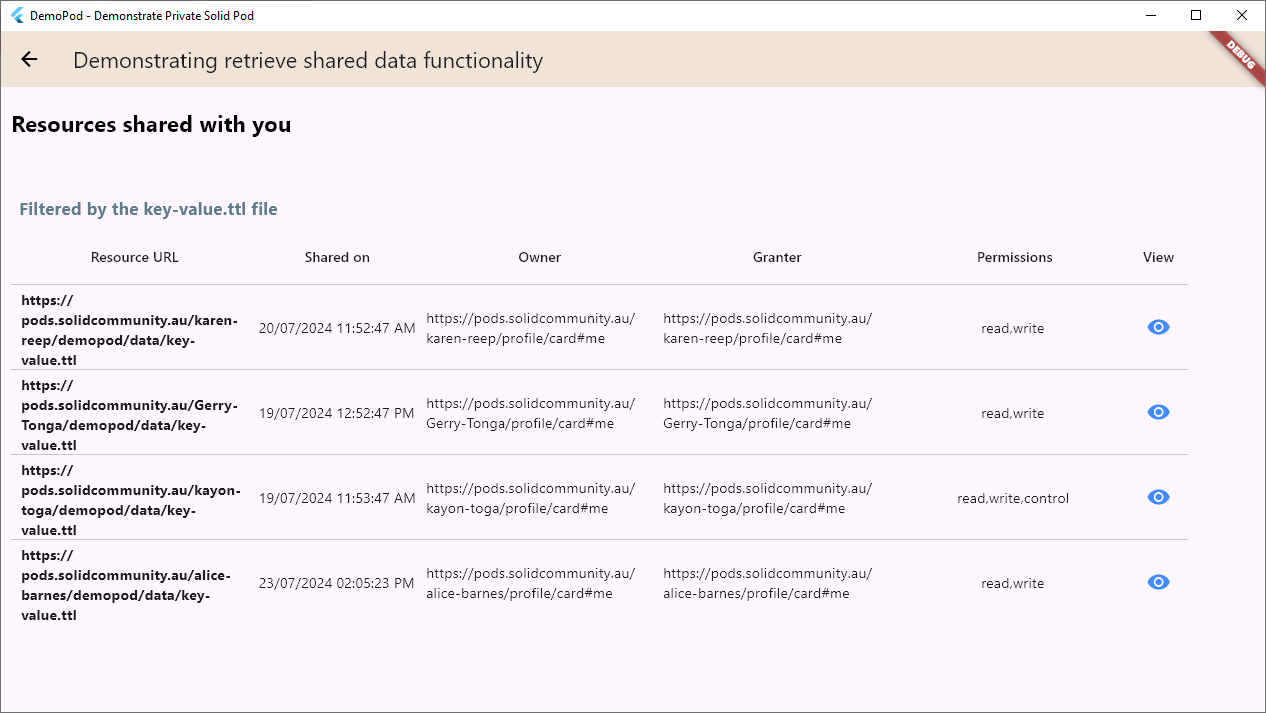
- SharedResourcesUi widget displays resources shared with a Pod by others:
sendLargeFile(), getLargeFile(), and deleteLargeFile() functions
uploads, downloads, and deletes large files from a Solid server, respectively.
Getting started
To start using the package add solidpod as a dependency in
your pubspec.yaml file.
dependencies:
  solidpod: ^<latest-version>
An example project that uses solidpod can be found
here.
Prerequisites
If the package is being used to build either a macos or web app, the following
changes are required in order to make the package fully functional.
macos
Inside the app directory go to the directory /macos/Runner/. Inside there are two files named DebugProfile.entitlements and Release.entitlements. Add the following lines inside the <dict> </dict> tag in both files.
    <key>com.apple.security.app-sandbox</key>
    <true/>
    <key>com.apple.security.cs.allow-jit</key>
    <true/>
    <key>com.apple.security.network.server</key>
    <true/>
    <key>com.apple.security.network.client</key>
    <true/>
    <key>keychain-access-groups</key>
    <array/>
    <key>com.apple.security.keychain</key>
    <true/>
Note: You may already have some of the above lines in those files. If so fill the missing.
web
Inside the app directory go to the directory /web/. Inside create a file called callback.html. Add the following piece of code into that file.
<!DOCTYPE html>
<html>

<head>
    <script>
        const AUTH_DESTINATION_KEY = "openidconnect_auth_destination_url";
        const AUTH_RESPONSE_KEY = "openidconnect_auth_response_info";

        window.onload = function () {
            if (window.opener && window.opener !== window) { //Used when working as a popup. Uses post message to respond to the parent window
                var parent = window.opener ?? window.parent;
                parent.postMessage(location.href, "*");
            } else { //Used for redirect loop functionality.
                //Get the original page destination
                const destination = sessionStorage.getItem(AUTH_DESTINATION_KEY || "/");
                sessionStorage.removeItem(AUTH_DESTINATION_KEY);
                //Store the current window location that will be used to get the information for authentication
                sessionStorage.setItem(AUTH_RESPONSE_KEY, window.location);

                //Redirect to where we're going so that we can restore state completely
                location.assign(destination);
            }
        }
    </script>
</head>

<body>
</body>

</html>
Usage
Following are the usage of main functionalities supported by the package.
Login Example
A simple login screen to authenticate a user against a Solid server.
If your own home widget is called MyHome() then simply wrap this within
the SolidLogin() widget:
  @override
  Widget build(BuildContext context) {
    return MaterialApp(
      title: 'My Pod',
      home: const SolidLogin(
        child: Scaffold(body: MyHome()),
      ),
    );
  }
Change Security Key Example
Wrap the changeKeyPopup() function within a button widget. Parameters
include the BuildContext and the widget that you need to return to
after changing the key.
ElevatedButton(
    onPressed: () {
        changeKeyPopup(context, ReturnPage());
    },
    child: const Text('Change Security Key on Pod')
)
Read Pod File Example
Read data from the file data/myfiles/my-data-file.ttl and return to the
widget ReturnPage().
final fileContent = await readPod(
        'data/myfiles/my-data-file.ttl',
        context,
        ReturnPage(),
      );
Write to Pod File Example
Write data to the file myfiles/my-data-file.ttl and return to the
widget ReturnPage().
// Turtle string to be written to the file
final turtleString = '@prefix somePrefix: <http://www.perceive.net/schemas/relationship/> .
<http://example.org/#green-goblin> somePrefix:enemyOf <http://example.org/#spiderman> .';

await writePod(
    'myfiles/my-data-file.ttl',
    turtleString,
    context,
    ReturnPage(),
    encrypted: false // non-required parameter. By default set to true
);
Grant Permission UI Example
Wrap the GrantPermissionUi widget around a button to navigate to
the grant permission page.
ElevatedButton(
    child: const Text(
        'Add/Delete Permissions'),
    onPressed: () => Navigator.push(
    context,
    MaterialPageRoute(
        builder: (context) => const GrantPermissionUi(
        child: ReturnPage(),
        ),
    ),
    ),
)
To add/delete permissions to a specific resource use:
ElevatedButton(
    child: const Text(
        'Add/Delete Permissions from a Specific Resource'),
    onPressed: () => Navigator.push(
    context,
    MaterialPageRoute(
        builder: (context) => const GrantPermissionUi(
        fileName: 'my-data-file.ttl',
        child: ReturnPage(),
        ),
    ),
    ),
)
View Permission UI Example
Wrap the SharedResourcesUi widget around a button to navigate to
the view permission page.
ElevatedButton(
    child: const Text(
        'View Resources your WebID have access to'),
    onPressed: () => Navigator.push(
    context,
    MaterialPageRoute(
        builder: (context) => const SharedResourcesUi(
        child: ReturnPage(),
        ),
    ),
    ),
)
To view permissions to a specific resource from a specific webID use:
ElevatedButton(
    child: const Text(
        'View access to specific Resource'),
    onPressed: () => Navigator.push(
    context,
    MaterialPageRoute(
        builder: (context) => const SharedResourcesUi(
        fileName: 'my-data-file.ttl',
        sourceWebId: 'https://pods.solidcommunity.au/john-doe/profile/card#me',
        child: ReturnPage(),
        ),
    ),
    ),
)
Large File Manager Example
To upload a large file use:
await sendLargeFile(
    remoteFileUrl: 'https://pods.solidcommunity.au/john-doe/myapp/data/my-large-file.bin', // Solid server URL of the file
    localFilePath: 'D:/my-large-file.bin', // Path of the file where it is locally stored
)
To download a large file use:
await getLargeFile(
    remoteFileUrl: 'https://pods.solidcommunity.au/john-doe/myapp/data/my-large-file.bin', // Solid server URL of the file
    localFilePath: 'D:/my-large-file.bin', // Path of the file where it will be locally downloaded
)
To delete a large file use:
await deleteLargeFile(
    remoteFileUrl: 'https://pods.solidcommunity.au/john-doe/myapp/data/my-large-file.bin', // Solid server URL of the file,
)
Ontology
Solid Pod's internal storage structure consists of turtle files containing security information about the pod's content (data files) and their access. The internal structure is based on the following ontology, which captures essential concepts about the app's security information, data files, encryption, shared resources, and access control lists.
.png)
Additional information
The source code can be accessed via the GitHub repository. You can also file issues you face at GitHub Issues. The authors of the package will respond to issues as conveniently as possible upon creating an issue.