![]()
OCPP Central System
OCPP Central System - Central system and charge station emulator, source code in C++.
Implemented using Apostol.
Overview
OCPP Central System is both a ready-to-use solution that you can easily integrate into your project and a set of tools for developing applications that work with the OCPP protocol.
This solution can be used for:
- Developing or integrating a central charging station system;
- Emulating charging stations;
- Developing charging station firmware.
OCPP
Open Charge Point Protocol OCPP is a communication protocol between charging stations ("charge points") and a central management system ("central system").
OCPP Central System supports all commands for OCPP protocol versions (1.5 and 1.6).
Version 1.5 uses SOAP over HTTP as the RPC/transport protocol. Version 1.6 uses SOAP and JSON over WebSocket.
API
We use OpenAPI for interaction with the Central System (CS). You can directly access Swagger UI at http://cs.ocpp-css.com/docs.
Additionally, you can use any OpenAPI client to import the api.yaml file from our repository.
Demonstration
You can connect your charging station to the demo version of the Central System.
Connection addresses:
- WebSocket: ws://ws.ocpp-css.com/ocpp
-
SOAP: http://soap.ocpp-css.com/Ocpp
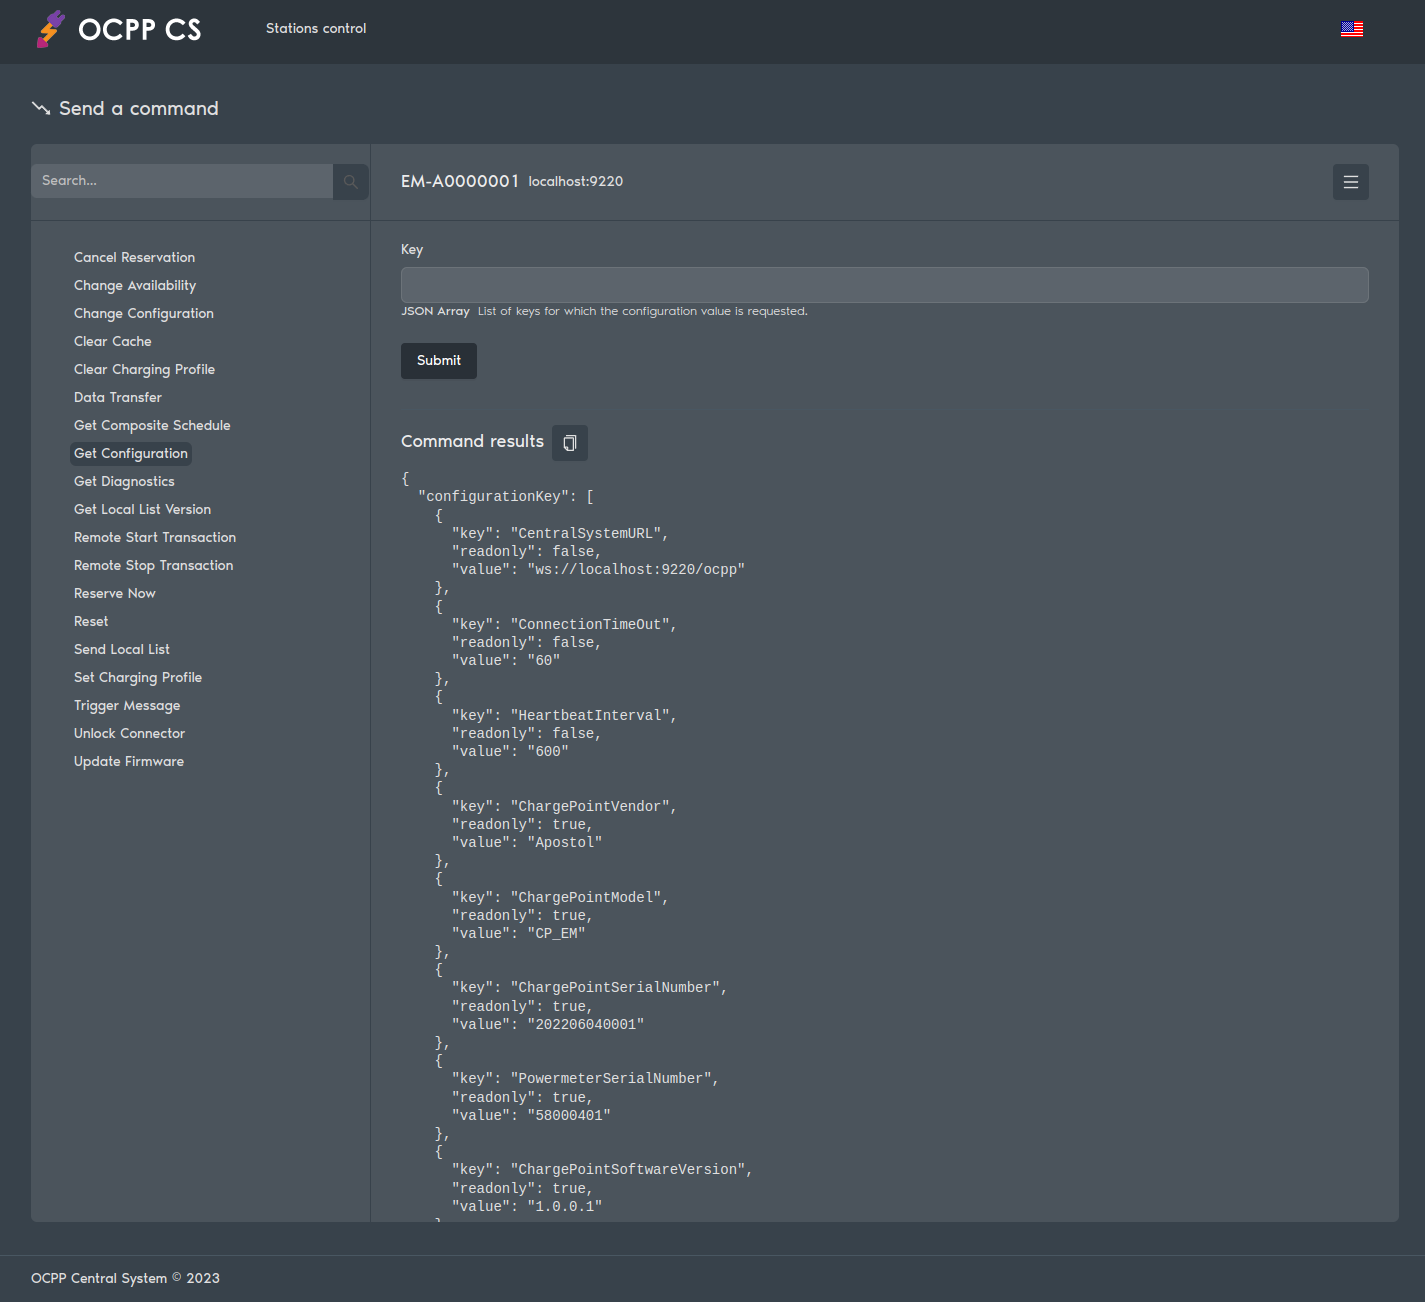
To manage the charging station, use the web interface at:
Authorization:
username: demo
password: demo
RFID card:
idTag: demoBuild and Installation
The easiest way to install the Central System is as a container.
Docker hub
You can get a ready-made image on Docker Hub:
docker pull apostoldevel/csRun the container:
docker run -p 9220:9220 --network host --env WEBHOOK_URL=https://cloud.ocpp-css.com/api/v1/ocpp --rm --name cs apostoldevel/csBuilding the Container Image
You can build the container image yourself with settings tailored to your server's domain name or IP address.
Clone the repository:
git clone https://github.com/apostoldevel/ocpp-cs.git && cd ocpp-csConfigure it according to your requirements:
- Edit the
./docker/default.conffile, paying special attention to the[webhook]section; - Edit the
./docker/www/config.jsfile to specify your server's domain name or IP address; -
Edit the
./docker/conf/sites/default.jsonfile to add your server's IP address:For example, your server's IP address is
192.168.1.100or DNS namecs.example.com.{ "hosts": ["cs.example.com", "cs.example.com:9220", "192.168.1.100:9220", "localhost:9220"] }
Create and start the container with a single command:
docker compose upWeb Application
After starting the container, the Central System will be available at http://localhost:9220 in your browser.
Swagger UI will also be available at http://localhost:9220/docs/ in your browser.
Launching from the container does not require authorization.
Integration
There are several ways to integrate the Central System with your project. The simplest way is through a Webhook endpoint.
In the Central System configuration file, specifically ./docker/default.conf when building the container or /etc/cs/cs.conf inside the container, there is a section [webhook].
## Webhook configuration
[webhook]
## default: false
enable=false

## Webhook endpoint URL
url=http://localhost:8080/api/v1/ocpp

## Authorization schema value: Off | Basic | Bearer
authorization=Basic
## Username for basic schema
username=ocpp
## Password for basic schema
password=ocpp
## Token for Bearer schema
token=
In this section, you can specify the endpoint URL to which the Central System will send packets received from charging stations.
Specifically, these are ten commands from section 4. Operations Initiated by Charge Point of the OCPP v1.6 specification:
- 4.1. Authorize
- 4.2. Boot Notification
- 4.3. Data Transfer
- 4.4. Diagnostics Status Notification
- 4.5. Firmware Status Notification
- 4.6. Heartbeat
- 4.7. Meter Values
- 4.8. Start Transaction
- 4.9. Status Notification
- 4.10. Stop Transaction
Additionally, you can set up authorization parameters on your server side, which will receive requests from the Central System.
Data from the Central System will be in the following JSON format:
{
  "identity": "string",
  "uniqueId": "string",
  "action": "string",
  "payload": "JSON Object",
  "account": "string"
}
Where:
identity: Required. The charging station identifier;uniqueId: Required. The data packet (request) identifier;action: Required. The action name;payload: Required. Payload - data from the charging station;account: Optional. The user account identifier in your system.
Using account, you can associate the charging station with a user account in your system if the project's business logic requires it. Typically, the charging station's connection address to the central system is specified in the format ws://webServices/ocpp/EM-A0000001, if you append an additional value to the charging station identifier EM-A0000001, for example: /EM-A0000001/AC0001, then AC0001 will be the user account identifier.
The Central System will expect a response from your information system in the same JSON format. Field values (identity, uniqueId, action) should be filled with values from the incoming request, but the payload should contain response data to the action in the OCPP protocol specification format. Data in the payload will be sent to the charging station as a response to its request.
Example request:
{
  "identity": "EM-A0000001",
  "uniqueId": "25cf07c9ae20a0566d1043587b5790a6",
  "action": "BootNotification",
  "payload": {
    "firmwareVersion": "1.0.0.1",
    "chargePointModel": "CP_EM",
    "chargePointVendor": "Apostol",
    "chargePointSerialNumber": "202206040001"
  },
  "account": "AC0001"
}
Example response:
{
  "identity": "EM-A0000001",
  "uniqueId": "25cf07c9ae20a0566d1043587b5790a6",
  "action": "BootNotification",
  "payload": {
    "status": "Accepted",
    "interval": 600,
    "currentTime": "2024-10-22T23:08:58.205Z"
  }
}
PostgreSQL
Another way to integrate the Central System is through direct connection to a PostgreSQL database.
For integration with your system via the PostgreSQL database, you will need to create the ocpp schema and several functions in the database:
- ocpp.Parse;
- ocpp.ParseXML;
- ocpp.ChargePointList;
- ocpp.TransactionList;
- ocpp.ReservationList;
- ocpp.JSONToSOAP;
- ocpp.SOAPToJSON.
Function parameters can be provided to developers upon request to our support team.
When communicating with charging stations, the Central System will call these functions and pass data from the charging stations in JSON format directly to the database. Data parsing and business logic implementation will be performed in PostgreSQL using the PL/pgSQL programming language.
Note: The repository version is configured for integration with the database.
To build the Central System without database integration, change the following settings in the CMakeLists.txt file:
WITH_AUTHORIZATION OFF
WITH_POSTGRESQL OFF
Charging Station Emulator
The Central System can create charging station emulators, which is very useful during development.
Settings for the emulators are located in the /etc/cs/cp folder (when building the container in ./docker/conf/cp). Inside cp, there are folders with emulator settings in the form of configuration.json files, which contain the configuration of the charging station emulator.
You can enable emulation mode in the Central System configuration file - /etc/cs/cs.conf (when building the container in ./docker/conf/default.conf):
## Process: Charging point emulator
[process/ChargePoint]
## default: false
enable=true
If you disable the master process in the settings, the application will only operate in charging station emulator mode (Central System will be disabled).
## Create master process
## Master process run processes:
## - worker (if count not equal 0)
## - helper (if value equal true)
## default: true
master=false
Building from Source Code
You can build the application from the source code yourself.
Preparation for Building
To build, you will need to install the following packages:
- C++ Compiler;
- CMake;
- libpq-dev library (libraries and headers for frontend development in C);
- postgresql-server-dev-all library (libraries and headers for backend development in C).
To install the C++ compiler and necessary libraries on Debian/Ubuntu, run:
sudo apt-get install build-essential libssl-dev libcurl4-openssl-dev make cmake gcc g++To install PostgreSQL, use the instructions on this link.
Detailed instructions for installing C++, CMake, IDE, and other components required for building the project are not included in this guide.
Clone the repository:
git clone https://github.com/apostoldevel/ocpp-cs.git && cd ocpp-csConfigure it according to your requirements:
- Edit the
./conf/default.conffile, paying special attention to the[webhook]section; - Edit the
./www/config.jsfile to specify your server's domain name or IP address; -
Edit the
./conf/sites/default.jsonfile to add your server's IP address:For example, your server's IP address is
192.168.1.100or DNS namecs.example.com.{ "hosts": ["cs.example.com", "cs.example.com:9220", "192.168.1.100:9220", "localhost:9220"] } - Edit the
CMakeLists.txtfile to disable database mode and authorization:WITH_AUTHORIZATION OFF WITH_POSTGRESQL OFF
CMake Configuration:
/// Install as root.
/// Disable for local installation.
/// Default: ON
INSTALL_AS_ROOT = {ON | OFF}

/// Build with OAuth 2.0 authorization for industrial version.
/// Disable for emulator mode.
/// Default: ON
WITH_AUTHORIZATION = {ON | OFF}

/// Build with PostgreSQL support for industrial version.
/// Disable for emulator mode.
/// Default: ON
WITH_POSTGRESQL = {ON | OFF}
Build and Installation
In the ocpp-cs source code folder, execute the following commands:
Configuration:
./configureBuild and install:
sudo ./deploy --makeor
cd cmake-build-release
make
sudo make install
By default, cs will be installed in:
/usr/sbinThe configuration file and necessary files for operation, depending on the installation option, will be located in:
/etc/cs
or
~/cs
Run
If INSTALL_AS_ROOT is set to ON.
cs is a Linux system service (daemon).
To manage cs, use standard service management commands.
To start, execute:
sudo systemctl start csTo check the status, execute:
sudo systemctl status csThe result should be approximately like this:
● cs.service - OCPP Central System
     Loaded: loaded (/etc/systemd/system/cs.service; enabled; vendor preset: enabled)
     Active: active (running) since Wed 2024-09-25 20:22:15 MSK; 3 weeks 6 days ago
    Process: 1195974 ExecStartPre=/usr/bin/rm -f /run/cs.pid (code=exited, status=0/SUCCESS)
    Process: 1195975 ExecStartPre=/usr/sbin/cs -t (code=exited, status=0/SUCCESS)
    Process: 1195976 ExecStart=/usr/sbin/cs (code=exited, status=0/SUCCESS)
   Main PID: 1195977 (cs)
      Tasks: 3 (limit: 2347)
     Memory: 7.9M
        CPU: 35min 23.394s
     CGroup: /system.slice/cs.service
             ├─1195977 cs: master process /usr/sbin/cs
             ├─1195978 cs: worker process ("ocpp central system service")
             └─1195979 cs: charging point emulator process
Management
You can manage cs using signals.
The main process number is recorded by default in the /run/cs.pid file.
You can change this filename during the build configuration or in cs.conf section [daemon] key pid.
The main process supports the following signals:
| Signal | Action |
|---|---|
| TERM, INT | fast shutdown |
| QUIT | graceful shutdown |
| HUP | configuration reload, start new worker processes with the new configuration, graceful shutdown of old worker processes |
| WINCH | graceful shutdown of worker processes |
Managing worker processes individually is not necessary. However, they also support some signals:
| Signal | Action |
|---|---|
| TERM, INT | fast shutdown |
| QUIT | graceful shutdown |