notion-py
(Fork of) Unofficial Python 3 client for Notion.so API v3.
[Documentation][documentation-url] | [Package on PyPI][package-url]![check formatting][check-formatting-url] ![run unit tests][run-unit-tests-url] ![upload-python-package][upload-python-package-url] ![run-smoke-tests][run-smoke-tests-url] ![documentation-status][documentation-status-url] ![code-style][code-style-url] ![license][license-url] ![code-size][code-size-url] ![downloads-rate][downloads-rate-url]
NOTE: This is a fork of the original repository created by Jamie Alexandre.
You can try out this package - it's called notion-py on PyPI. The original package created by Jamie is still online under the name notion on PyPI, so please watch out for any confusion.
imports are still working as before, the -py in
name is there only to differentiate between these two.
These libraries as of now are not fully compatible.
(I'm working on sending PRs to the upstream)
List of major differences:
- imports were changed, especially for blocks and collections.
General rule is:notion.block.py -> notion.block.*.pynotion.collection.py -> notion.block.collection.*.py
- some block names were changed to align them with notion.so
One of such examples isTodoBlock -> ToDoBlock(because it's type isto_do) - some function definitions also changed
I did that to simplify the API and make it more uniform.
Features
-
Automatic conversion between Notion blocks and Python objects
we covered pretty much every block type there is! -
Callback system for responding to changes in Notion
useful for triggering actions, updating another block, etc. -
Object-oriented interface
seamless mapping of API response parameters to Python classes/attributes. -
Local cache of data in a unified data store
note: this is disabled by default; addenable_caching=Truewhen initializingNotionClientto change it. -
Real-time reactive two-way data binding
fancy way of saying that changing Python object will update the Notion UI, and vice-versa.
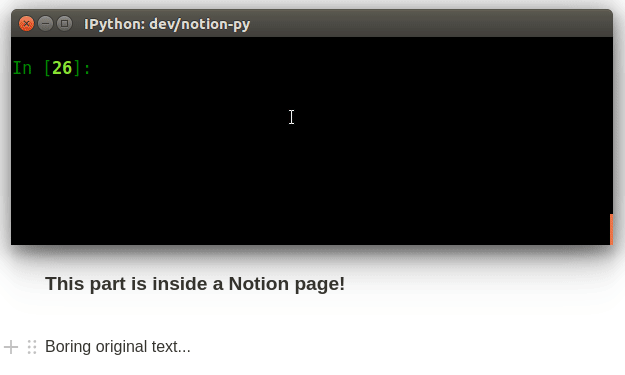
(Example of the two-way data binding in action)
Read more about Notion and the original notion-py package on Jamie's blog.
Usage
Quickstart
NOTE: The latest version of notion-py requires Python 3.6 or greater.
pip install notion-py
from notion.client import NotionClient

# Obtain the `token_v2` value by inspecting your browser
# cookies on a logged-in (non-guest) session on Notion.so
client = NotionClient(token_v2="123123...")

# Replace this URL with the URL of the page you want to edit
page = client.get_block("https://www.notion.so/myorg/Test-c0d20a71c0944985ae96e661ccc99821")

print("The old title is:", page.title)

# You can use Markdown! We convert on-the-fly
# to Notion's internal formatted text data structure.
page.title = "The title has now changed, and has *live-updated* in the browser!"
Getting the token_v2
- Open notion.so in your browser and log in.
- Open up developer console (quick tutorial the most common browsers).
- Find a list of cookies (Firefox:
Storage->Cookies, Chrome:Application->Cookies). - Find the one named
token_v2and copy its value (lengthy, 160ish characters hex string). - Save it somewhere safe and use it with notion-py!
NOTE: Keep the token in secure place and out of your repository!
This token when leaked can let anyone do anything on your notion account!
Updating records
We keep a local cache of all data that passes through.
When you reference an attribute on a Record (basically
any Block) we first look to that cache to retrieve the value.
If it doesn't find it, it retrieves it from the server.
You can also manually refresh the data for a Record
by calling the refresh() method on it.
By default (unless we instantiate NotionClient
with monitor=False), we also subscribe to long-polling
updates for any instantiated Record, so the local cache
data for these Records should be automatically
live-updated shortly after any data changes on the server.
The long-polling happens in a background daemon thread.
Concepts and notes
-
The tables we currently support are
block,space,collection,collection_view, andnotion_user. -
We map tables in the Notion database into Python classes
by subclassingRecord, with each instance of a class representing a particular record. Some fields from the records (liketitlein the example above) have been mapped to model properties, allowing for easy, instantaneous read/write of the record. Other fields can be read with thegetmethod, and written with thesetmethod, but then you'll need to make sure to match the internal structures exactly. -
Data for all tables are stored in a central RecordStore
with theRecordinstances not storing state internally, but always referring to the data in the centralRecordStore. Many API operations return updating versions of a large number of associated records, which we use to update the store, so the data inRecordinstances may sometimes update without being explicitly requested. You can also call therefresh()method on aRecordto trigger an update, or passforce_update=Trueto methods likeget(). -
The API doesn't have strong validation of most data
so be careful to maintain the structures Notion is expecting. You can view the full internal structure of a record by callingmyrecord.get()with no arguments. -
When you call
client.get_block(), you can pass in block ID, or the URL of a block
Note that pages themselves are justblocks, as are all the chunks of content on the page. You can get the URL for a block within a page by clicking "Copy Link" in the context menu for the block, and pass that URL intoget_block()as well.
Working on a Pull Request
You'll need git and python3 with venv module.
Best way to start is to clone the repo and prepare the .env file.
This step is optional but nice to have to create healthy python venv.
git https://github.com/arturtamborski/notion-py

cd notion-py

cp .env.example .env
vim .env
You should modify the variables as following:
# see above for info on how to get it
NOTION_TOKEN_V2="insert your token_v2 here"

# used in smoke tests
NOTION_PAGE_URL="insert URL from some notion page here"

# set it to any level from python logging library
NOTION_LOG_LEVEL="DEBUG"

# the location for cache, defaults to current directory
NOTION_DATA_DIR=".notion-py"
And then load that file (which will also create local venv):
source .envOn top of that there's a handy toolbox provided to you via Makefile.
Everything related to the development of the project relies heavily on
the interface it provides.
You can display all commands by running
make helpWhich should print a nice list of commands avaiable to you. These are compatible with the Github Actions (CI system), in fact the actions are using Makefile directly for formatting and other steps so everything that Github might show you under your Pull Request can be reproduced locally via Makefile.
Also, there's one very handy shortcut that I'm using all the time when testing the library with smoke tests.
This command will run a single test unit that you point at
by passing an argument to make try-smoke-test like so:
make try-smoke-test smoke_tests/test_workflow.py::test_workflow_1That's super handy when you run some smoke tests and see the failed output:
============================= short test summary info =============================
ERROR smoke_tests/block/test_basic.py::test_block - KeyboardInterrupt
!!!!!!!!!!!!!!!!!!!!!!!!!!!! stopping after 1 failures !!!!!!!!!!!!!!!!!!!!!!!!!!!!
!!!!!!!!!!!!!!!!!!!! _pytest.outcomes.Exit: Quitting debugger !!!!!!!!!!!!!!!!!!!!!
================================ 1 error in 32.90s ================================
make: *** [Makefile:84: try-smoke-test] Error 2
Notice that ERROR smoke_tests/...test_basic.py::test_block - just copy it over
as a command argument and run it again - you'll run this and only this one test!
make try-smoke-test smoke_tests/block/test_basic.py::test_block