tl;dr – I just want the script: press2id-latest.zip.
press2id
Connect Adobe InDesign to a WordPress Blog
- Works with Adobe InDesign CS 6 and higher
- Connects to any WordPress 4.7 or higher
Detailed infos are found at publishing.blog [DE] and publishing.blog ACF [DE] by @haemeulrich
press2id is successfully used with the following publications. If you also use it and want to be added to this list, just send a message!
Fill Place Gun Mode
- https://www.azur-online.de
- https://dievolkswirtschaft.ch/de/
Fill Masterspread Mode
- https://www.jakobmaser.com/blog/skript/online-skript-projektmanagement-planning-und-konzeption/
Fill Data Fields Mode
Table of contents
Download and Install
- Download the current version press2id-latest.zip.
- Unzip the archive.
- Copy the contents of the folder
Scripts Panelto your InDesign Scripts Panel.
If you never installed a script, help is here:
Quick start guide
The script places WordPress posts in the active Document. See details in the [german how to](#Wie geht das?)
- For a simple start open a new document or use the file
press2id_PlaceGun.idmlfrom theexamplesfolder. - Start the script and enter a WordPress blog URL. Unsure which, just enter
https://www.indesignblog.com/
- Press Next
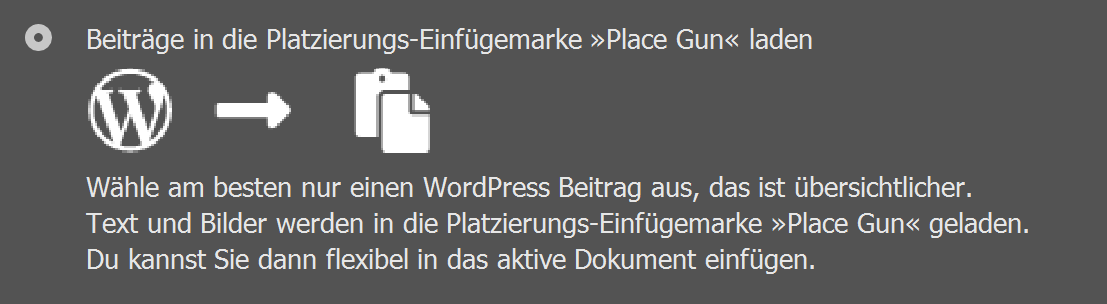
- Select Fill Place Gun mode.
- Press Next
- Select a post and press Start
- Press Start
- The script loads the post content an images in the place gun.
- Change styles according to your needs (you can do this also before placing)
Fill Masterspread Mode
If you want to add several Posts in document you can try the Fill Masterspread mode.
- The script uses the Masterspread
W-Wordpressyou can use the filepress2id_Masterspread.idmlfrom theexamplesfolder. - Choose the mode
- Select several posts.
Technical details of the script
- InDesign is managed with JavaScript.
- REST access with restix to the WordPress API
- Post content needs to be XHTML and is processed via InDesign XML Import.
- Styling is template based. The script uses the InDesign file
wordrepss_basic.idmland a XSL-Transformationwordrepss_basic.xslfrom the foldertemplatesfor basic styling. HTML element names are mapped to InDesign styles by element names. Change any style definition here. - Suported HTML
- Block elements
h1...h6,p,quoteand some more - Lists
ulandol - Inline elements
b,i,em,strong,span - Figures
figure,imgandcaption - Hyperlinks
a
- Block elements
- You can link to local image files with the same name.
Wie geht das?
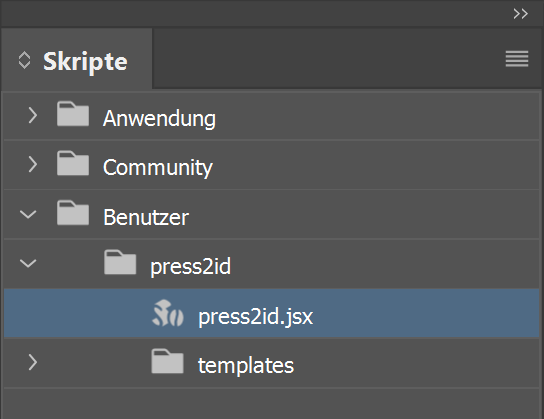
- Nach der Installation sollte das Bedienfeld Skripte den gesamten Skriptordner anzeigen. Wichtig ist erstmal nur das eigentliche Skript
press2id.jsx.
-
Bevor du loslegen kannst, brauchst du ein geöffnetes Dokument. Das kann ganz leer sein. Wichtig ist nur, dass es gespeichert ist. Der Speicherort ist notwendig, da press2id die Bider im Ordner Links neben dem Dokument speichert. Alternativ kannst du auch das CC 2020 Dokument
press2id_PlaceGun.idml(CC 2020) aus dem OrdnerExample Filesverwenden. Hier sind dann alle Schriften aus dem danebenliegenden OrdnerDocument Fontsaktiviert. -
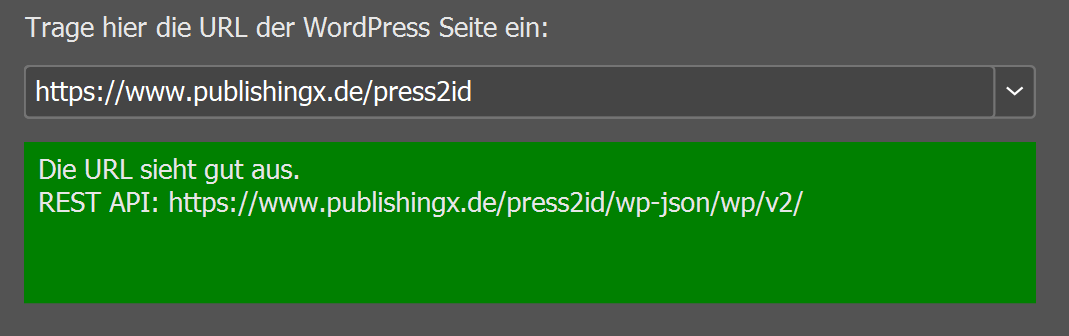
Starte jetzt das Skript mit einem Doppelklick auf
press2id.jsx. Das Fenster mit den Einstellungen erscheint. -
Du kannst deinen eigenen WordPress-Blog eintragen oder erstmal einen Artikel von meinem Blog verwenden z.B. den Beitrag
XML suchen und Text hinzufügen .
-
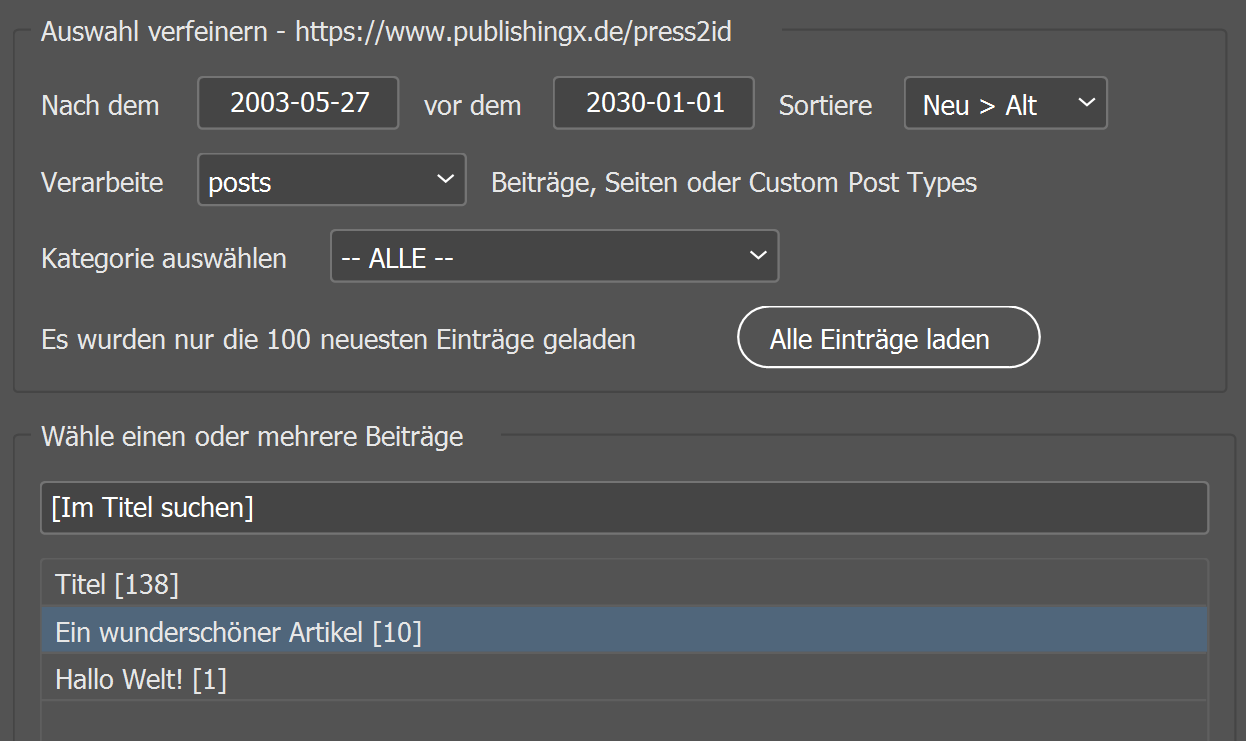
Mit dem Datumsfilter kannst du die Auswahl der Beiträge eingrenzen. Wenn du ihn unverändert lässt, werden alle Beiträge des Blogs angezeigt.
Einen Beitrag platzieren
-
Wähle einen Beitrag aus der Liste aus und drücke auf Platzieren.
-
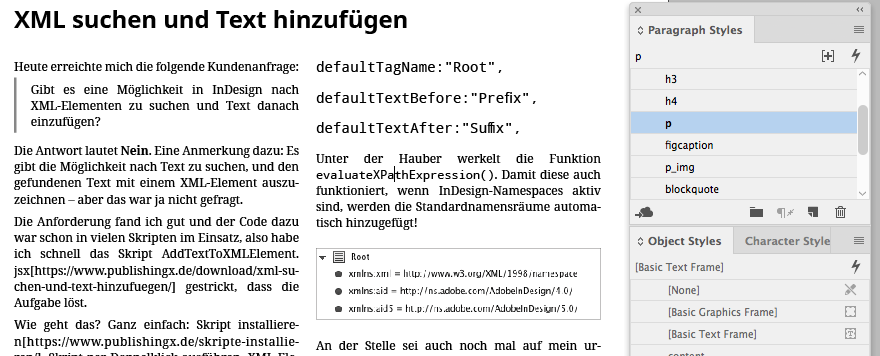
press2id lädt nun den Inhalt und die Bilder herunter und lädt Sie in die PlaceGun des Mauszeigers. Die benötigten Formate werden automatisch erstellt. Nach dem Platzieren sieht das Ergebnis so aus:
-
Für die Formatierung der Texte werden Absatz- und Zeichenformate entsprechend den Namen der HTML-Elemente verwendet. Ein ganz normaler Absatz
<p>wird entsprechend in InDesign mit dem Absatzformatpausgezeichnet. Die Bilder<img>werden wiederum mit dem Objektformatimgausgezeichnet.
Mehrere Beiträge platzieren
-
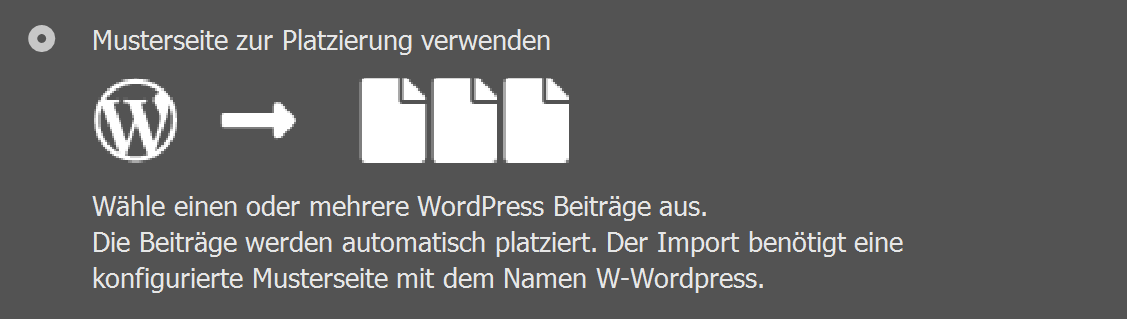
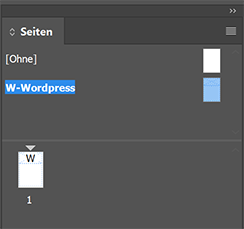
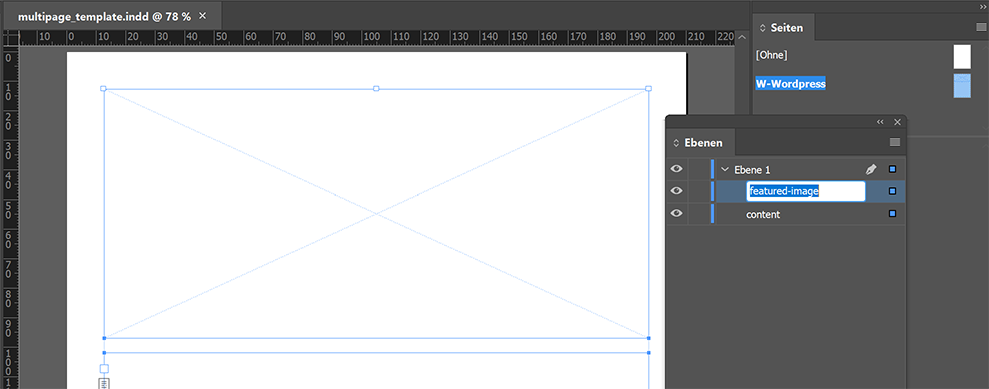
Wenn du mehr als einen Beitrag platzieren willst, benötigst du eine Musterseite mit dem Namen W-WordPress.
-
Auf der Musterseite W-WordPress müssen benannte Rahmen für den Inhalt und das Beitragsbild (Featured Image) erstellt werden. Namen für Rahmen können im Bedienfeld Ebenen zugewiesen werden. Für den Beitragsinhalt erstelle einen Textrahmen mit dem Namen content für das Beitragsbild einen Rechteckrahmen mit dem Namen featured-image
 Im Dokument
 press2id_example.inddist das schon erledigt! -
Wähle nun die gewünschten Beiträg aus der Liste aus und drücke auf Platzieren.
-
Das Skript setze jeden Beitrag auf eine Seite und befüllt die benannten Rahmen mit dem Inhalt. Wenn er länger als eine Seite ist, löst es den Textüberlauf auf. Für die Formatierung gelten die gleichen Regeln wie für einzelne Beiträge.
Das Layout anpassen
- Du kannst nun einfach die Formate nach deinen Wünschen anpassen.
- Wenn die Formate bereits vor dem Platzieren existieren, werden die Werte aus den Formaten erstellt. Du kannst dir so einfach eine Vorlage bauen und die Standardformate von press2id überschreiben. Das ist auch der empfohlene Weg für Layoutanpassungen!
- Die Formate kommen übrigens aus der Datei
wordrepss_basic.idml, die im Ordnertemplatesneben dem Skript liegt. Diese kannst du natürlich auch anpassen oder austauschen. Allerdings musst du dann bei einem Update aufpassen, dass deine Datei nicht überschrieben wird. Wenn du ein neues Template für dein individuelles Layout anlegen möchtest, kann es jedoch sinnvoll sein die Formate aus dieser Datei zu laden.