ControlNet-for-Any-Basemodel 
This project is deprecated, it should still work, but may not be compatible with the latest packages. I will rebuild this tool soon, but if you have any urgent problem, please contact me via haofanwang.ai@gmail.com directly.
This repository provides the simplest tutorial code for developers using ControlNet with basemodel in the diffuser framework instead of WebUI. Our work builds highly on other excellent works. Although theses works have made some attemptes, there is no tutorial for supporting diverse ControlNet in diffusers.

We have also supported T2I-Adapter-for-Diffusers, Lora-for-Diffusers. Don't be mean to give us a star if it is helful to you.
ControlNet + Anything-v3
Our goal is to replace the basemodel of ControlNet and infer in diffusers framework. The original ControlNet is trained in pytorch_lightning, and the released weights with only stable-diffusion-1.5 as basemodel. However, it is more flexible for users to adopt their own basemodel instead of sd-1.5. Now, let's take anything-v3 as an example. We will show you how to achieve this (ControlNet-AnythingV3) step by step. We do provide a Colab demo , but it only works for Colab Pro users with larger RAM.
(1) The first step is to replace basemodel.
Fortunately, ControlNet has already provided a guideline to transfer the ControlNet to any other community model. The logic behind is as below, where we keep the added control weights and only replace the basemodel. Note that this may not work always, as ControlNet may has some trainble weights in basemodel.
NewBaseModel-ControlHint = NewBaseModel + OriginalBaseModel-ControlHint - OriginalBaseModelFirst, we clone this repo from ControlNet.
 git clone https://github.com/lllyasviel/ControlNet.git
 cd ControlNet
Then, we have to prepared required weights for OriginalBaseModel (path_sd15), OriginalBaseModel-ControlHint (path_sd15_with_control), NewBaseModel (path_input). You only need to download following weights, and we use pose as ControlHint and anything-v3 as our new basemodel for instance. We put all weights inside ./models.
 path_sd15 = './models/v1-5-pruned.ckpt'
 path_sd15_with_control = './models/control_sd15_openpose.pth'
 path_input = './models/anything-v3-full.safetensors'
 path_output = './models/control_any3_openpose.pth'
Finally, we can directly run
python tool_transfer_control.pyIf successful, you will get the new model. This model can already be used in ControlNet codebase.
models/control_any3_openpose.pthIf you want to try with other models, you can just define your own path_sd15_with_control and path_input. If the path_input is trained with diffusers, you can use convert_diffusers_to_original_stable_diffusion.py to convert it into safetensors first.
(2) The second step is to convert into diffusers
Gratefully, Takuma Mori has supported it in this recent PR, so that we can easily achieve this. As it is still under-devlopement, so it may be unstable, thus we have to use a specific commit version. We notice that diffusers has merged the PR in 3/2/2023, we will reformat our tutorial soon.
git clone https://github.com/takuma104/diffusers.git
cd diffusers
git checkout 9a37409663a53f775fa380db332d37d7ea75c915
pip install .
Given the path of the generated model in step (1), run
python ./scripts/convert_controlnet_to_diffusers.py --checkpoint_path control_any3_openpose.pth --dump_path control_any3_openpose --device cpuWe have the saved model in control_any3_openpose. Now we can test it as regularly.
from diffusers import StableDiffusionControlNetPipeline
from diffusers.utils import load_image

pose_image = load_image('https://huggingface.co/takuma104/controlnet_dev/resolve/main/pose.png')
pipe = StableDiffusionControlNetPipeline.from_pretrained("control_any3_openpose").to("cuda")

pipe.safety_checker = lambda images, clip_input: (images, False)

image = pipe(prompt="1gril,masterpiece,graden", controlnet_hint=pose_image).images[0]
image.save("generated.png")
The generated result may not be good enough as the pose is kind of hard. So to make sure everything goes well, we suggest to generate a normal pose via PoseMaker or use our provided pose image in ./images/pose.png.


ControlNet + Inpainting
This is to support ControlNet with the ability to only modify a target region instead of full image just like stable-diffusion-inpainting. For now, we provide the condition (pose, segmentation map) beforehands, but you can use adopt pre-trained detector used in ControlNet.
We have provided the required pipeline for usage. But please note that this file is fragile without complete testing, we will consider support it in diffusers framework formally later. Also, we find that ControlNet (sd1.5 based) is not compatible to stable-diffusion-2-inpainting, as some layers have different modules and dimension, if you forcibly load the weights and skip those unmatching layers, the result will be bad
# assume you already know the absolute path of installed diffusers
cp pipeline_stable_diffusion_controlnet_inpaint.py  PATH/pipelines/stable_diffusion
Then, you need to import this new added pipeline in corresponding files
PATH/pipelines/__init__.py
PATH/__init__.py
Now, we can run
import torch
from diffusers.utils import load_image
from diffusers import StableDiffusionInpaintPipeline, StableDiffusionControlNetInpaintPipeline

# we have downloaded models locally, you can also load from huggingface
# control_sd15_seg is converted from control_sd15_seg.safetensors using instructions above
pipe_control = StableDiffusionControlNetInpaintPipeline.from_pretrained("./diffusers/control_sd15_seg",torch_dtype=torch.float16).to('cuda')
pipe_inpaint = StableDiffusionInpaintPipeline.from_pretrained("./diffusers/stable-diffusion-inpainting",torch_dtype=torch.float16).to('cuda')

# yes, we can directly replace the UNet
pipe_control.unet = pipe_inpaint.unet
pipe_control.unet.in_channels = 4

# we also the same example as stable-diffusion-inpainting
image = load_image("https://raw.githubusercontent.com/CompVis/latent-diffusion/main/data/inpainting_examples/overture-creations-5sI6fQgYIuo.png")
mask = load_image("https://raw.githubusercontent.com/CompVis/latent-diffusion/main/data/inpainting_examples/overture-creations-5sI6fQgYIuo_mask.png")

# the segmentation result is generated from https://huggingface.co/spaces/hysts/ControlNet
control_image = load_image('tmptvkkr0tg.png')

image = pipe_control(prompt="Face of a yellow cat, high resolution, sitting on a park bench",
                     negative_prompt="lowres, bad anatomy, worst quality, low quality",
                     controlnet_hint=control_image,
                     image=image,
                     mask_image=mask,
                     num_inference_steps=100).images[0]

image.save("inpaint_seg.jpg")
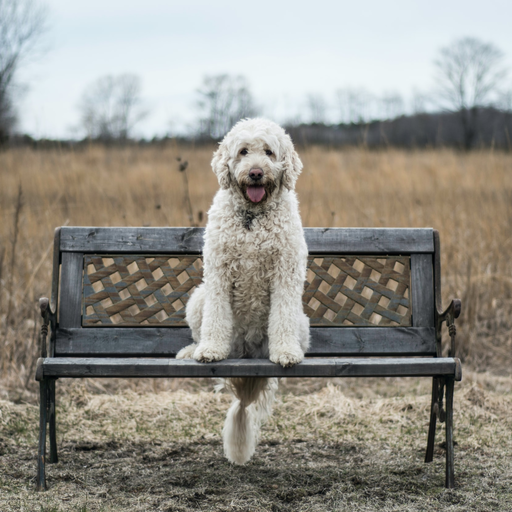
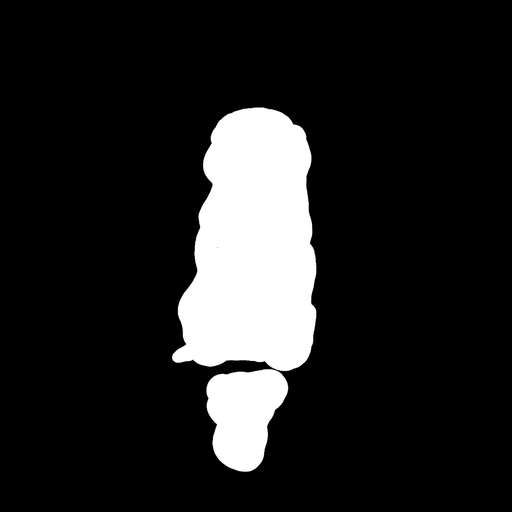
The following images are original image, mask image, segmentation (control hint) and generated new image.


You can also use pose as control hint. But please note that it is suggested to use OpenPose format, which is consistent to the training process. If you just want to test a few images without install OpenPose locally, you can directly use online demo of ControlNet to generate pose image given the resized 512x512 input.
image = load_image("./images/pose_image.jpg")
mask = load_image("./images/pose_mask.jpg")
pose_image = load_image('./images/pose_hint.png')

image = pipe_control(prompt="Face of a young boy smiling",
                     negative_prompt="lowres, bad anatomy, worst quality, low quality",
                     controlnet_hint=pose_image,
                     image=image,
                     mask_image=mask,
                     num_inference_steps=100).images[0]

image.save("inpaint_pos.jpg")


ControlNet + Inpainting + Img2Img
We have uploaded pipeline_stable_diffusion_controlnet_inpaint_img2img.py to support img2img. You can follow the same instruction as this section.
Multi-ControlNet (experimental)
Similar to T2I-Adapter, ControlNet also supports multiple control images as input. The idea behind is simple, as the base model is frozen, we can combine the outputs from ControlNet1 and ControlNet2, and use it as input to UNet. Here, we provide pseudocode for reference. You need to modify the pipeline as below.
control1 = controlnet1(latent_model_input, t, encoder_hidden_states=prompt_embeds, controlnet_hint=controlnet_hint1)
control2 = controlnet2(latent_model_input, t, encoder_hidden_states=prompt_embeds, controlnet_hint=controlnet_hint2)

# please note that the weights should be adjusted accordingly
control1_weight = 1.00 # control_any3_openpose
control2_weight = 0.50 # control_sd15_depth

merged_control = []
for i in range(len(control1)):
    merged_control.append(control1_weight*control[i]+control2_weight*control_1[i])
control = merged_control

noise_pred = unet(latent_model_input, t, encoder_hidden_states=prompt_embeds, cross_attention_kwargs=cross_attention_kwargs, control=control).sample
Here is an example of Multi-ControlNet, where we use pose and depth map are control hints. The test images are both credited to T2I-Adapter.


Train your own ControlNet
In order to avoid this repo is too bloated, we provide tutorial about training in Train-ControlNet-in-Diffusers.
Acknowledgement
We first thanks the author of ControlNet for such a great work, our converting code is borrowed from here. We are also appreciated the contributions from this pull request in diffusers, so that we can load ControlNet into diffusers.
Contact
The repo is still under active development, if you have any issue when using it, feel free to open an issue.