Ownphotos development has moved to LibrePhotos
Ownphotos development has moved to LibrePhotos Use it here: https://github.com/LibrePhotos/librephotos
OLD project for archive only, use LibrePhotos
Ownphotos
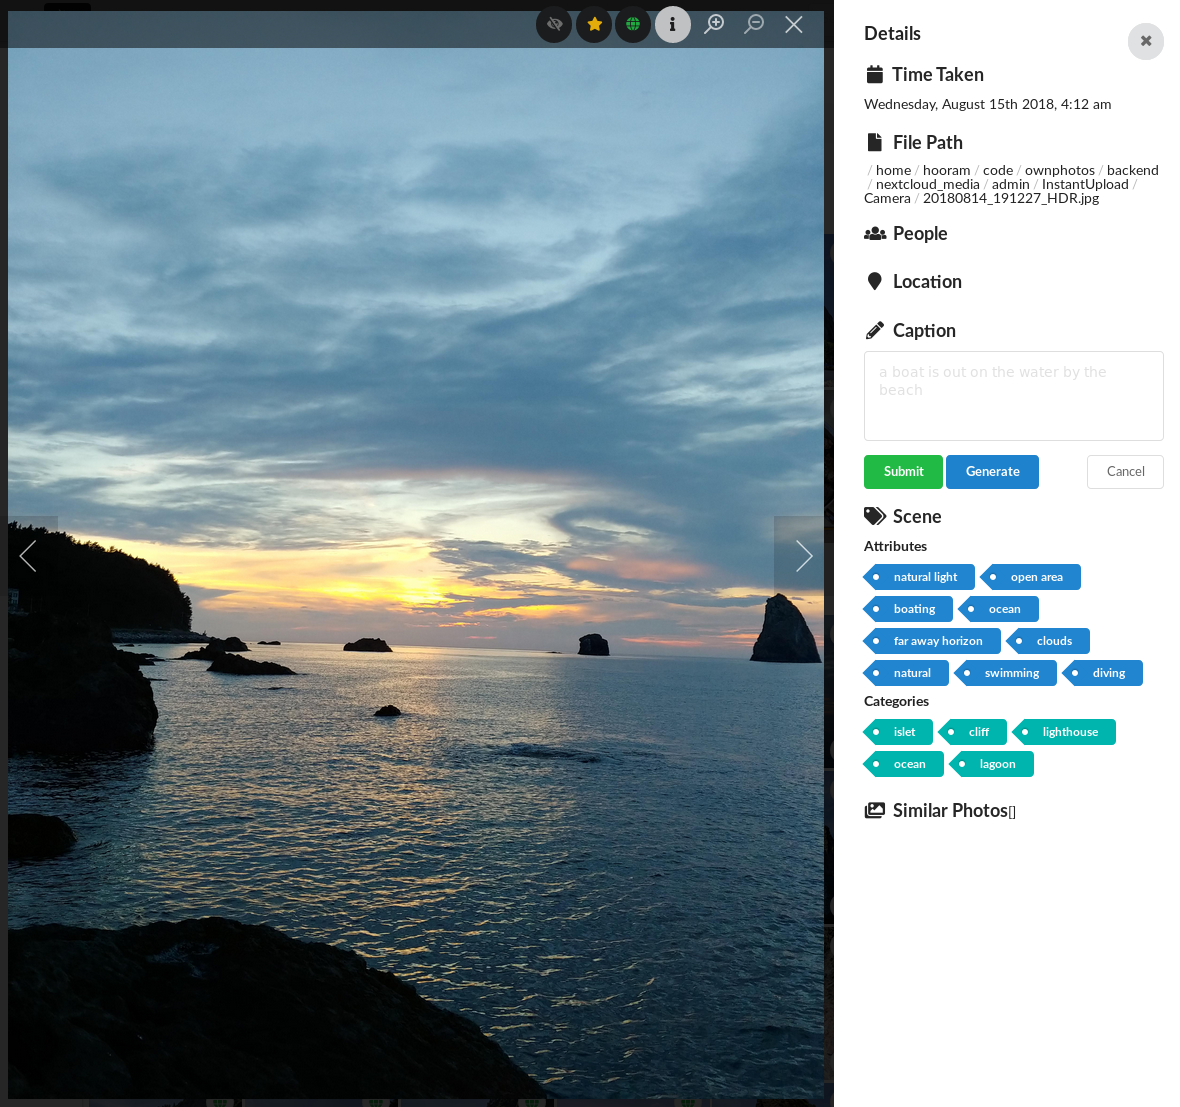
Screenshots


Live demo
Live demo avilable here. User is demo, password is demo1234.
Discord Server
What is it?
- Self hosted wannabe Google Photos clone, with a slight focus on cool graphs
- Django backend & React frontend.
- In development. Contributions are welcome!
Currently the project is in very early stages, so run it only for the sake of checking it out.
Features
- Currently implemented:
- Label some faces manually, and train a face classifier to label the rest.
- View photos by people in them.
- Automatically generate "event" albums with nice titles, like "Thursday in Berlin"
- See photos on the map
- Backend caching
- View photos grouped by date
- "Optimized" frontend (react virtualized... I tried my best.)
- Detect objects in photos, and make them searchable by objects
- Search photos by the location
- Authentication (using JWT)
- Create custom albums
- Docker ready
- Upcoming
-
Short term:
- Share photos/albums
- Stability
-
Longer term, i.e. haven't thought much about them
- Basic photo editing, like rotation
- Tag undetected face
- Add cool graphs
What does it use?
- Face detection: face_recognition
- Face classification/clusterization: scikit-learn
- Object detection: densecap, places365
- Reverse geocoding: Mapbox: You need to have an API key. First 50,000 geocode lookups are free every month.
How do I run it?
Docker
Ownphotos comes with separate backend and frontend servers. The backend serves the restful API, and the frontend serves, well, the frontend. They are connected via a proxy. The easiest way to do it is using Docker.
If you want the backend server to be reachable by
ownphotos-api.example.com and the frontend by ownphotos.example.com from
outside. You must account for the corsaCross-Origin Resource Sharing (CORS) in your proxy.
Docker-compose method (Recommended)
wget https://raw.githubusercontent.com/hooram/ownphotos/dev/docker-compose.yml.template
cp docker-compose.yml.template docker-compose.yml
Open docker-compose.yml in your favorite text editor and make changes in the lines with # CHANGE ME
docker-compose up -dYou should have ownphotos accessible after a few seconds of bootup on: localhost:3000
User is admin, password is admin and its important you change it on a public server via the docker-compose.yml file.
First steps after setting up
You need to log in as the admin user, and set up the directory for the users. To do this, click the top right button, and go to "Admin Area". On this page, it will show a list of users, and manually set the "Scan Directory" for the desired user. Only an admin can do this. And then you can go to Dashboard - Library and click the Green "Scan photos (file system)" button. If you have a Nextcloud instance, you can also input this in the Dashboard-Library page. Once logged in (the little circle next to "Nextcloud Scan Directory will be green), you can choose a top level directory in your logged in Nextcloud account. Once this works, you can click the blue "Scan photos (Nextcloud)". The backend system will essentially copy the contents of the Nextcloud directory you specified.
The basic idea is this:
- For scanning photos that reside in the local file system
- Only the admin user can change the "scan directory" of the users, including the admin itself.
- Normal users cannot change his/her own "scan directory"
- Only the admin can find the page to control this under the "user icon (top right) - admin area"
- For scannign photos that reside in external Nextcloud instances
- Any user can change his/her own Nextcloud endpoint, and choose a top level directory in the Nextcloud account.