Docker Registry UI


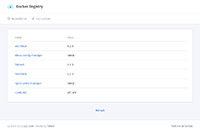
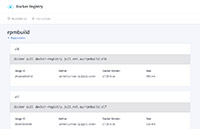
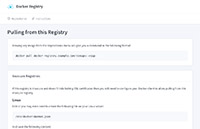
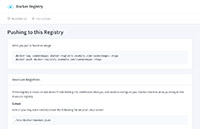
Have you ever wanted a visual website to show you the contents of your Docker Registry? Look no further. Now you can list your Images, Tags and info in style.
This project comes as a pre-built docker image capable of connecting to another registry.
Note: This project only works with Docker Registry v2.
Getting started
Creating a full Docker Registry Stack with this UI
By far the easiest way to get up and running. Refer to the example docker-compose.yml example file, put it on your Docker host and run:
docker-compose up -dThen hit your server on http://127.0.0.1
If you have your own Docker Registry to connect to
Here's a docker-compose.yml for you:
version: "2"
services:
  app:
    image: jc21/registry-ui
    ports:
      - 80:80
    environment:
      - REGISTRY_HOST=your-registry-server.com:5000
      - REGISTRY_SSL=true
      - REGISTRY_DOMAIN=your-registry-server.com:5000
      - REGISTRY_STORAGE_DELETE_ENABLED=
      - REGISTRY_USER=
      - REGISTRY_PASS=
    restart: on-failure
If you are like most people and want your docker registry and your docker ui to co-exist on the same domain on the same port, please refer to the Nginx configuration used by the docker-registry-ui-proxy image as an example. Note that there are some tweaks in there that you will need to be able to push successfully.
Environment Variables
REGISTRY_HOST- Required: The registry hostname and optional port to connect to for API callsREGISTRY_SSL- Optional: Specifytruefor this if the registry is accessed via HTTPSREGISTRY_DOMAIN- Optional: This is the registry domain to display in the UI for example push/pull codeREGISTRY_STORAGE_DELETE_ENABLED- Optional: Specifytrueor1to enable deletion features, but see below first!REGISTRY_USER- Optional: If your docker registry is behind basic auth, specify the usernameREGISTRY_PASS- Optional: If your docker registry is behind basic auth, specify the password
Refer to the docker documentation for setting up native basic auth.
Deletion Support
Registry deletion support sux. It is disabled by default in this project on purpose because you need to accomplish extra steps to get it up and running, sort of.
Permit deleting on the Registry
This step is pretty simple and involves adding an environment variable to your Docker Registry Container when you start it up:
docker run -d -p 5000:5000 -e REGISTRY_STORAGE_DELETE_ENABLED=true --name my-registry registry:2Enabling Deletions in the UI
Same as the Registry, just add the REGISTRY_STORAGE_DELETE_ENABLED=true environment variable to the registry-ui container. Note that true is the only
acceptable value for this environment variable.
Cleaning up the Registry
When you delete an image from the registry this won't actually remove the blob layers as you might expect. For this reason you have to run this command on your docker registry host to perform garbage collection:
docker exec -it my-registry bin/registry garbage-collect /etc/docker/registry/config.ymlAnd if you wanted to make a cron job that runs every 30 mins:
0,30 * * * * /bin/docker exec -it my-registry bin/registry garbage-collect /etc/docker/registry/config.yml >> /dev/null 2>&1Screenshots
TODO
- Add pagination to Repositories, currently only 300 images will be fetched
- Add support for token based registry authentication mechanisms


