Linux Infrared Camera Viewer
A lightweight GUI for viewing and recording output from USB infrared cameras.

Features include:
- FFV1 lossless 16-bit video recording
- Native support for remote viewing over the network
- Full manual control of view dynamic range in software
- Runs both under X and as a standalone program
- Font caching using SDL_FontCache
- Precomputed gamma correction lookup tables
- Fixed point arithmetic
These IR camera models are known to be supported:
- A-BF RX-450
- TOPDON TC001
If your camera works but isn't in the list above, please file a PR on github or codeberg to add it.
If your camera doesn't work, and you're willing to do some homework for me to
help me get it working, please open an issue on Github and provide the complete
output from strace -vvv -e ioctl ./ircam 2>&1 | grep -v DRM | head -n20, and
from ffmpeg -f v4l2 -list_formats all -i /dev/videoX.
If you prefer to send patches by E-mail, send them to calvin@wbinvd.org.
Building
$ sudo apt install libsdl2-dev libsdl2-ttf-dev libavcodec-dev libavformat-dev
$ make -j -s
If you only plan to use the program in headless mode (-n and/or -l), you can use
the nosdl target to build a binary which does not depend on SDL2:
$ sudo apt install libavcodec-dev libavformat-dev
$ make -j -s nosdl
Viewing
$ ./ircam -d /dev/video4

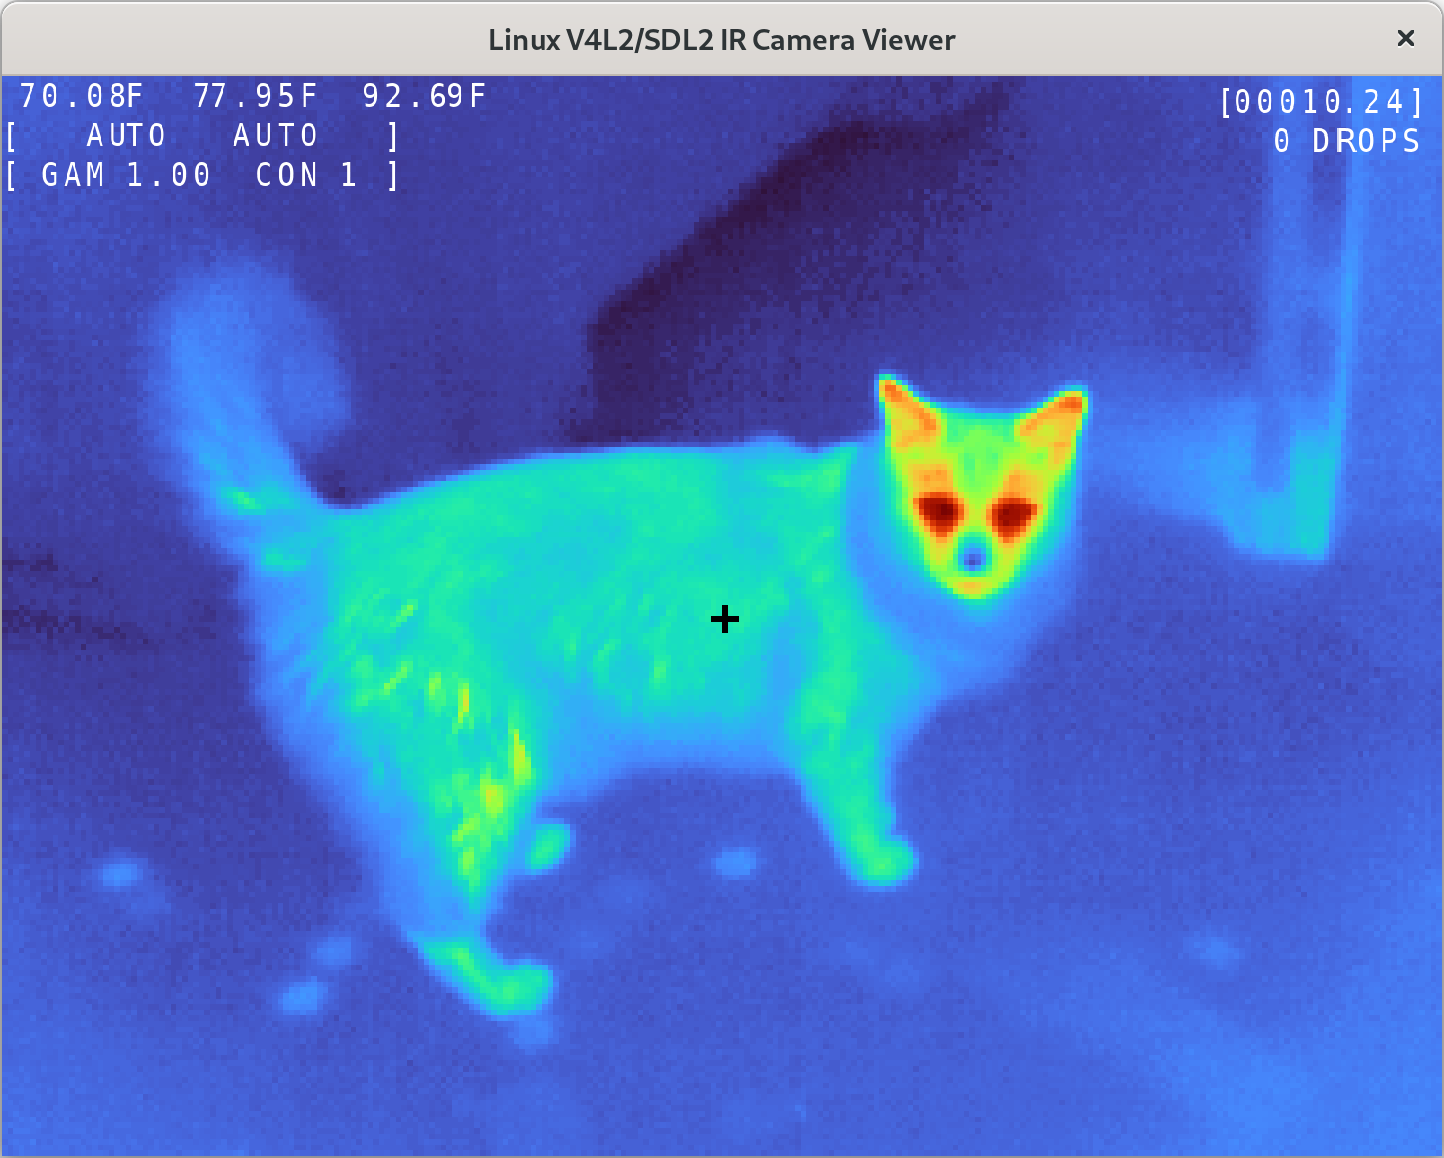
In the upper left, you'll find the minimum, point measurement, and maximum temperatures. The second row shows the current view dynamic range limits, or AUTO in automatic mode. The third row shows gamma correction and contouring settings.
The point measurement is the temperature at the center of the cross. The temperatures are displayed at the true underlying granularity. The viewer is controlled entirely using the keyboard, the mouse doesn't do anything (yet). The emissivity is always assumed to be 1.0.
You can view the help text at any time by holding the [H] key:

The [C] key toggles between grayscale and the Turbo colormap. [I] inverts the sense of the display, and [G] toggles through gamma correction options.

The [Y] key enables "contouring": this repeats the colormap N times through the current view dynamic range instead of just once, allowing you to visualize more than eight bits on your 8-bit display.

Dynamic range (or exposure) starts in AUTO mode. Pressing [E] at any time will revert to AUTO. Pressing [D] enters manual mode, pinning the min/max of the view dynamic range at their current values.

In manual mode, [Q] and [A] raise and lower the minimum view dynamic range. The [W] and [S] keys do the same for the maximum view dynamic range. The [Z] and [X] keys pin the ranges at their absolute minimum/maximum.

The [T] key toggles the onscreen text between white, black, and off (it is never recorded), and the [F] key will toggle units between Celsius and Fahrenheit.

The arrow keys move the cross, which is where the point temperature is from.

Recording
The [R] key begins raw 16-bit recording. Each recording goes to a new file named for the epoch at the time it begins. Pressing [R] a second time ends the current recording.
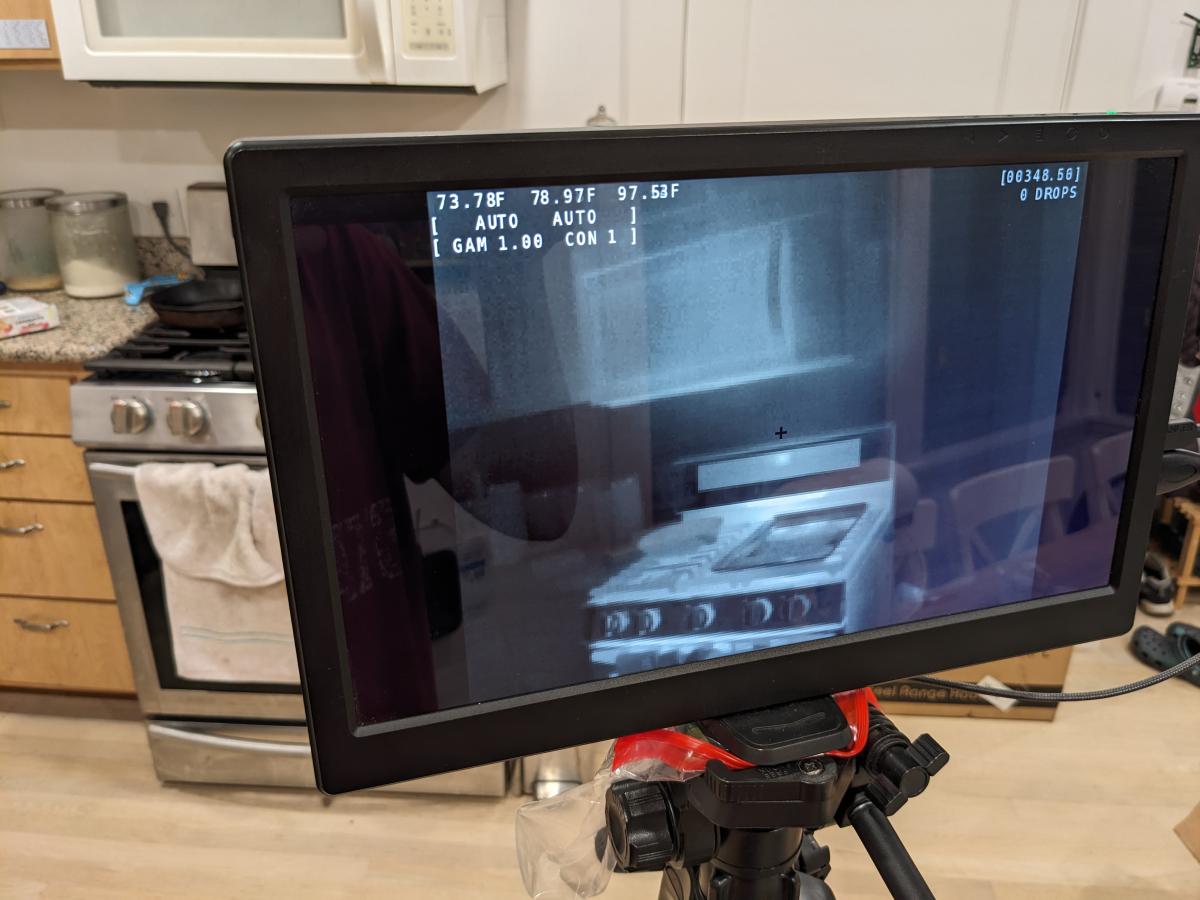
The generated Matroska files should be compatible with anything that understands FFV1 video compression, but due to how compressed the useful dynamic range of the image becomes, they look incorrect at first glance:

The [V] key begins RGB recording, which exports the actual view you see in the window at the time.
The expectation is that you will use 16-bit recording to capture a scene, then use playback mode to adjust the dynamic range, finally enabling RGB recording to make a finished product. But you can record RGB directly from a live camera.
The "-n" command line flag will record 16-bit video without rendering output, so you can use a headless machine to drive the camera. For uses where no GUI is required, build the "nosdl" target as described above.
Playback
$ ./ircam -p your-recording.mkv
All the viewing hotkeys described above work during playback, including the dynamic range settings. This is possible because the full 16-bit value is recorded for each pixel in each frame.
During playback, the spacebar pauses the video. Pause timings are included in RGB recorded video. RGB recording will always end when the video loops. 16-bit recording is not supported in playback mode.
Remote Viewing
You can plug your IR camera into a headless system, and connect and view the output with all the usual features from another.
On the system with the camera attached, run:
$ ./ircam -l
Then, connect to its IP address from the other system:
$ ./ircam -c 1.2.3.4
...replacing '1.2.3.4' with the appropriate address on your network.
Any recorded video is stored locally as usual. It is possible to combine both -l and -n, but the recording will not begin until a remote client connects. For uses where no GUI is required, build the "nosdl" target as described above.
Converting Video
$ ffmpeg -i 1-rgb.mkv -f mp4 -c:v h264 -crf 17 highquality.mp4
$ ffmpeg -i 1-rgb.mkv -f mp4 -c:v h264 -preset veryfast mobile.mp4
History
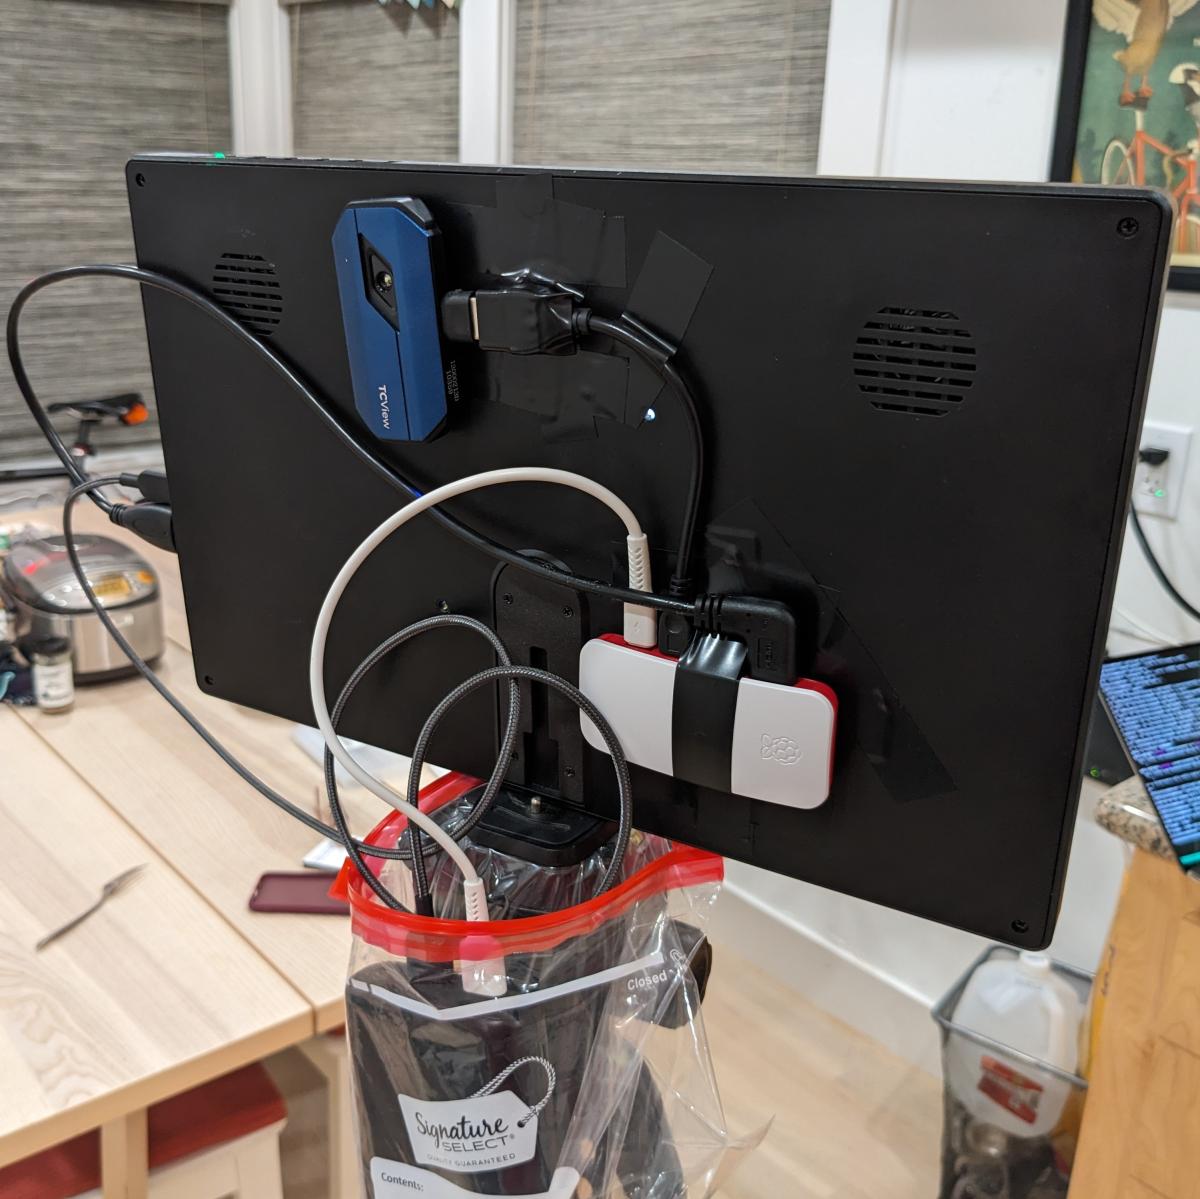
I hacked this together to make better use of the TOPDON TC001, a (relatively) cheap 256x192 25hz USB infrared camera designed to be plugged into a cell phone.
The exact hardware: https://www.amazon.com/dp/B0C23Z42KX
My goal was to write something fast enough to render the video in real time with 1080p upscaling on a Raspberry Pi Zero W (the older single core ARMv6 without hardware division).
It works!

My initial implementation relied on the BCM2835 hardware floating point support, and pegged the CPU at 10fps on the Zero. Converting that floating point arithmetic to fixed point and/or lookup tables improved it to 20fps.
Using SDL_FontCache to render the text finally got it to 25fps, but it was so close to the edge that simply pinging the Pi from my laptop would make it drop frames!
The final optimization was to refactor the scaling math: each frame requires a division for each pixel (code), but the divisor is the same across the entire frame. So what were then software divisions became hardware multiplications at the cost of one extra software division (to compute the multiplicative inverse), an obviously economical proposition with 49152 pixels in each frame. With that final improvement, the formerly overloaded Pi Zero W is now 50% idle.

I additionally implemented a 256KB lookup table of all 65536 necessary 32-bit multiplicative inverses, but it showed no measurable advantage on the Pi in testing, so I removed it.