AutoProphet
AutoProphet is an open source financial analytics tool designed to provide financial analytics capabilties at a low cost. The tool is meant to provide novice investors with the opportunity to learn and explore financial analytics capabilities, beginning with a simple set of analytics tools and gradually learning more complex tools and models.
Installation
To begin contributing to the repository follow the instructions below. If you are familiar with software development, please follow the quick install instructions. If you are new to software development, a more detailed set of instructions can be found after the quick install instructions.
Quick Install Instructions
- Ensure you have a version of git installed on your computer appropriate for your operating system
- Download and install NodeJS: https://nodejs.org/en/download
- Clone the repository: https://github.com/jeffreywallphd/AutoProphet.git
- In the auto-prophet folder, rename the config_DEFAULT folder to: config
- The folder should containa a file named: default.json
- The file should look something like this:
{
"StockGateway": "AlphaVantageStockGateway",
"NewsGateway": "AlphaVantageNewsGateway",
"ReportGateway": "SecAPIGateway",
"RatioGateway": "AlphaVantageRatioGateway"
}
- Install the project dependencies in the terminal/command line, by running: npm install
- To see the existing software, run: npm start
- The application should load in an Electron window.
- Configure the environment with desired data API's (and API keys where needed) from the Settings section of the application.
- If you choose the AlphaVantage API's, a free key can be obtained here: https://www.alphavantage.co/support/#api-key
- If you choose to use Financial Modeling Prep, a free key can be obtained through account signup here: https://site.financialmodelingprep.com/. After signup, the key can be found in the Dashboard.
Detailed Install Instructions
The following instructions provide greater detail for contributors new to software development.
Software you may find useful when working on this project
-
To interact with this repository, you will need a version of git on your computer. Git is a program that allows you to store project files on a local repository on your computer that can communicate with this remote GitHub repository. There are some options that you can use for this purpose:
- GitHub Desktop (for Windows and Mac): https://desktop.github.com/
- Git for Windows: https://gitforwindows.org/
- Git for Mac: https://git-scm.com/download/mac
-
To view/edit code, contribute to documentation, or work with the folder and file structure of the software, you will need an integrated development environment (IDE). IDE's have many tools to help you build software. You can also use many IDEs to run git commands using simple user interface tools.
- A common IDE that supports multiple programming languages is VS Code.
- VS code will also allow you make connections with GitHub. You may still need a tool like Git for Windows for VS code to properly integrate with GitHub.
- Download VS Code at: https://code.visualstudio.com/download
-
This software project utilizes NodeJS. Before you can successfully work on this project, you will need to download NodeJS. NodeJS will also install the node package manager (npm). You will use npm to install Javascript packages and start the software.
- Download Node.js at: https://nodejs.org/en/download
Setting up the project environment
To contribute to the software project, you will need to set up the project environment so that you can view the code and run the software for testing purposes. The following steps will help you prepare your environment to run the software.
-
First, you will need to clone the repository. Cloning a repository copies the code from the GitHub repository to the repository on your local computer. There are multiple tools you can use to clone a repository. If you like command line tools, you can use GitBash, which comes with Git for Windows. If you prefer a graphical user interface, you can use GitHub Destkop or VS Code.
-
You will need the following repository URL to clone this repository: https://github.com/jeffreywallphd/AutoProphet.git
-
To clone a repository on GitHub Desktop, click File -> Clone repository. You will then paste the repository URL above and select a location to store the files on your computer.
-
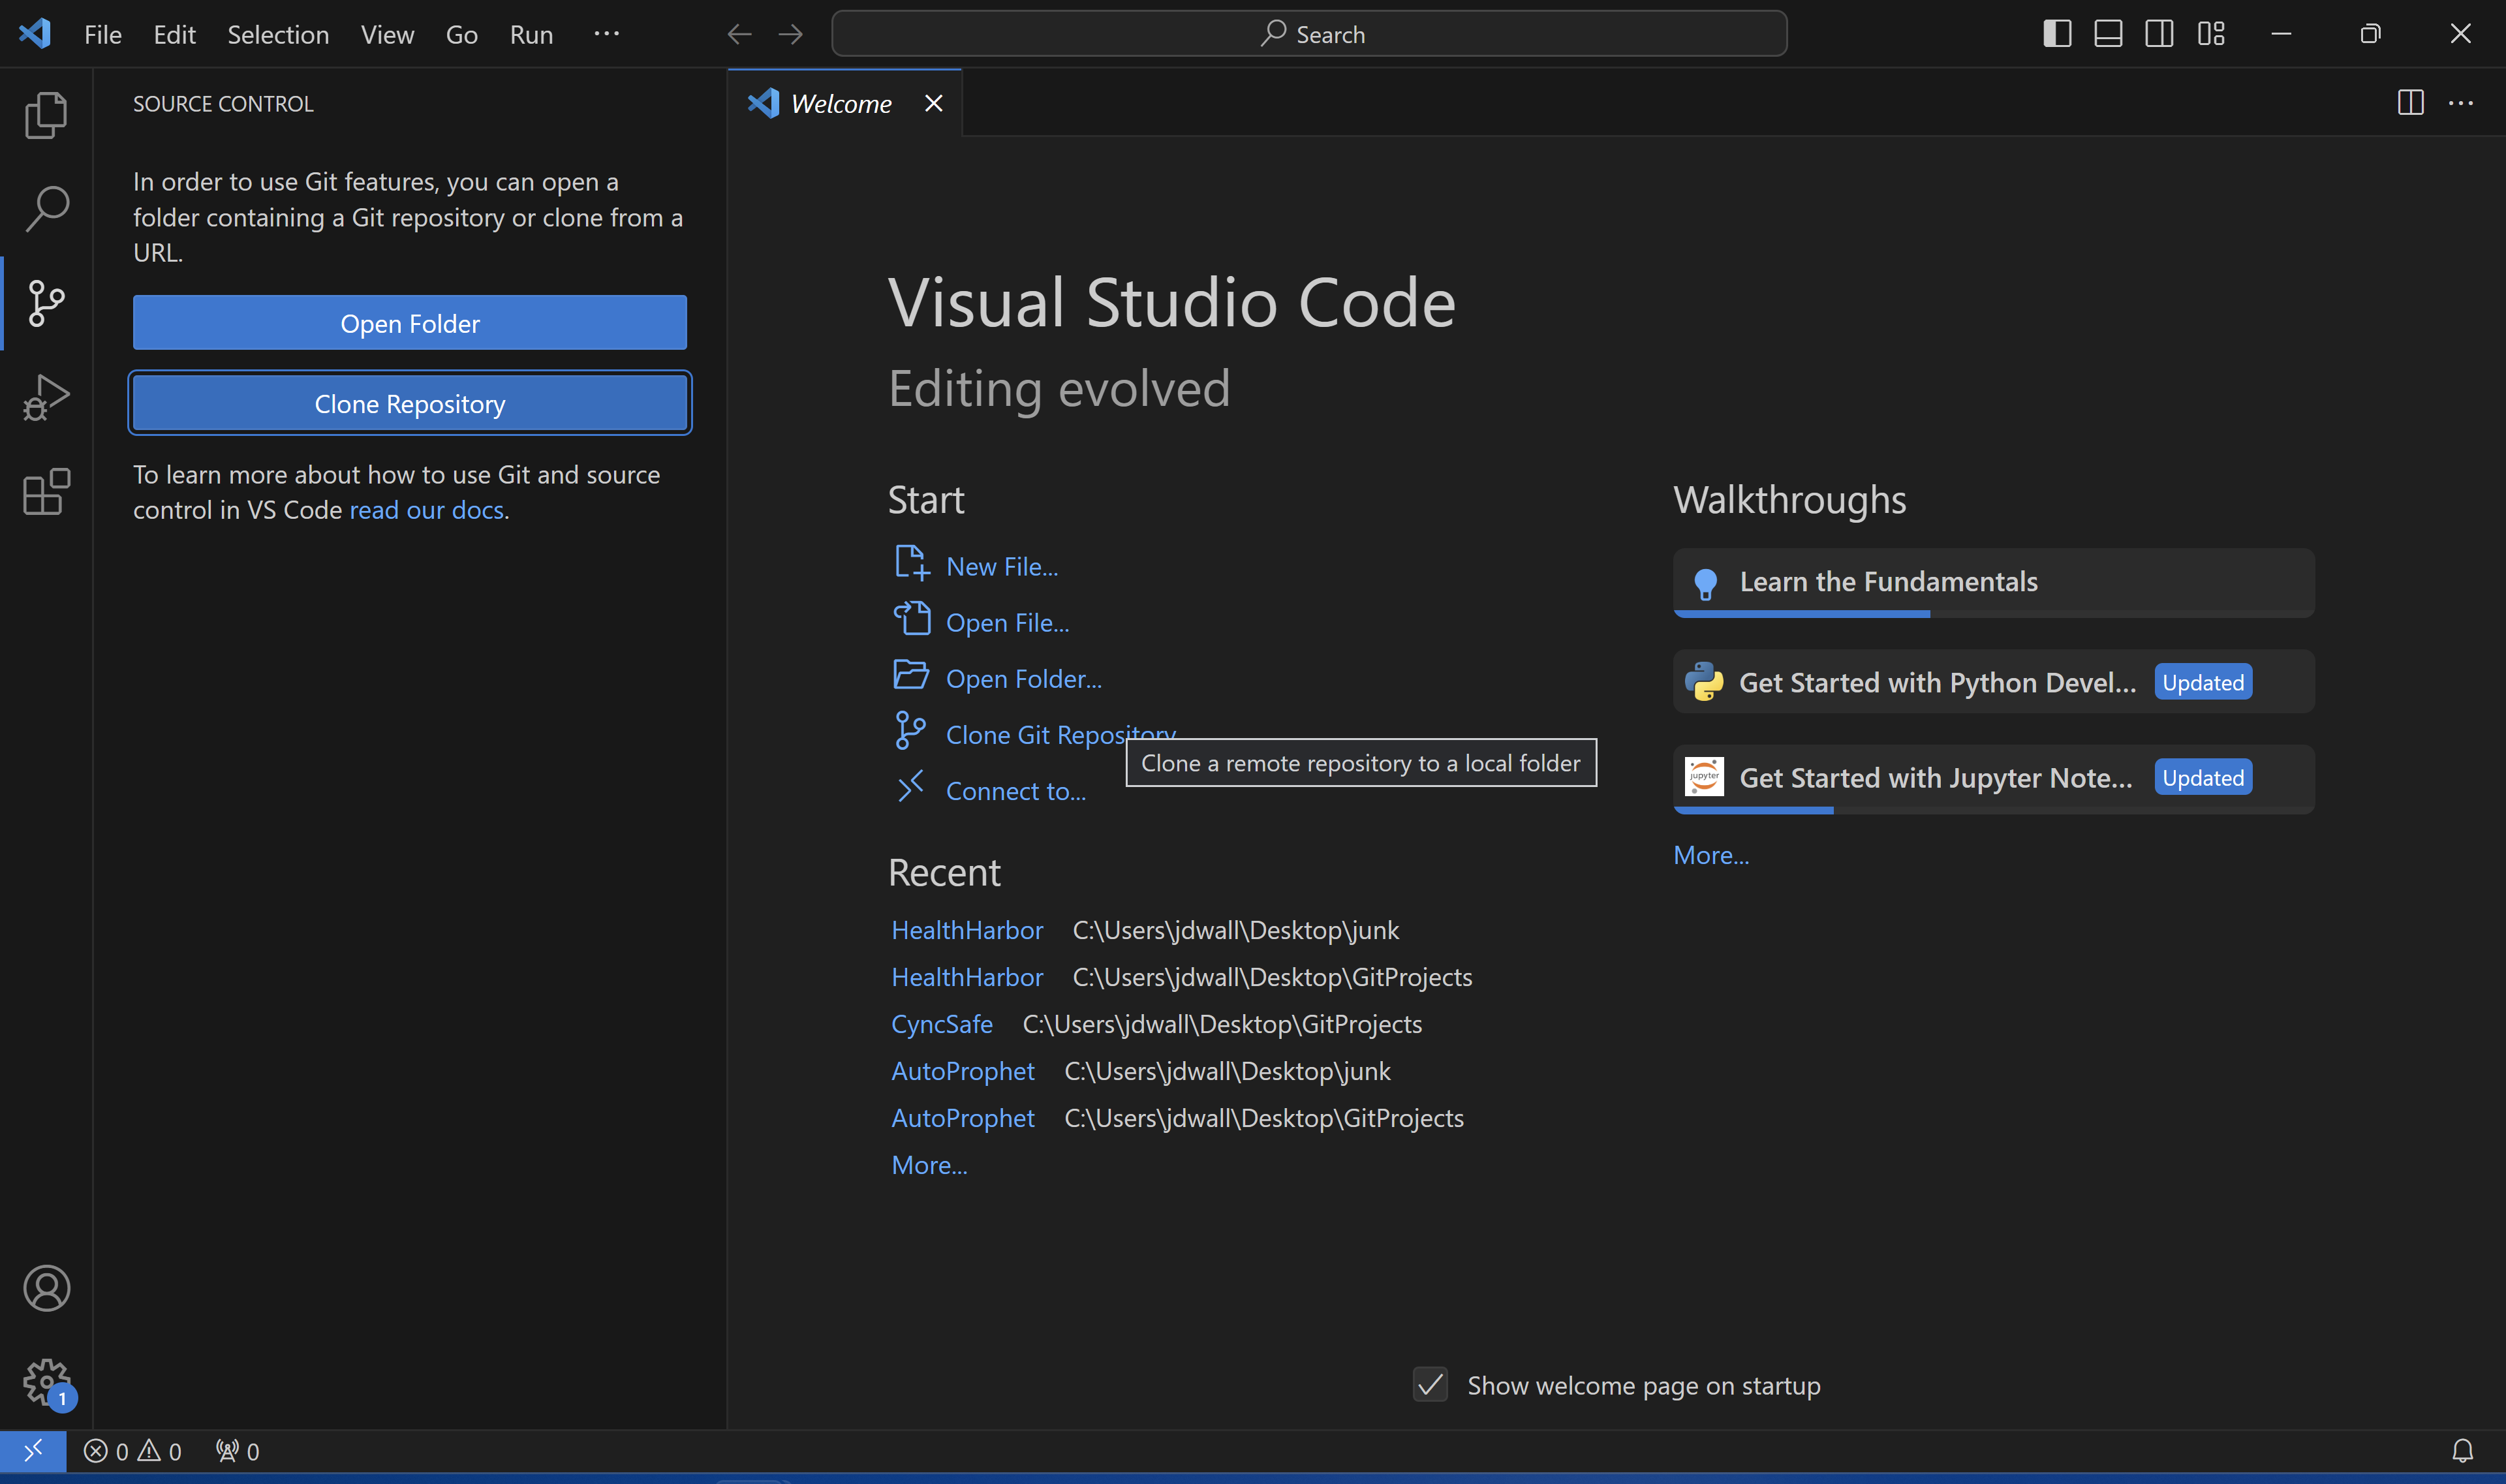
You can also clone a repository within VS code. Click the source control icon in the left sidebar. Click the Clone Repository button. Paste the repository URL into the bar that appears at the top of the screen and click Clone from URL.
-
-
Once you clone the repository, you will need to rename a folder. For security and other reasons, some files should not exist on a public GitHub repository.
a. You will need to rename a folder that is used to store configuration information. The AutoProphet project is designed to be configurable. For example, you can choose different data providers for stock price and volume data, SEC financial statements, financial news, etc.
- In the auto-prophet folder, locate the folder named: config_DEFAULT
- rename the folder to: config
- Once the folder is renamed, ensure that the folder contains a file named: default.json. This file will store information about which data sources to use.
-
Open the default.json file and ensure that it contains information that looks something like this:
{
 "StockGateway": "AlphaVantageStockGateway",
 "NewsGateway": "AlphaVantageNewsGateway",
 "ReportGateway": "SecAPIGateway",
 "RatioGateway": "AlphaVantageRatioGateway"
}
-
With the repository cloned and the config folder renamed, you are now ready to start the program. If you haven't already done so, you will need to install NodeJS mentioned earlier. To run the program, open the terminal/command line.
- VS Code has a terminal built in. To access the terminal in VS Code, Click the View -> Terminal option from the top menu bar.
- You will need to point the terminal to the auto-prophet folder. This can be done with the cd command (i.e., change directory). If you are in VS Code, simply type the following and press Enter: cd auto-prophet
- Now that the terminal is pointed to the auto-prophet directory, you can install the code resources (i.e., dependencies) the project uses. To do this, type the following command into the terminal: npm install
- After the dependency packages have been installed, you can start the software by running the command in the terminal: npm start
- Note. If you are using Windows command prompt, you can copy the file path by right clicking on the GitHub folder in your file system and selecting "copy as path". You can paste that after the cd command.
-
After the install and startup finishes, you should see the desktop interface for the application.
-
With the application open, you now need to configure the environment settings. Once the application installs necessary data and loads the menu sidebar, click the Settings option.
a. In the Settings section, select the data providers you would prefer to use for different purposes, such as retrieving stock data, news data, financial reports, etc. Some of the data providers offer free keys with options to upgrade to premium keys. If you are using this software for a university course, your professor may be able to get you a premium key for free for some data providers, such as AlphaVantage.
- If you choose from the AlphaVantage API's, a free key can be obtained here: https://www.alphavantage.co/support/#api-key. Premium keys may be availabe through your professor for free.
- If you choose to use Financial Modeling Prep API's, a free key can be obtained through account signup here: https://site.financialmodelingprep.com/. After signup, the key can be found in the Dashboard.
-
Whenever you want to start the project to view what your code changes did to the software, simply use the terminal to get to the auto-prophet folder and run: npm start
- If you need to start over at any point by re-cloning the GitHub project, you may also need to repeat these steps.
Disclaimers
No Warranty
This software is provided "as is" without any warranty of any kind, express or implied. This includes, but is not limited to, the warranties of merchantability, fitness for a particular purpose, and non-infringement.
Disclaimer of Liability
The authors and copyright holders of this software disclaim all liability for any damages, including incidental, consequential, special, or indirect damages, arising from the use or inability to use this software.
General Use Disclaimer
The authors of this software are not financial experts. This software should not be used to replace the expert advice of financial professionals. The information and functionality of this software is for research and educational purposes. Consult a licensed professional for investing advice.
Collaboration Practices
Please be sure to read through the Best Coding Practices document before you start collaborating.
As you use git and GitHub to manager your contributions, follow the guidelines outlined in the Git Practices document. Remember to pull from main regularly to avoid code conflicts.
Future Feature Ideas
To contribute feature ideas or to see other's ideas for features, please see the Issues section of this repository. Your ideas are welcome. Please tag your feature ideas as "enhancements" so they are easy to find.
Acknowledgments
All gratitude to the Michigan Tech students who worked on this project to develop IT and FinTech knowledge and skills through their coursework and share their contributions.
Core Contributors
- Jeffrey Wall - Faculty Advisor
- Students at Michigan Technological University in MIS 4100 - Emerging Technologies: Fall 2023
- Students at Michigan Technological University in MIS 3200 - Systems Analysis and Design: Spring 2024
Dependencies
Please see the package.json file in the auto-prophet folder for a list of the dependencies used in this project.