![]()
![]()
#
![]()


A plugin for JupyterLab that lets you set up and use as many filebrowsers as you like, connected to whatever local and/or remote filesystem-like resources you want.
The backend is built on top of PyFilesystem, while the frontend is built on top of JupyterLab Filetree.
Install
pip install jupyter-fsConfigure
Add the following to your jupyter_server_config.json:
{
  "ServerApp": {
    "contents_manager_class": "jupyterfs.metamanager.MetaManager",
    "jpserver_extensions": {
      "jupyterfs.extension": true
    }
  }
}
Simple use (no auth/credentials)
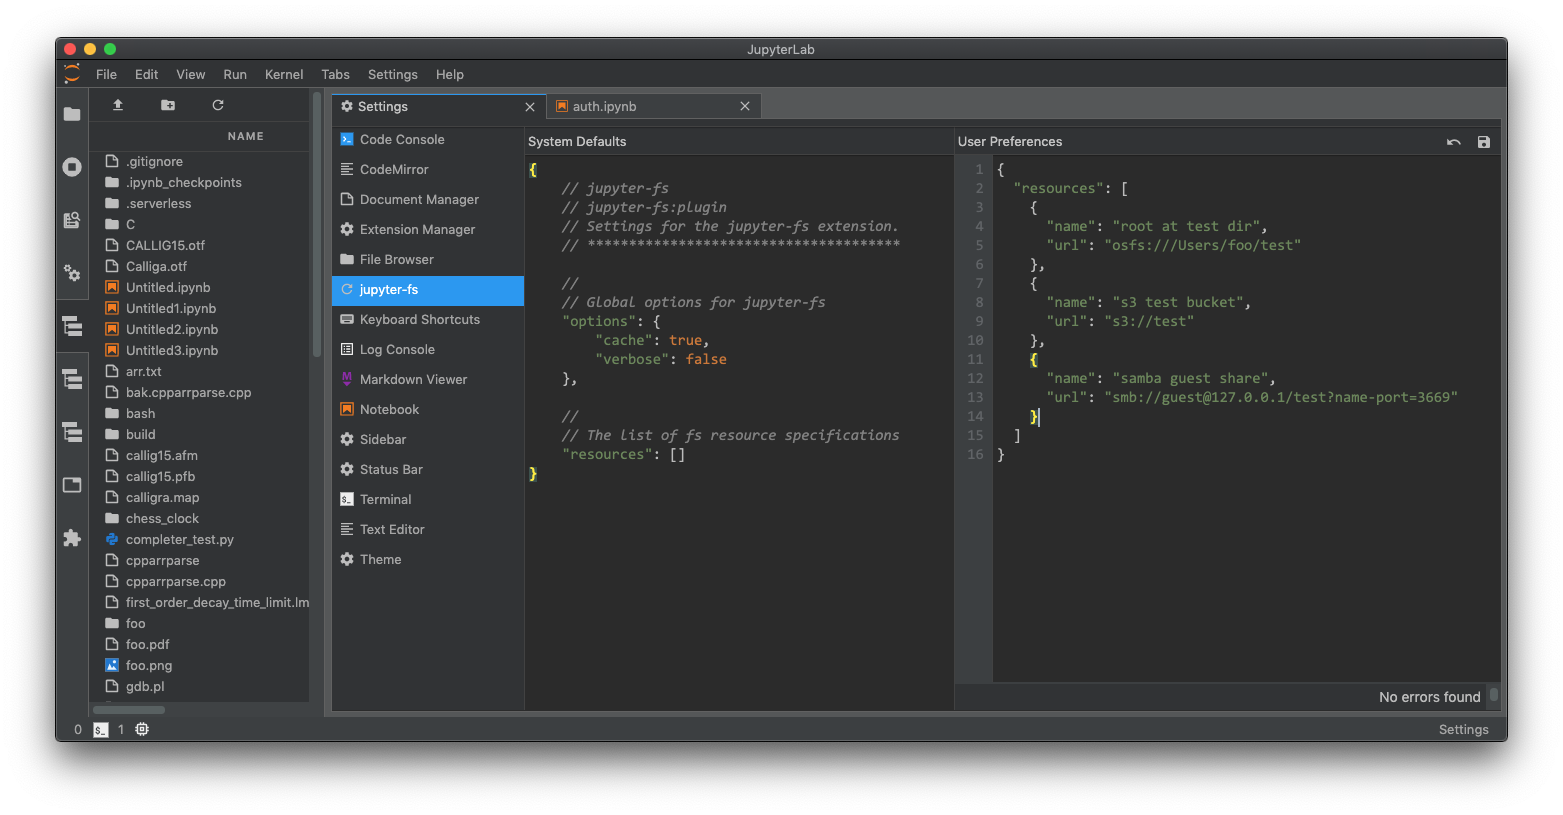
Add specifications for additional contents managers in your user settings (in the Settings menu under Advanced Settings Editor -> jupyter-fs). Here's an example config that sets up several new filebrowsers side-by-side:
{
  "resources": [
    {
      "name": "root at test dir",
      "url": "osfs:///Users/foo/test"
    },
    {
      "name": "s3 test bucket",
      "url": "s3://test"
    },
    {
      "name": "s3 test key",
      "url": "s3://test-2/prefix/",
      "defaultWritable": false
    },
    {
      "name": "samba guest share",
      "url": "smb://guest@127.0.0.1/test?name-port=3669"
    }
  ]
}
You should see your new filebrowsers pop up in the left-hand sidebar instantly when you save your settings:
Use with auth/credentials
Any stretch of a "url" that is enclosed in double-brackets {{VAR}} will be treated as a template, and will be handled by jupyter-fs's auth system. For example, you can pass a username/password to the "samba guest share" resource in the Simple use example above by modifying its "url" like so:
{
  "resources": [
    ...

    {
      "name": "samba share",
      "url": "smb://{{user}}:{{passwd}}@127.0.0.1/test?name-port=3669"
    }
  ]
}
When you save the above "resouces" config, a dialog box will pop asking for the username and passwd values:
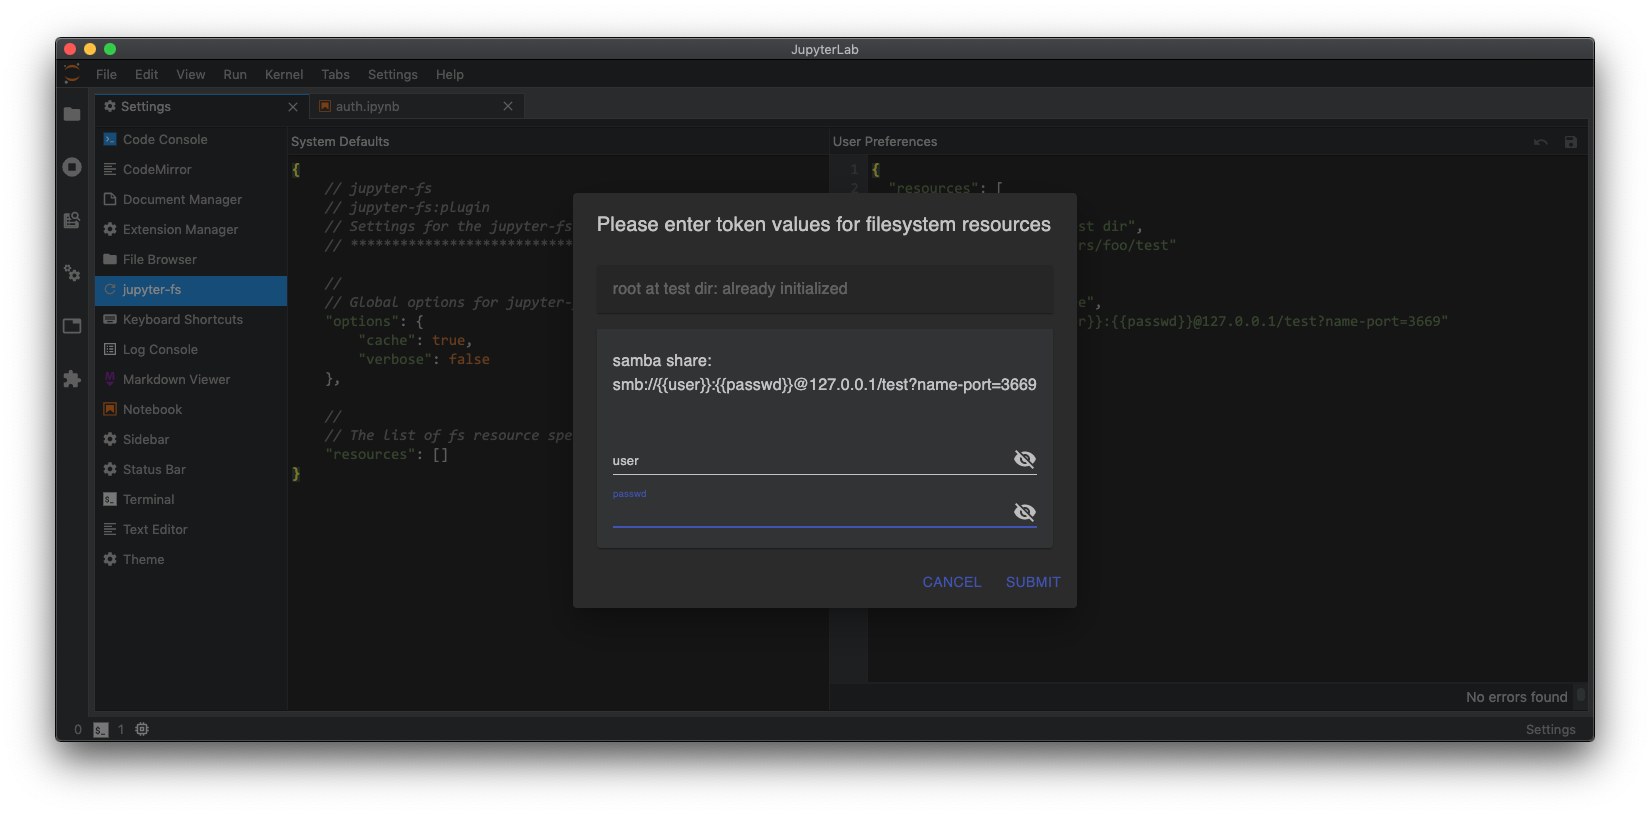
Once you enter those values and hit ok, the new filebrowsers will then immediately appear in the sidebar:
The auth dialog will only appear when needed
The jupyter-fs auth dialog will only appear when:
- JupyterLab first loads, if any fs resources reqiure auth
- a new fs resouce is added that requires auth, or its
"url"field is modified
Supported filesystems
The type of resource each filebrowser will point to is determined by the protocol at the start of its url:
- osfs: os filesystem. The will open a new view of your local filesystem, with the specified root
- s3: opens a filesystem pointing to an Amazon S3 bucket
- smb: opens a filesystem pointing to a Samba share
jupyter-fs can open a filebrowser pointing to any of the diverse [resources supported by PyFilesystem](). Currently, we test only test the S3 and smb/samba backends as part of our CI, so your milleage may vary with the other PyFilesystem backends.
The filesystem url
The "url" field jupyter-fs config is based on the PyFilesystem opener url standard. For more info on how to write these urls, see the documentation of the relevant PyFilesystem plugin:
- S3: S3FS docs
- smb: fs.smbfs docs
Server-side settings
If you prefer to set up your filesystem resources in the server-side config, you can do so. For example, you can set up a local filesystem by adding the following to your jupyter_server_config.py file:
c.JupyterFs.resources = [
    {
        "name": "local_test",
        "url": "osfs:///Users/foo/test"
    },
]
ALternatively, you can add resource specifications alongside the basic jupyter-fs config in your jupyter_server_config.json file:
{
  "ServerApp": {
    "contents_manager_class": "jupyterfs.metamanager.MetaManager",
    "jpserver_extensions": {
      "jupyterfs.extension": true
    }
  },
  "JupyterFs": {
    "resources": [
      {
        "name": "local_test",
        "url": "osfs:///Users/foo/test"
      }
    ]
  }
}
Any filesystem resources specified in any server-side config file will be merged with the resources given in a user's settings.
Development
See CONTRIBUTING.md for guidelines.
License
This software is licensed under the Apache 2.0 license. See the LICENSE and AUTHORS files for details.