English | 简体中文
macos_window_utils is a Flutter package that provides a set of methods for modifying the NSWindow of a Flutter application on macOS. With this package, you can easily customize the appearance and behavior of your app's window, including the title bar, transparency effects, shadow, and more.
Features
macos_window_utils provides, among other things, the following features:
- Methods to set the application window's material.
- Methods to enter/exit fullscreen mode or (un)zoom the window.
- Methods to mark a window as “document edited”.
- Methods to set represented filenames and URLs.
- Methods to hide/show the window's title.
- Methods to enable/disable the full-size content view.
- Methods to show/hide and enable/disable the window's traffic light buttons.
- A method to set the window's alpha value.
- Methods to add a toolbar to the window and set its style.
- A method to add a subtitle to the window.
- Methods to make the window ignore mouse events.
- A method that makes the window fully transparent (with no blur effect).
- Methods to enable/disable the window's shadow.
- Methods and widgets to add, remove, and modify visual effect subviews.
- Methods to set the window's level as well as reorder the window within its level.
- Methods to modify the window's style mask.
- An abstract
NSWindowDelegateclass that can be used to detectNSWindowevents, such as window resizing, moving, exposing, and minimizing. - An
NSAppPresentationOptionsclass that allows modifications to the window's fullscreen presentation options. - Methods to get and set the positions of the window’s standard window buttons (such as the close, miniaturize, and zoom buttons).
- Methods to control whether the window should be closable by the user, as well as methods to close the window programmatically.
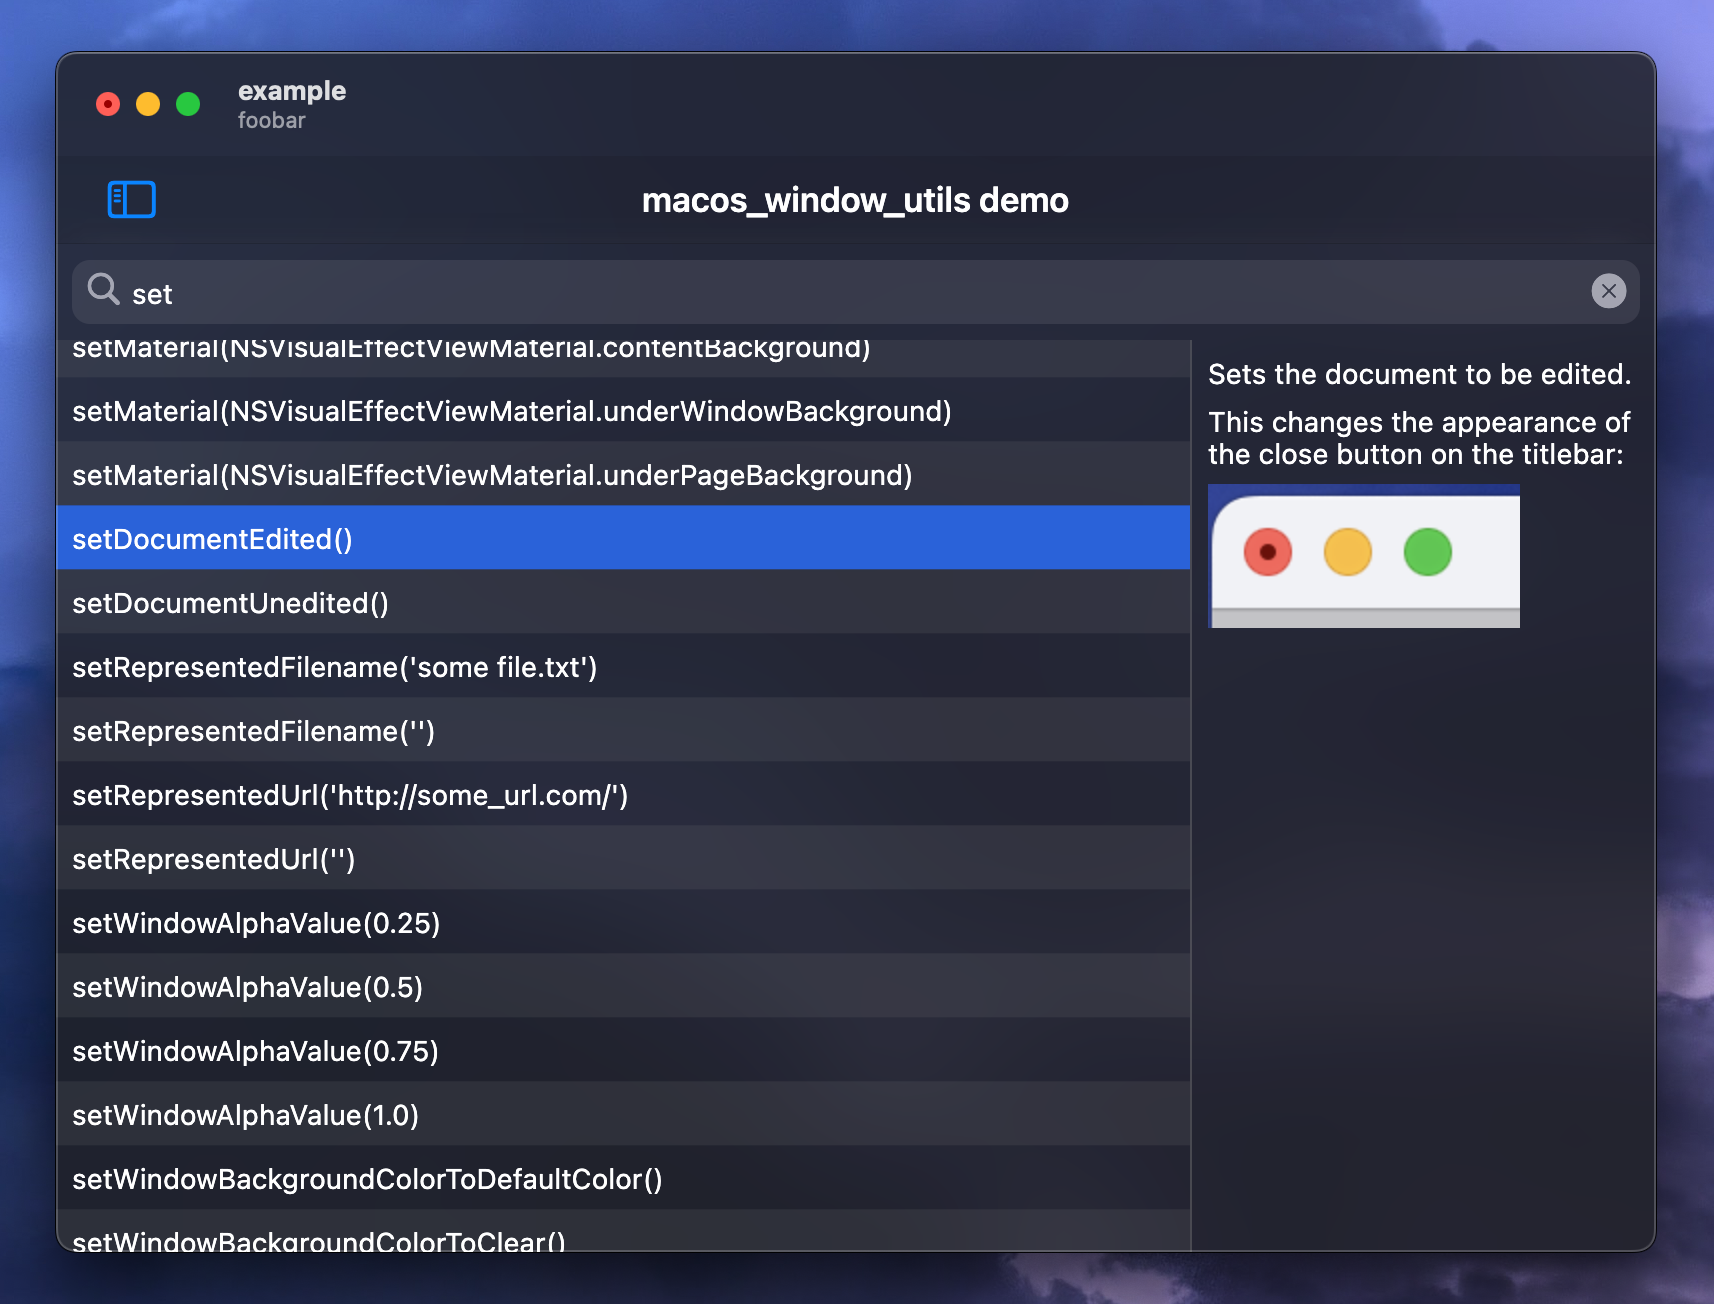
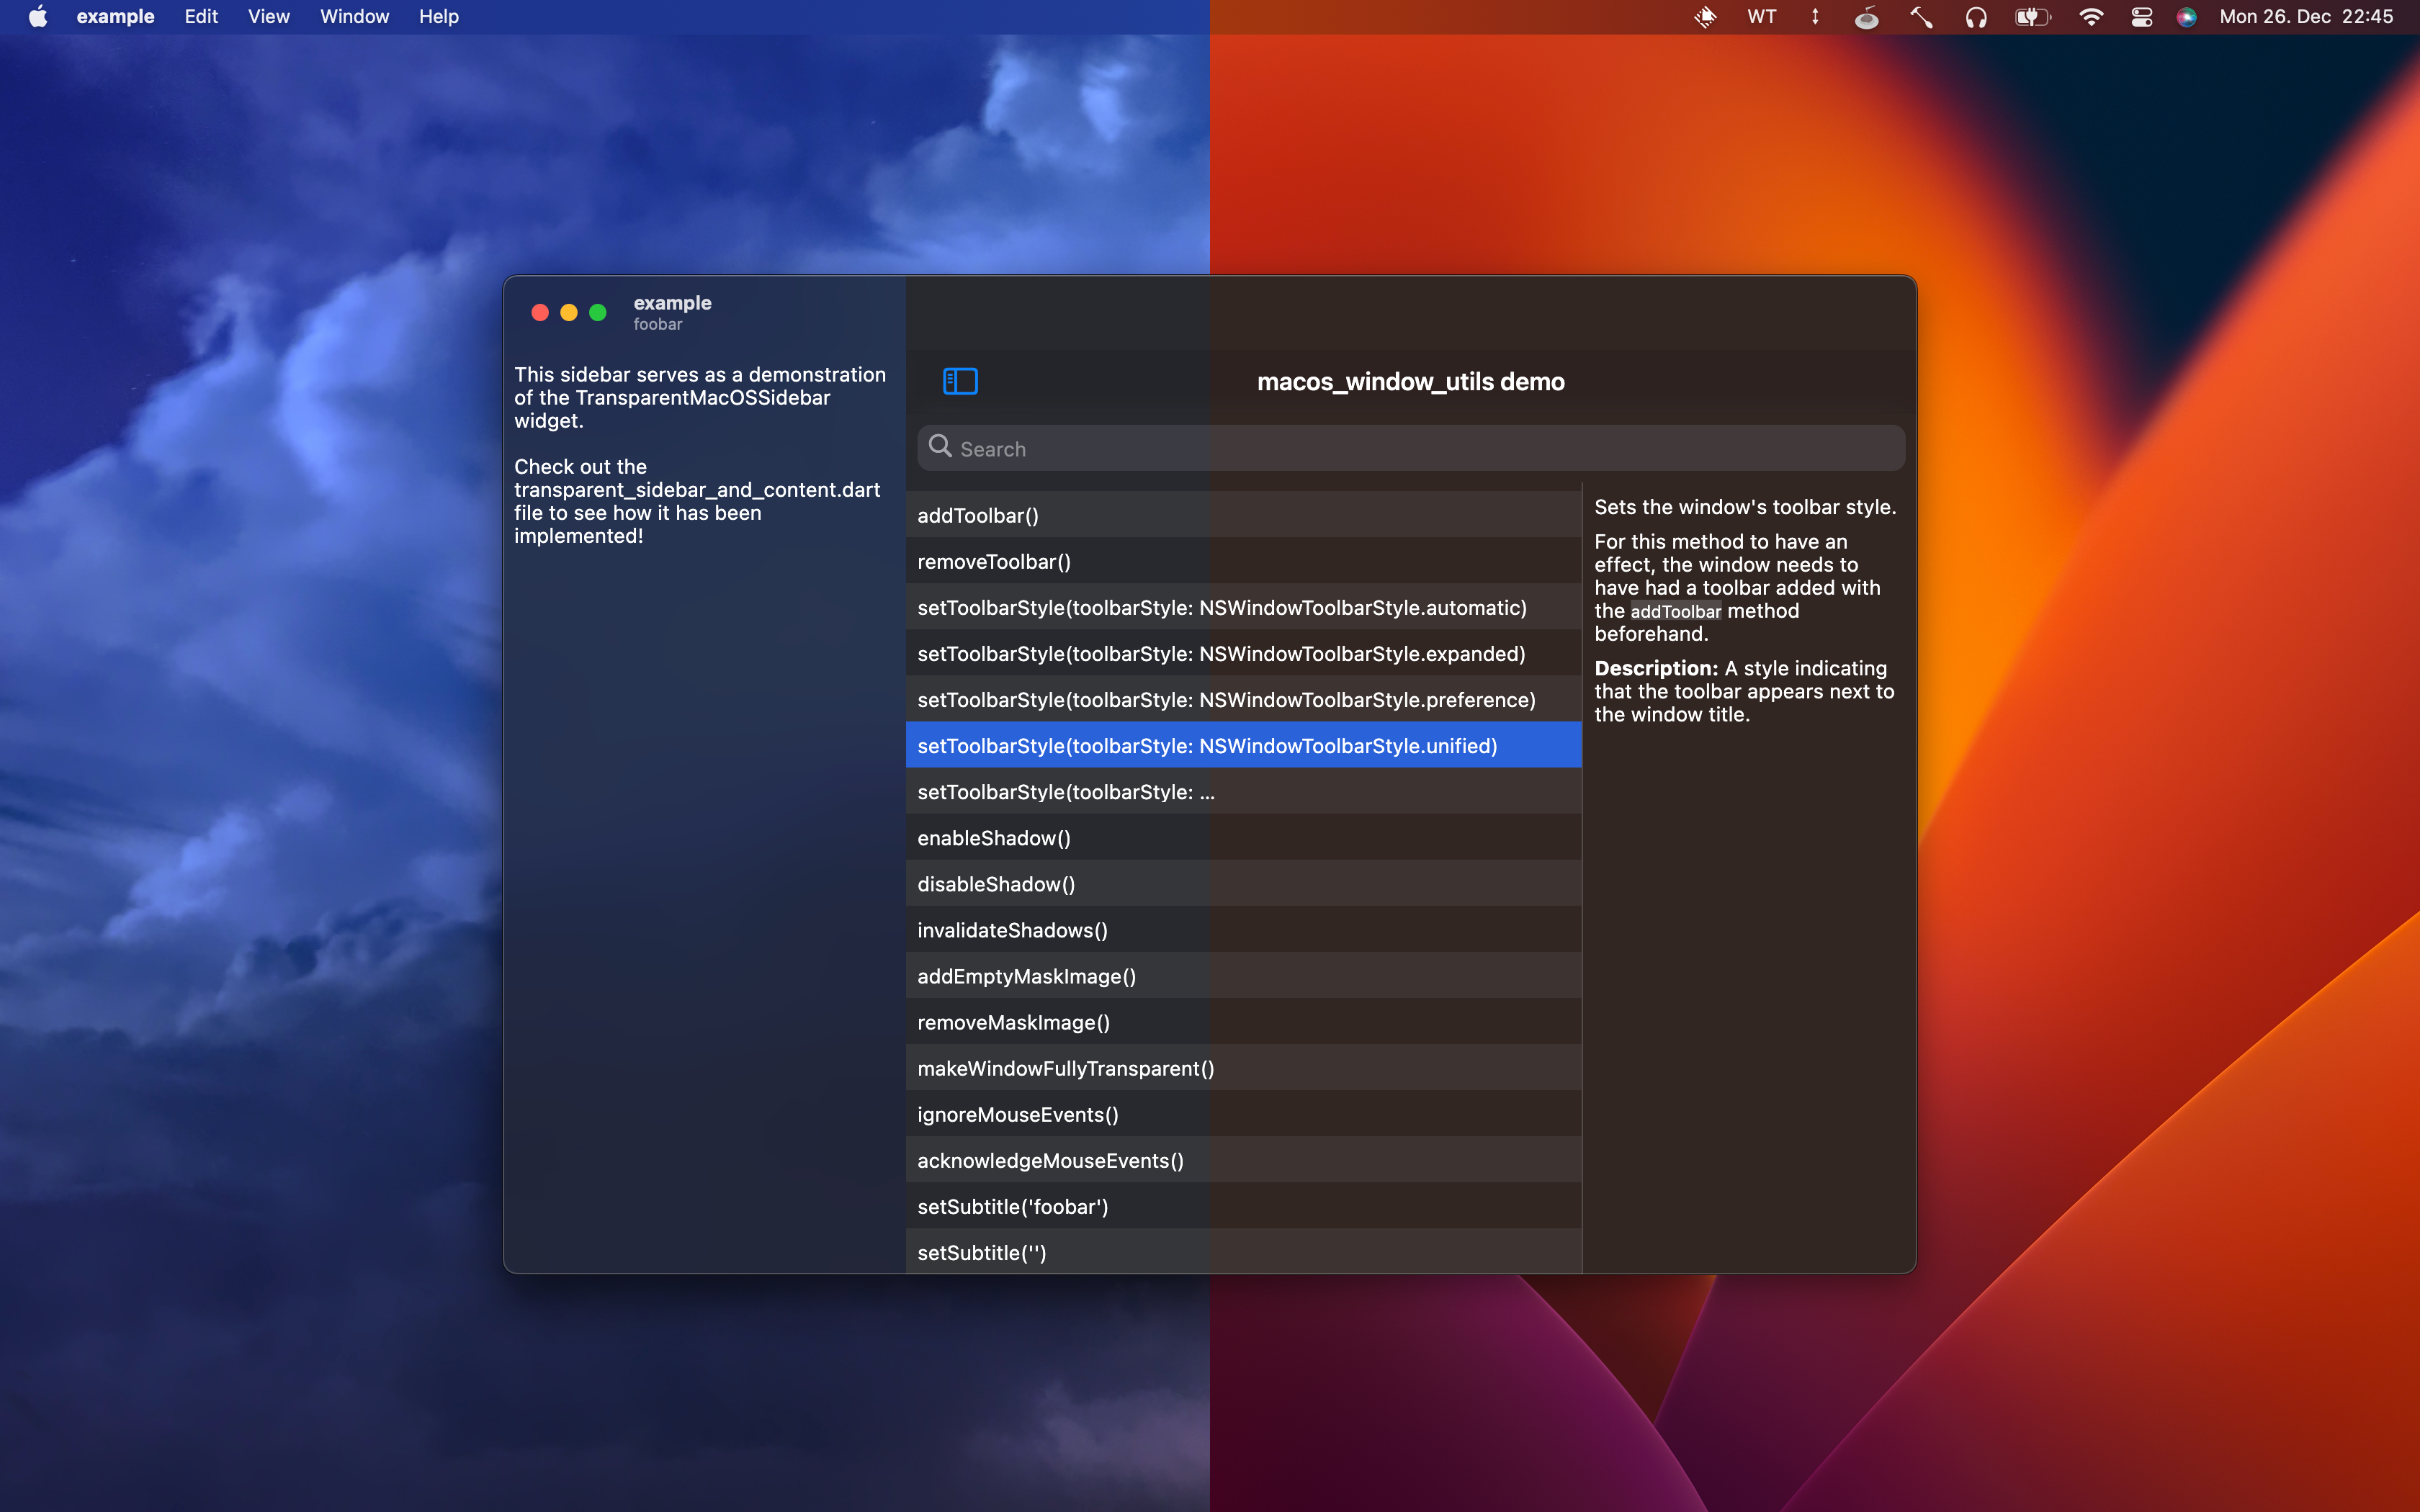
Additionally, the package ships with an example project that showcases the plugin's features via an intuitive searchable user interface:

Getting started
First, install the package via the following command:
flutter pub add macos_window_utilsAfterward, open the macos/Runner.xcworkspace folder of your project using Xcode, press ⇧ + ⌘ + O and search for Runner.xcodeproj.
Go to Info > Deployment Target and set the macOS Deployment Target to 10.14.6 or above. Then, open your project's Podfile (if it doesn't show up in Xcode, you can find it in your project's macos directory via VS Code) and set the minimum deployment version in the first line to 10.14.6 or above:
platform :osx, '10.14.6'Depending on your use case, you may want to extend the area of the window that Flutter can draw to to the entire window, such that you are able to draw onto the window's title bar as well (for example when you're only trying to make the sidebar transparent while the rest of the window is meant to stay opaque).
To do so, enable the full-size content view with the following Dart code:
WindowManipulator.makeTitlebarTransparent();
WindowManipulator.enableFullSizeContentView();
When you decide to do this, it is recommended to wrap your application (or parts of it) in a TitlebarSafeArea widget as follows:
TitlebarSafeArea(
  child: YourApp(),
)
This ensures that your app is not covered by the window's title bar.
Additionally, it may be worth considering to split your sidebar and your main view into multiple NSVisualEffectView's inside your
app. This is because macOS has a feature called “wallpaper tinting,” which is enabled by default. This feature allows windows to
blend in with the desktop wallpaper:

To achieve the same effect in your Flutter application, you can set the window's material to NSVisualEffectViewMaterial.windowBackground and wrap
your sidebar widget with a TransparentMacOSSidebar widget like so:
TransparentMacOSSidebar(
  child: YourSidebarWidget(),
)
Note: The widget will automatically resize the NSVisualEffectView when a resize is detected in the widget's build method.
If you are animating your sidebar's size using a TweenAnimationBuilder, please make sure that the TransparentMacOSSidebar widget
is built within the TweenAnimationBuilder's build method, in order to guarantee that a rebuild is triggered when the size
changes. For reference, there is a working example in the transparent_sidebar_and_content.dart file of the example project.
Usage
Initialize the plugin as follows:
Future<void> main() async {
  WidgetsFlutterBinding.ensureInitialized();
  await WindowManipulator.initialize();
  runApp(MyApp());
}
Afterwards, call any method of the WindowManipulator class to manipulate your application's window.
Using NSWindowDelegate
NSWindowDelegate can be used to listen to NSWindow events, such as window resizing, moving, exposing, and minimizing. To use it, first make sure that enableWindowDelegate is set to true in your WindowManipulator.initialize call:
Future<void> main() async {
  WidgetsFlutterBinding.ensureInitialized();

  // By default, enableWindowDelegate is set to false to ensure compatibility
  // with other plugins. Set it to true if you wish to use NSWindowDelegate.
  await WindowManipulator.initialize(enableWindowDelegate: true);
  runApp(MyApp());
}
Afterwards, create a class that extends it:
class _MyDelegate extends NSWindowDelegate {
  @override
  void windowDidEnterFullScreen() {
    print('The window has entered fullscreen mode.');

    super.windowDidEnterFullScreen();
  }
}
This class overrides the NSWindowDelegate's windowDidEnterFullScreen method in order to respond to it.
The following methods are currently supported by NSWindowDelegate:
Supported methods
- Managing Sheets - `windowWillBeginSheet` - `windowDidEndSheet` - Sizing Windows - `windowWillResize` - `windowDidResize` - `windowWillStartLiveResize` - `windowDidEndLiveResize` - Minimizing Windows - `windowWillMiniaturize` - `windowDidMiniaturize` - `windowDidDeminiaturize` - Zooming Window - `windowWillUseStandardFrame` - `windowShouldZoom` - Managing Full-Screen Presentation - `windowWillEnterFullScreen` - `windowDidEnterFullScreen` - `windowWillExitFullScreen` - `windowDidExitFullScreen` - Moving Windows - `windowWillMove` - `windowDidMove` - `windowDidChangeScreen` - `windowDidChangeScreenProfile` - `windowDidChangeBackingProperties` - Closing Windows - `windowShouldClose` - `windowWillClose` - Managing Key Status - `windowDidBecomeKey` - `windowDidResignKey` - Managing Main Status - `windowDidBecomeMain` - `windowDidResignMain` - Exposing Windows - `windowDidExpose` - Managing Occlusion State - `windowDidChangeOcclusionState` - Managing Presentation in Version Browsers - `windowWillEnterVersionBrowser` - `windowDidEnterVersionBrowser` - `windowWillExitVersionBrowser` - `windowDidExitVersionBrowser`Then, add an instance of it via the WindowManipulator.addNSWindowDelegate method:
 final delegate = _MyDelegate();
 final handle = WindowManipulator.addNSWindowDelegate(delegate);
WindowManipulator.addNSWindowDelegate returns a NSWindowDelegateHandle which can be used to remove this NSWindowDelegate again later:
handle.removeFromHandler();Using NSAppPresentationOptions
Say we would like to automatically hide the toolbar when the window is in fullscreen mode. Using NSAppPresentationOptions this can be done as follows:
// Create NSAppPresentationOptions instance.
final options = NSAppPresentationOptions.from({
  // fullScreen needs to be present as a fullscreen presentation option at all
  // times.
  NSAppPresentationOption.fullScreen,

  // Hide the toolbar automatically in fullscreen mode.
  NSAppPresentationOption.autoHideToolbar,

  // autoHideToolbar must be accompanied by autoHideMenuBar.
  NSAppPresentationOption.autoHideMenuBar,

  // autoHideMenuBar must be accompanied by either autoHideDock or hideDock.
  NSAppPresentationOption.autoHideDock,
});

// Apply the options as fullscreen presentation options.
options.applyAsFullScreenPresentationOptions();
Note: NSAppPresentationOptions uses the NSWindow's delegate to change the window's fullscreen presentation options. Therefore, enableWindowDelegate needs to be set to true in your WindowManipulator.initialize call for it to work.
Older macOS versions
If you’re targeting older macOS versions (Monterey and earlier), it is necessary to perform the following steps to make the macos_window_utils plugin work correctly:
Open the macos/Runner.xcworkspace folder of your project using Xcode, press ⇧ + ⌘ + O and search for MainFlutterWindow.swift.
Insert import macos_window_utils at the top of the file.
Then, replace the code above the super.awakeFromNib()-line with the following code:
let windowFrame = self.frame
let macOSWindowUtilsViewController = MacOSWindowUtilsViewController()
self.contentViewController = macOSWindowUtilsViewController
self.setFrame(windowFrame, display: true)

/* Initialize the macos_window_utils plugin */
MainFlutterWindowManipulator.start(mainFlutterWindow: self)

RegisterGeneratedPlugins(registry: macOSWindowUtilsViewController.flutterViewController)
Assuming you're starting with the default configuration, the finished code should look something like this:
import Cocoa
import FlutterMacOS
+import macos_window_utils

class MainFlutterWindow: NSWindow {
  override func awakeFromNib() {
-   let flutterViewController = FlutterViewController.init()
-   let windowFrame = self.frame
-   self.contentViewController = flutterViewController
-   self.setFrame(windowFrame, display: true)

-   RegisterGeneratedPlugins(registry: flutterViewController)

+   let windowFrame = self.frame
+   let macOSWindowUtilsViewController = MacOSWindowUtilsViewController()
+   self.contentViewController = macOSWindowUtilsViewController
+   self.setFrame(windowFrame, display: true)

+   /* Initialize the macos_window_utils plugin */
+   MainFlutterWindowManipulator.start(mainFlutterWindow: self)

+   RegisterGeneratedPlugins(registry: macOSWindowUtilsViewController.flutterViewController)

    super.awakeFromNib()
  }
}
License
MIT License