Minecraft Dynmap Time Machine
Python 2.7, 3.3+ and PyPy command line script that downloads tiles from a Minecraft's Dynmap plugin HTTP server and composes one image in extremely large resolution suitable for print.

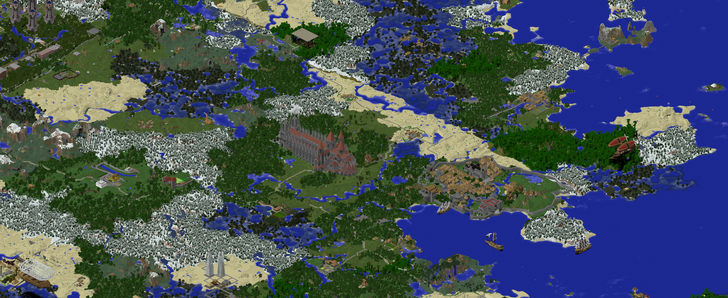
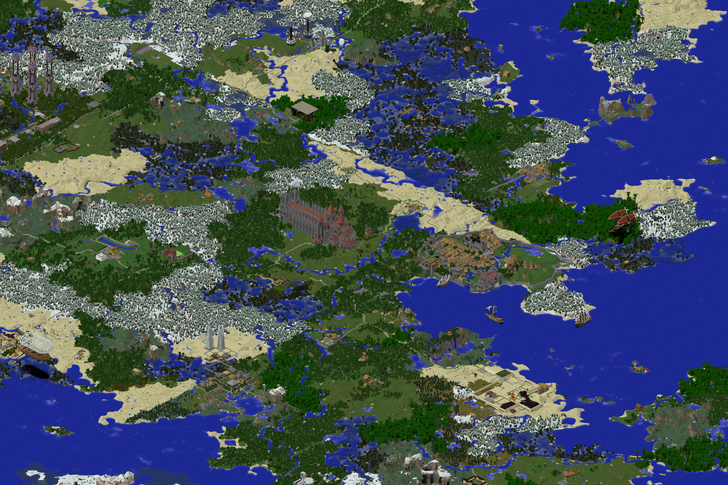
This is a scaled down and croped image form original 20736 x 13824px. You can also download full size 389 MB image. See example bellow.
List of all parameter is as follows:
$ dynmap-timemachine.py -h
usage: dynmap-timemachine.py [-h] [--list-worlds] [--list-maps] [-t [THRESHOLD]] [-q] [-v]
               base_url [world] [map] [center] [boundary_size] [zoom] [dest]

positional arguments:
  base_url              Dynamp server URL
  world                 world name, use --list-worlds to list available worlds
  map                   map name, use --list-maps to list available maps
  center                minecraft cooridnates, use format: [x,y,z]
  boundary_size         size in tiles, use format: [h,v]
  zoom                  zoom level, 0 = maximum zoom
  dest                  output file name or directory

optional arguments:
  -h, --help            show this help message and exit
  --list-worlds         list available worlds from this Dynmap server and exit
  --list-maps           list available maps for this world and exit
  -t [THRESHOLD], --threshold [THRESHOLD]
                        threshold for timelapse images
  -q, --quiet
  -v, --verbose
Installation
Most easily install using pip:
$ pip install dynmap_timemachine1. Example - capture one large image
Let's say we want to download a 20736x13824px map (286 Mpx image) from map.majncraft.cz at Minecraft position [3300,65,-2630].
-
First see what worlds are available and what's the name of the world that we want
$ dynmap-timemachine.py --list-worlds http://map.majncraft.cz/
world - Svět Majncraft | Overworld
world_space - Vesmír | Space
world_nether - Nether Reloaded
We want the first world on the list called simply
world. -
Then list all maps avaialble for this world
$ dynmap-timemachine.py --list-maps http://map.majncraft.cz/ world
surface - Prostorová - Den
surface_night - Prostorová - Noc
populated - Osídlení světa - prostorové
flat - Plochá - Den
populated_flat - Osídlení světa - ploché
This lists flat, isometric, cave and all other types of maps together. Map names depend on Dynmap's configuration. We want the first one called
surfacewhich is an isometric map. -
Make a test image with Minecraft's coordinates
Check your coordinates on Dynmap or simply walk in Minecraft at the position that you want to capture and press F3 to see what are your Minecraft's coordinates. Then make a test image to make sure that the position captured by
minecraft-dynmap-timelapseis correct:$ dynmap-timemachine.py http://map.majncraft.cz/ world surface \ [3300,65,-2630] [3,2] 0 majncraft.test.pngUsed parameters:
http://map.majncraft.cz/- Dynmap's HTTP server URLworld- World namesurface- Map name[3300,65,-2630]- Minecraft coordiantes that will be automatically converted to tile names[3,2]- Number of tiles I want to download in each direction from specified coordinates. That's two to the left and right, two to the top and bottom. This will actually download 6x4 grid where each tile is 128x128 pixels. In total this image will be 768x512 pixels0- Zoom level. 0 means maximum zoom in. Number of zoom levels depend's on Dynamp's configurationmajncraft.test.png- Output file name
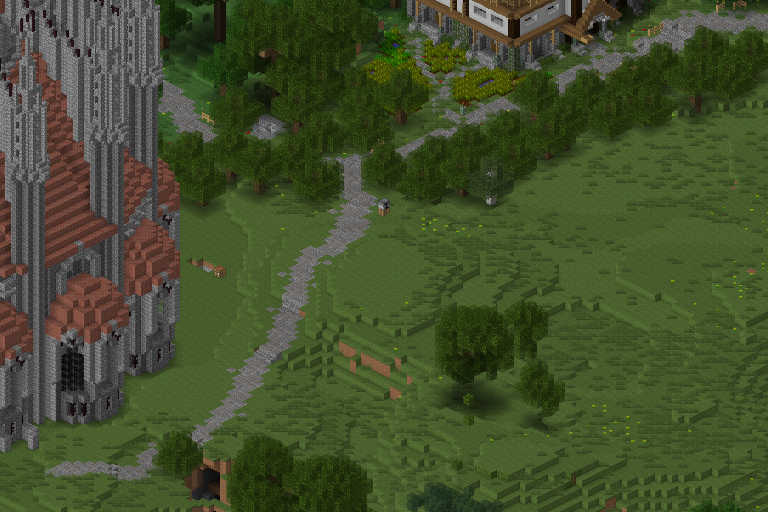
This should generate a 768x512 image:

-
Make a full size image in 20736x13824 resolution (162x108 tiles)
Finally, we can make the full size image:
$ dynmap-timemachine.py -v http://map.majncraft.cz/ world surface \
   [3300,65,-2630] [81,54] 0 majncraft.3320.full.png
This takes a while because in total it needs to download
81 * 2 * 54 * 2 = 17496tiles. The final image has 389 MB.
You can download the full 20736x13824 size image for this example (389 MB) or a different, smaller 16384x10240 image (168 MB) if you just want to see what it looks like in full resolution.
2. Example - create timelapse video
Another use case is creating timelapse animations from multiple images captured from a Dynmap.
Usage is the same as capturing a single image but this time the last argument is not an output file name but it's a directory for timelapse images instead. File names are generated automatically. The script captures an image from Dynmap and then compares it with the last image in the directory. Only if these two are significantly different (by default 1% of pixels; you can change it with -t|--threshold) it saves the new image.
You can ideally schedule to run this script every few minutes when you're building something and it'll genereate series of images capturing your progress named by the time they were captured.
-
Create a directory for timelapse images
$ mkdir images -
Run
dynmap-timemachine.pyperiodically (eg. withcron)$ dynmap-timemachine.py -v http://map.majncraft.cz/ world surface \ [3300,65,-2630] [4,3] 0 images/Note that this image should be relatively small because we want it to capture the map at this particular moment. That's why it can't take hours like the previous example.