homebridge-texecom
A plugin for Homebridge that creates HomeKit motion, contact, smoke, or carbon monoxide sensors for alarm zones from a Texecom Premier intruder alarm via a serial or IP connection. homebridge-texecom was originated by Kieran Jones.
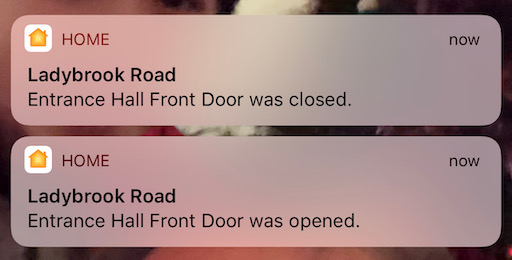
You can receive notifications, which can be set to work only when you're away from home:
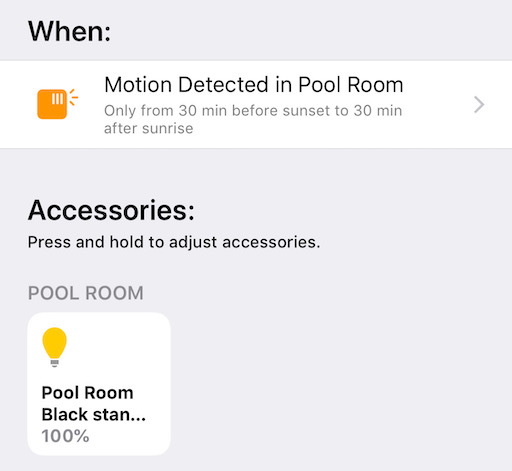
Another great use is to use the alarm's motion sensors to switch lights on automatically:
You can also set automations to happen when you arm the alarm and when the alarm goes off. You can arm and disarm the alarm directly from HomeKit if you know your alarm's UDL code. You need the UDL, sometimes known as the engineer code, for arm/disarm to work - the number you enter on the panel to arm/disarm will not work.
Configuration
Texecom zones must be configured individually in the Homebridge config.json file with the appropriate zone number from Texecom. Configuring areas is optional, but is required if you want to see the arm/disarm/triggered state. If you want to arm/disarm using HomeKit then you also need to configure the UDL. You probably have many zones and only one area.
Serial Example:
"platforms": [
    {
        "platform": "Texecom",
        "serial_device": "/dev/ttyUSB0",
        "baud_rate": 19200,
        "zones": [
            {
                "name": "Living Room",
                "zone_number": "7",
                "zone_type": "motion",
                "dwell": 1000
            },
            {
                "name": "Front Door",
                "zone_number": "15",
                "zone_type": "contact",
                "dwell": 1000
            }
        ],
        "areas": [
            {
                "name": "Texecom Alarm",
                "area_number": "1",
                "area_type": "securitysystem",
                "dwell": 0
            }
        ]
    }
]
IP Example with UDL:
"platforms": [
    {
        "platform": "Texecom",
        "ip_address": "192.168.0.100",
        "ip_port": 10001,
        "udl": "123456",
        "zones": [
            {
                "name": "Living Room",
                "zone_number": "7",
                "zone_type": "motion",
                "dwell": 1000
            },
            {
                "name": "Front Door",
                "zone_number": "15",
                "zone_type": "contact",
                "dwell": 1000
            }
        ],
        "areas": [
            {
                "name": "Texecom Alarm",
                "area_number": "1",
                "area_type": "securitysystem",
                "dwell": 0
            }
        ]
    }
]
Global Configuration
For serial connections:
| Key | Default | Description |
|---|---|---|
serial_device |
N/A | The serial device on which to connect to Texecom |
baud_rate |
N/A | The baud rate configured in Texecom (Usually 19200) |
zones |
N/A | The individual configuration for each zone in Texecom |
For IP connections:
| Key | Default | Description |
|---|---|---|
ip_address |
N/A | The IP address of the COM-IP Texecom module |
ip_port |
N/A | The TCP port of the COM-IP Texecom module |
Per-zone Configuration
This plugin is a platform plugin so you must configure each zone from your Texecom intruder alarm into your config individually.
| Key | Default | Description |
|---|---|---|
name |
N/A | The name of the area as it will appear in HomeKit, e.g. 'Texecom Alarm'. |
zone_number |
N/A | The zone number from Texecom |
zone_type |
"motion" |
The type of zone; motion, contact, smoke, or carbonmonoxide |
dwell |
0 | The amount of time in ms that a zone stays active after zone activation is cleared by Texecom |
Per-area Configuration
| Key | Default | Description |
|---|---|---|
name |
N/A | The name of the sensor as it will appear in HomeKit. |
area_number |
N/A | The area number from Texecom, usually 1. |
area_type |
"securitysystem" |
The type of area; only securitysystem is supported. |
dwell |
0 |
Configuring Texecom
Ensure your intruder alarm is fully configured and operational, connect a USB-Com or PC-Com cable to COM1 on the panel PCB and then connect to the computer running Homebridge.
To configure your COM1 port for the Crestron protocol:
- Enter your engineer code
- Scroll until you find "UDL/Digi Options"
- Press 8 to jump to "Com Port Setup"
- Scroll to "Com Port 1"
- Press "No" to edit the port
- Press 8 to jump to "Crestron System"
- Press "Yes" to confirm and save.
Press "Menu" repeatedly to exit the engineer menu.
If connecting to a COM-IP, set up the COM-IP as usual and ensure it is working, e.g. by connecting with Wintex. Then change the configuration for the port the COM-IP is connected to to Crestron as detailed above. This allows the panel to configure the IP address into the module, then changing to Crestron will allow the panel to input/output the correct commands.
Many thanks
- Kieran Jones for originating homebridge-texecom and who first freely documented the Cestron protocol.
- Chris Shucksmith provided useful documentation of the Simple Protocol
- Chris Posthumus contributed arm/disarm code.