sdwebuiapi
API client for AUTOMATIC1111/stable-diffusion-webui
Supports txt2img, img2img, extra-single-image, extra-batch-images API calls.
API support have to be enabled from webui. Add --api when running webui. It's explained here.
You can use --api-auth user1:pass1,user2:pass2 option to enable authentication for api access. (Since it's basic http authentication the password is transmitted in cleartext)
API calls are (almost) direct translation from http://127.0.0.1:7860/docs as of 2022/11/21.
Install
pip install webuiapiUsage
webuiapi_demo.ipynb contains example code with original images. Images are compressed as jpeg in this document.
create API client
import webuiapi

# create API client
api = webuiapi.WebUIApi()

# create API client with custom host, port
#api = webuiapi.WebUIApi(host='127.0.0.1', port=7860)

# create API client with custom host, port and https
#api = webuiapi.WebUIApi(host='webui.example.com', port=443, use_https=True)

# create API client with default sampler, steps.
#api = webuiapi.WebUIApi(sampler='Euler a', steps=20)

# optionally set username, password when --api-auth=username:password is set on webui.
# username, password are not protected and can be derived easily if the communication channel is not encrypted.
# you can also pass username, password to the WebUIApi constructor.
api.set_auth('username', 'password')
txt2img
result1 = api.txt2img(prompt="cute squirrel",
                    negative_prompt="ugly, out of frame",
                    seed=1003,
                    styles=["anime"],
                    cfg_scale=7,
#                      sampler_index='DDIM',
#                      steps=30,
#                      enable_hr=True,
#                      hr_scale=2,
#                      hr_upscaler=webuiapi.HiResUpscaler.Latent,
#                      hr_second_pass_steps=20,
#                      hr_resize_x=1536,
#                      hr_resize_y=1024,
#                      denoising_strength=0.4,

                    )
# images contains the returned images (PIL images)
result1.images

# image is shorthand for images[0]
result1.image

# info contains text info about the api call
result1.info

# info contains paramteres of the api call
result1.parameters

result1.image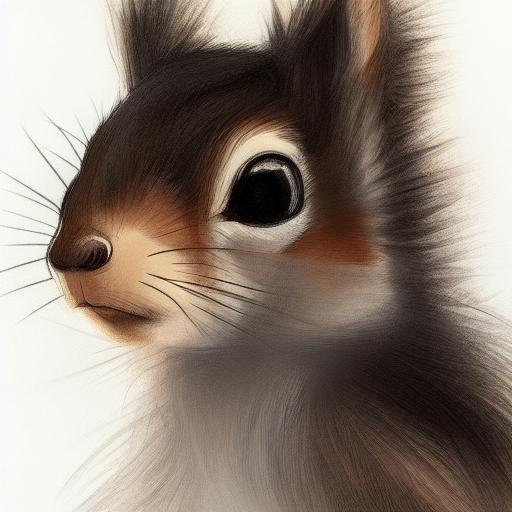
img2img
result2 = api.img2img(images=[result1.image], prompt="cute cat", seed=5555, cfg_scale=6.5, denoising_strength=0.6)
result2.image
img2img inpainting
from PIL import Image, ImageDraw

mask = Image.new('RGB', result2.image.size, color = 'black')
# mask = result2.image.copy()
draw = ImageDraw.Draw(mask)
draw.ellipse((210,150,310,250), fill='white')
draw.ellipse((80,120,160,120+80), fill='white')

mask
inpainting_result = api.img2img(images=[result2.image],
                                mask_image=mask,
                                inpainting_fill=1,
                                prompt="cute cat",
                                seed=104,
                                cfg_scale=5.0,
                                denoising_strength=0.7)
inpainting_result.image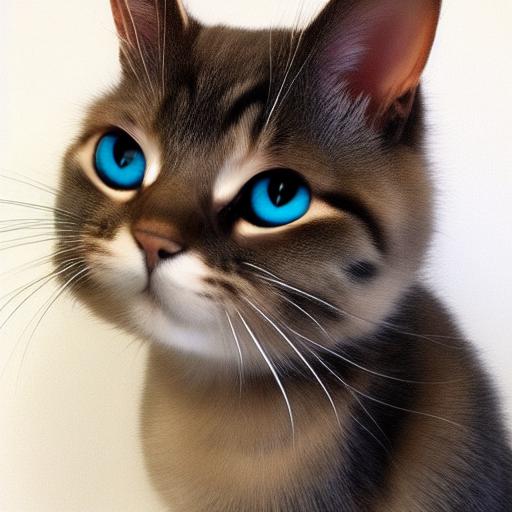
extra-single-image
result3 = api.extra_single_image(image=result2.image,
                                 upscaler_1=webuiapi.Upscaler.ESRGAN_4x,
                                 upscaling_resize=1.5)
print(result3.image.size)
result3.image
(768, 768)

extra-batch-images
result4 = api.extra_batch_images(images=[result1.image, inpainting_result.image],
                                 upscaler_1=webuiapi.Upscaler.ESRGAN_4x,
                                 upscaling_resize=1.5)
result4.images[0]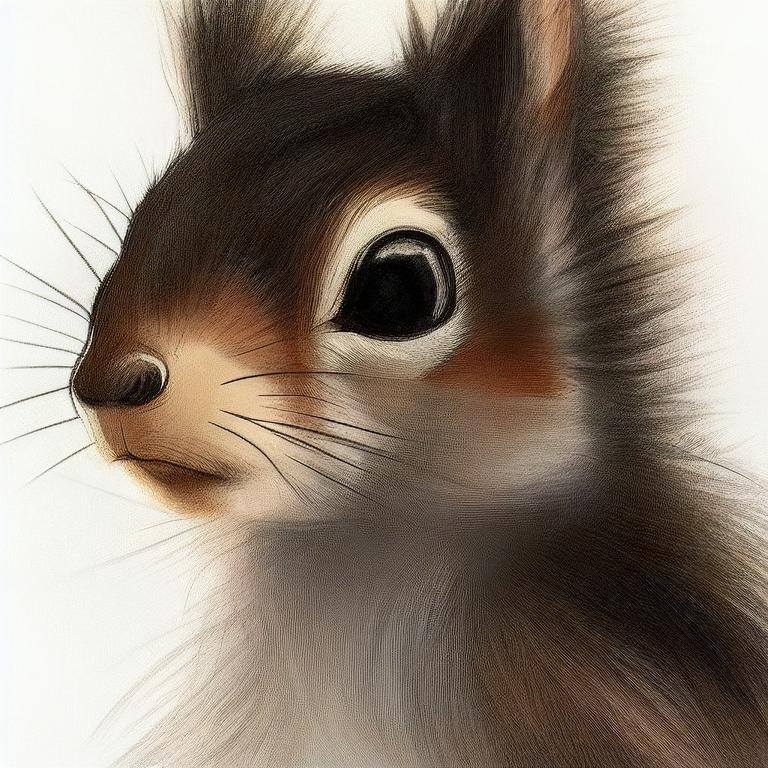
result4.images[1]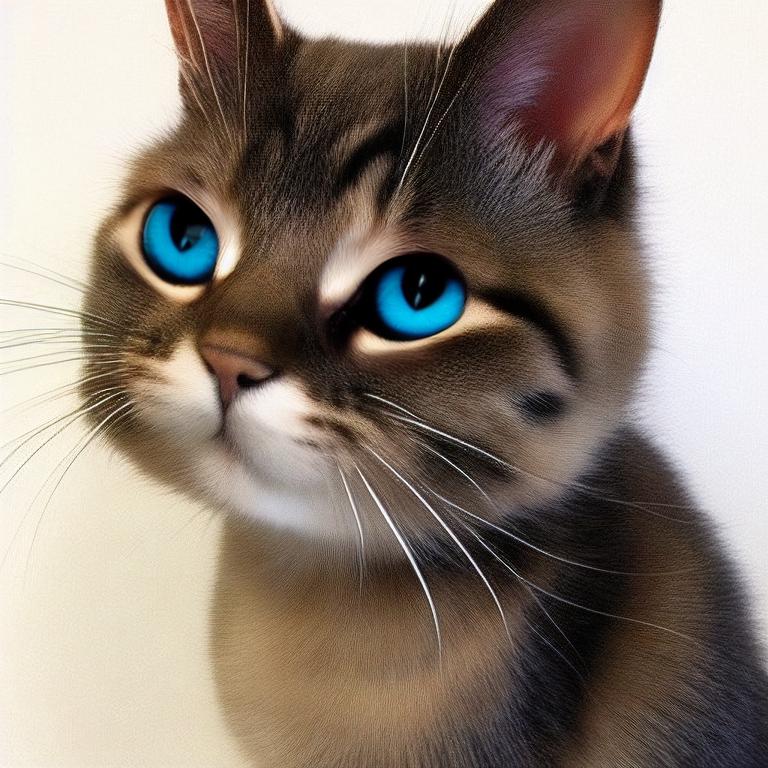
Async API support
txt2img, img2img, extra_single_image, extra_batch_images support async api call with use_async=True parameter. You need asyncio, aiohttp packages installed.
result = await api.txt2img(prompt="cute kitten",
                    seed=1001,
                    use_async=True
                    )
result.image
Scripts support
Scripts from AUTOMATIC1111's Web UI are supported, but there aren't official models that define a script's interface.
To find out the list of arguments that are accepted by a particular script look up the associated python file from
AUTOMATIC1111's repo scripts/[script_name].py. Search for its run(p, **args) function and the arguments that come
after 'p' is the list of accepted arguments
Example for X/Y/Z Plot script:
(scripts/xyz_grid.py file from AUTOMATIC1111's repo)

    def run(self, p, x_type, x_values, y_type, y_values, z_type, z_values, draw_legend, include_lone_images, include_sub_grids, no_fixed_seeds, margin_size):
    ...
List of accepted arguments:
- _xtype: Index of the axis for X axis. Indexes start from [0: Nothing]
- _xvalues: String of comma-separated values for the X axis
- _ytype: Index of the axis type for Y axis. As the X axis, indexes start from [0: Nothing]
- _yvalues: String of comma-separated values for the Y axis
- _ztype: Index of the axis type for Z axis. As the X axis, indexes start from [0: Nothing]
- _zvalues: String of comma-separated values for the Z axis
- _drawlegend: "True" or "False". IMPORTANT: It needs to be a string and not a Boolean value
- _include_loneimages: "True" or "False". IMPORTANT: It needs to be a string and not a Boolean value
- _include_subgrids: "True" or "False". IMPORTANT: It needs to be a string and not a Boolean value
- _no_fixedseeds: "True" or "False". IMPORTANT: It needs to be a string and not a Boolean value
- margin_size: int value
# Available Axis options (Different for txt2img and img2img!)
XYZPlotAvailableTxt2ImgScripts = [
"Nothing",
"Seed",
"Var. seed",
"Var. strength",
"Steps",
"Hires steps",
"CFG Scale",
"Prompt S/R",
"Prompt order",
"Sampler",
"Checkpoint name",
"Sigma Churn",
"Sigma min",
"Sigma max",
"Sigma noise",
"Eta",
"Clip skip",
"Denoising",
"Hires upscaler",
"VAE",
"Styles",
]
XYZPlotAvailableImg2ImgScripts = [ "Nothing", "Seed", "Var. seed", "Var. strength", "Steps", "CFG Scale", "Image CFG Scale", "Prompt S/R", "Prompt order", "Sampler", "Checkpoint name", "Sigma Churn", "Sigma min", "Sigma max", "Sigma noise", "Eta", "Clip skip", "Denoising", "Cond. Image Mask Weight", "VAE", "Styles", ]
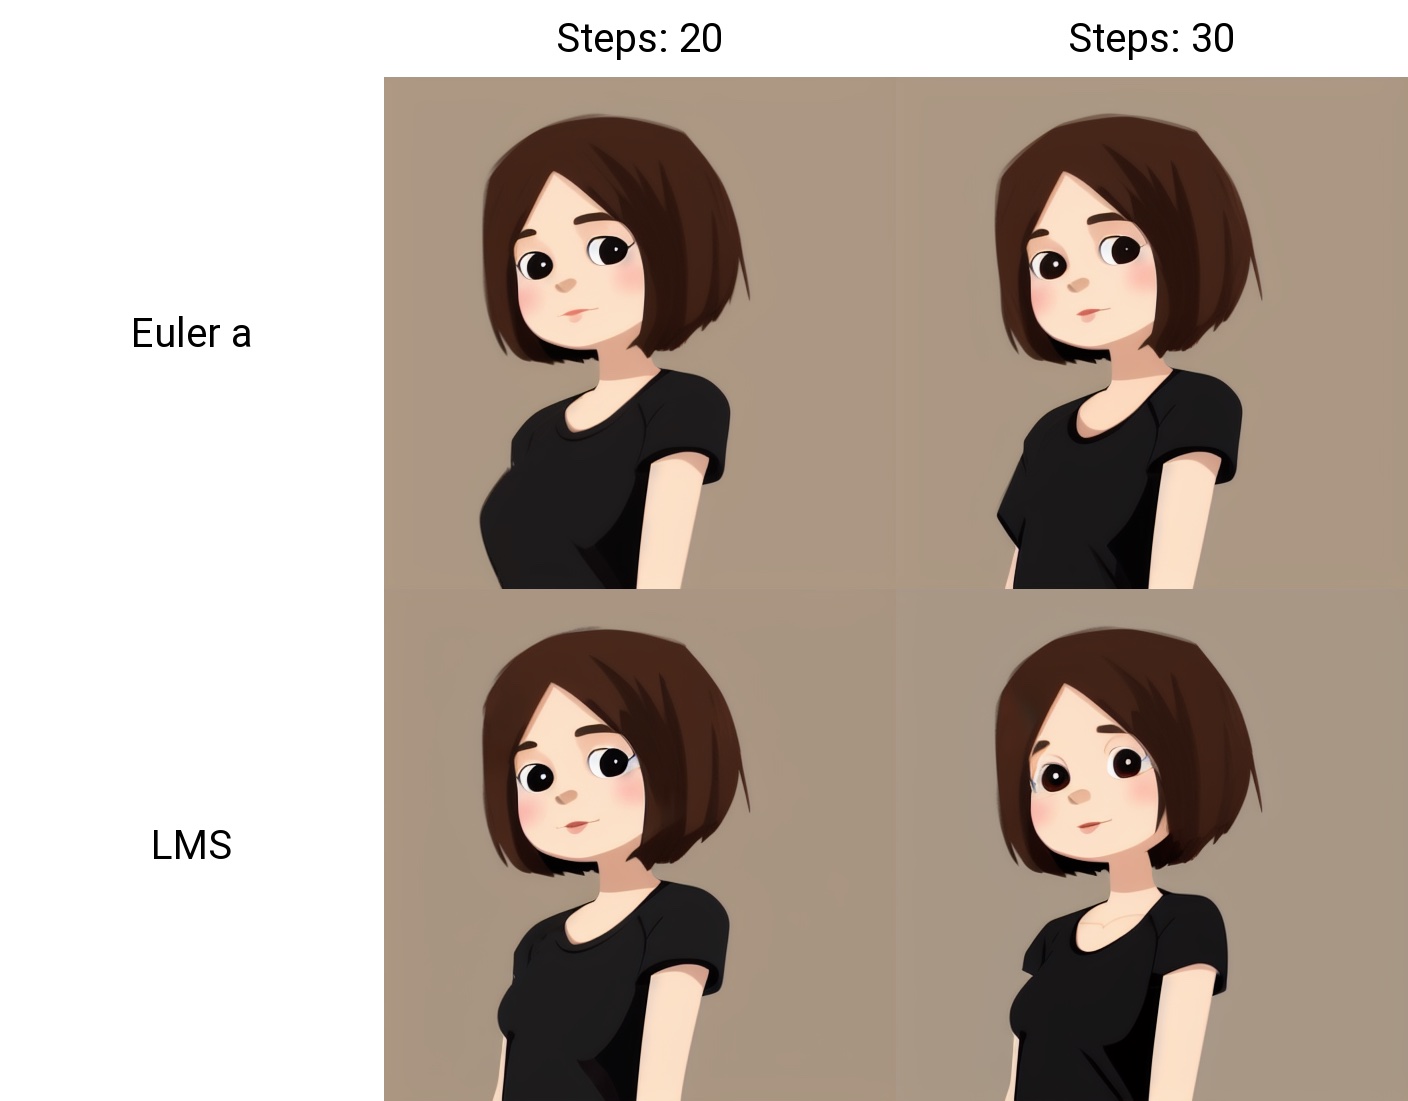
Example call
XAxisType = "Steps" XAxisValues = "20,30" XAxisValuesDropdown = "" YAxisType = "Sampler" YAxisValues = "Euler a, LMS" YAxisValuesDropdown = "" ZAxisType = "Nothing" ZAxisValues = "" ZAxisValuesDropdown = "" drawLegend = "True" includeLoneImages = "False" includeSubGrids = "False" noFixedSeeds = "False" marginSize = 0
x_type, x_values, y_type, y_values, z_type, z_values, draw_legend, include_lone_images, include_sub_grids, no_fixed_seeds, margin_size
result = api.txt2img( prompt="cute girl with short brown hair in black t-shirt in animation style", seed=1003, script_name="X/Y/Z Plot", script_args=[ XYZPlotAvailableTxt2ImgScripts.index(XAxisType), XAxisValues, XAxisValuesDropdown, XYZPlotAvailableTxt2ImgScripts.index(YAxisType), YAxisValues, YAxisValuesDropdown, XYZPlotAvailableTxt2ImgScripts.index(ZAxisType), ZAxisValues, ZAxisValuesDropdown, drawLegend, includeLoneImages, includeSubGrids, noFixedSeeds, marginSize, ] )
result.image
### Configuration APIsreturn map of current options
options = api.get_options()
change sd model
options = {} options['sd_model_checkpoint'] = 'model.ckpt [7460a6fa]' api.set_options(options)
when calling set_options, do not pass all options returned by get_options().
it makes webui unusable (2022/11/21).
get available sd models
api.get_sd_models()
misc get apis
api.get_samplers()
api.get_cmd_flags()
api.get_hypernetworks()
api.get_face_restorers()
api.get_realesrgan_models()
api.get_prompt_styles()
api.get_artist_categories() # deprecated ?
api.get_artists() # deprecated ?
api.get_progress()
api.get_embeddings()
api.get_cmd_flags()
api.get_scripts()
api.get_schedulers()
api.get_memory()
misc apis
api.interrupt() api.skip()
### Utility methodssave current model name
old_model = api.util_get_current_model()
get list of available models
models = api.util_get_model_names()
get list of available samplers
api.util_get_sampler_names()
get list of available schedulers
api.util_get_scheduler_names()
refresh list of models
api.refresh_checkpoints()
set model (use exact name)
api.util_set_model(models[0])
set model (find closest match)
api.util_set_model('robodiffusion')
wait for job complete
api.util_wait_for_ready()
### LORA and alwayson_scripts example
r = api.txt2img(prompt='photo of a cute girl with green hair
### Extension support - Model-Keywordhttps://github.com/mix1009/model-keyword
mki = webuiapi.ModelKeywordInterface(api) mki.get_keywords()
ModelKeywordResult(keywords=['nousr robot'], model='robo-diffusion-v1.ckpt', oldhash='41fef4bd', match_source='model-keyword.txt')

### Extension support - Instruct-Pix2Pix
Instruct-Pix2Pix extension is now deprecated and is now part of webui.
You can use normal img2img with image_cfg_scale when instruct-pix2pix model is loaded.
r = api.img2img(prompt='sunset', images=[pil_img], cfg_scale=7.5, image_cfg_scale=1.5) r.image
### Extension support - ControlNethttps://github.com/Mikubill/sd-webui-controlnet
api.controlnet_model_list()
<pre>
['control_v11e_sd15_ip2p [c4bb465c]',
 'control_v11e_sd15_shuffle [526bfdae]',
 'control_v11f1p_sd15_depth [cfd03158]',
 'control_v11p_sd15_canny [d14c016b]',
 'control_v11p_sd15_inpaint [ebff9138]',
 'control_v11p_sd15_lineart [43d4be0d]',
 'control_v11p_sd15_mlsd [aca30ff0]',
 'control_v11p_sd15_normalbae [316696f1]',
 'control_v11p_sd15_openpose [cab727d4]',
 'control_v11p_sd15_scribble [d4ba51ff]',
 'control_v11p_sd15_seg [e1f51eb9]',
 'control_v11p_sd15_softedge [a8575a2a]',
 'control_v11p_sd15s2_lineart_anime [3825e83e]',
 'control_v11u_sd15_tile [1f041471]']
 </pre>
api.controlnet_version() api.controlnet_module_list()
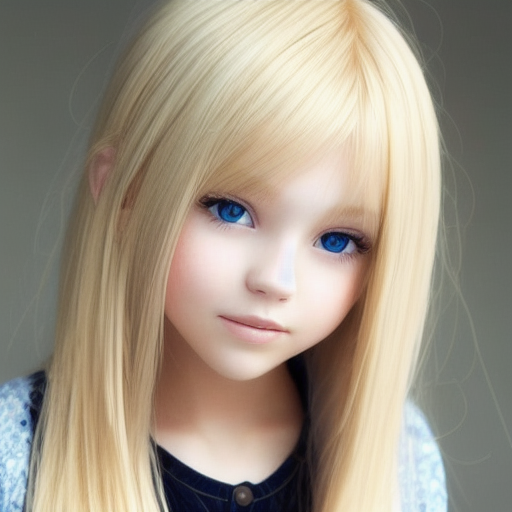
normal txt2img
r = api.txt2img(prompt="photo of a beautiful girl with blonde hair", height=512, seed=100) img = r.image img
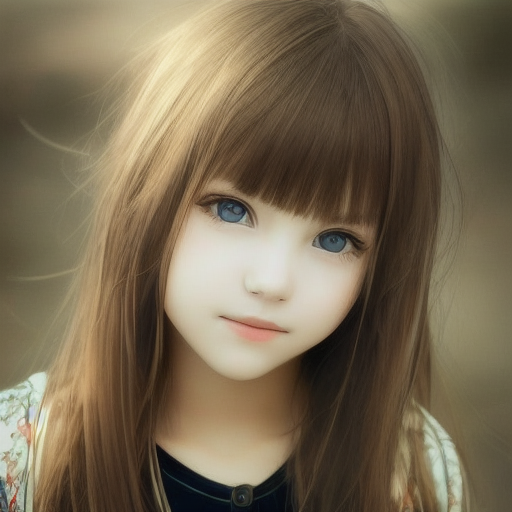
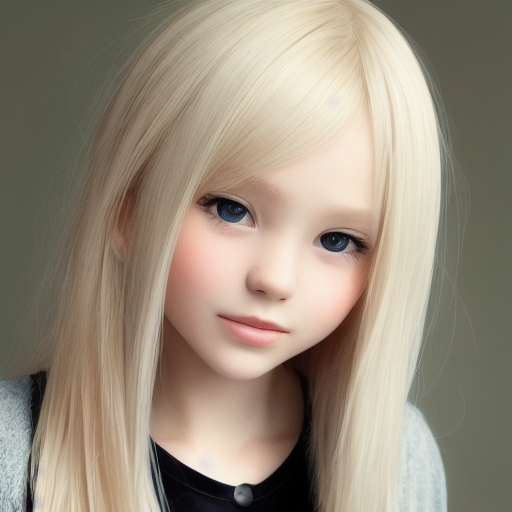
txt2img with ControlNet
input_image parameter is changed to image (change in ControlNet API)
unit1 = webuiapi.ControlNetUnit(image=img, module='canny', model='control_v11p_sd15_canny [d14c016b]')
r = api.txt2img(prompt="photo of a beautiful girl", controlnet_units=[unit1]) r.image
img2img with multiple ControlNets
unit1 = webuiapi.ControlNetUnit(image=img, module='canny', model='control_v11p_sd15_canny [d14c016b]') unit2 = webuiapi.ControlNetUnit(image=img, module='depth', model='control_v11f1p_sd15_depth [cfd03158]', weight=0.5)
r2 = api.img2img(prompt="girl", images=[img], width=512, height=512, controlnet_units=[unit1, unit2], sampler_name="Euler a", cfg_scale=7, ) r2.image
r2.images[1]
r2.images[2]
r = api.controlnet_detect(images=[img], module='canny') r.image
### Extension support - AnimateDiff
https://github.com/continue-revolution/sd-webui-animatediff
adiff = webuiapi.AnimateDiff(model='mm_sd15_v3.safetensors', video_length=24, closed_loop='R+P', format=['GIF'])
r = api.txt2img(prompt='cute puppy', animatediff=adiff)
save GIF file. need save_all=True to save animated GIF.
r.image.save('puppy.gif', save_all=True)
Display animated GIF in Jupyter notebook
from IPython.display import HTML
HTML(''.format(r.json['images'][0]))
### Extension support - RemBG (contributed by webcoderz)https://github.com/AUTOMATIC1111/stable-diffusion-webui-rembg
rembg = webuiapi.RemBGInterface(api) r = rembg.rembg(input_image=img, model='u2net', return_mask=False) r.image
### Extension support - SegmentAnything (contributed by TimNekk)
```python
# https://github.com/continue-revolution/sd-webui-segment-anything

segment = webuiapi.SegmentAnythingInterface(api)

# Perform a segmentation prediction using the SAM model using points
sam_result = segment.sam_predict(
    image=img,
    sam_positive_points=[(0.5, 0.25), (0.75, 0.75)],
    # add other parameters as needed
)

# Perform a segmentation prediction using the SAM model using GroundingDINO
sam_result2 = segment.sam_predict(
    image=img,
    dino_enabled=True,
    dino_text_prompt="A text prompt for GroundingDINO",
    # add other parameters as needed
)

# Example of dilating a mask
dilation_result = segment.dilate_mask(
    image=img,
    mask=sam_result.masks[0],  # using the first mask from the SAM prediction
    dilate_amount=30
)

# Example of generating semantic segmentation with category IDs
semantic_seg_result = segment.sam_and_semantic_seg_with_cat_id(
    image=img,
    category="1+2+3",  # Category IDs separated by '+'
    # add other parameters as needed
)
Extension support - ADetailer (contributed by tomj2ee and davidmartinrius)
txt2img with ADetailer
# https://github.com/Bing-su/adetailer

import webuiapi

api = webuiapi.WebUIApi()

ads = webuiapi.ADetailer(ad_model="face_yolov8n.pt")

result1 = api.txt2img(prompt="cute squirrel",
                    negative_prompt="ugly, out of frame",
                    seed=-1,
                    styles=["anime"],
                    cfg_scale=7,
                    adetailer=[ads],
                    steps=30,
                    enable_hr=True,
                    denoising_strength=0.5
            )

img = result1.image
img

# OR

file_path = "output_image.png"
result1.image.save(file_path)
img2img with ADetailer
import webuiapi
from PIL import Image

img = Image.open("/path/to/your/image.jpg")

ads = webuiapi.ADetailer(ad_model="face_yolov8n.pt")

api = webuiapi.WebUIApi()

result1 = api.img2img(
    images=[img],
    prompt="a cute squirrel",
    steps=25,
    seed=-1,
    cfg_scale=7,
    denoising_strength=0.5,
    resize_mode=2,
    width=512,
    height=512,
    adetailer=[ads],
)

file_path = "img2img_output_image.png"
result1.image.save(file_path)
Support for interrogate with "deepdanbooru / deepbooru" (contributed by davidmartinrius)
import webuiapi
from PIL import Image

api = webuiapi.WebUIApi()

img = Image.open("/path/to/your/image.jpg")

interrogate_result = api.interrogate(image=img, model="deepdanbooru")
# also you can use clip. clip is set by default
#interrogate_result = api.interrogate(image=img, model="clip")
#interrogate_result = api.interrogate(image=img)

prompt = interrogate_result.info
prompt

# OR
print(prompt)
Support for ReActor, for face swapping (contributed by davidmartinrius)
import webuiapi
from PIL import Image

img = Image.open("/path/to/your/image.jpg")

api = webuiapi.WebUIApi()

your_desired_face = Image.open("/path/to/your/desired/face.jpeg")

reactor = webuiapi.ReActor(
    img=your_desired_face,
    enable=True
)

result1 = api.img2img(
    images=[img],
    prompt="a cute squirrel",
    steps=25,
    seed=-1,
    cfg_scale=7,
    denoising_strength=0.5,
    resize_mode=2,
    width=512,
    height=512,
    reactor=reactor
)

file_path = "face_swapped_image.png"
result1.image.save(file_path)
Support for Self Attention Guidance (contributed by yano)
https://github.com/ashen-sensored/sd_webui_SAG
import webuiapi
from PIL import Image

img = Image.open("/path/to/your/image.jpg")

api = webuiapi.WebUIApi()

your_desired_face = Image.open("/path/to/your/desired/face.jpeg")

sag = webuiapi.Sag(
    enable=True,
    scale=0.75,
    mask_threshold=1.00
)

result1 = api.img2img(
    images=[img],
    prompt="a cute squirrel",
    steps=25,
    seed=-1,
    cfg_scale=7,
    denoising_strength=0.5,
    resize_mode=2,
    width=512,
    height=512,
    sag=sag
)

file_path = "face_swapped_image.png"
result1.image.save(file_path)
Prompt generator API by David Martin Rius:
This is an unofficial implementation to use the api of promptgen. Before installing the extension you have to check if you already have an extension called Promptgen. If so, you need to uninstall it. Once uninstalled you can install it in two ways:
1. From the user interface
2. From the command line
cd stable-diffusion-webui/extensions
git clone -b api-implementation https://github.com/davidmartinrius/stable-diffusion-webui-promptgen.git
Once installed:
api = webuiapi.WebUIApi()

result = api.list_prompt_gen_models()
print("list of models")
print(result)
# you will get something like this:
#['AUTOMATIC/promptgen-lexart', 'AUTOMATIC/promptgen-majinai-safe', 'AUTOMATIC/promptgen-majinai-unsafe']

text = "a box"

To create a prompt from a text:
# by default model_name is "AUTOMATIC/promptgen-lexart"
result = api.prompt_gen(text=text)

# Using a different model
result = api.prompt_gen(text=text, model_name="AUTOMATIC/promptgen-majinai-unsafe")

#Complete usage
result =  api.prompt_gen(
        text=text,
        model_name="AUTOMATIC/promptgen-majinai-unsafe",
        batch_count= 1,
        batch_size=10,
        min_length=20,
        max_length=150,
        num_beams=1,
        temperature=1,
        repetition_penalty=1,
        length_preference=1,
        sampling_mode="Top K",
        top_k=12,
        top_p=0.15
    )

# result is a list of prompts. You can iterate the list or just get the first result like this: result[0]
TIPS for using Flux David Martin Rius:
In both cases, it is needed cfg_scale = 1, sampler_name = "Euler", scheduler = "Simple" and in txt2img enable_hr=False
For txt2img
import webuiapi

result1 = api.txt2img(prompt="cute squirrel",
                    negative_prompt="ugly, out of frame",
                    seed=-1,
                    styles=["anime"],
                    cfg_scale=1,
                    steps=20,
                    enable_hr=False,
                    denoising_strength=0.5,
                    sampler_name= "Euler",
                    scheduler= "Simple"
            )

img = result1.image
img

# OR

file_path = "output_image.png"
result1.image.save(file_path)
For img2img
import webuiapi
from PIL import Image

img = Image.open("/path/to/your/image.jpg")

api = webuiapi.WebUIApi()

result1 = api.img2img(
    images=[img],
    prompt="a cute squirrel",
    steps=20,
    seed=-1,
    cfg_scale=1,
    denoising_strength=0.5,
    resize_mode=2,
    width=512,
    height=512,
    sampler_name= "Euler",
    scheduler= "Simple"
)

file_path = "face_swapped_image.png"
result1.image.save(file_path)