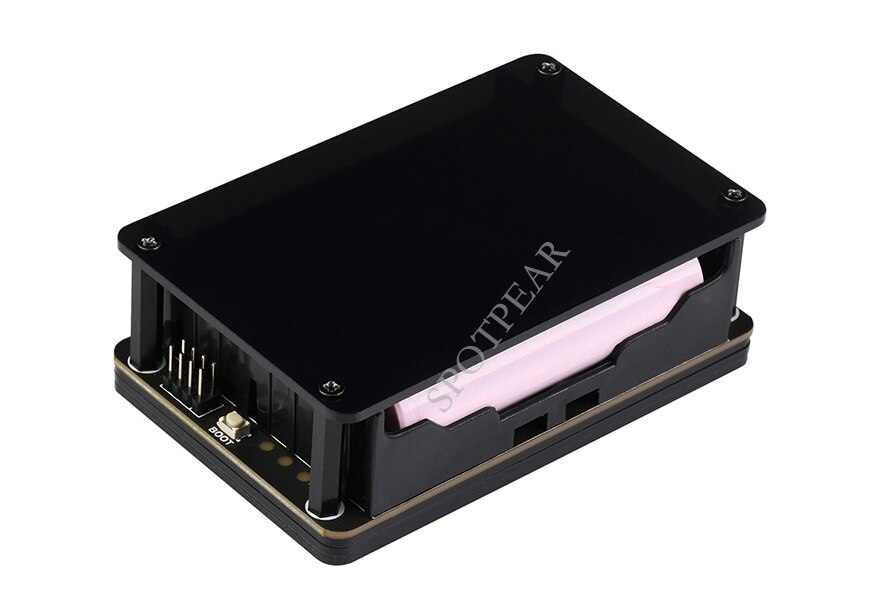
INA219 UPS HAT Integration for Home Assistant
This integration allows you to monitor any INA219 based UPS hat (e.g. Waveshare UPS Hat or its clones) status in your Home Assistant instance.
 |
 |
Installation
HACS
If you use HACS you can install and update this component.
- Go into HACS -> CUSTOM REPOSITORIES and add url: https://github.com/odya/hass-ina219-ups-hat with type "integration"
- Go to integration, search "ina219ups_hat" and click _Install.
Manual
Download and unzip or clone this repository and copy content of custom_components/ina219_ups_hat/ to your configuration directory of Home Assistant, e.g. ~/.homeassistant/custom_components/ina219_ups_hat/.
In the end your file structure should look like that:
~/.homeassistant/custom_components/ina219_ups_hat/__init__.py
~/.homeassistant/custom_components/ina219_ups_hat/manifest.json
~/.homeassistant/custom_components/ina219_ups_hat/const.py
~/.homeassistant/custom_components/ina219_ups_hat/ina219/ina219.py
~/.homeassistant/custom_components/ina219_ups_hat/soc/provider.py
Configuration
Minimal configuration entry in your configuration.yaml
ina219_ups_hat:
  addr: 0x41                # Required
Additional options
Full list of configuration options in your configuration.yaml
ina219_ups_hat:
  name: Hassio UPS          # Optional
  unique_id: hassio_ups     # Optional
  addr: 0x41                # Required
  scan_interval: 10         # Optional
  batteries_count: 3        # Optional
  battery_capacity: 3000    # Optional
  max_soc: 91               # Optional
  sma_samples: 5            # Optional
  min_online_current: -100  # Optional, mA
  min_charging_current: 55  # Optional, mA
Batteries Count
The original Waveshare UPS Hat has 2 batteries in series (8.4V), but some versions of the UPS Hats may have 3 batteries (12.6V). If you have more than 2 batteries in series, use the batteries_count parameter.
Battery Capacity
Total capacity of your battery. Most UPS Hats have serial connected cells.
- For series connected cells the capacity remains the same as that of a single cell. If each cell has a capacity of 2000mAh, the total capacity of the series connection remains 2000mAh, regardless of the number of cells connected in series
- For parallel connected cells the total capacity is the sum of the capacities of all the cells connected in parallel. For instance, if you connect four 2000mAh cells in parallel, the total capacity becomes 8000mAh (2000mAh * 4)
SMA Filtering
By default, the SMA5 filter is applied to the measurements from INA219. That's necessary to filter out noise from the switching power supply and provide smoother readings. You can control the window size with the sma_samples property.
ina219_ups_hat:
  max_soc: 91
  sma_samples: 10
Tip: Doubled window size is used for calculation of SoC, Remaining Battery Capacity and Remaining Time
SoC
From v0.3.11 intergration uses SoC calculation method via common OCV curve for 18650 cells. The open-circuit voltage (OCV) curve represents the voltage of a battery as a function of its state of charge (SOC) when no external current is flowing, and all chemical reactions inside the battery are at equilibrium.
If you consistently experience capacity below 100% when the device is fully charged, you can adjust it using the max_soc property.
ina219_ups_hat:
  max_soc: 91
Following data can be read:
- SoC (State of Charge)
- Voltage
- Current
- Power
- Charging Status
- Online Status
- Remaining Capacity
- Remaining Time
Example automations
Copy contents of examples/automations.yaml to your automations.yaml. Customize.
Directions for installing smbus support on Raspberry Pi
HassOS
To enable i2c in Home Assistant OS System follow this instruction or use this addon
Home Asisstant Core
Enable I2c interface with the Raspberry Pi configuration utility:
# pi user environment: Enable i2c interface
$ sudo raspi-config
Select Interfacing options->I2C choose <Yes> and hit Enter, then go to Finish and you'll be prompted to reboot.
Install dependencies for use the smbus-cffi module and enable your homeassistant user to join the i2c group:
# pi user environment: Install i2c dependencies and utilities
$ sudo apt-get install build-essential libi2c-dev i2c-tools python-dev libffi-dev

# pi user environment: Add homeassistant user to the i2c group
$ sudo addgroup homeassistant i2c

# pi user environment: Reboot Raspberry Pi to apply changes
$ sudo reboot
Check the i2c address of the sensor (using HassOS I2C Configurator)
You may use HassOS I2C Configurator to activate i2c on your Hass host and search available devices addresses
How to scan i2c buses to find your device addr
- Install addon
Advanced SSH & Web Terminal - Enter the web interface and execute
docker exec -it homeassistant bash -c "apk add i2c-tools && i2cdetect -y 0 && i2cdetect -y 1"
After that you'll get list of found i2c devices. First table is for channel 0, second for channel 1.
➜  ~ docker exec -it homeassistant bash -c "apk add i2c-tools && i2cdetect -y 0 && i2cdetect -y 1"
OK: 267 MiB in 224 packages
     0  1  2  3  4  5  6  7  8  9  a  b  c  d  e  f
00:                         -- -- -- -- -- -- -- --
10: -- -- -- -- -- -- -- -- -- -- -- -- -- -- -- --
20: -- -- -- -- -- -- -- -- -- -- -- -- -- -- -- --
30: -- -- -- -- -- -- -- -- -- -- -- -- -- -- -- --
40: -- -- -- -- -- -- -- -- -- -- -- -- -- -- -- --
50: -- -- -- -- -- -- -- -- -- -- -- -- -- -- -- --
60: -- -- -- -- -- -- -- -- -- -- -- -- -- -- -- --
70: -- -- -- -- -- -- -- --
     0  1  2  3  4  5  6  7  8  9  a  b  c  d  e  f
00:                         -- -- -- -- -- -- -- --
10: -- -- -- -- -- -- -- -- -- -- -- -- -- -- -- --
20: -- -- -- -- -- -- -- -- -- -- -- -- -- -- -- --
30: -- -- -- -- -- -- -- -- -- -- -- -- -- -- -- --
40: -- 41 -- -- -- -- -- -- -- -- -- -- -- -- -- --
50: -- -- -- -- -- -- -- -- -- -- -- -- -- -- -- --
60: -- -- -- -- -- -- -- -- -- -- -- -- -- -- -- --
70: -- -- -- -- -- -- -- --
Thanks
Most of the code was written by @mykhailog, the author of the original integration. Unfortunately, his repository seems to be inactive, so I decided to fork it.
Notes
- Original waveshare_ups_hat integration by @mykhailog (seems to be dead)
- Cheap INA219 UPS Hat module from AliExpress
License
MIT 2024